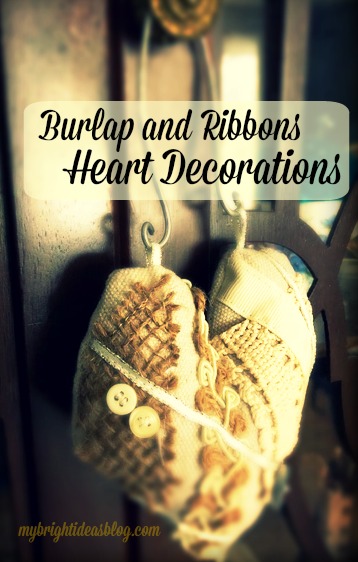
Love is in the air this week! There is a family wedding soon so its time for a beautiful, rustic, heart shaped craft with ribbons and lace!
This pretty little decoration uses up scraps of fabric and trims you already have.
You will need:
- scraps of fabric (I used a piece of drop cloth-it looks like linen)
- paper and pencil
- burlap
- ribbon
- lace
- pretty little buttons
- stuffing
- sewing machine
- scissors and pins
- wire and pliers to hang it up (use string or ribbon if you don’t have wire)
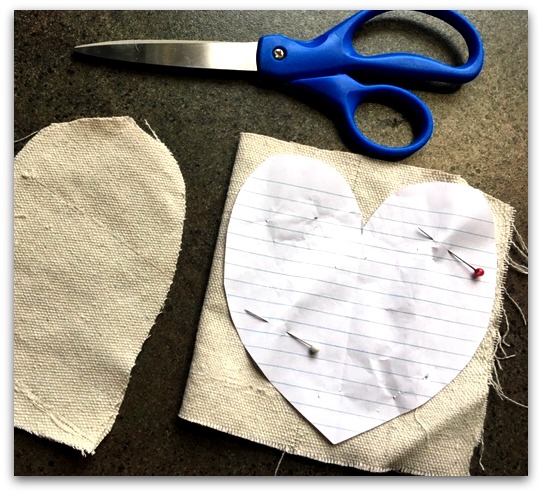
Use a piece of paper to decide what size of heart you would like. Cut the paper into a square. Fold it in half and draw a half heart. Open the page and pin it to your fabric.
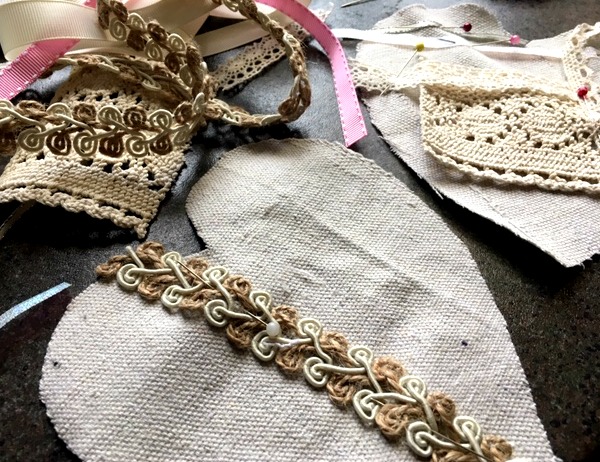
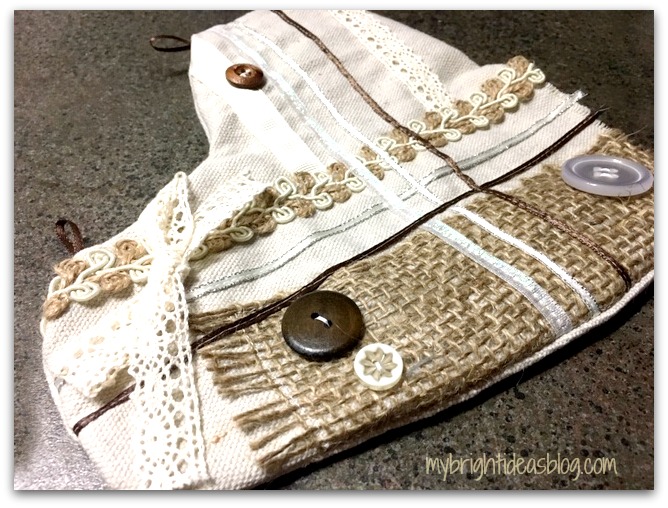
Lay out the ribbons and trims on your heart shaped fabric. My beige fabric looks like linen but its a scrap of a drop cloth from tote bags I have made in the past.
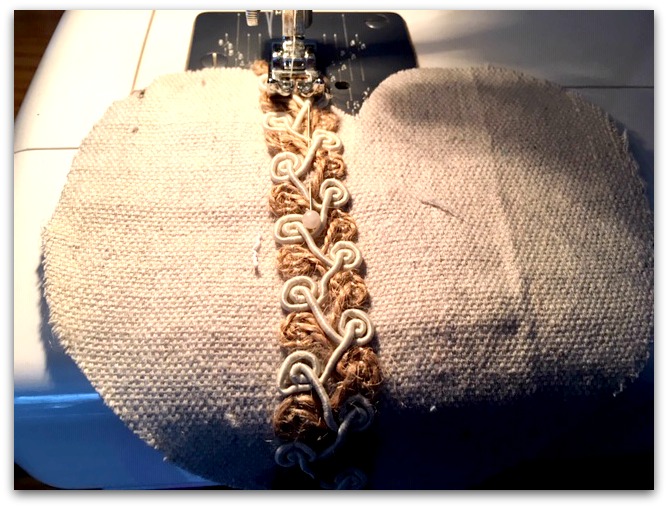
Using a sewing machine, sew each piece of trim, lace or ribbon into place.
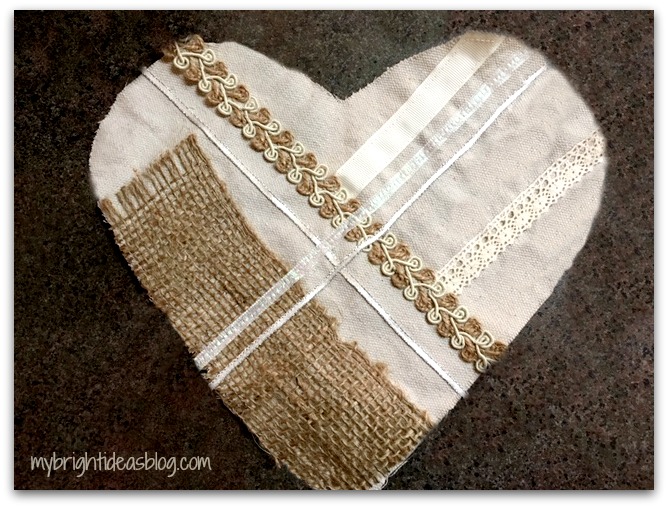
The trims look really nice crisscrossing each other. Try different random pieces. Burlap adds rustic texture to the project.
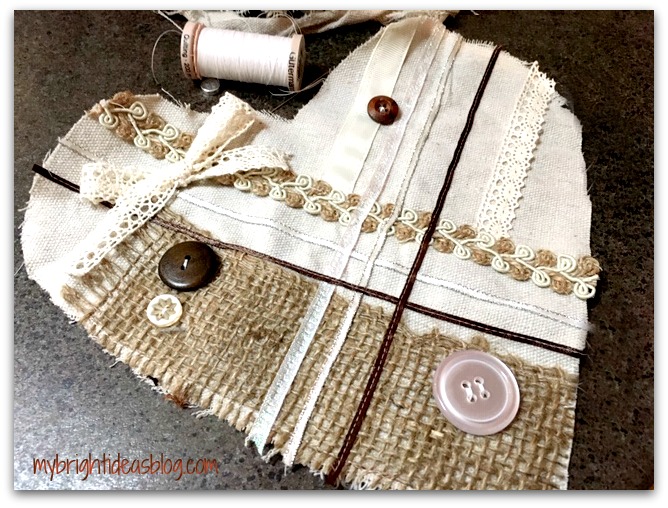
Add buttons and bows to the project. Remember not to place them too close to the edge because you need to sew around the edges.

Add 2 tiny loops of ribbon to the top edge and sew a few stiches to keep them in place.
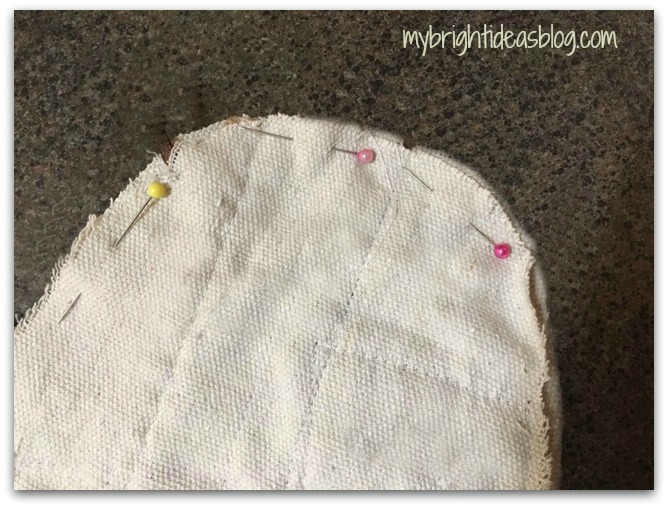
Pin the two heart shaped pieces of fabric together with right sides facing inwards. Sew around the edge leaving a 1 1/2 inch gap opening so you can later turn it inside out.
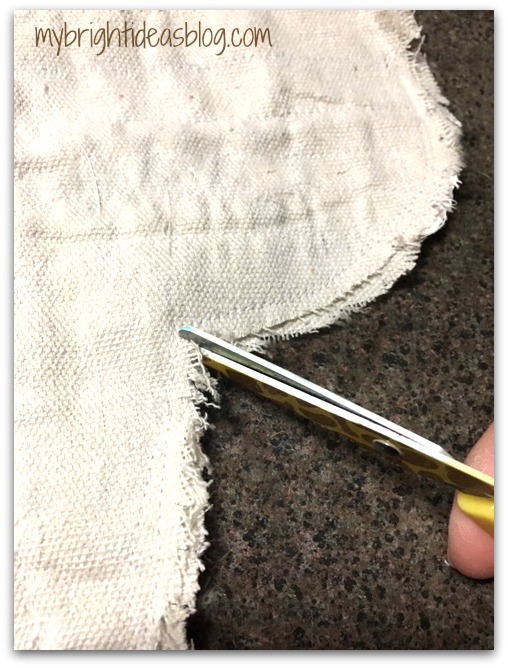
At the top of the heart snip a tiny cut and a few snips around the rounded parts of the top of the heart. Do not cut through the stitched areas.

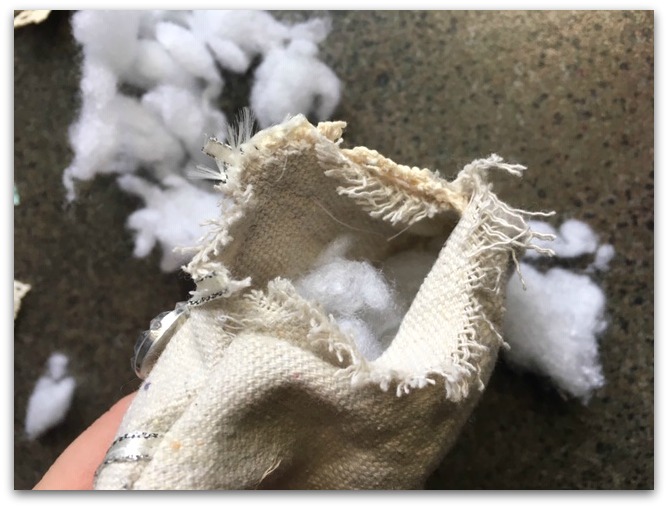
Open the gap and pull the fabric through the hole to turn it inside out.
Add stuffing.
Fold over the edges at the opening, pin in place and hand sew the opening closed.
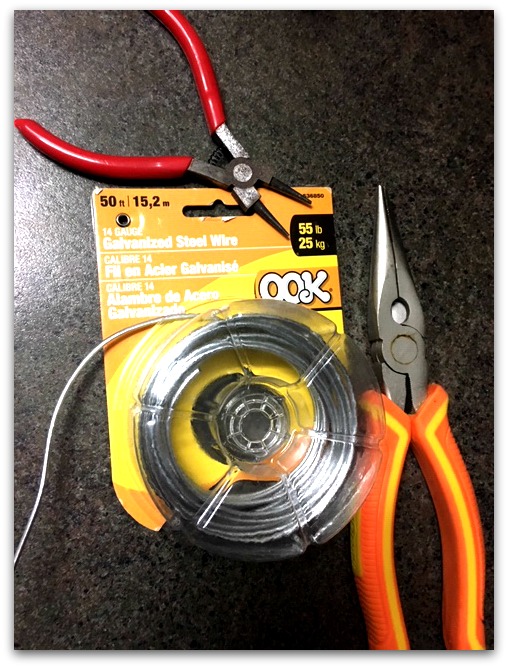
I love wire crafts so I had lots of left overs! For this project I used 14 gauge wire from the hardware store. Use big pliers to cut the wire approx. 8 inches long. Fold the wire in half. (if you don’t want to use wire just use ribbon or twine to hang it)
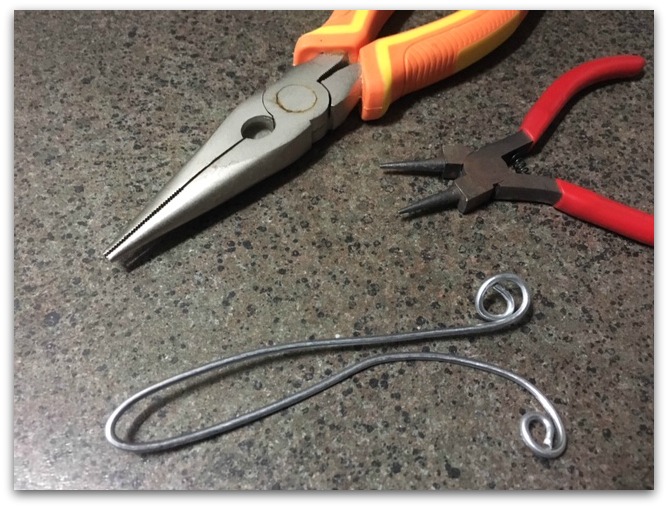
Using round plyers twist the ends into a bit of a spiral.

Hook the ribbon loop around the curled ends of the wire.
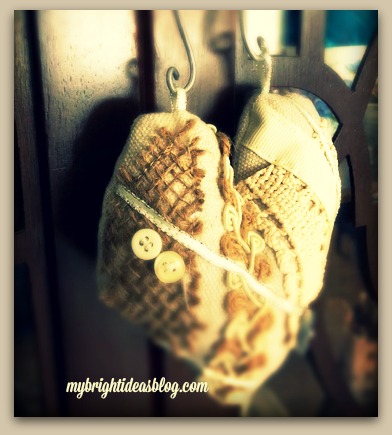
These turned out so pretty!

In the past year I’ve done a few heart shaped gifts and projects. Have a look below!

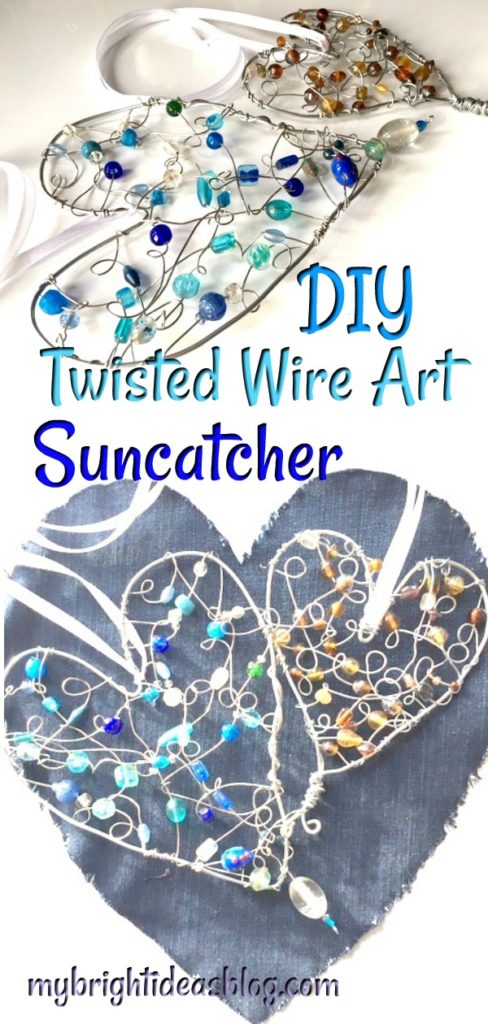
Twisted Wire Art – Love Heart SunCatchers

I have been excitedly pinning all sorts of “Wire Art Crafts” on Pinterest – But for some reason I’ve been nervous to get started….until now! This is my first attempt and I hope there will be many more to come! So let me show you how I made a beaded suncatcher!
You will need:
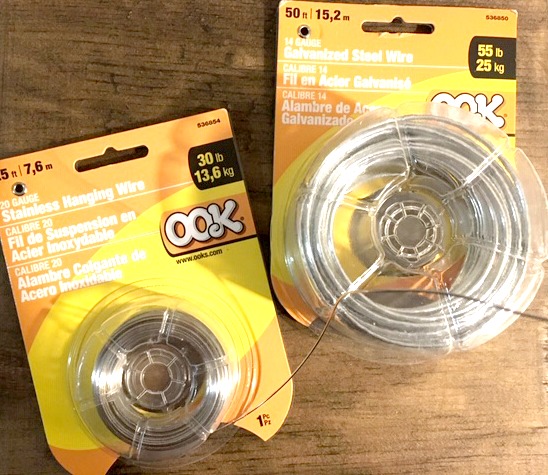
- wire (14 and 20 gauge wire)
- wire cutters
- wire plyers
- beads
- a cutting board or other desktop protection
- ribbon
I recommend a cutting board because I don’t want you to scratch up your dining room table or kitchen counter or any other surface you craft on. Wire projects can leave sharp ends-which can do some damage.
For wire: I bought 14 and 20 gauge galvanized stainless steel. This is much cheaper at the hardware store than the craft store.
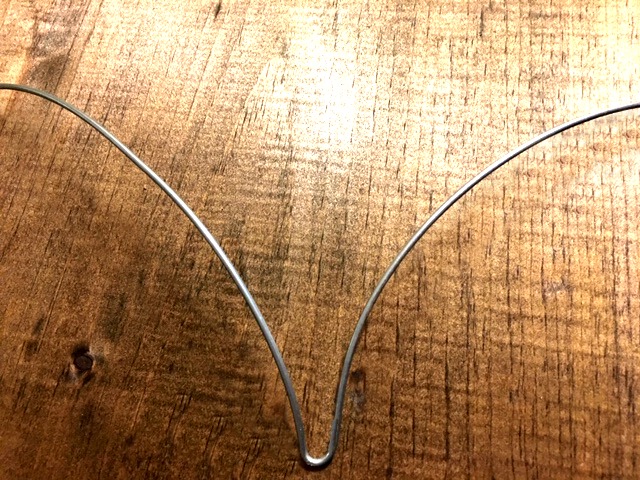
Cut a length of 20 gauge wire approx. 27 inches long (69cm). Use big wire cutters from your DIY tool box rather than jewelry making plyers. 20 gauge wire is thick!
Bend it in half so the heart shape begins to form the point in the top middle of the heart.
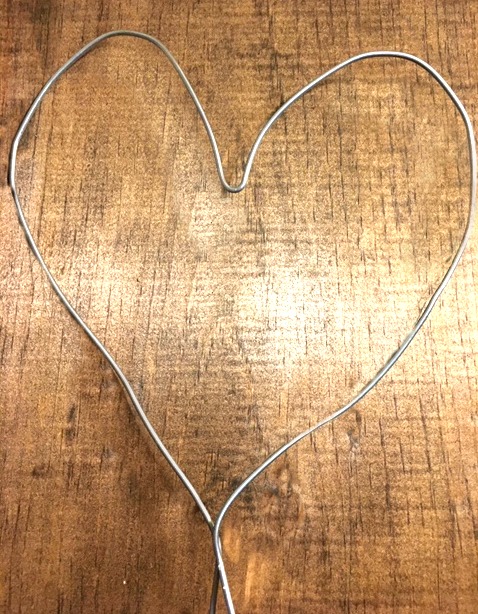
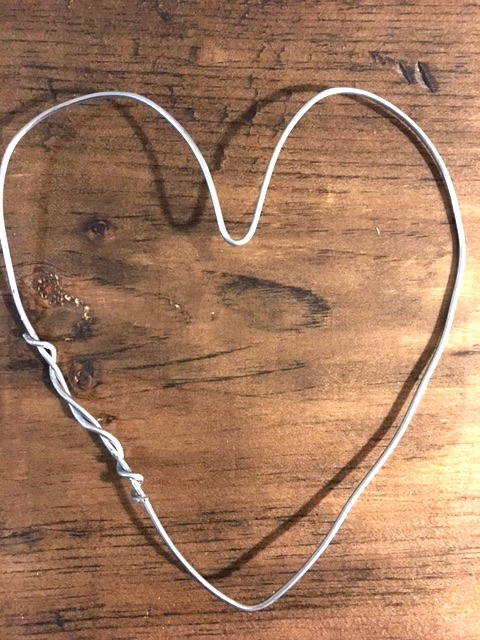
Gently manipulate the wire (with your hands not tools) to make the shape of a heart. Bring the bottoms together and twist.
Keep twisting the bottom and rounding the ends.
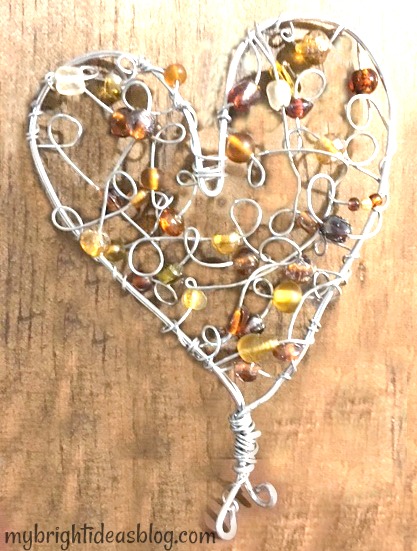
Fast forward to see how the amber one turned out….
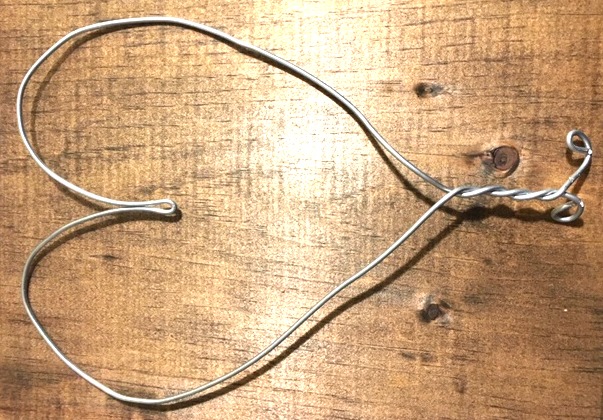
For the blue suncatcher I formed the wire into a heart and wrapped the excess on the side.
This is actually really hard on your hand muscles. Take breaks if you are getting achy muscles in your arms or hands. I think this looks a bit sloppy so I prefer the first option.
Now cut a piece of fine 14 gauge wire 30-40 inches long (90cm).
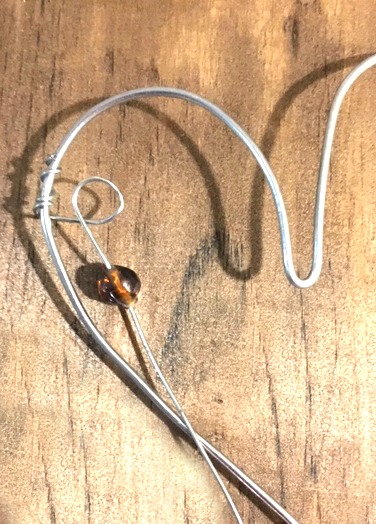
Start by twisting the fine wire around the side of the heart a few times and then wrap the wire around a round pen to make a loop. Slide the bead onto the wire and then make another loop around a pen. Have this loop face opposite direction.
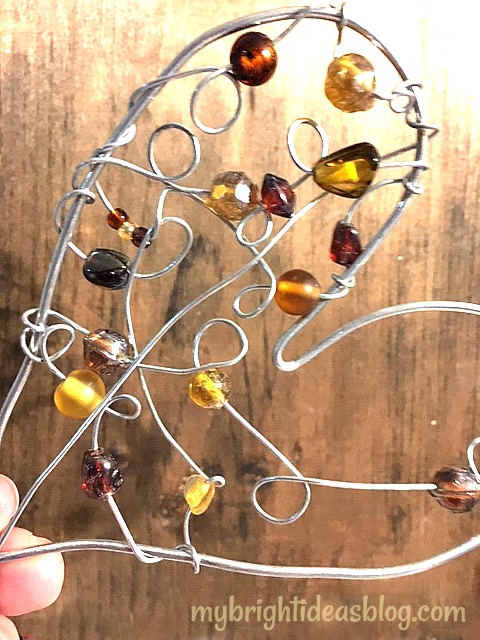
Continue wrapping the wire to make a loop and then bead it and next loop in the opposite direction. Wrap it around the side a few times and repeat making loops and adding beads, zig zagging over the heart. You may need up 3 yards (2.5 m) of wire for this part. This takes a bit of time.
When I finished this one off, I just wrapped the excess wire around the bottom of the suncatcher.
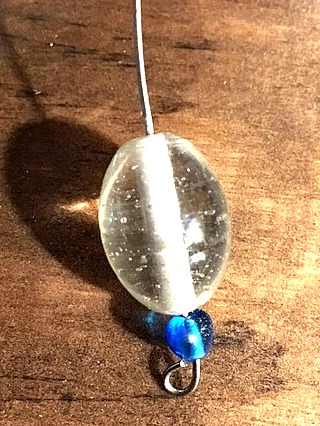
For the blue one I added a drop bead on the bottom. Cut a piece of 14 gauge wire 3 inches long. Twist the end around to anchor a few beads on. Wrap this at the end bottom of the heart.

This is a great project for someone who doesn’t follow patterns well and likes to free style (Like Moi). It’s a random, twisting, original piece of wire art.

Finish the project by putting a bit of ribbon (or clear fishing line) through the top and tying it in a bow. Hang in your window!
I’m pretty pleased with my first attempts at wire art. I am eager to try it again soon!