Looking for a place to put some potted plants in the one window with all the sun. This super easy DIY- Do it yourself project for a shelf that goes over the sink.
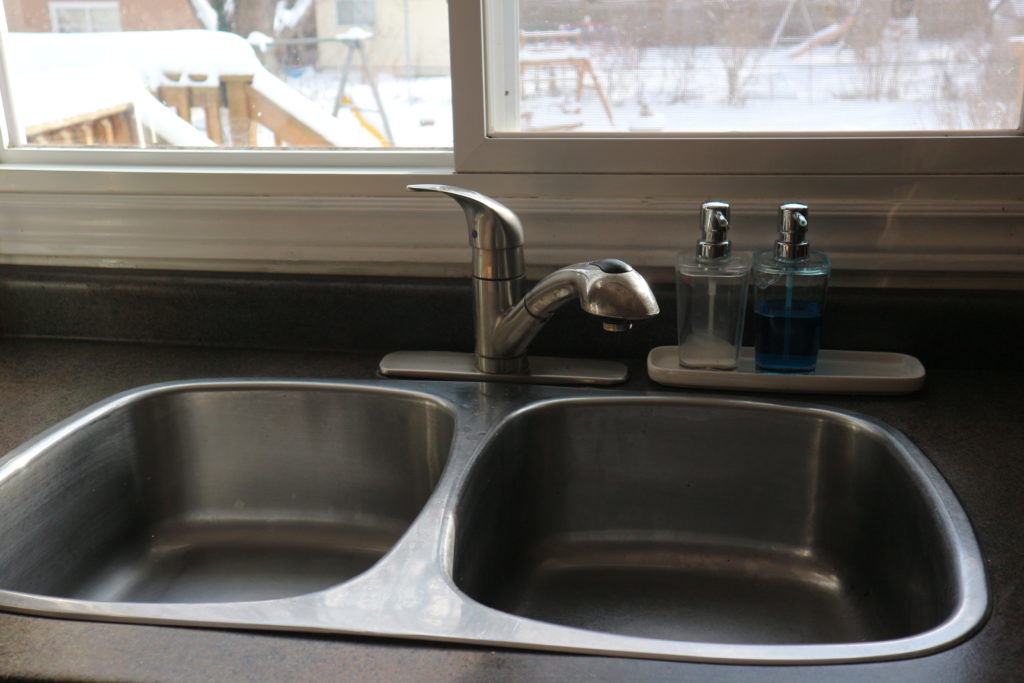
Tidy Sink…But so Boring….
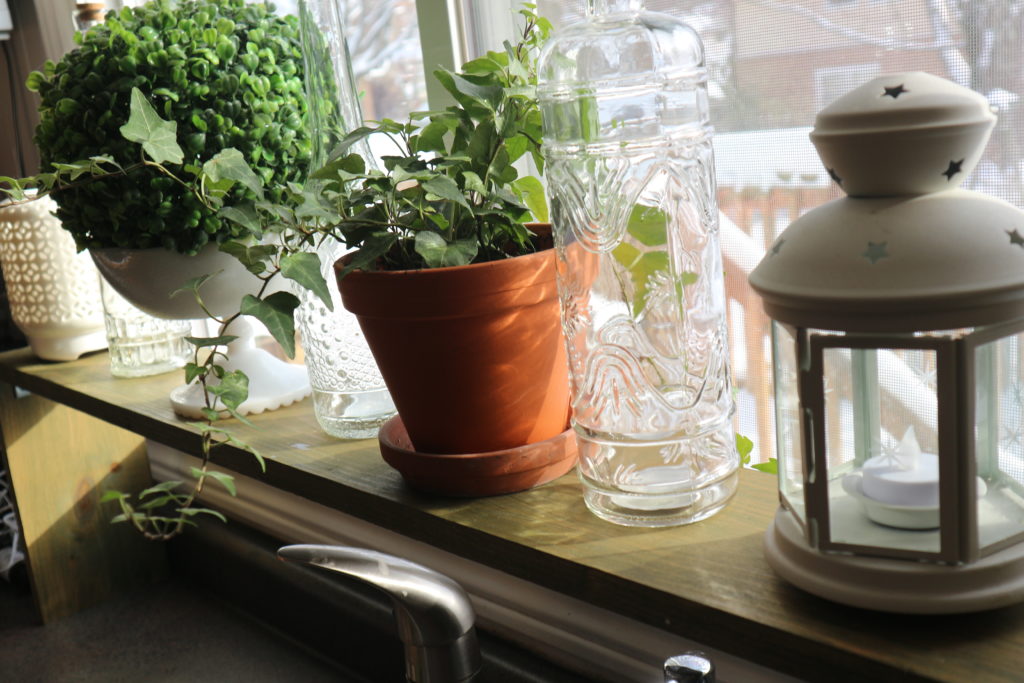
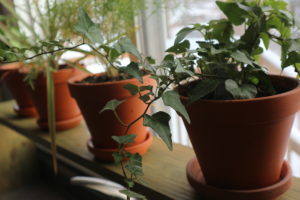
I’m writing this post about a year after I built this and I still love it. Especially in the winter when its the only sign of plant life. I usually put herbs in this window and then in the spring put them on the deck.
All you need is a board of wood and some brackets to attach them and a wood stain.
I cut my board to the size of my window but I could have cut it to the size of my sink instead if I wanted to have less shelf and more counter top. Its important that you figure out what height you need for your sink faucet to function normally.
You’ll need a 1×6 pine board – I cut my pieces 2 at 10 1/2 inches long and 1 at 45 1/2 inches long but you will need to measure your own window and sink widths and height of faucet and make some choices for your own on this.
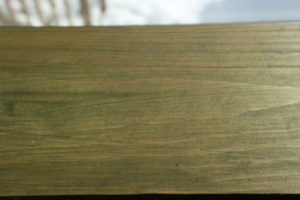
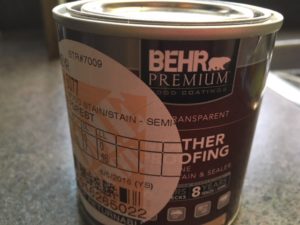
I have wanted to use a green stain on bigger projects but chickened out so I happy to try it on this project and love the results. I used Behr Premium Semi Transparent Wood Stain in the color Forest. http://www.behr.com/consumer_ca/products/wood-stains-finishes-cleaners-and-strippers/behr-deckplus-semi-transparent-waterproofing-wood-stain
The stain instructions say to do 2 thin coats and you can do the second coat within 1 to 2 hours of the first one.
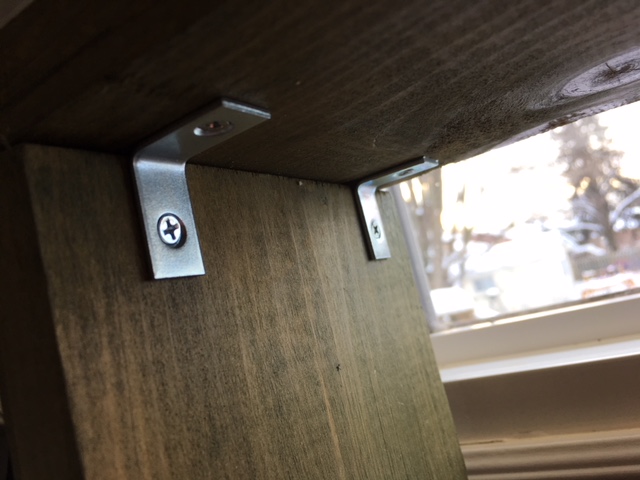
Once the boards were dry I used 4″ L” shaped brackets to hold them in place. You could also predrill and use wood screws if you prefer.
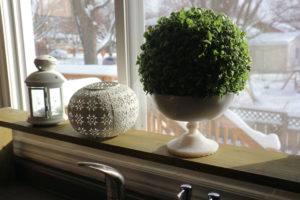
When its all done its just time to decide if you want a collection of herbs in terracotta pots or clear glass bottles or pretty white nic nacs or all of the above.

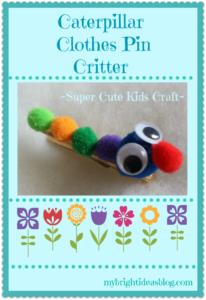
Clothes Peg Caterpiller Easy Craft for Kids!
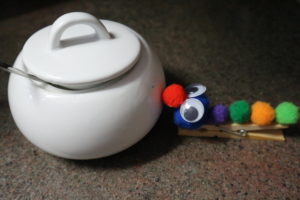
This caterpillar is such an easy project with just a clothes pin googly eyes, white glue or hot glue gun (for heavens sake choose the hot glue-for everyone’s sanity) and pom poms.
This clothes peg caterpillar craft is such a cute little project. It reminds me of a set of little pom-pom fridge magnets my grand parents had on their fridge. Their names were Henry and Henrietta. They were just as simple, pom poms and googly eyes and a fridge magnet glued on to the back.
You will need small pom poms and a big one for his head. Five or so small pom poms for his body and nose, googly eyes and glue.
It turns out that gluing pom poms takes a lot of glue and they are still not on tight. Its a frustrating project. So if you are working on this with a toddler when they have lost interest move it aside and at nap time hot glue the pieces on firmly. If you glued magnets to the clothes pin you’d have a cute fridge magnet.
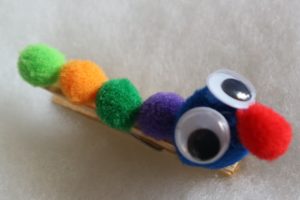
I think he looks very smart! He’s a clothes pin so he could be holding up artwork that is trying from a clothes line.
He kind of reminds me of the very hungry caterpillar book.