
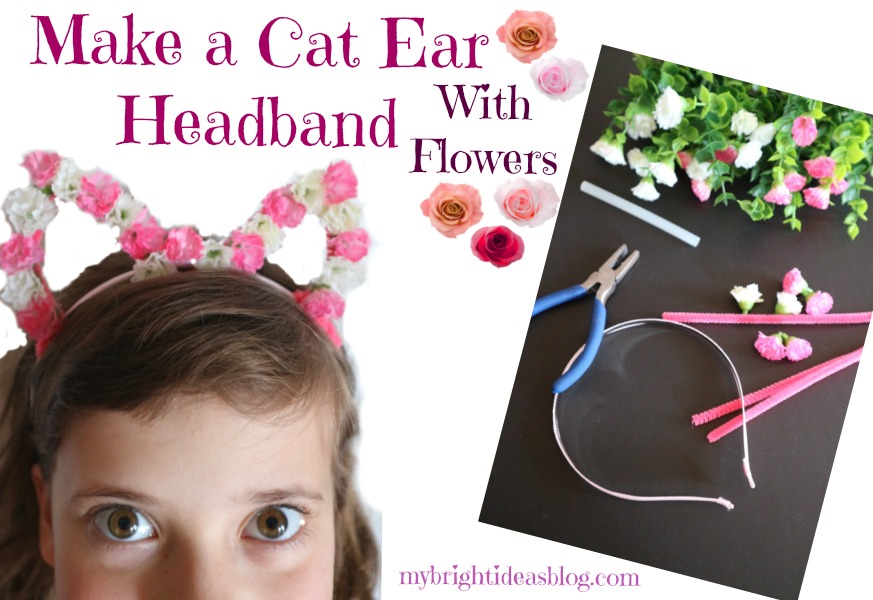
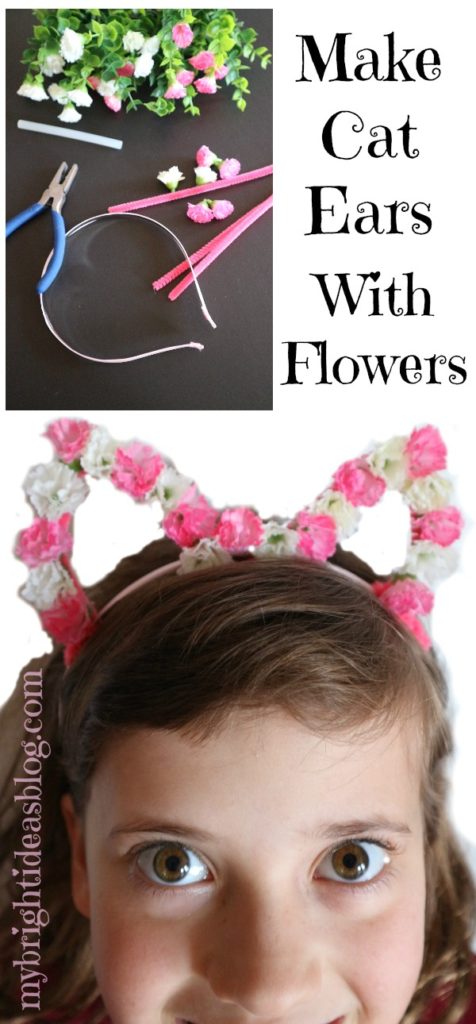
My kids tell me that cat ear hairbands are what everyone is wearing to school. So make one that is springy with flowers and pipe-cleaners. You will need:
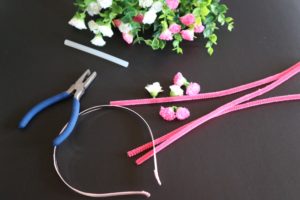
Artificial plants with small flowers, a plain hairband, 2 matching pipe-cleaners, hot glue gun and scissors.
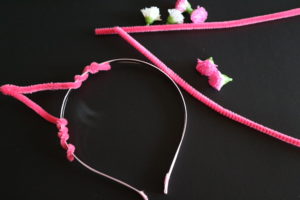
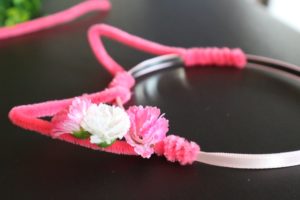
Use one pipe-cleaner to make each cat ear, wrap the wire tightly then use plyers to pinch it tight so it doesn’t poke you in the head.

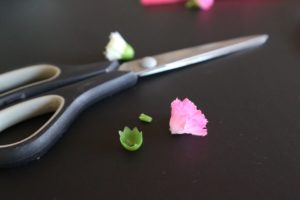
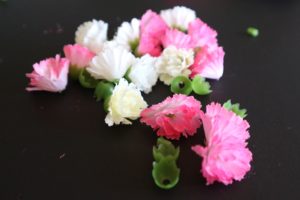
Pop the flowers off the stems and trim off the little green nub. This will make the flower sit flat when you glue it on but it will also make the flower fall apart a bit so put a dot of glue on the flower and attach the green plastic end back on. Then glue the flower into place.
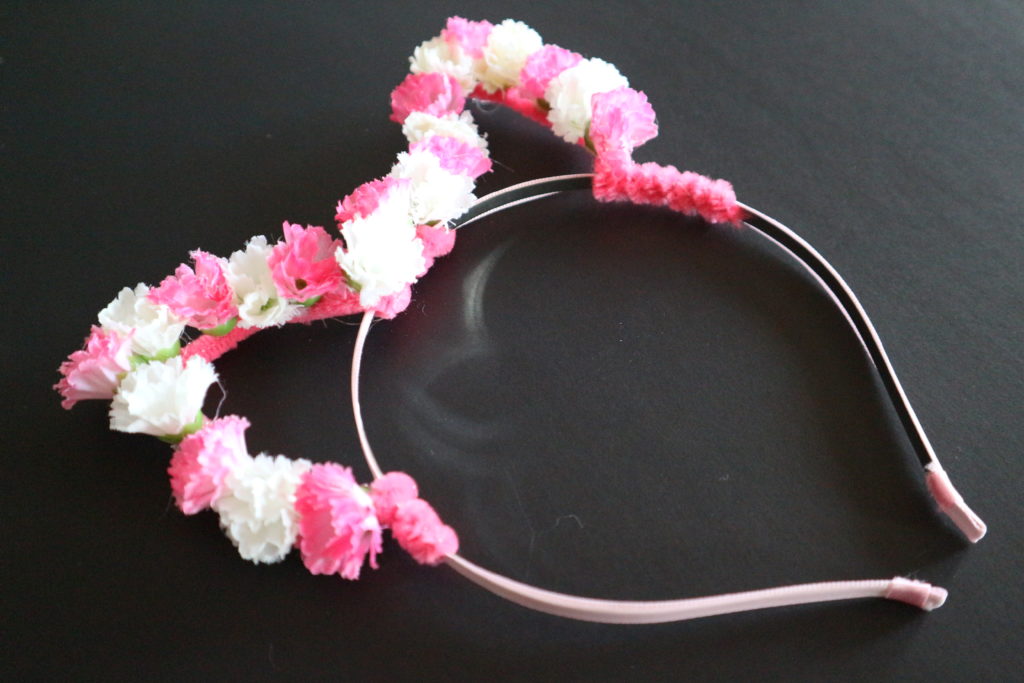
Remember to pull all the glue strings off from the hot glue gun. I always miss some! This would make a fun project for a girls playdate or visit to grandma’s. Have fun!
….

How to Sew an Easy Fleece HairBand
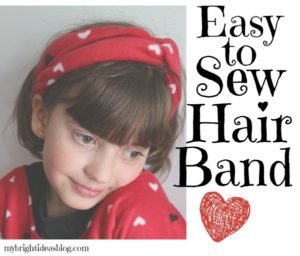 Anyone can make this!
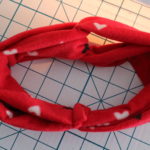
This super cute hairband was made from a left over piece of fleece from a poncho project Fleece Poncho Top in photo found at this link: http://mybrightideasblog.com/?p=218&preview=true
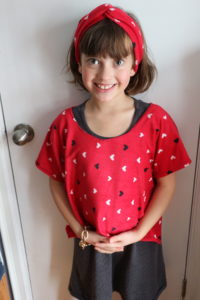
Miss M and I made her first sewing project the fleece poncho and with a few more minutes sewed up the co-coordinating headband.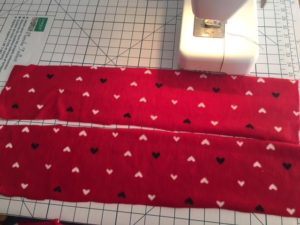
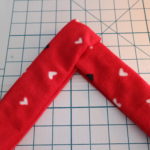
For a 7 year old head we cut 2 strips of fabric 5 inches by 20 inches. For an adult sized head cut 6 inches by 22 inches strips of fabric.
Fold each strip in half to lengthwise (right sides together) to form a tube and sew a seem.
Pull the end through the tube to turn it right side out.

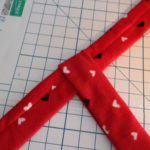
Lay one strip on the bottom with seam facing up. The other lay on top with the seam facing down. Fold the bottom one in half.
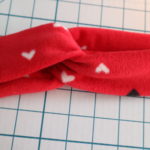
Fold the top one in half. Pull the ends even. Now its starting to take shape. Try holding it in place to see how if fits.
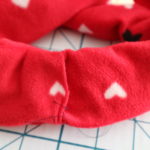
I tucked the ends of the right side into the left side and folded under the edge so it wouldn’t have any raw edges showing. Sewing a line across all the layers is a little tricky. Fleece or jersey-t-shirt material can be used and is very forgiving for sizing. You could use this idea for re-purposing old clothes.
