

This fleece hat project is so easy and fast! You’ll have a new winter hat done in 20 minutes. Then I will show you how to make a simple flower applique. The weather is getting chilly now so this is just the thing to make for yourself or a gift for someone else.
You will need:
- a small amount of polar fleece fabric (10 x 26 inches )
- scraps of fleece from other projects in co-ordinating colors (1-2 inch wide x 12 inches long)
- sewing machine
- scissors
- needle and thread
This hat is made up of 6 long triangle panels.
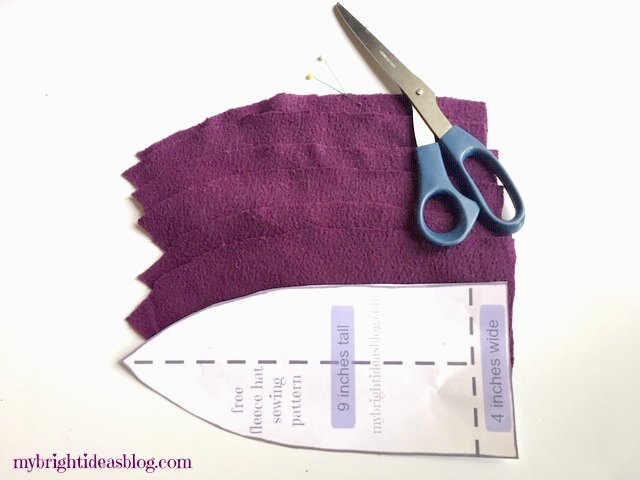
Cut 6 identical pieces from the template below out of fleece.
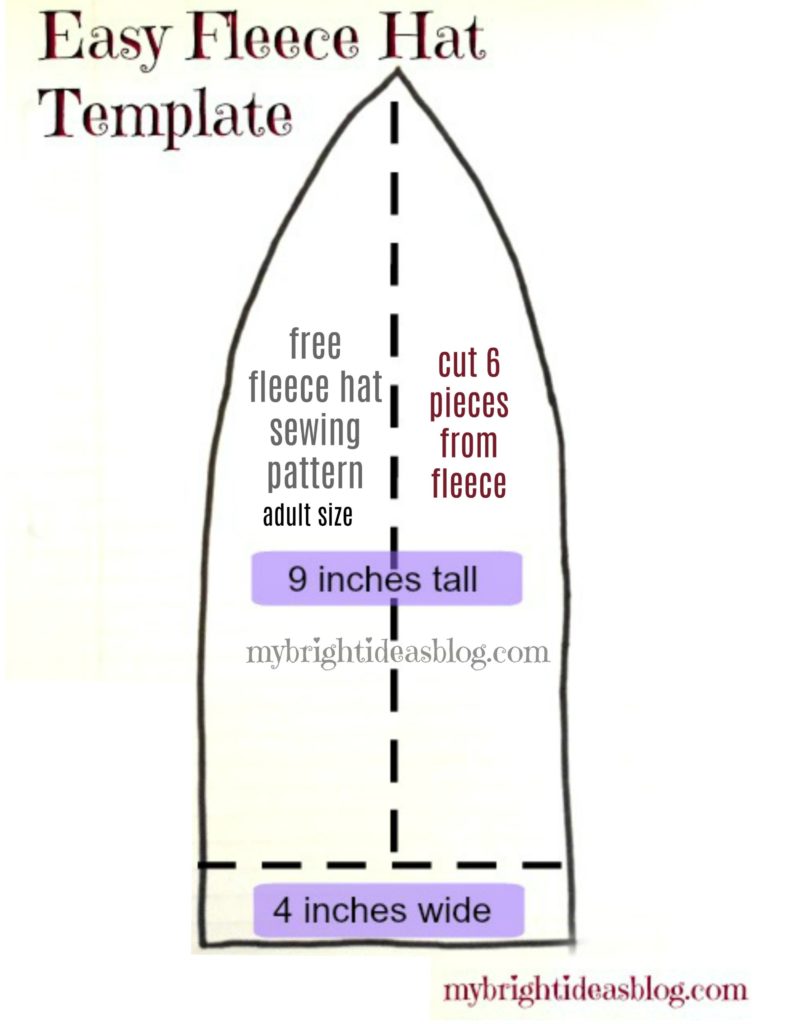
Right click on the photo above and save to your computer. This should print out to the right size on regular 8.5 x 11 computer paper.
Sew the first 2 pieces together (with right sides together).
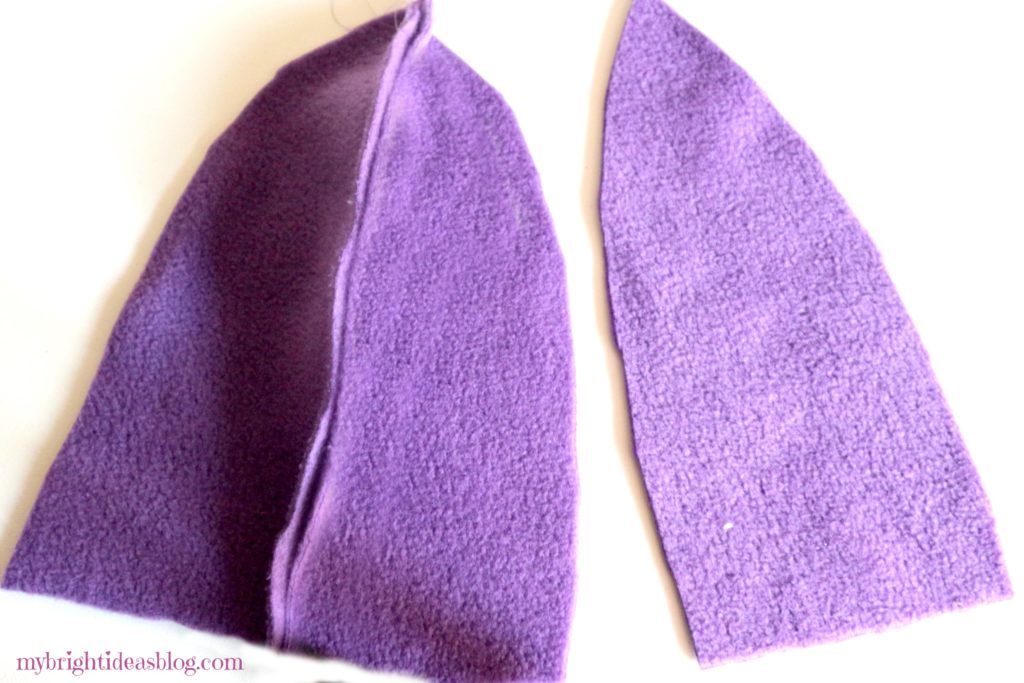
Pin the third section of the hat in place next to the first two pieces and sew it. After the three pieces are sewn together set this aside.
Repeat these steps with the other 3 sections.
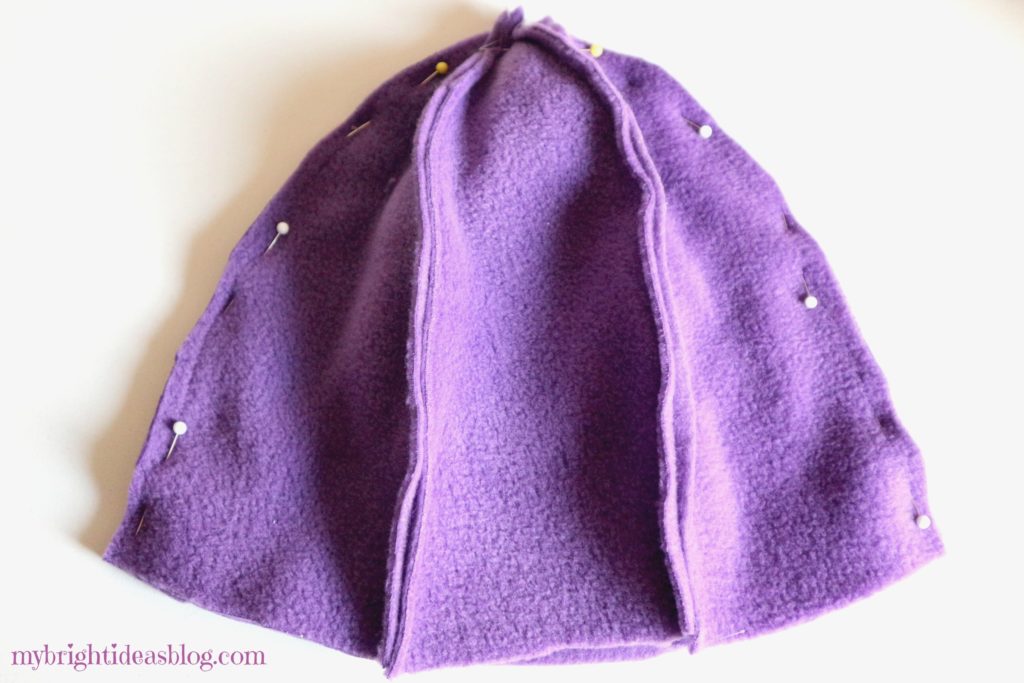
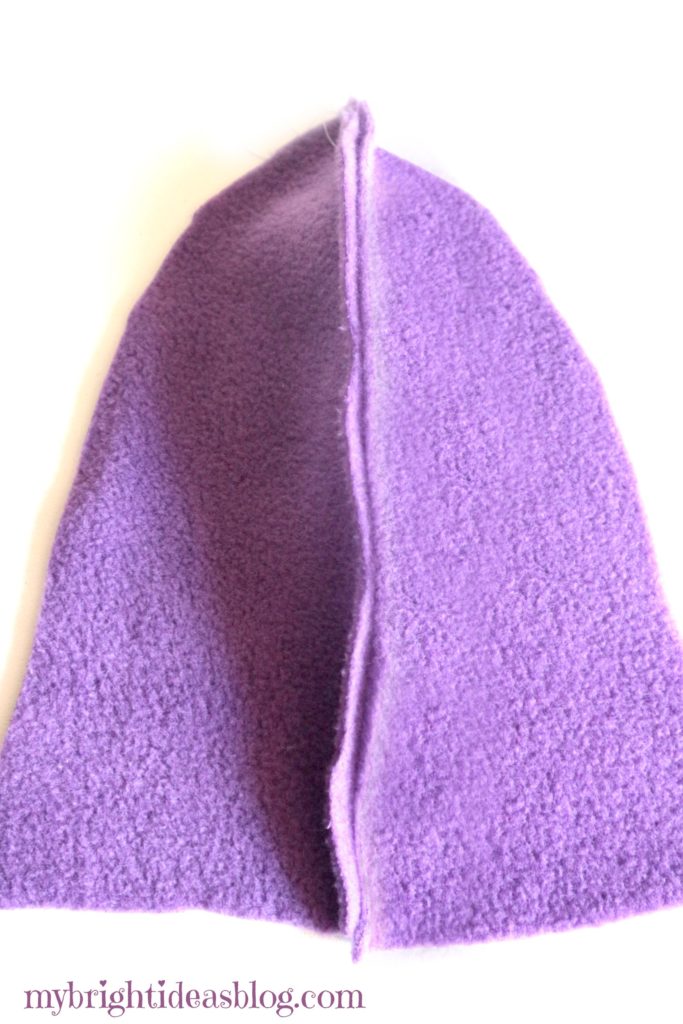
With the right sides together, pin these two halves together. Sew all the way around the top.
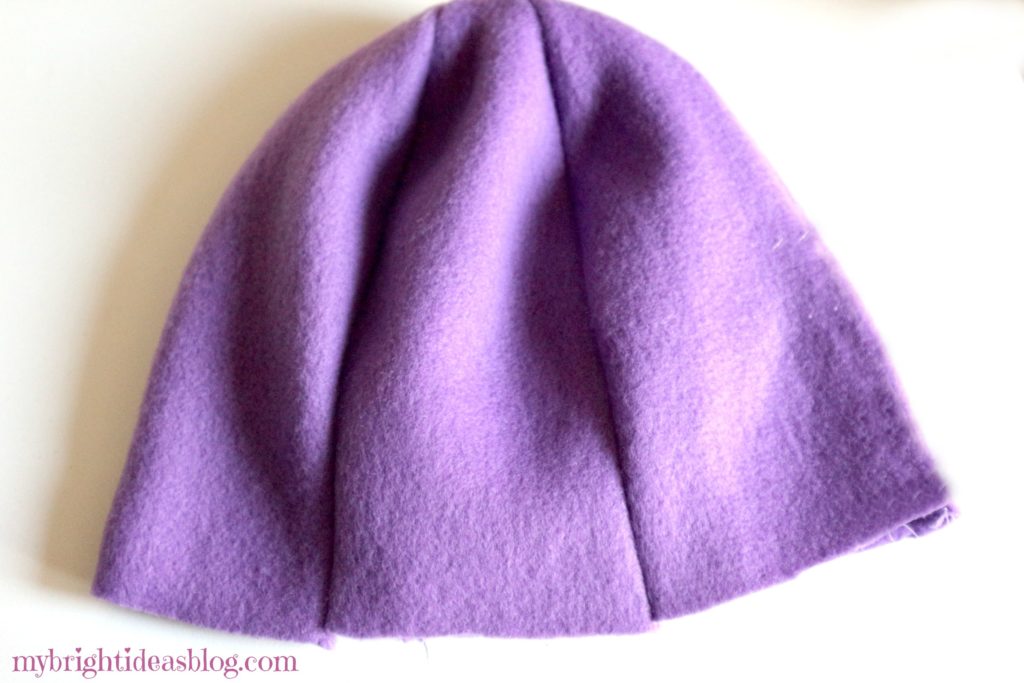
Turn the hat inside out and try it on. Determine how wide the hem should be. If the hat seems too long for you, simply cut 1/2 an inch off the hem and try it on again. Fold the bottom inwards to hem and pin in place.
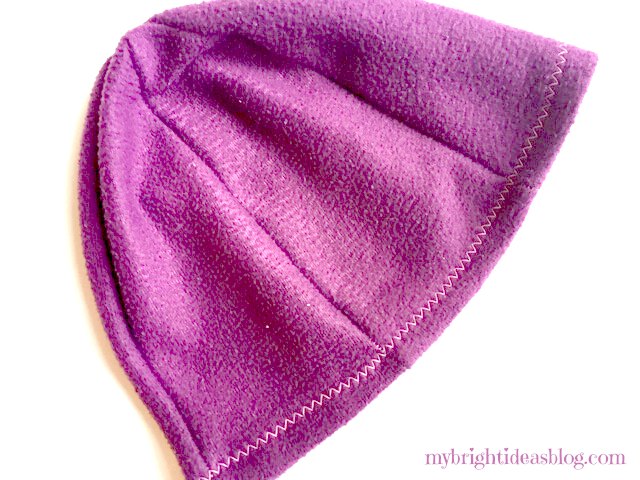
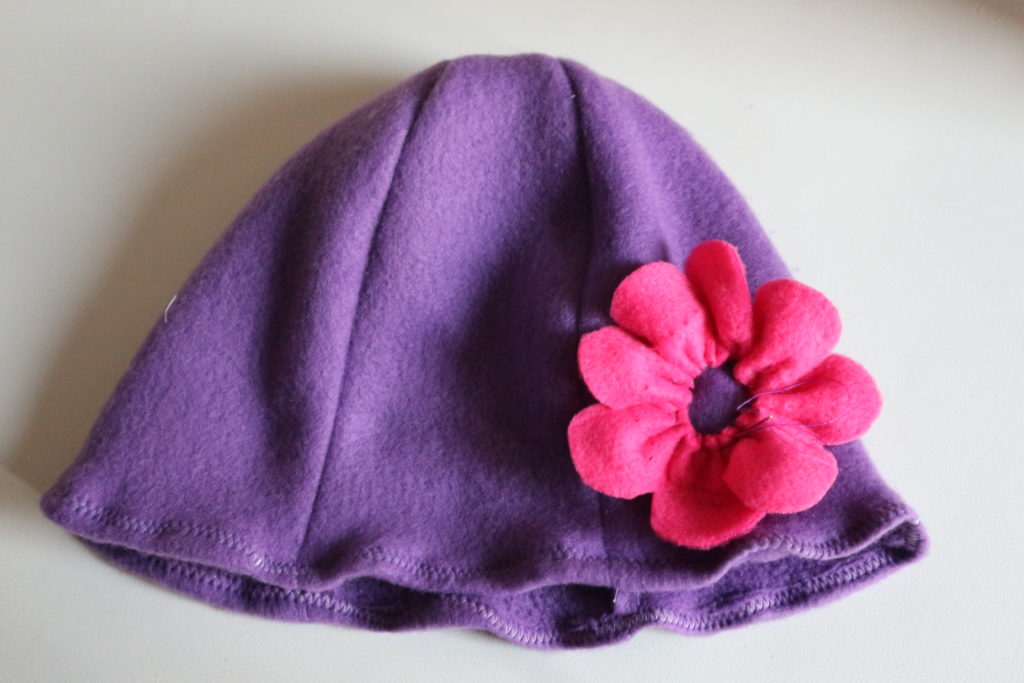
On this hat we folded the bottom over 1/2 inch and did a zig zag stitch all the way around. When your fold is wide, your zig zag hem lays flat. As the photo above shows.
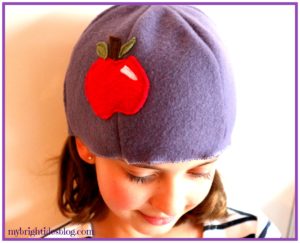


On these three photos of my daughter wearing different hats – the hem was shorter so the zig zag stitch was closer to the edge and it did look quite wavy. I like both ways.
The Flower Applique
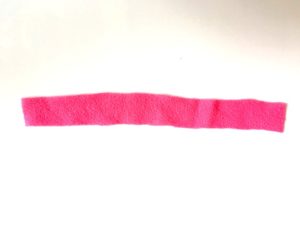
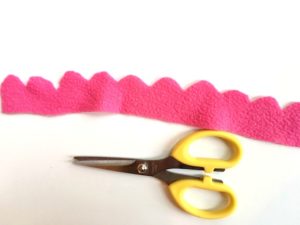
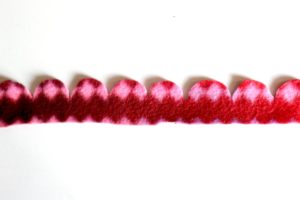
We cut a strip of fleece 1 and 1/2 inches wide by 12 inches long. Then carefully cut a rounded pattern to make the flower petals.
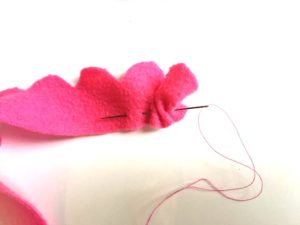
Thread a needle with a knotted length of thread and begin to do a loose baste stitch across the bottom of the petal strip of fleece.
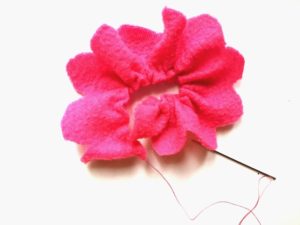
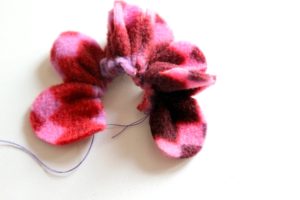
Gently pull the thread to gather the pleats. Set this part of the flower aside for now.
Cut another length of fabric 1 inch by 12 inches long. This will be an inner layer of petals so its a bit shorter than the first. Baste this as we did with the previous flower petal section. Pull the thread to gather the fabric and set this aside too.
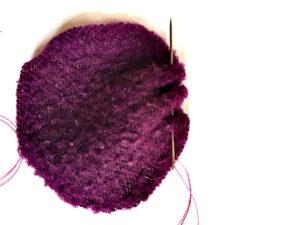

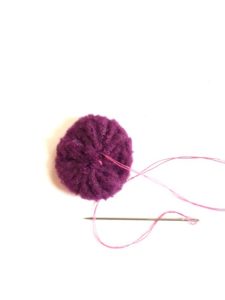
For the centre of the flower cut a circle 2 inches in diameter. I traced the vitamin bottle to make the circle. Baste around the circle and pull the thread to gather the edges. When it’s pull closed put a few stitches to keep it tight.
Adding the Flower Applique to the Hat
Attach the pink petals to the hat with a few stitches. As you sew this on you can adjust the petals to the desired size of the flower. Next add the inner layer of flower petals into place and stitch that into place. Lastly, sew in the centre piece, with the gathered part facing the hat. Secure this and your hat is done!
I hope you get a chance to try this easy sewing project. I’m working on making pattern sizes for children and babies. I hope to add these to the post too.
Pin or share this with your favorite social media!

Sew a Super Easy Fleece Poncho-Simple Starter Sewing Project

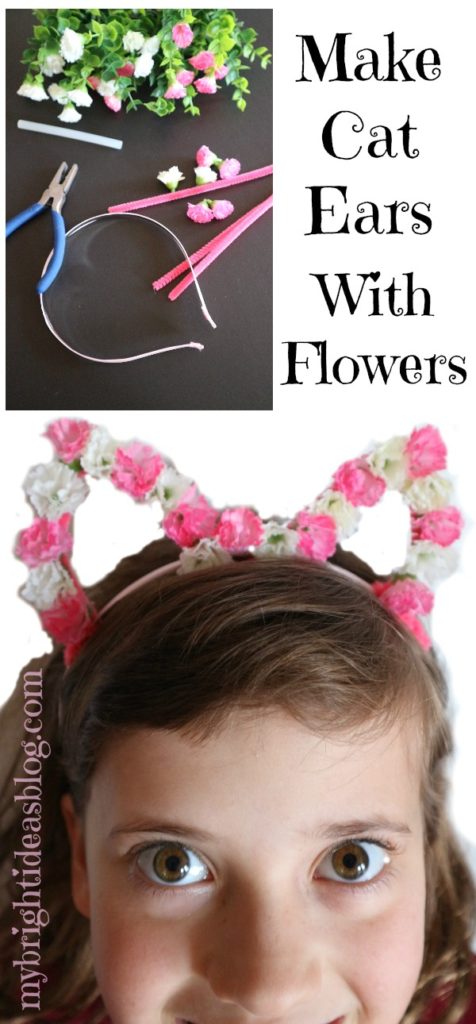
Easy to Make “Kitty” Cat Ear Hairband with Flowers
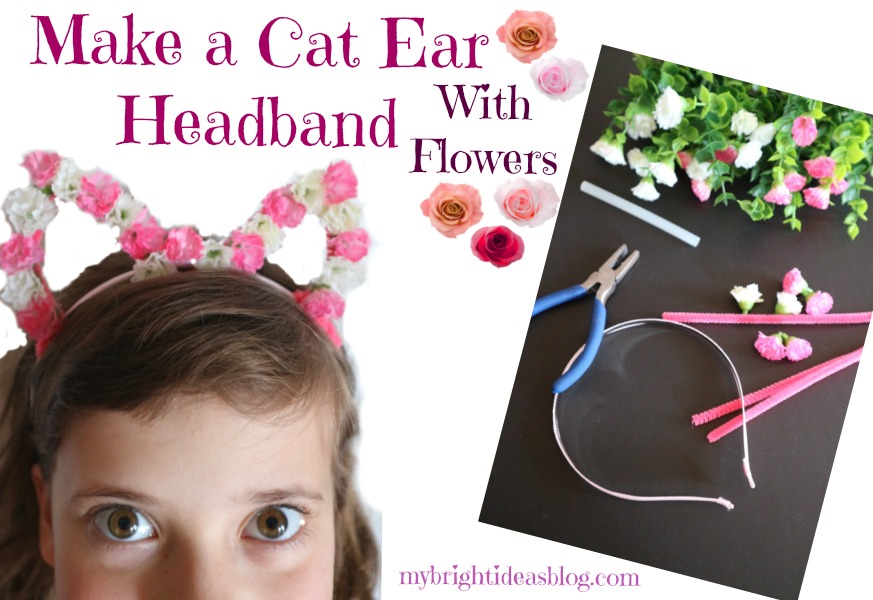
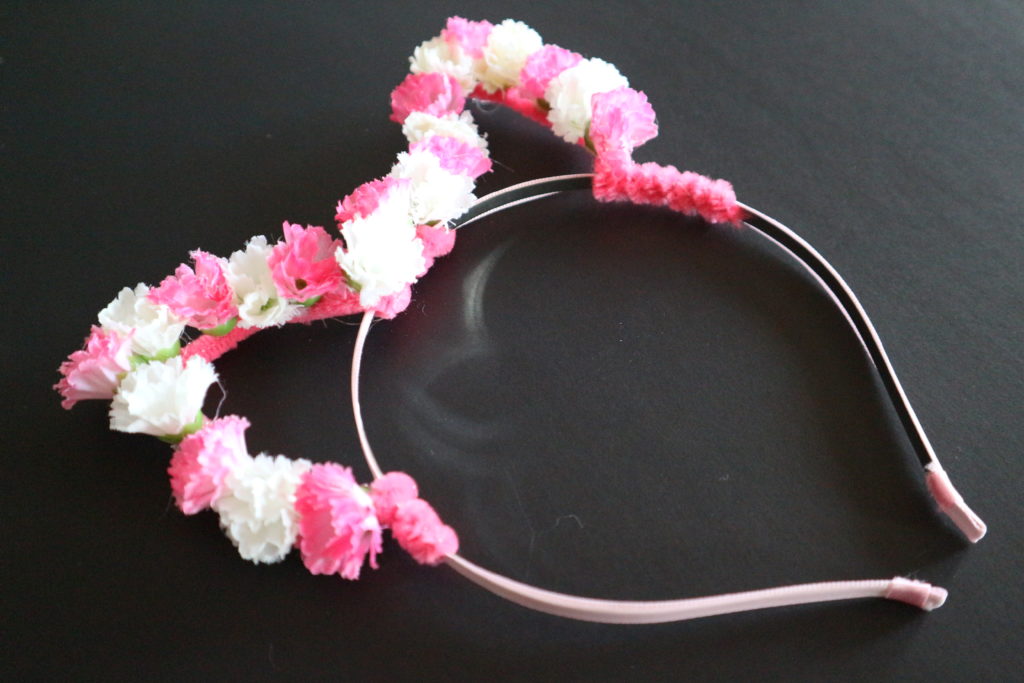
My kids tell me that cat ear hairbands are what everyone is wearing to school. So make one that is springy with flowers and pipe-cleaners. You will need:
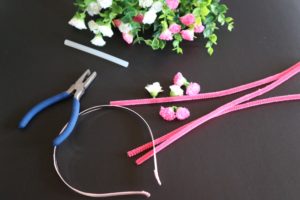
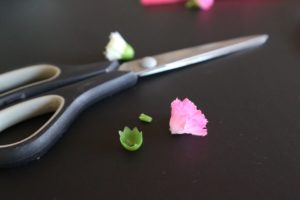
Artificial plants with small flowers, a plain hairband, 2 matching pipe-cleaners, hot glue gun and scissors.
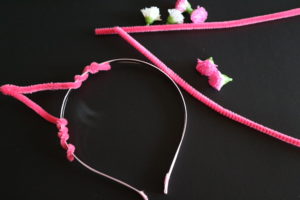
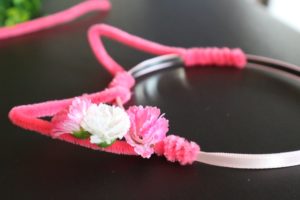
Use one pipe-cleaner to make each cat ear, wrap the wire tightly then use plyers to pinch it tight so it doesn’t poke you in the head.

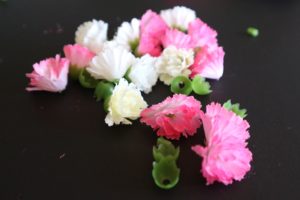
Pop the flowers off the stems and trim off the little green nub. This will make the flower sit flat when you glue it on but it will also make the flower fall apart a bit so put a dot of glue on the flower and attach the green plastic end back on. Then glue the flower into place.
Remember to pull all the glue strings off from the hot glue gun. I always miss some! This would make a fun project for a girls playdate or visit to grandma’s. Have fun!
….

Celery Flower Painting – Easy Kids Craft
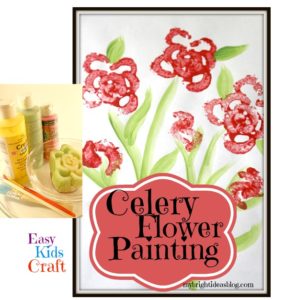
Do you remember doing potato paintings when you were a kid? I sure do and this is a new spin on it CELERY PAINTING! It creates a fun, flowery sort of painting. This craft is so easy a toddler could do it…and it will actually look quite nice in on the fridge.
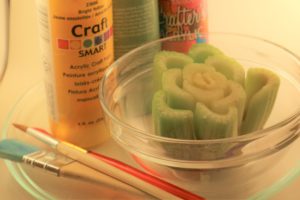
You will need paint, brushes, plain paper and celery cut off close to the bottom or if its another part of the bunch of celery put an elastic around it so it doesn’t all apart.
Start out by brushing some green flower stems onto the paper.
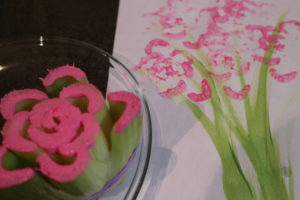
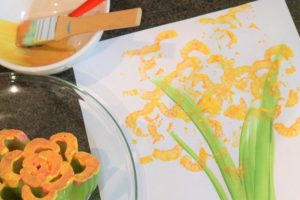
Paint the flat ends of the celery with your brush to make sure every end gets covered with a light coat of paint for a lighter effect like the yellow and pink roses above.
For a more defined flower use a sponge brush and a lot of paint and push hard on your celery to really put the imprint on. I pulled off two of the outer celery stalks and tried to make some rose buds also.
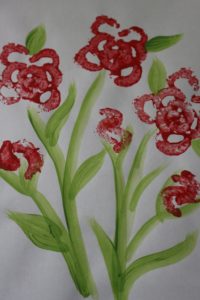
With a bit of help your toddler could have a lot of fun with this. An older child cold make something quite pretty for a gift to take to grandma’s house….you could even put some sparkle glue in the flowers after the paint has dried.