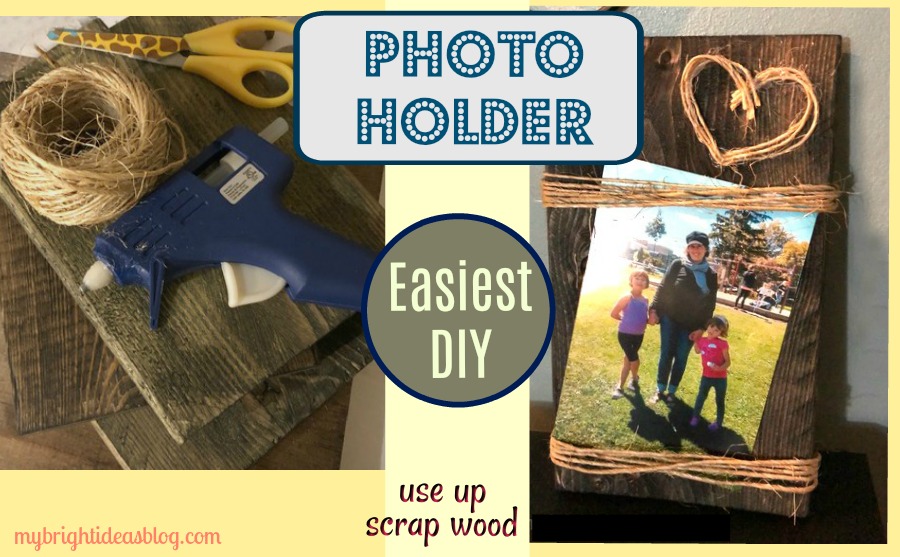
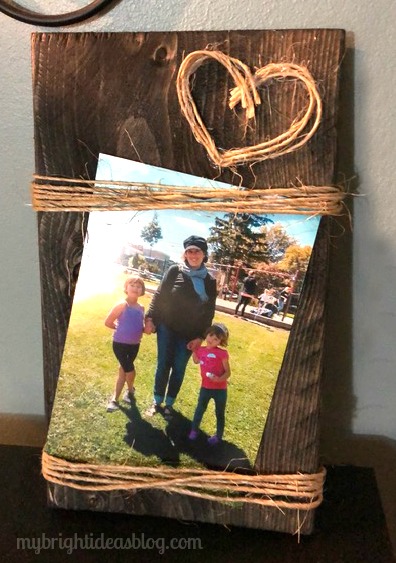
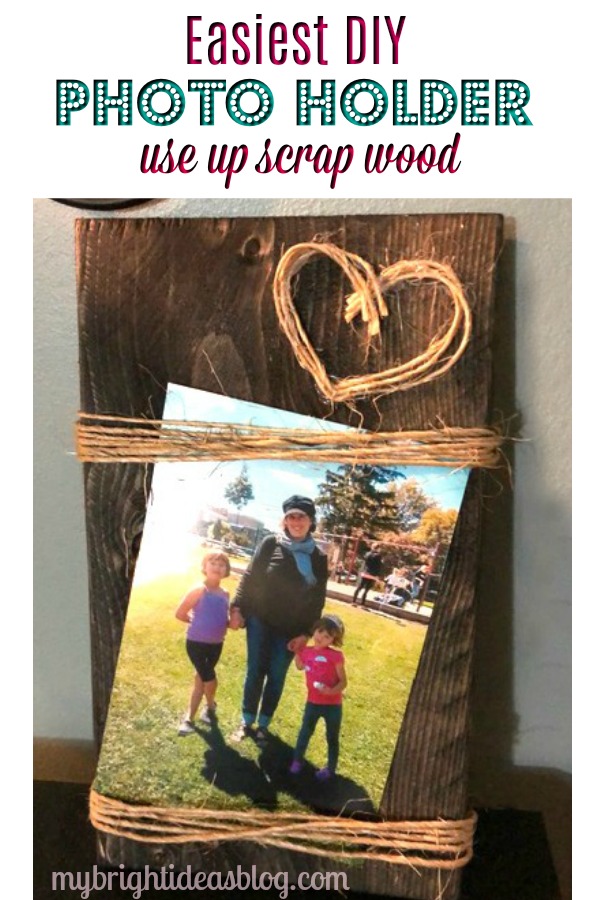
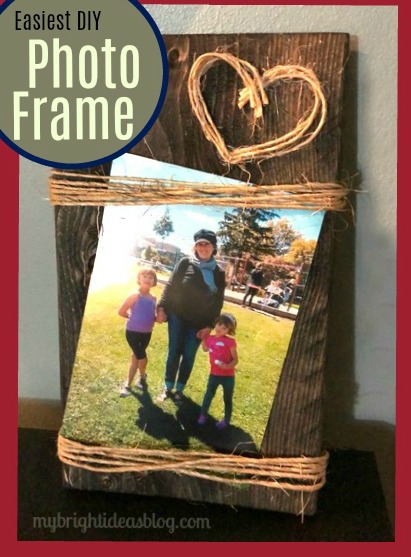
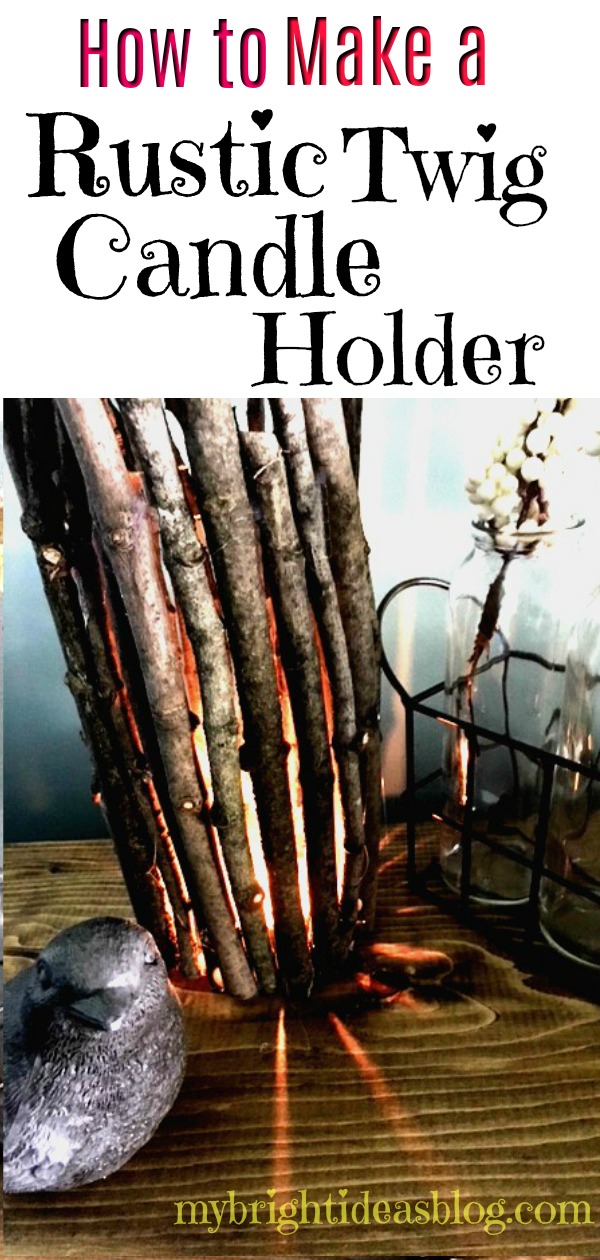
Let’s make a 5 minute craft that looks great-a rustic picture frame that holds a typical 4×6 photo.
Before the winter weather came in our direction I planned ahead for winter crafts by cutting up scraps of lumber and coating it with a bit of dark wood stain. You never know what sort of crafts could use a bit wood and hot glue gun. I’ll post some other wood scrap ideas at the bottom of the post.
Rustic Wood Photo Holder
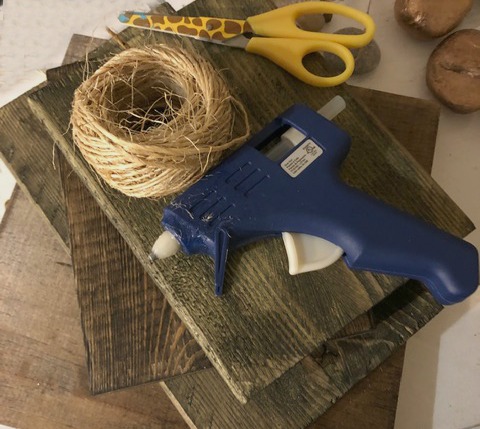
You will need:
-
- a scrap of wood approx. 5 inches by 9 inches
- walnut wood stain
- rag
- basic twine
- hot glue gun
- ruler
- picture hook or eye screws
- 4×6 photo
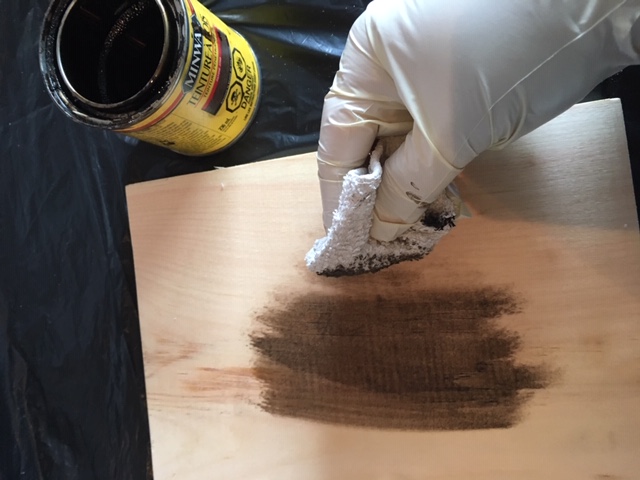
The piece of wood I used was a 1×6 board originally. In actuality its more like 5 1/4 inches wide and 9 1/4 inches long (13cm x 24cm). Use what ever you have this doesn’t need to be exactly the way I did it.
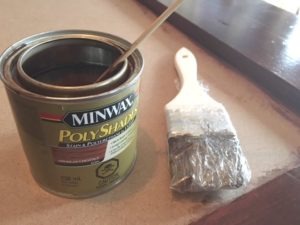
Stain the wood with a rag dipped into a dark brown stain such as Minwax Walnut or Jacobean.
After the stain is dry, choose the better looking side to be the front. Turn it over and using a hot glue gun, glue the end of the twine to the back of the wooden board approx. 1 inch from the bottom.
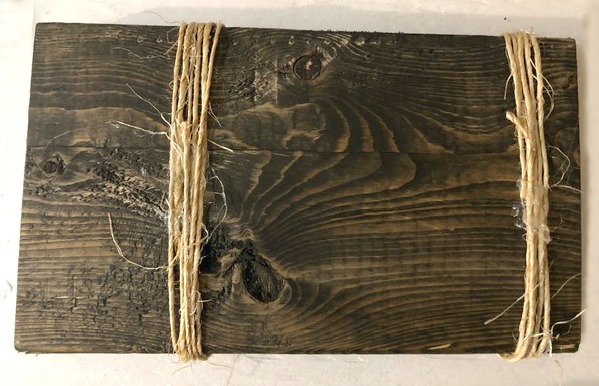
Wrap the twine around the board approximately 5 times keeping it fairly tight and adding more hot glue to secure each line of twine.
Repeat again 5 and 1/2 inches away from the first twine wrapped section. Have a 4×6 photo handy to test out the distance you would like the top and bottom of the photo.
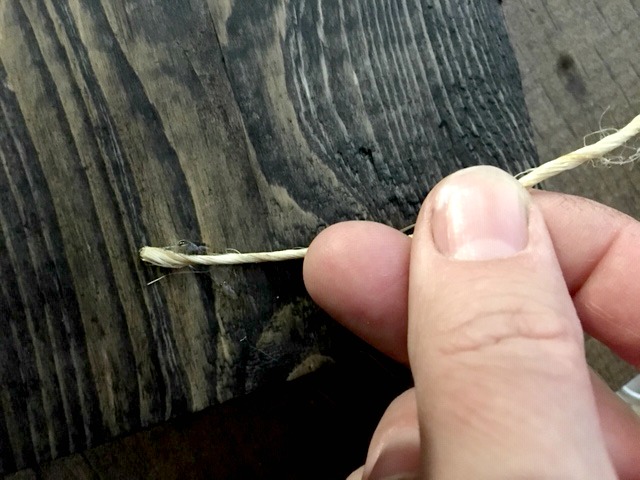
Take 2 or 3 strands of twine and cut to 7 inches long.
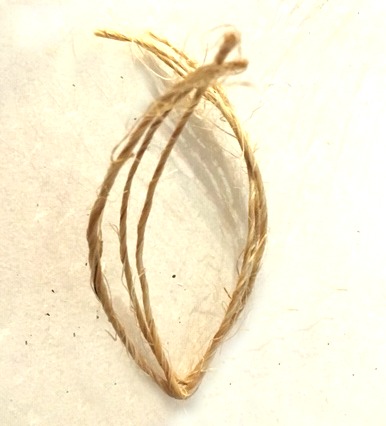
Bend the twine in half so there is a point for the bottom of your heart.
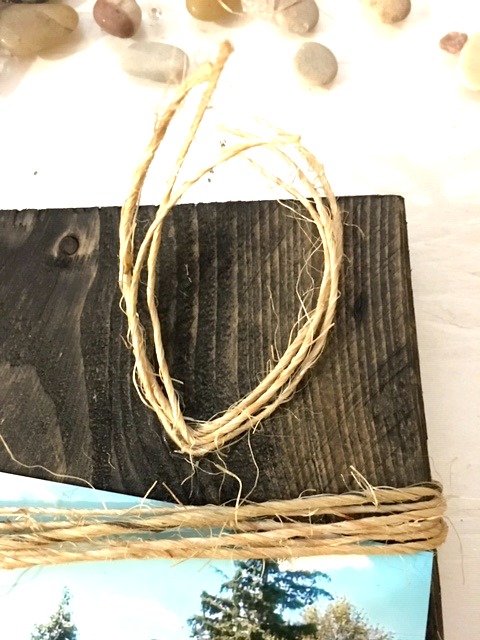
Add a dab of glue to the bent area of the twine and secure it onto the board. I added to the top right.
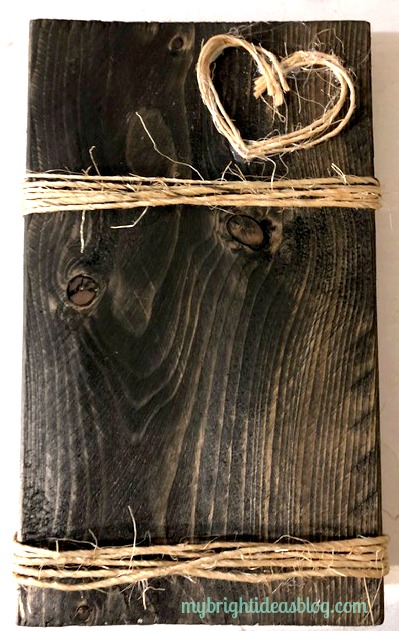
Add more small dabs of glue at the top of the heart. Use very little here because we don’t want it to dribble and show on the finished side.
If you would like it to be able to hang up on the wall you could hammer in a picture hook. Another option is the screw in eye hooks and tie more twine or jute rope to hang it up.
Add a special photo and give it as a gift.
I put this on the craft table at work and it sold right away! Fortunately, I have a stack of wood ready for more crafting. See the links below for more ideas for how to use up the little pieces of wood you have in your cut off scrap pile.
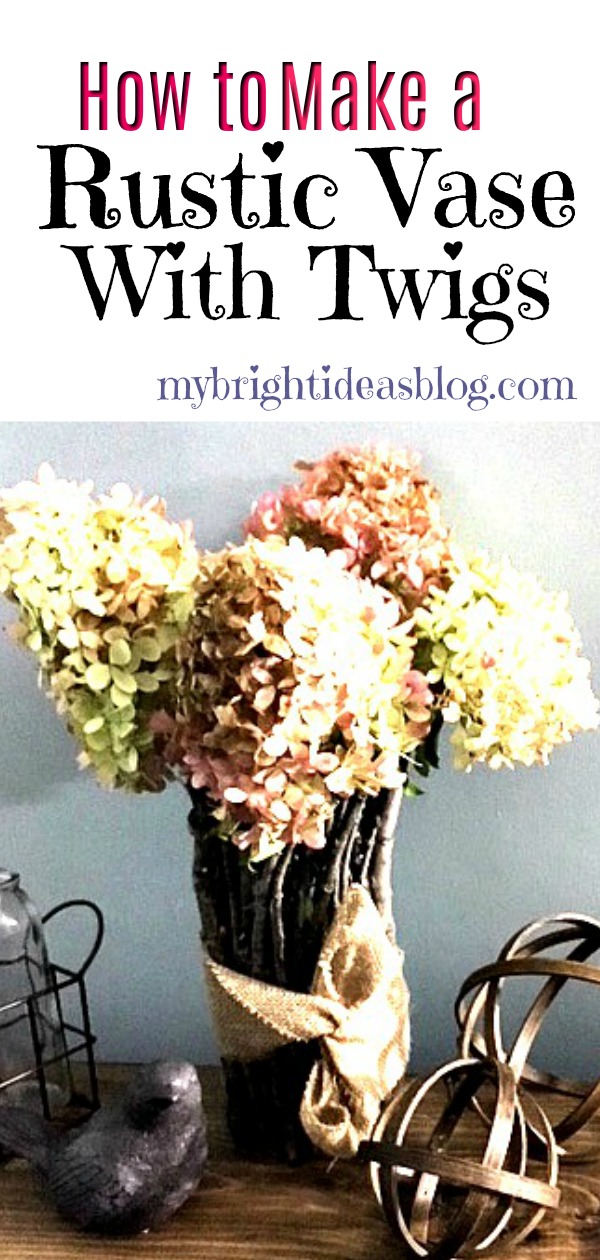
Make a Twig Vase – Super Easy DIY!
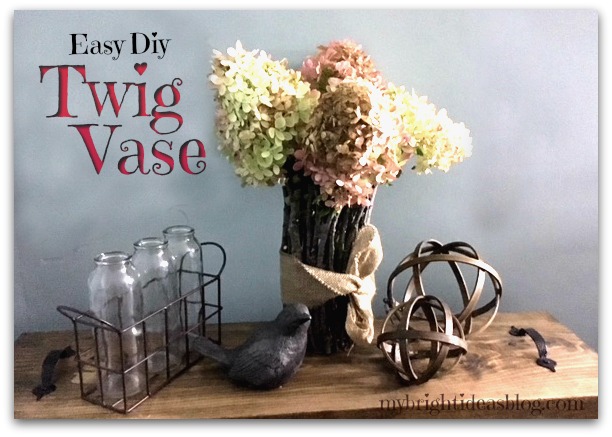
Here is a super easy, super rustic, super pretty twig vase! I am loving using twigs and sticks in crafts. It’s free! It’s also time to do some trimming in the backyard gardens so I get the job done and a craft project to do when the work is done!
You will need:
- an inexpensive straight vase
- twigs
- snips
- hot glue gun
- 6 or more hot glue sticks
- burlap or raffia
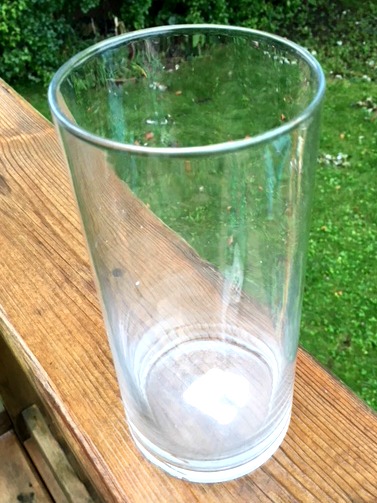
First, choose your vase. If you don’t have a tall straight vase already in the back of your cupboards then pop over to the dollar store, or a thrift store you will definitely find them there. I had this vase on hand. The Dollarama sticker was still on the bottom. $1.25. That is the total expenses on this craft if you already have the glue gun and glue supplies.
I love me a cheap craft!
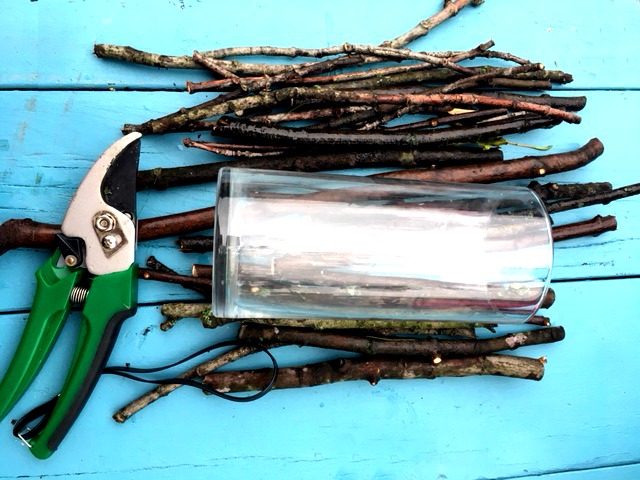
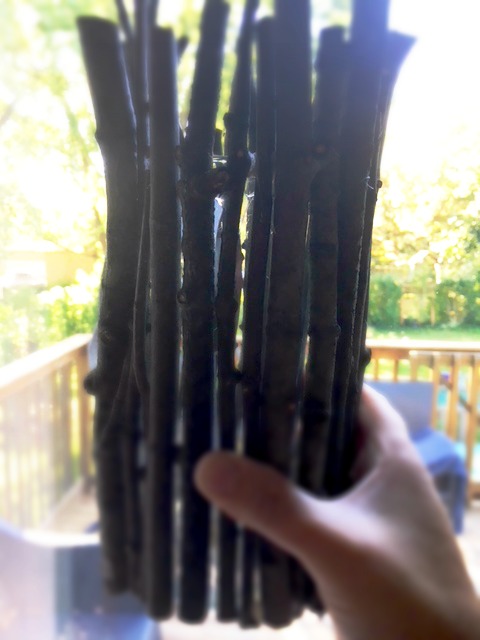
Using sharp shears, cut twigs in different lengths taller than your vase. Choose sticks that are as straight as possible. Trim off any side twigs as short as possible.
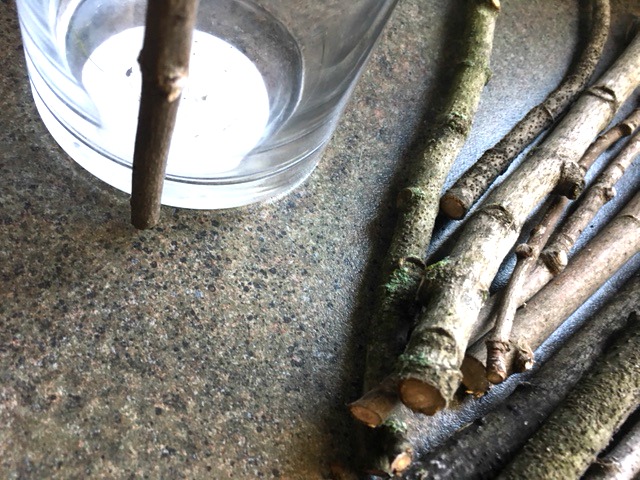
Plug in your glue gun. Set the twig in place and see where it will make contact with the glass of the vase. Add the glue in those contact places. I do this instead of running a line all the way down the stick. That is a lot of waste. Hold the twig in place 10 or 20 seconds while the glue cools. Mind your fingers!
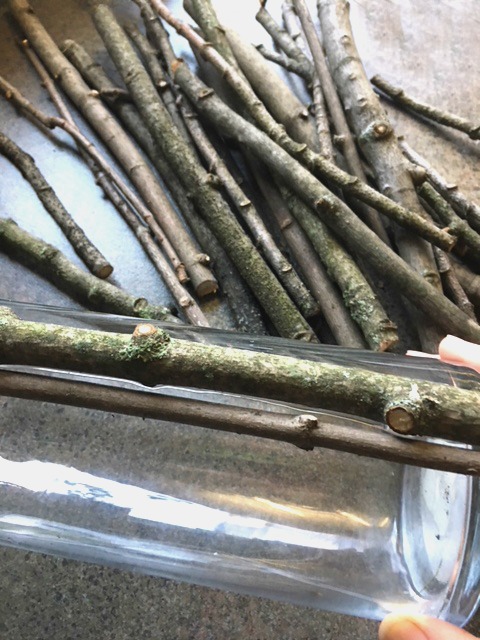
Work around the vase with each twig fitting tightly next to the previous twig. If there are spaces you can put a thin twig in later to fill in the gaps.
You will notice that the light does pass through the gaps. If that bothers you, cut a brown or black paper down to the vase size and slide it inside.
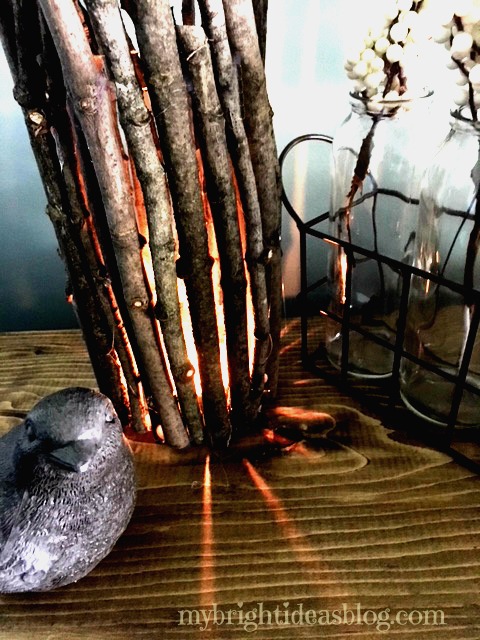
OR…you could embrace these gaps and use it as a candle holder. If you go this route please do not put paper in your vase. You will surely start a fire. Eek!
I didn’t mind the gaps in the vase so I skipped the paper and can use it with a tea light or with dried or artificial flowers.

So to the garden we go for some flowers. I cut these hydrangeas. These are going to dry nicely in the vase and look the same for months and months.
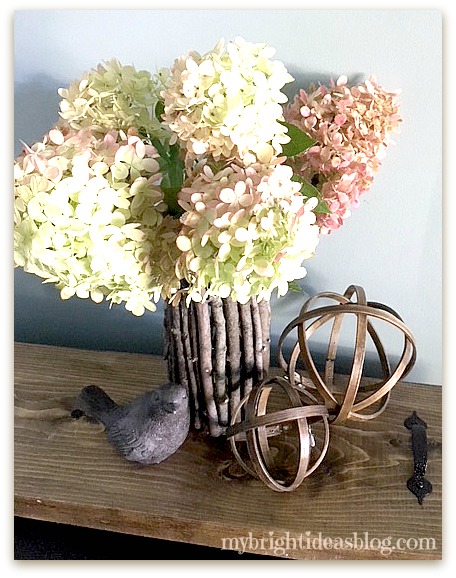
Isn’t that lovely? I hope you enjoyed this rustic twig/stick project. I really love making things with twigs.
Wait! Oh my days!!!! I forgot to put on the bow!
Cancel the photo shoot and back to the craft counter….
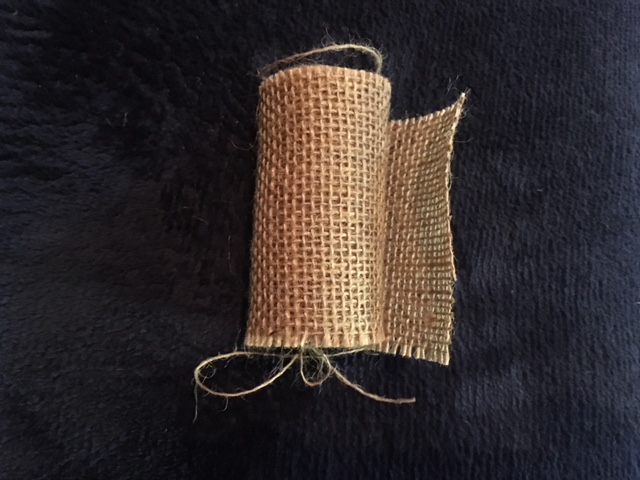
I know I have raffia somewhere but I can’t remember which craft bin I put it in. So instead I used this 3 inch wide burlap roll from the dollar store and wrapped it around the vase.
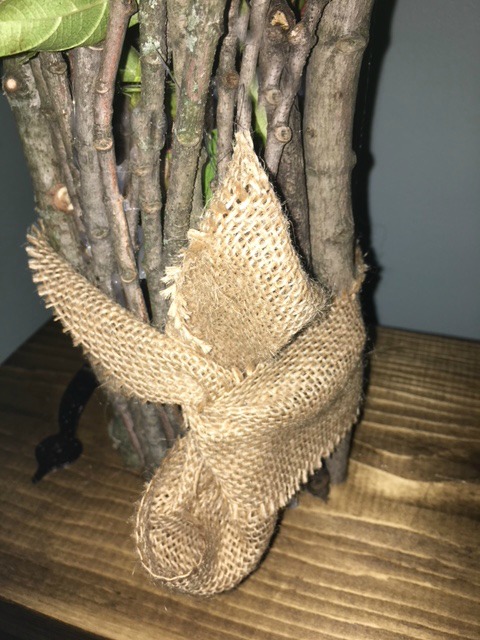
After tying it in a knot I tucked the ends under the centre. It looks like a bow but less bulky.
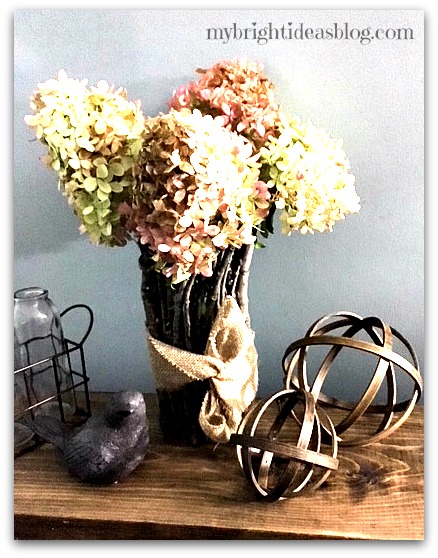
There now that is better! Its a lovely rustic vase perfect for this time of year!
I really appreciate you reading to the end and hope you will remember to pin this or share it on your favorite social media site.
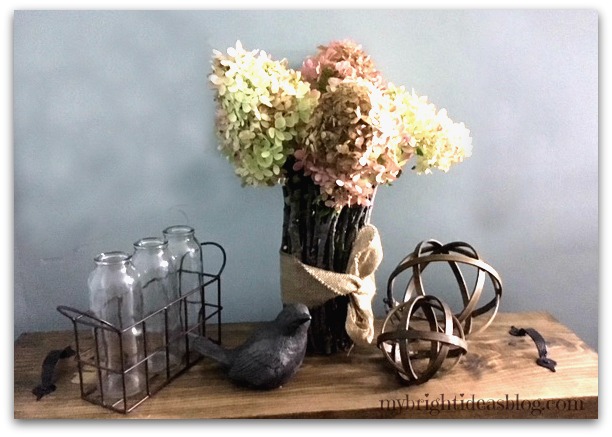
If you would like to see how I made the orbs or wood tray in the photo above, click the links below.
Till next time!
…
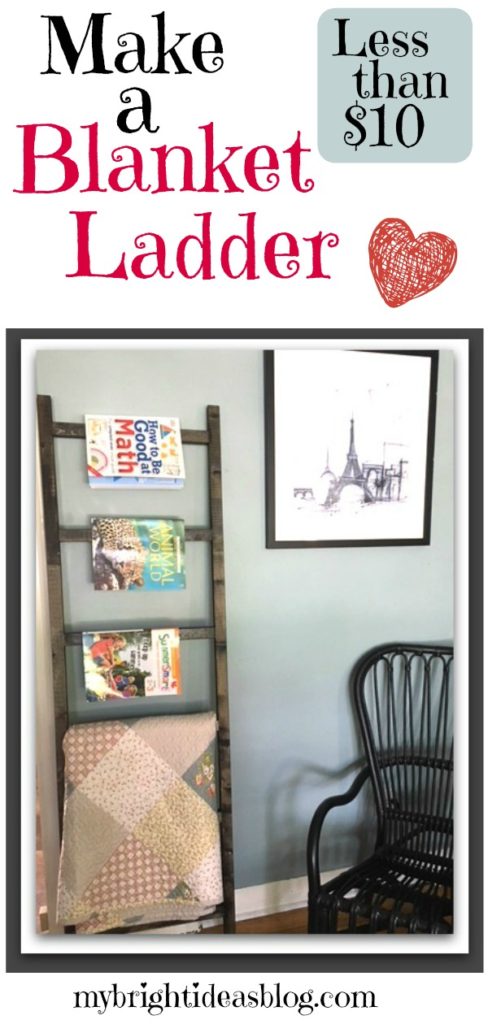
How to Build a Blanket Ladder – Easy Project!
Blanket Ladder DIY
This project is one of the cheapest projects you could make. If you have the stain, varnish and screws left over from a previous project the great news is the lumber should be less than $10.
You will need:
- Lumber 3 – 8 foot 2×2 (3 x $2.50 each = $7.50)
- Power Drill, drill bit and screw driver bit
- Pencil
- Stain
- Sand paper
- Clear Coat Varnish
- 10 – 2 1/2 Wood Screws
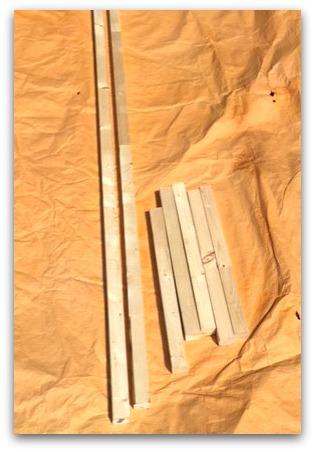 Cut 2 pieces to 6 feet long. Cut 5 pieces to 18 inches long. (This is the size I made)
OR
Cut 2 pieces to 5 feet long. Cut 4 pieces to 18 inches long. (Good if you have a small room)
![]()
Do you see that blue sky? 30 mins later the sky had dark clouds and I was hustling everything back into my garage to avoid a major thunderstorm.
![]() Lay out the wood and decide on your set up. I chose to put the first ladder rung 3 inches from the top. Then each one is set to be 12 inches below the next one. This left about 6 inches from the bottom of the ladder.
Lay out the wood and decide on your set up. I chose to put the first ladder rung 3 inches from the top. Then each one is set to be 12 inches below the next one. This left about 6 inches from the bottom of the ladder.
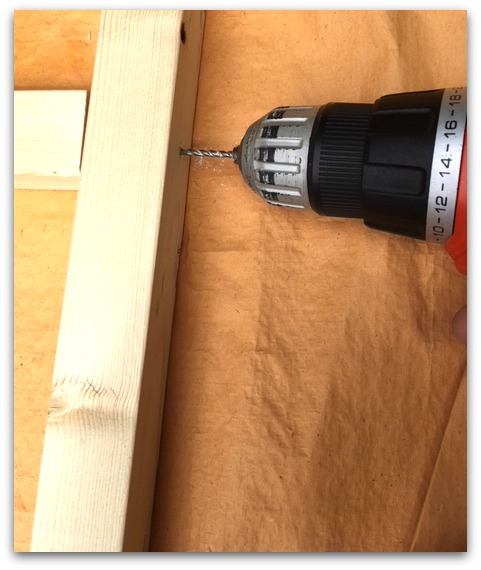 I predrilled the holes to help the wood not split. That would ruin the wood-trust me I’m famous for doing this and having to head back to the store for a fresh piece of wood. Doh!
![]() I started to drill each screw into the wood to make the next step of adding the rungs easier.
I started to drill each screw into the wood to make the next step of adding the rungs easier.
![]() Use a square to ensure the rungs go on straight.
Use a square to ensure the rungs go on straight.
![]()
Do you want to have it super smooth finish or rough and distressed…decisions decisions…?
Smooth…then its time to go over it with sand paper or a hand sander.
Distressed…last chance to scratch it up a bit. Rub it with the side of a screw or key. You can even wack it with hammer.
![]() Even if you like it distressed you can almost skip all the sanding but do tidy up the ends with a quick rub using sand paper.
Even if you like it distressed you can almost skip all the sanding but do tidy up the ends with a quick rub using sand paper.
Now for the STINKY wood stain!
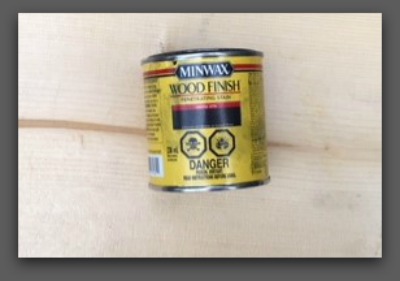
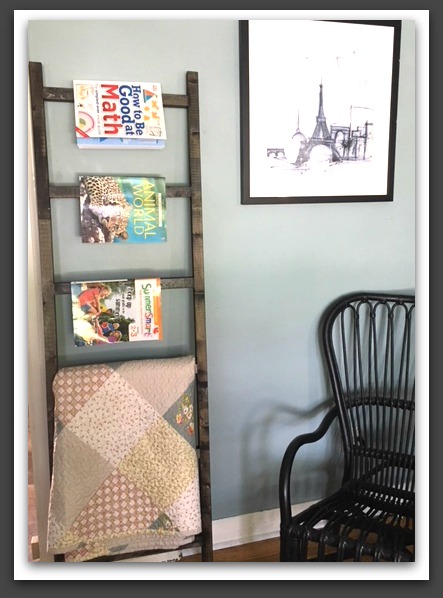
Next step is staining it. Choose a stain that will go with your décor. I really like a dark walnut finish but this blanket ladder is going into a room with a lot of black. So I used an ebony stain by Miniwax. If you are indoors open a window. If you can do it outdoors that is even better.
![]()
Watch the seams for areas where you have missed stained the first time. I used a craft paint brush to touch up the gaps and unintentional light patches.
After allowing it to dry, put a thin coat of clear protector over top. Keep in mind, clear coats come in a mat finish or glossy. I prefer glossy for the sake of smoother dusting my wood furniture but the mat finish looks really nice too. I chose to use a SPRAY clear coat.
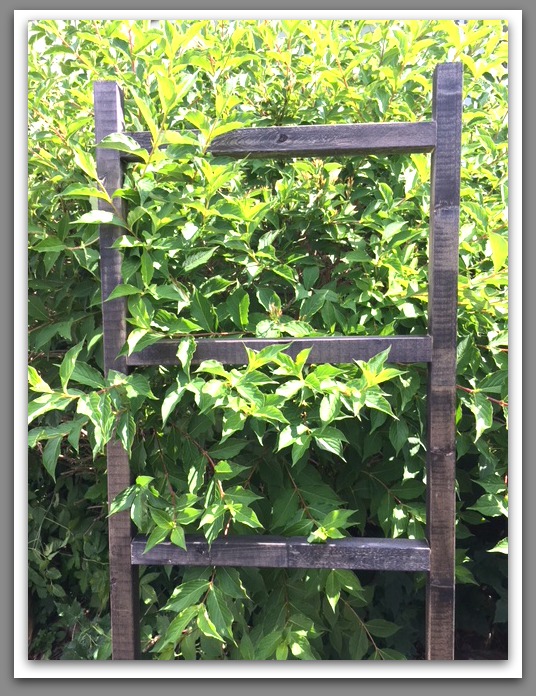
This looks so nice next to the greenery. Maybe I should use it as a trellis instead!
![]()
![]()
This could double as a magazine rack too. I didn’t have any magazines around so I used the kids summer school work books. Tee hee…. :o)

This is such an easy project! Are you teaching your teenager some DIY skills?
What if a teenager used this ladder to set out their school clothes for the week…
Add a blanket and what a nice housewarming gift this would make!
Crafts Using Burlap and Buttons – Easy Project that Looks Great!
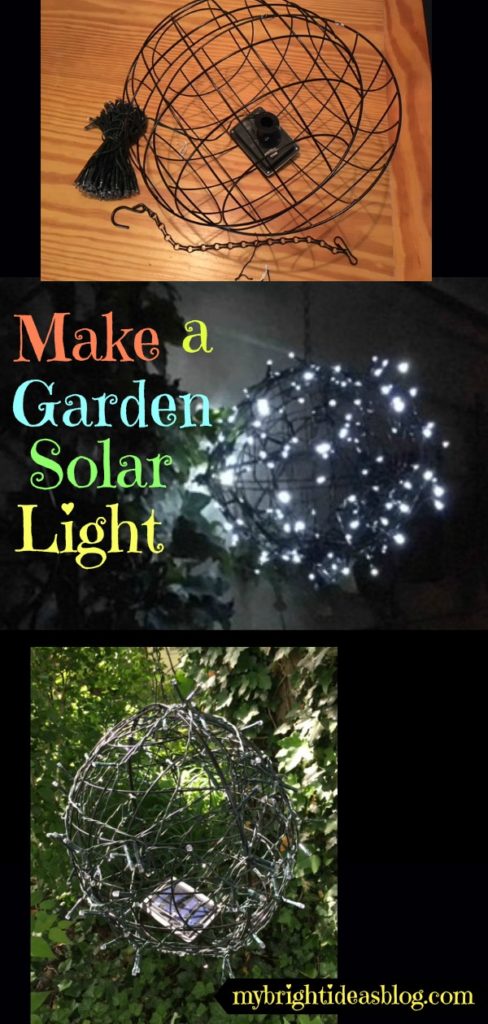
DIY Garden Solar Lights Using 2 Wire Planters
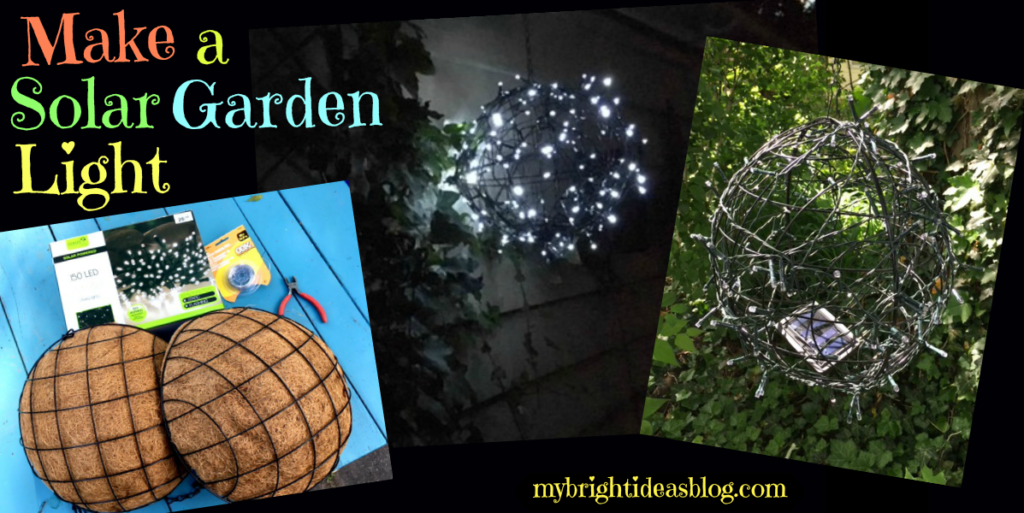
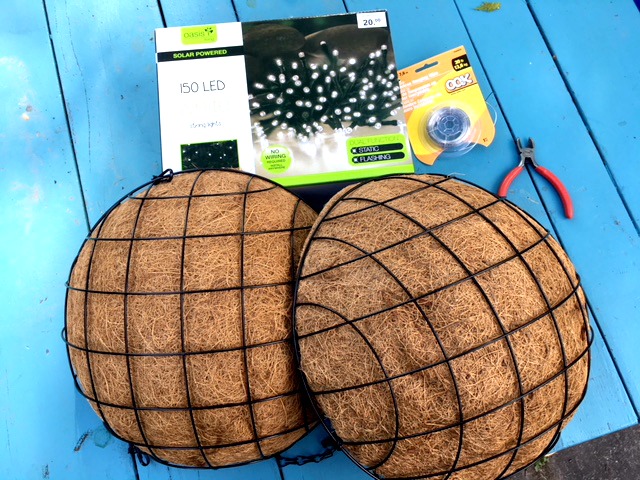
For this project I’m going to show you how to take 2 wire planters, attach them together and wrap LED solar twinkle lights around them to make a gorgeous night time garden light.
You will need:
- 2 wire plant baskets (dollar store $1-$4 each)
- pliers/wire cutters
- 10-15 black twist ties or fine wire cut to 3 inches long
- package of solar twinkle lights (I paid $20 but if I can find these cheaper I will let you know!)
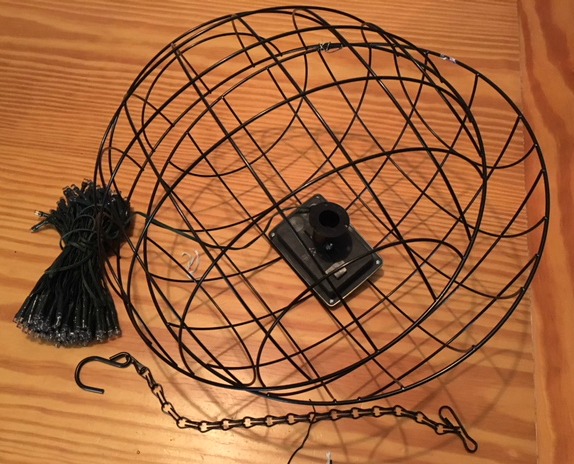 Before you start your project I would recommend that you test to make sure your solar lights are working as they should. My first project, I put all together and waited for the sun to set and then realized the light was defective and needed to go back to the store. Grrr…On my second go at the project I put them in a dark cupboard and peeked in. It worked perfectly so I started again.
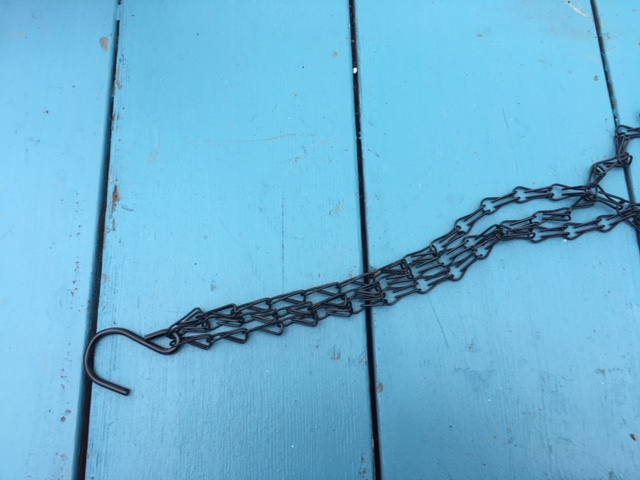 To easily remove the hook and chains, there is usually a clip on the wire hanger. Using your pliers remove two of the chains leaving just one hook and one strand of chains.
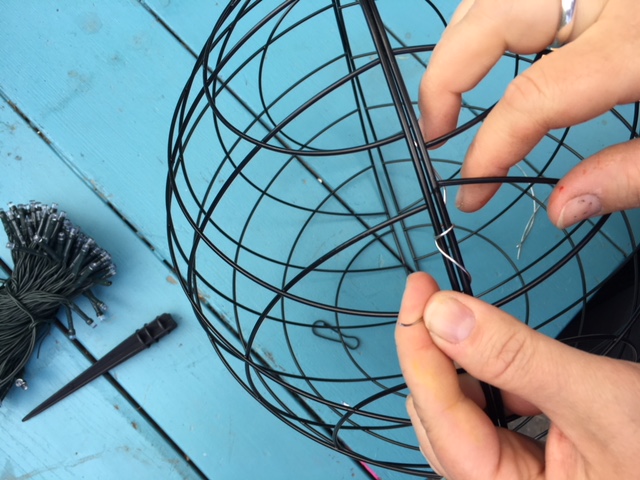 Match up the pattern of the wire basket and wrap a bit of wire around it. The above picture was my first try. I forgot to match up the wire basket and the wire punctured my skin. In the first 10 seconds I was bleeding. So my next try I used just twist ties. Black twist ties preferably so it isn’t obvious. If you are going to use wire, put on some work gloves.
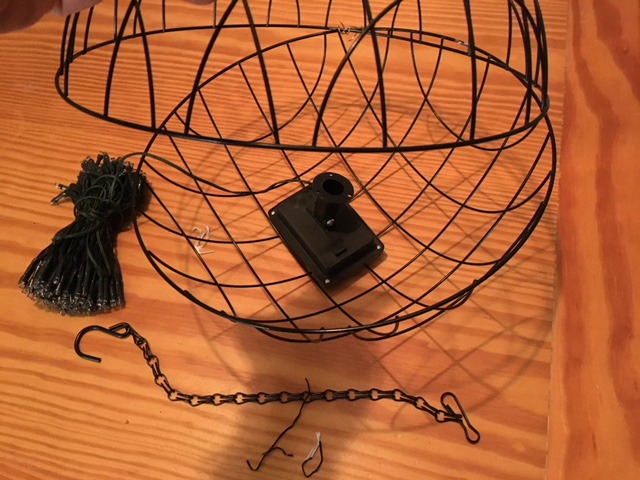 With one side secured-open it looks like a clam shell. Put the solar lamp inside the two planters and secured the other side closed.
 Starting from the other end of the twinkle lights, begin wrapping the lights around the sphere. Wrap the light with a twist tie to secure the lights snuggly around the ball. As you go around and around you can open up previously used twist ties and secure the newly wrapped lights into it.. Continue until the lights are completely attached.
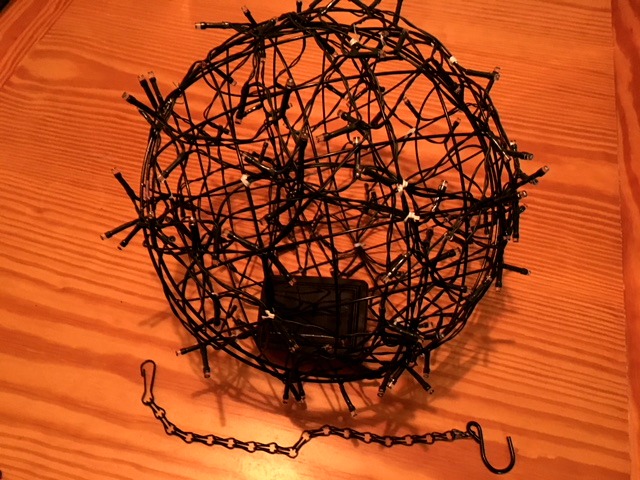
Attached the hook to the top of the sphere and its ready to hang up! As you can see I needed to use some white twist ties. If it bothers me to see those I could replace them later when I get more black twist ties.
 Next I need to decide where I should put it.
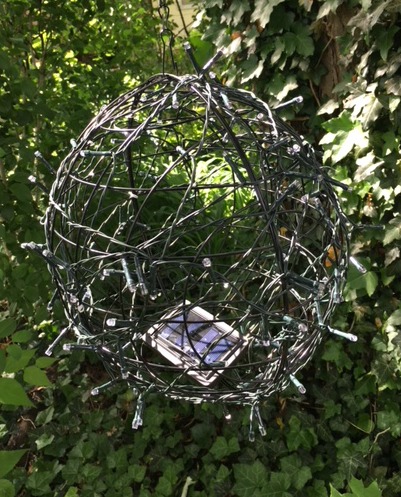 If I can find the solar lights a bit cheaper I would like to make 3 of these and hang it from a huge old tree in the backyard.
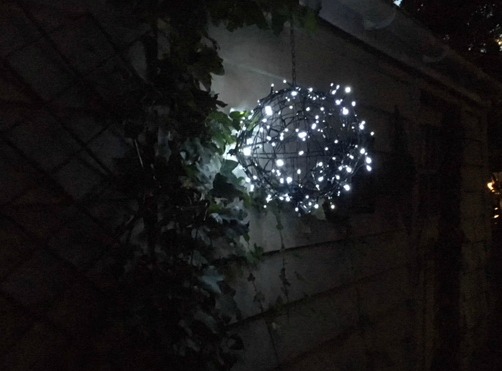
For now it is hanging on the side of the garage. I’m very pleased with the results!
…

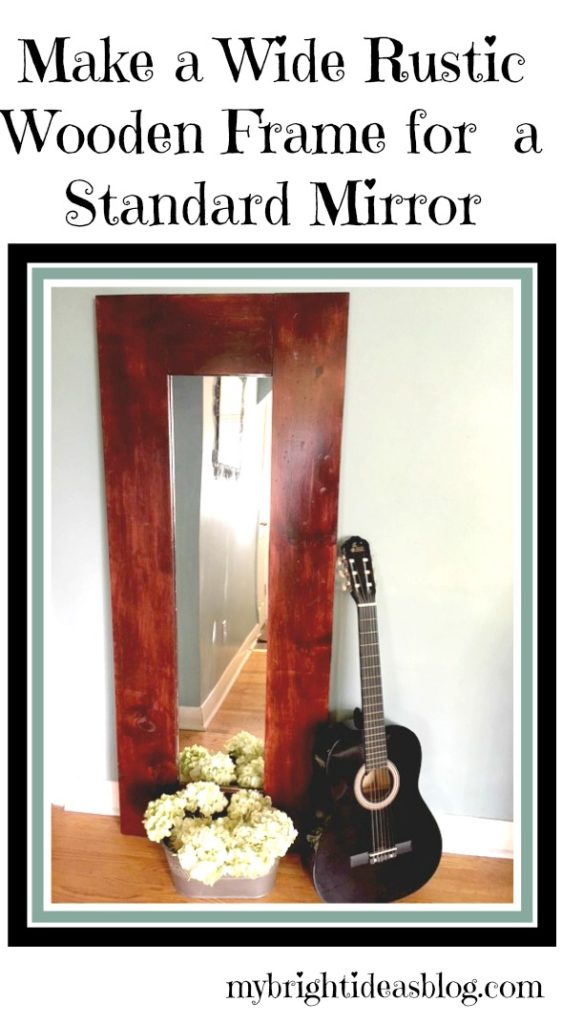
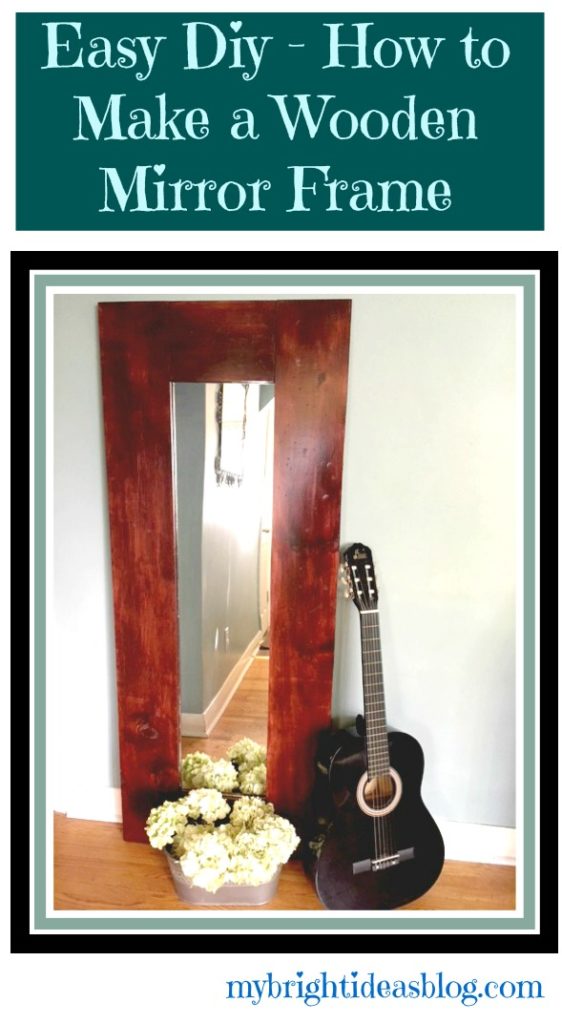
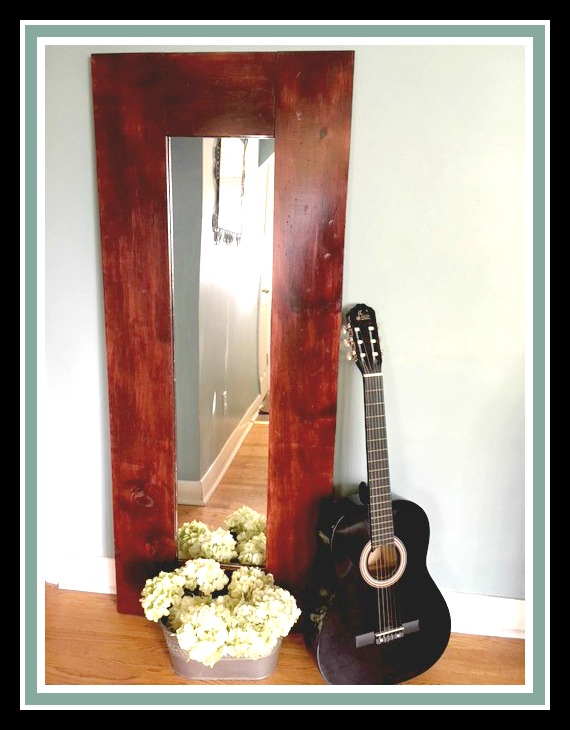
DIY Make a Wide Wood Frame for an Inexpensive Mirror
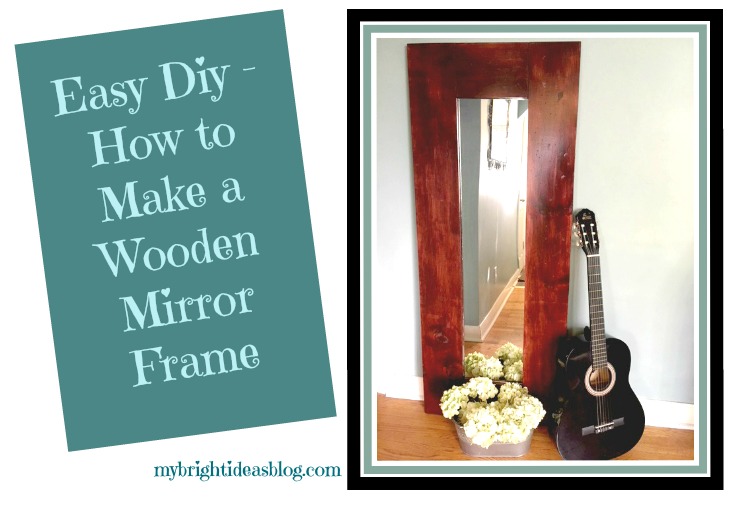
This week I got it into my head to take a cheap mirror and make it really substantial with a wood frame. Recently, I replaced all the doors to the bedrooms and closets and that was where most of our mirrors were. Hanging on the backs of doors. Now the doors are so new and lovely I can’t bear to attach anything to them. So I’m heading out the door not knowing if my skirt is stuck in the back of my tights…or any other possible wardrobe mistake is happening.
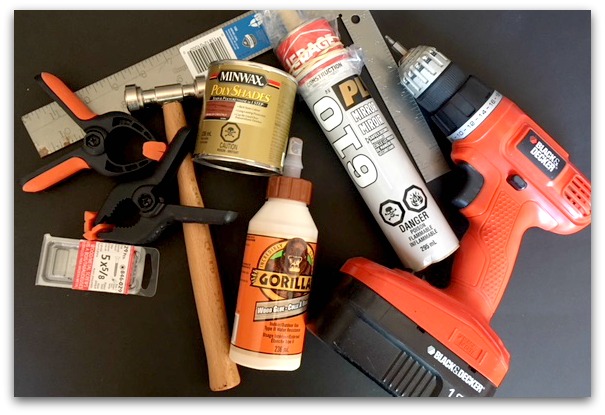
For this project you need:
- one 1/4 x 48 x 96 backboard cut down to size $21.40 (mine was 25 x 61 – but measure your mirror and pine pieces first) I had this cut done at Home Depot
- inexpensive pine boards (I needed 2 boards 1x8x6 $7.97 each) choose straight boards
- a mirror $13.99 – mine was 13×49 but when you take it out of the plastic frame it was 10 1/2 x 46 1/2
- exacto knife
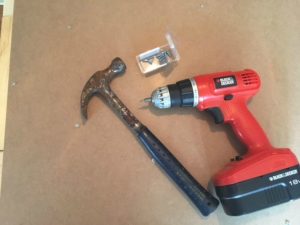
- tools to bang up the wood if you want it distressed…hammer, saw, big nail
- stain and brush (mini wax polishade $11.97,this is an “all- in-one” stain and polyurethane so you brush it on)
- Wood Glue $5.27
- Clamps (at least 10)
- Screws $2.97 (5 x 5/8)
- Mirror Caulking $6.97 (LePage 610 Mirror) and Caulking Gun
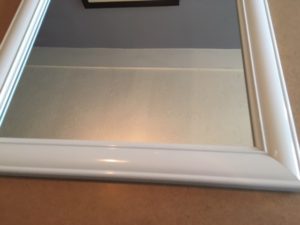
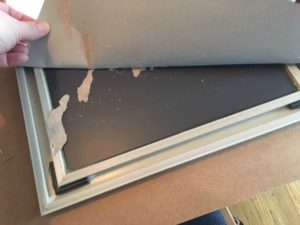
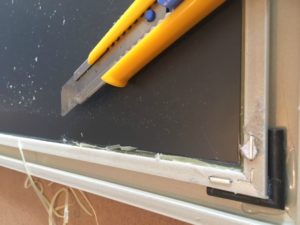
Carefully Dismantle the Mirror
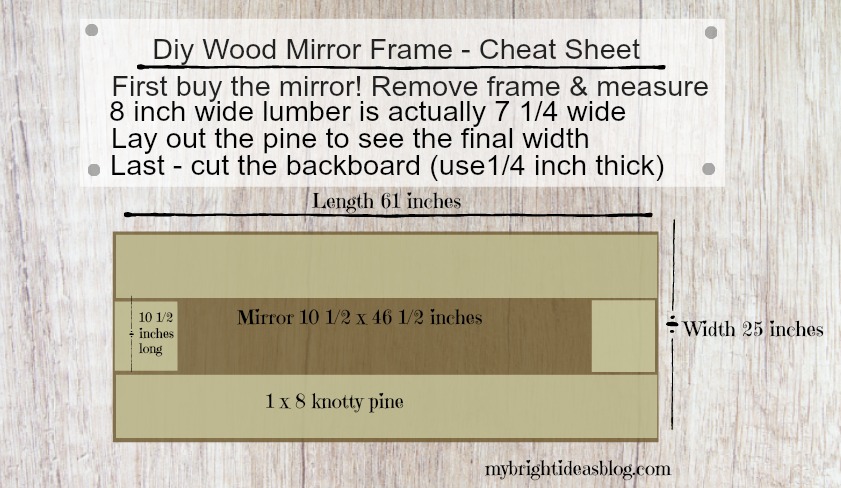
The very first step before you cut your wood is buy the mirror. If you just follow my sizing for wood cuts you may have a different size mirror and have to recut or get new wood. Remove it from the frame by turning it over and tear off the paper on the back. Take an exacto knife and cut away all of the glue on the edges. The mirror is actually a lot thinner and delicate than you might think-so don’t assume it will pop out. It will break easily. I found I needed to slice the along the edge of the plastic frame and then turn the knife and cut at a different angle. This required a lot more time and patience than I expected.
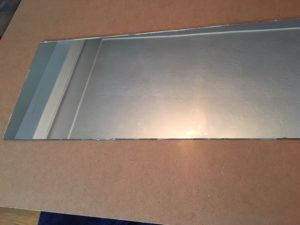
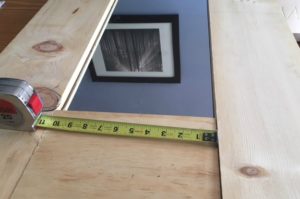

Very carefully lay the mirror on your surface and measure. I wanted to use a wide wood-you can go wider or narrower just adjust the size of your backboard. You may be able to find the right wood in the lumber area near the fence building supplies this will be less expensive. I went with the wood in the furniture building section because of the sizes available.
My mirror is 10 1/2 inches by 46 1/2 inches wide.
The pine boards were 1 x 8 x 6. But you must remember that they aren’t truly 8 inches wide. Its more like 7 1/4. That is why you need to lay things out measure to determine the needed width of the backboard. A bit too small is okay but it can’t be bigger than your finished project. That would look kind-a dumb.
The finished size of my mirror and pine is 25 inches by 61 inches so that is the size I need to cut the backboard. I had Home Depot cut this one because I don’t have a table saw and it will fit in the car easier!
Place the mirror on the backboard and then see if your pine is exactly how you want it. My side pieces were 61 inches long and the cross pieces were 10 1/2 inches. Everything looking good? Now trace the mirror with a pencil on the backboard. Remove the mirror…carefully…and put it in a safe place. I put mine behind a cabinet. Since we put on 2 coats of the finish it could take 24-48 hours. Keep the kids away from that mirror.
Distressing the Wood-Optional
If you are wanting to make the wood look rustic this is when to do it. It feels a bit wrong ruining nice wood-like your keying a car. I used a hammer with several screw on attachments to bang in several different kinds of marks and also I dragged it across the wood to make a few lines. You could use a regular hammer, counter sinker and saw to make these markings.
Putting it all together
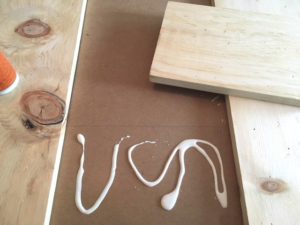
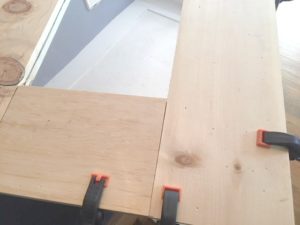
Now that the wood is nicely banged up lets put it altogether. Use the wood glue and put the 4 wood pieces where they belong on the back board. Clamp in place quickly-the glue makes the pine slip around. At this point I got out the mirror again. Do I need to say carefully again? I hate broken glass with kids and dogs in the house. I’m a worrier! I thought before everything was set I would double check that the mirror fit in. It did! Now get it back to its safe place behind the cabinet.
Put in a few screws into the bottom to keep the boards in place. This is awkward since you need to come from below with your project pulled a little off the table. The majority of screws went in after the glue had dried and I could flip it over.
Finishing Steps
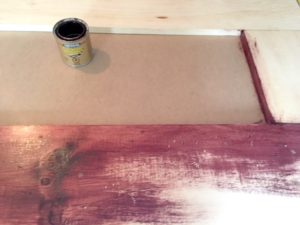
In this project I used Miniwax PolyShades “Stain and Polyurethane in One” with a paint brush. I originally chose a shade too red and sanded it down a bit and added American Chestnut for my second coat. If you have a stain only product, use a rag and not a paint brush.
Stir this product a lot. You can feel that the polyurethane part of the mixture separates and sinks to the bottom. Stir it mid project a few times just to be sure.
This called for a very thin coat, wait 8 hours, rub surface with steel wool, wipe off fine dust, apply another very thin coat until you have the desired color. So there is a bit of waiting involved on this project. I wrapped my paintbrush in plastic wrap between coats so it didn’t harden.
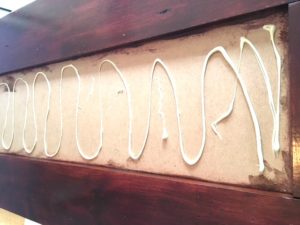
The final step is to glue in the mirror! Almost done! I used LePage 610 PL Mirror Adhesive. It doesn’t say on the package how long you need to wait for the glue to dry. The instructions say the first 10 minutes is key if you need to reposition the mirror. Don’t move it after 10 minutes. It should be a perfect fit. I applied the adhesive to the backboard and then placed the mirror on top. I gently applied even pressure to push the mirror into the glue. The website actually says that it is cured in 48 hours. Not realizing this until later I moved mine after only 3 hours because I needed the table it was on.
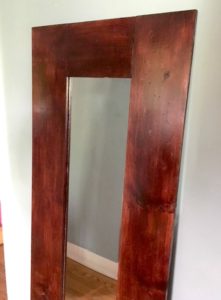
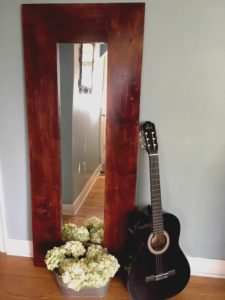
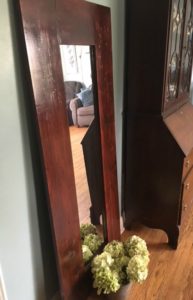
Mirrors are recommended to make a small room appear larger. That is great for our little house but mostly we just need it to make sure our clothes are on straight. The finished product is a bit heavy but could be attached to a wall to raise it up.
The cost of this project depends on if you have some basic supplies already. Home Depot will make all the cuts for free if you need it.
I purchased the pine and backboard, mirror, screws and mirror calking so the project cost approx. $65. I have enough backboard left over to make another one using an old mirror- this time I might just paint the frame black or white and put it in a bedroom. The only thing I would need to purchase for the second one is the pine boards for another $16. The best part is that their were no worrying about mitred corners. This project takes a bit of time but its pretty easy!
Let me know if I am missing any details. I’m happy to hear feedback if you have questions!
…
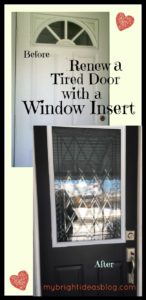
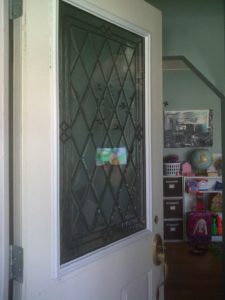
My First DIY Project-Door Window Insert
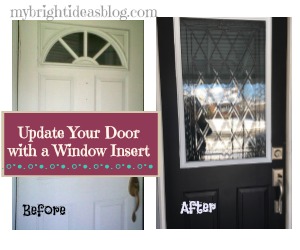
Renew your ugly old door with a window insert and a fresh coat of paint and door handle.
My first home improvement project involving proper tools was to change the window on the front door. Our home was built in the 1950’s and although this door wasn’t the original it was ugly-with a sort of half moon towards the top and didn’t shed light in the front of the house.
At the time I had a home daycare and families were coming to the front door every day several times and the noisy munchkins often made it difficult to tell if someone had knocked and was waiting at the front door. I was constantly running to the front room and peering out the windows to see if anyone was there…and usually there wasn’t.
I went to Home Depot to see what a new door would cost me. It was not too bad but add on the installation costs-eek! I had the side door replaced so I know from watching that done it was well out of my skill level. The staff asked if it was a decent quality door…if yes it might just need an update with an insert. Say what?!?!
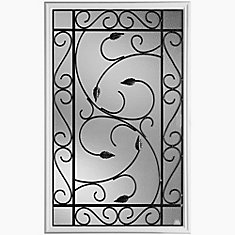
https://www.homedepot.ca/en/home/p.pergola-22-inch-x-36-inch-iron-glass-insert.1000784903.html
https://www.homedepot.ca/en/home/p.pergola-22-inch-x-36-inch-iron-glass-insert.1000784903.html
https://www.homedepot.ca/en/home/search.html?q=door%20insert&page=0
This will be helpful to know if you have a newish door but its the plain standard look. You can upgrade to ones with blinds between the panes of glass, or a window with a screen for a breeze or like me, a decretive pane to let the light in.
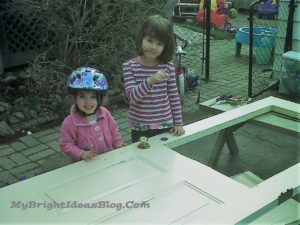
It was very hard to find how exactly to install the insert. I copied a blog I found about adding a dog door insert. I drew the cutting lines where I wanted the window to go by tracing the cardboard that comes with the insert. Then I got my largest drill bit and drilled a hole through the metal door an inch inside my cutting line. The drilled hole (or holes if you drill a few next to each other) is big enough to get a jigsaw blade in. Then start cutting lines through the door until you are able to cut out the entire rectangle of the insert.
A few reminders…jig saws have speed gauges which I didn’t realize until after the project was done. It was pretty fast and I could easily have cut the door right in half. It was literally my first time using a jig saw and I should probably have tested it out on something else first!
Move your small children far away and don’t be put off by their fears that their mom is about to ruin the front door.
And of course wear safety glasses. Now find a hubby to help you carry that heavy door back to the front of the house and pop the pins back in the hinges.
The insert literally just pops in and is secured by some push in plugs and your done! So easy and what an improvement. The inserts range from about $90 to $500 depending if you like fancy stained glass. There are really nice choices in the lower range too. I think mine was around $150.
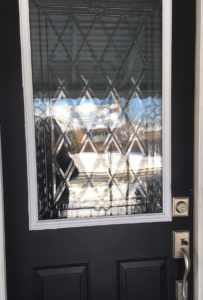
Shortly after we painted the front of the door black and put on a gorgeous handle and had a front door to be proud of!