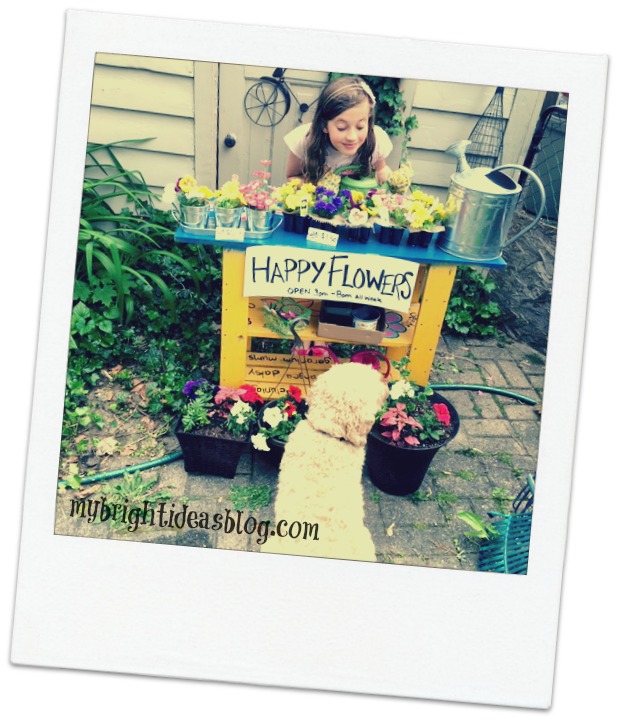
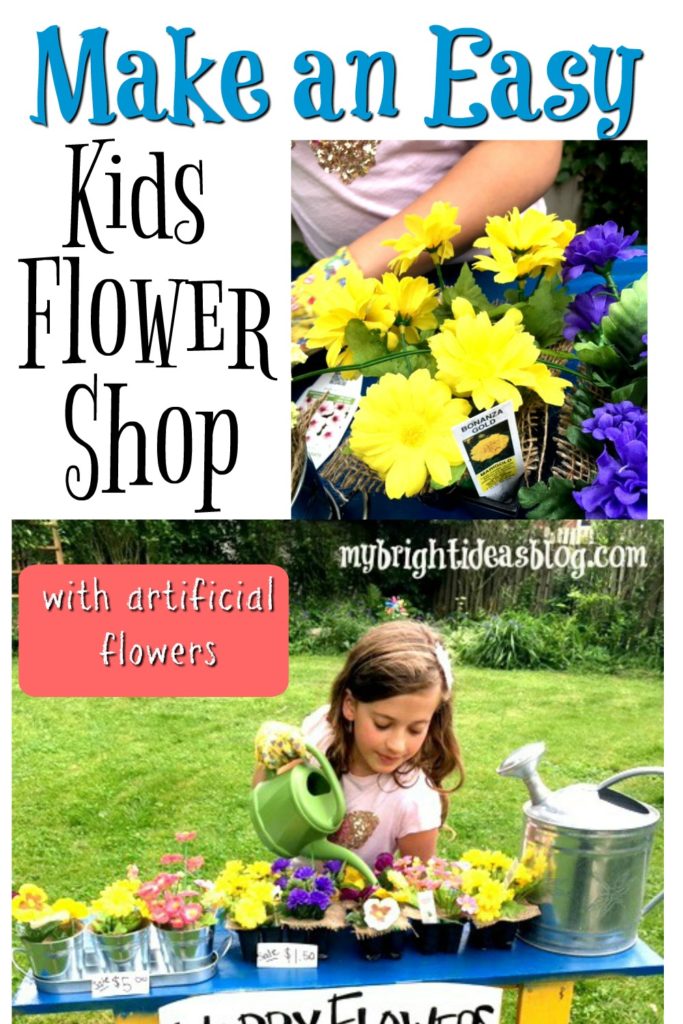
Watching my girls play in the backyard from my kitchen window sparked a great idea this week! Create a garden centre or flower shop for the kids. Using artificial flowers from the dollar store and a few other gardening things we can create a little centre for themselves. You can use real flowers too but this set up should last me a few years!
Several years ago I made a potting table out of a simple wooden shelf I wasn’t using anymore. Click on the link below to see how that was created.
Next we need some flowers! I went to the dollar store for a few bunches of flowers that looked like something I actually have in my garden.

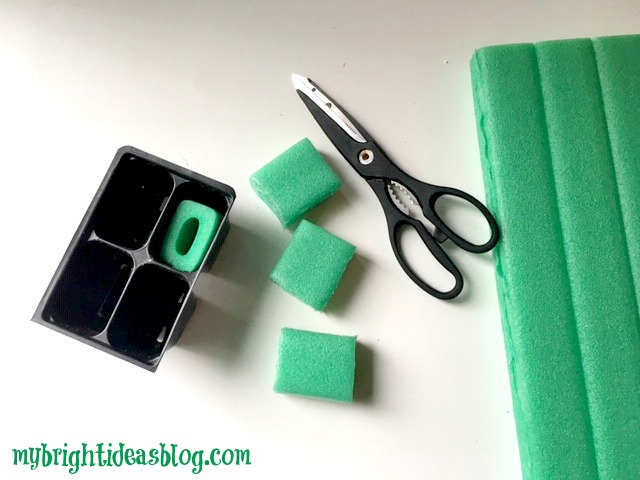
For this project you will need:
- several bunches of artificial flowers
- empty plant containers
- foam knee pad or pool noodle
- scissors
- wire cutter snips
- burlap (optional)
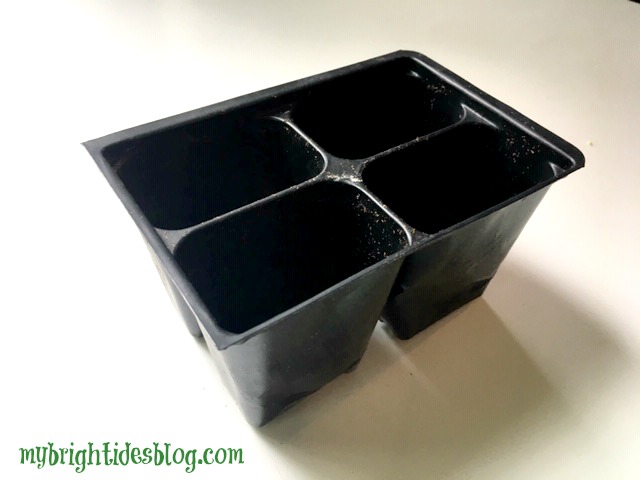
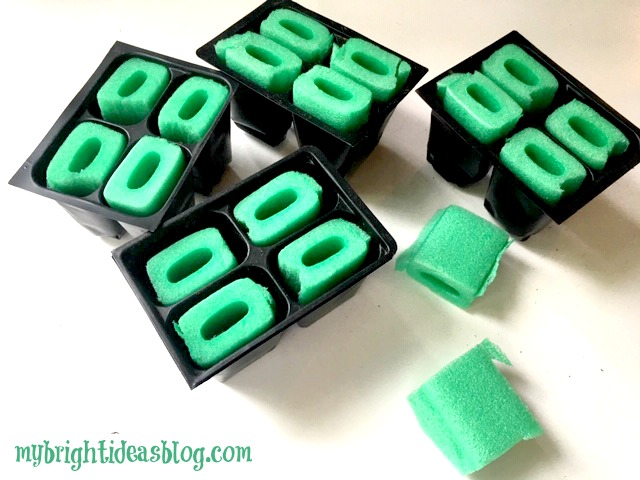
These are called 4 cell planter trays but you can use other sizes.
Every year the girls don’t want me to throw out the plastic containers that come with the little flower and vegetable plants we buy at the garden centre. They want all the little tags that come with them too so they imagine they are selling the flowers. After seeing them rearrange the empty containers imagining they had flowers in them-I thought why not get some dollar store fake flowers and make it more realistic for them.
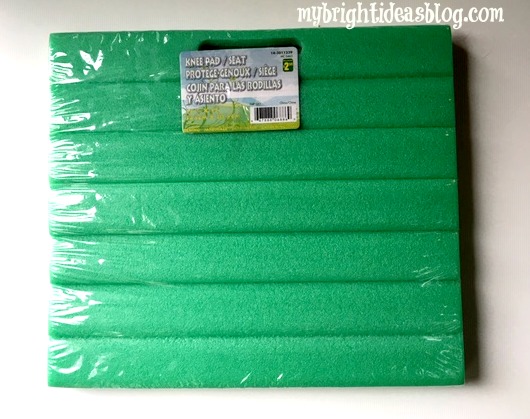 As I wandered around the dollar store I considered how I could get the flowers to stand up in the plant trays. I came up with this! A foam knee pad/seat pad.
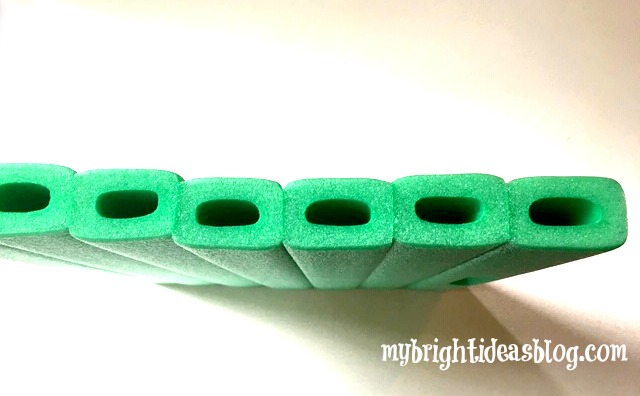
It’s similar to a pool noodle but I thought this size would fit really well into my plant trays and I was right!
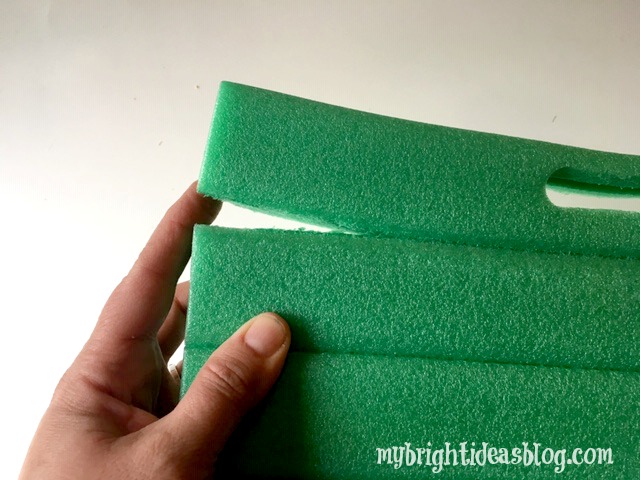
First of all, pull the sections of foam apart.
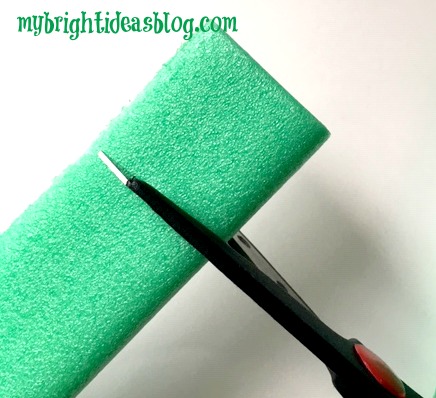
Then get your scissors and snip it 1 and 1/2 inches or 3cm long.
Test out the height and cut some more.
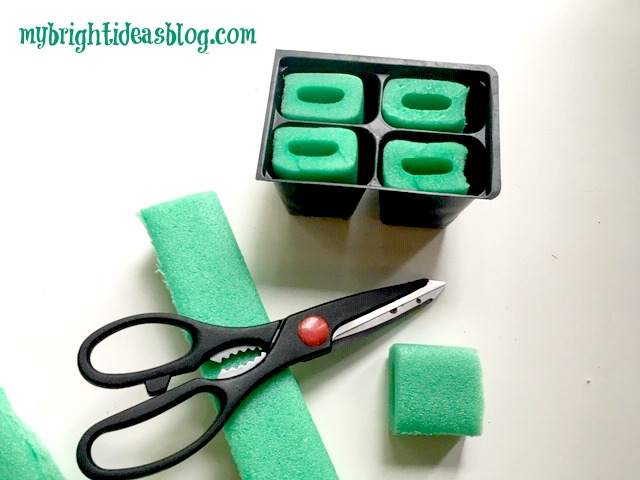
This is so easy. Just keep cutting off more. I wanted to give the at least 5 of these for their store. I might make even more…
Now for the flowers!
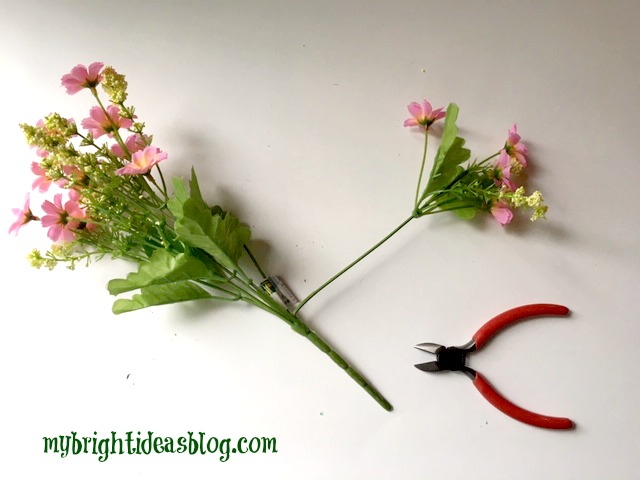
I started by bending out the branch of the flowers.
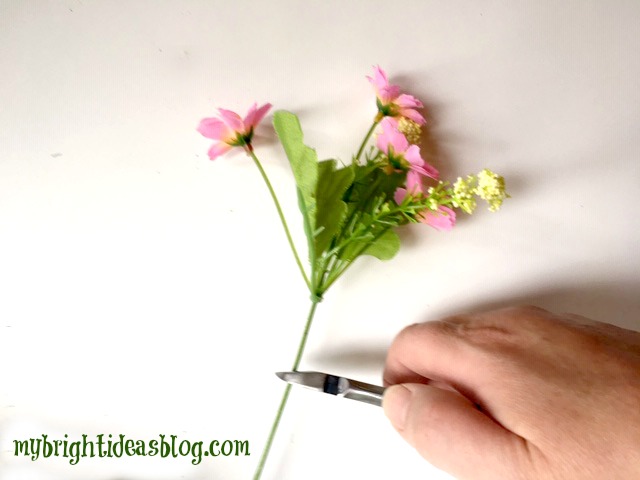
Snip it off several inches below the flowers. If you cut it too long, you can always bend the ends. I would rather they are too long than too short so the girls could make a little bouquet later or use them for something else.

Now test it in the container and see how it looks.

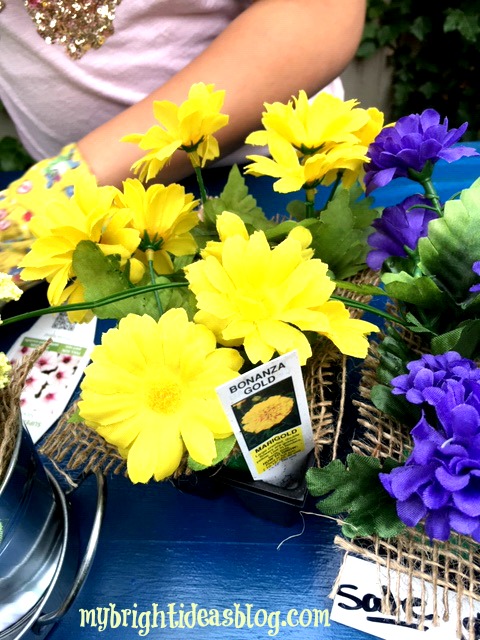
This looked pretty good but I thought since I have a huge scrap of burlap waiting to be used. Why not add burlap to the top.
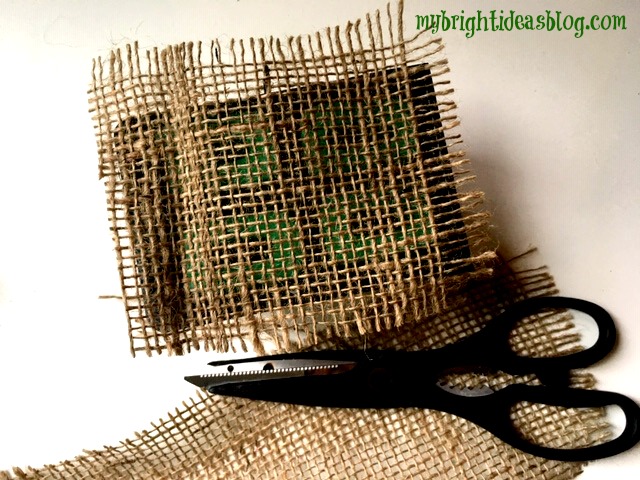
Cut that to size. It doesn’t have to be perfect.
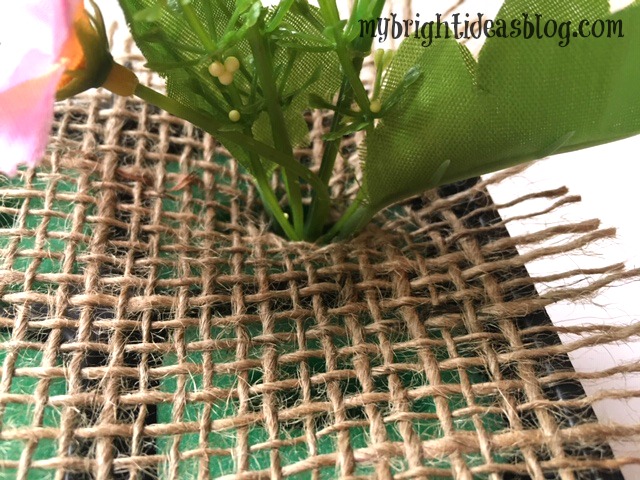
Next poke the flowers through the burlap.

Voila!
You could hot glue all of it in place or you could just leave it so the kids can rearrange it and tend to their flowers.
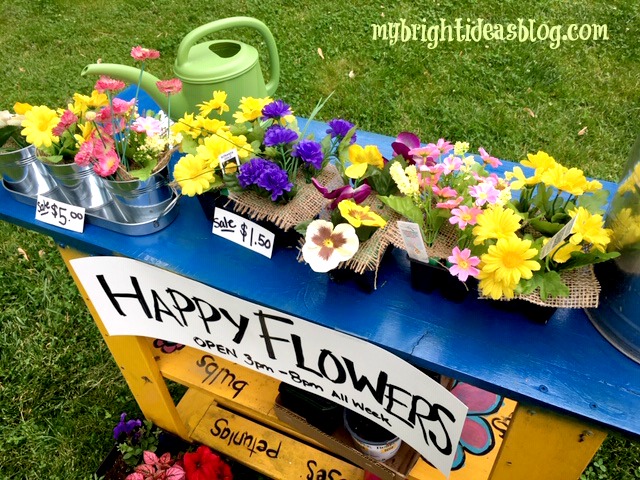
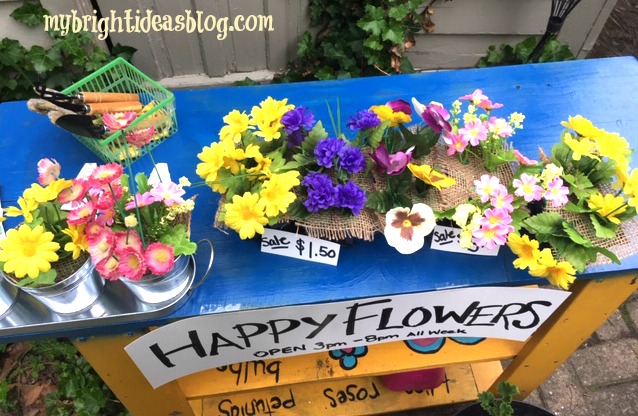
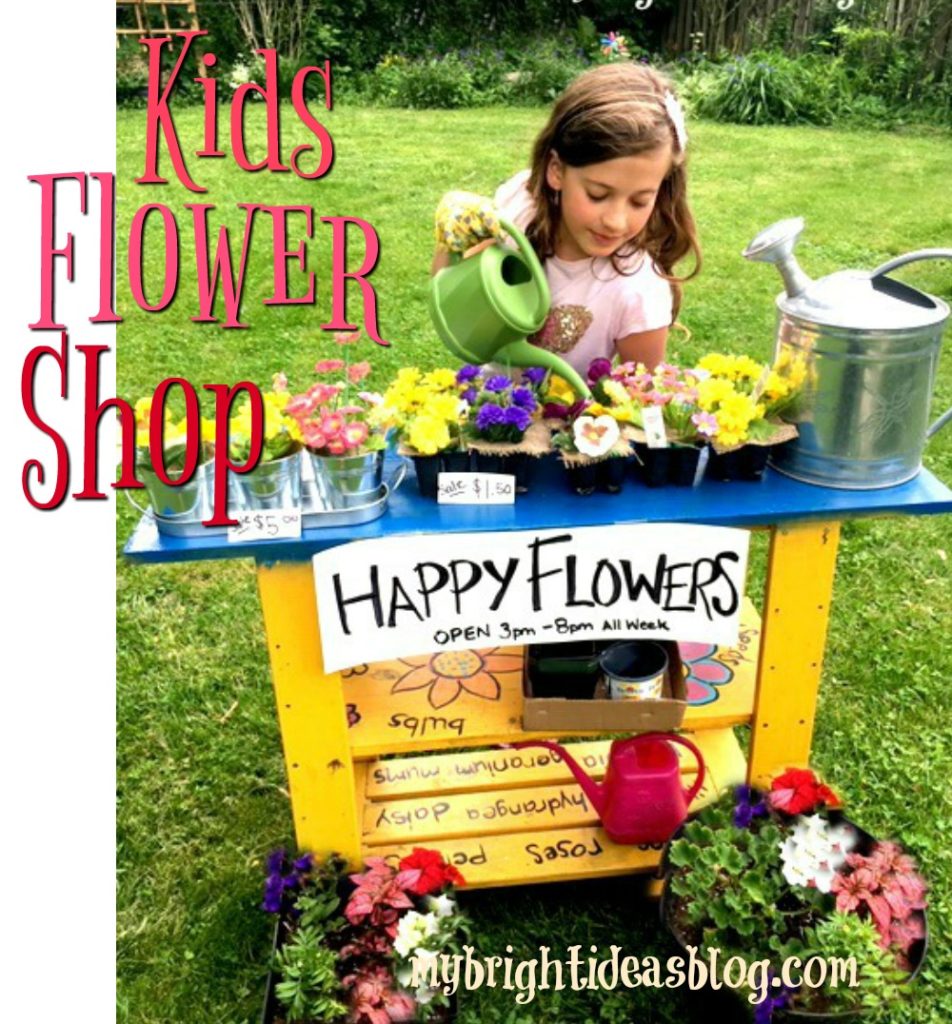
Next we set up shop on the table and added some signs.
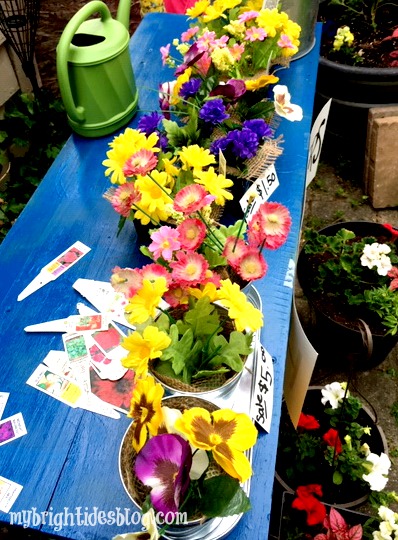
My kids also save all of the flower tags that come with every plant to tell you how much sun or shade it should get.
…So we tried to match up some to the colors of the flowers we had for our imaginary store.
If you don’t have the 4 cell-planters you can use any small containers. You could use a pool noodle or Styrofoam from packaging in a bigger one or several small pieces of foam to fill a bigger pot.
Also, look around for other gardening items you have for the store. We had gloves, a mini shovel and rakes and watering cans.
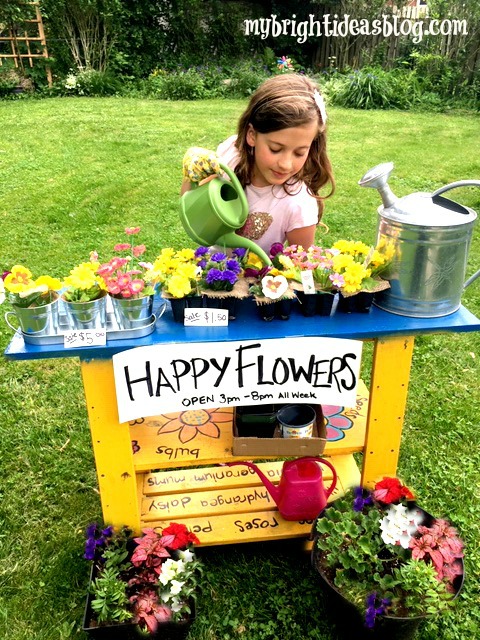
Hopefully, this inspired you to get the kids out playing with their imaginations.
…
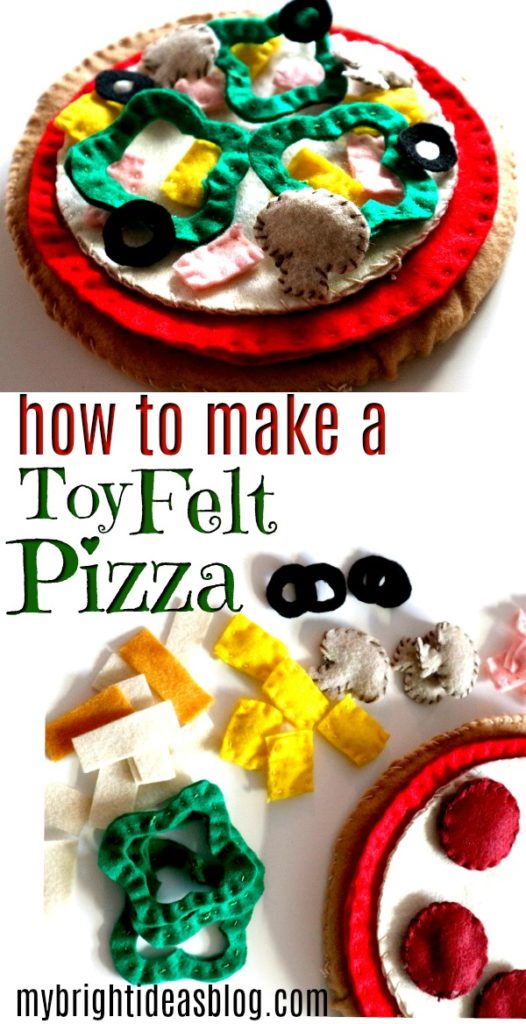
Cloth Pizza Toy Made From Felt
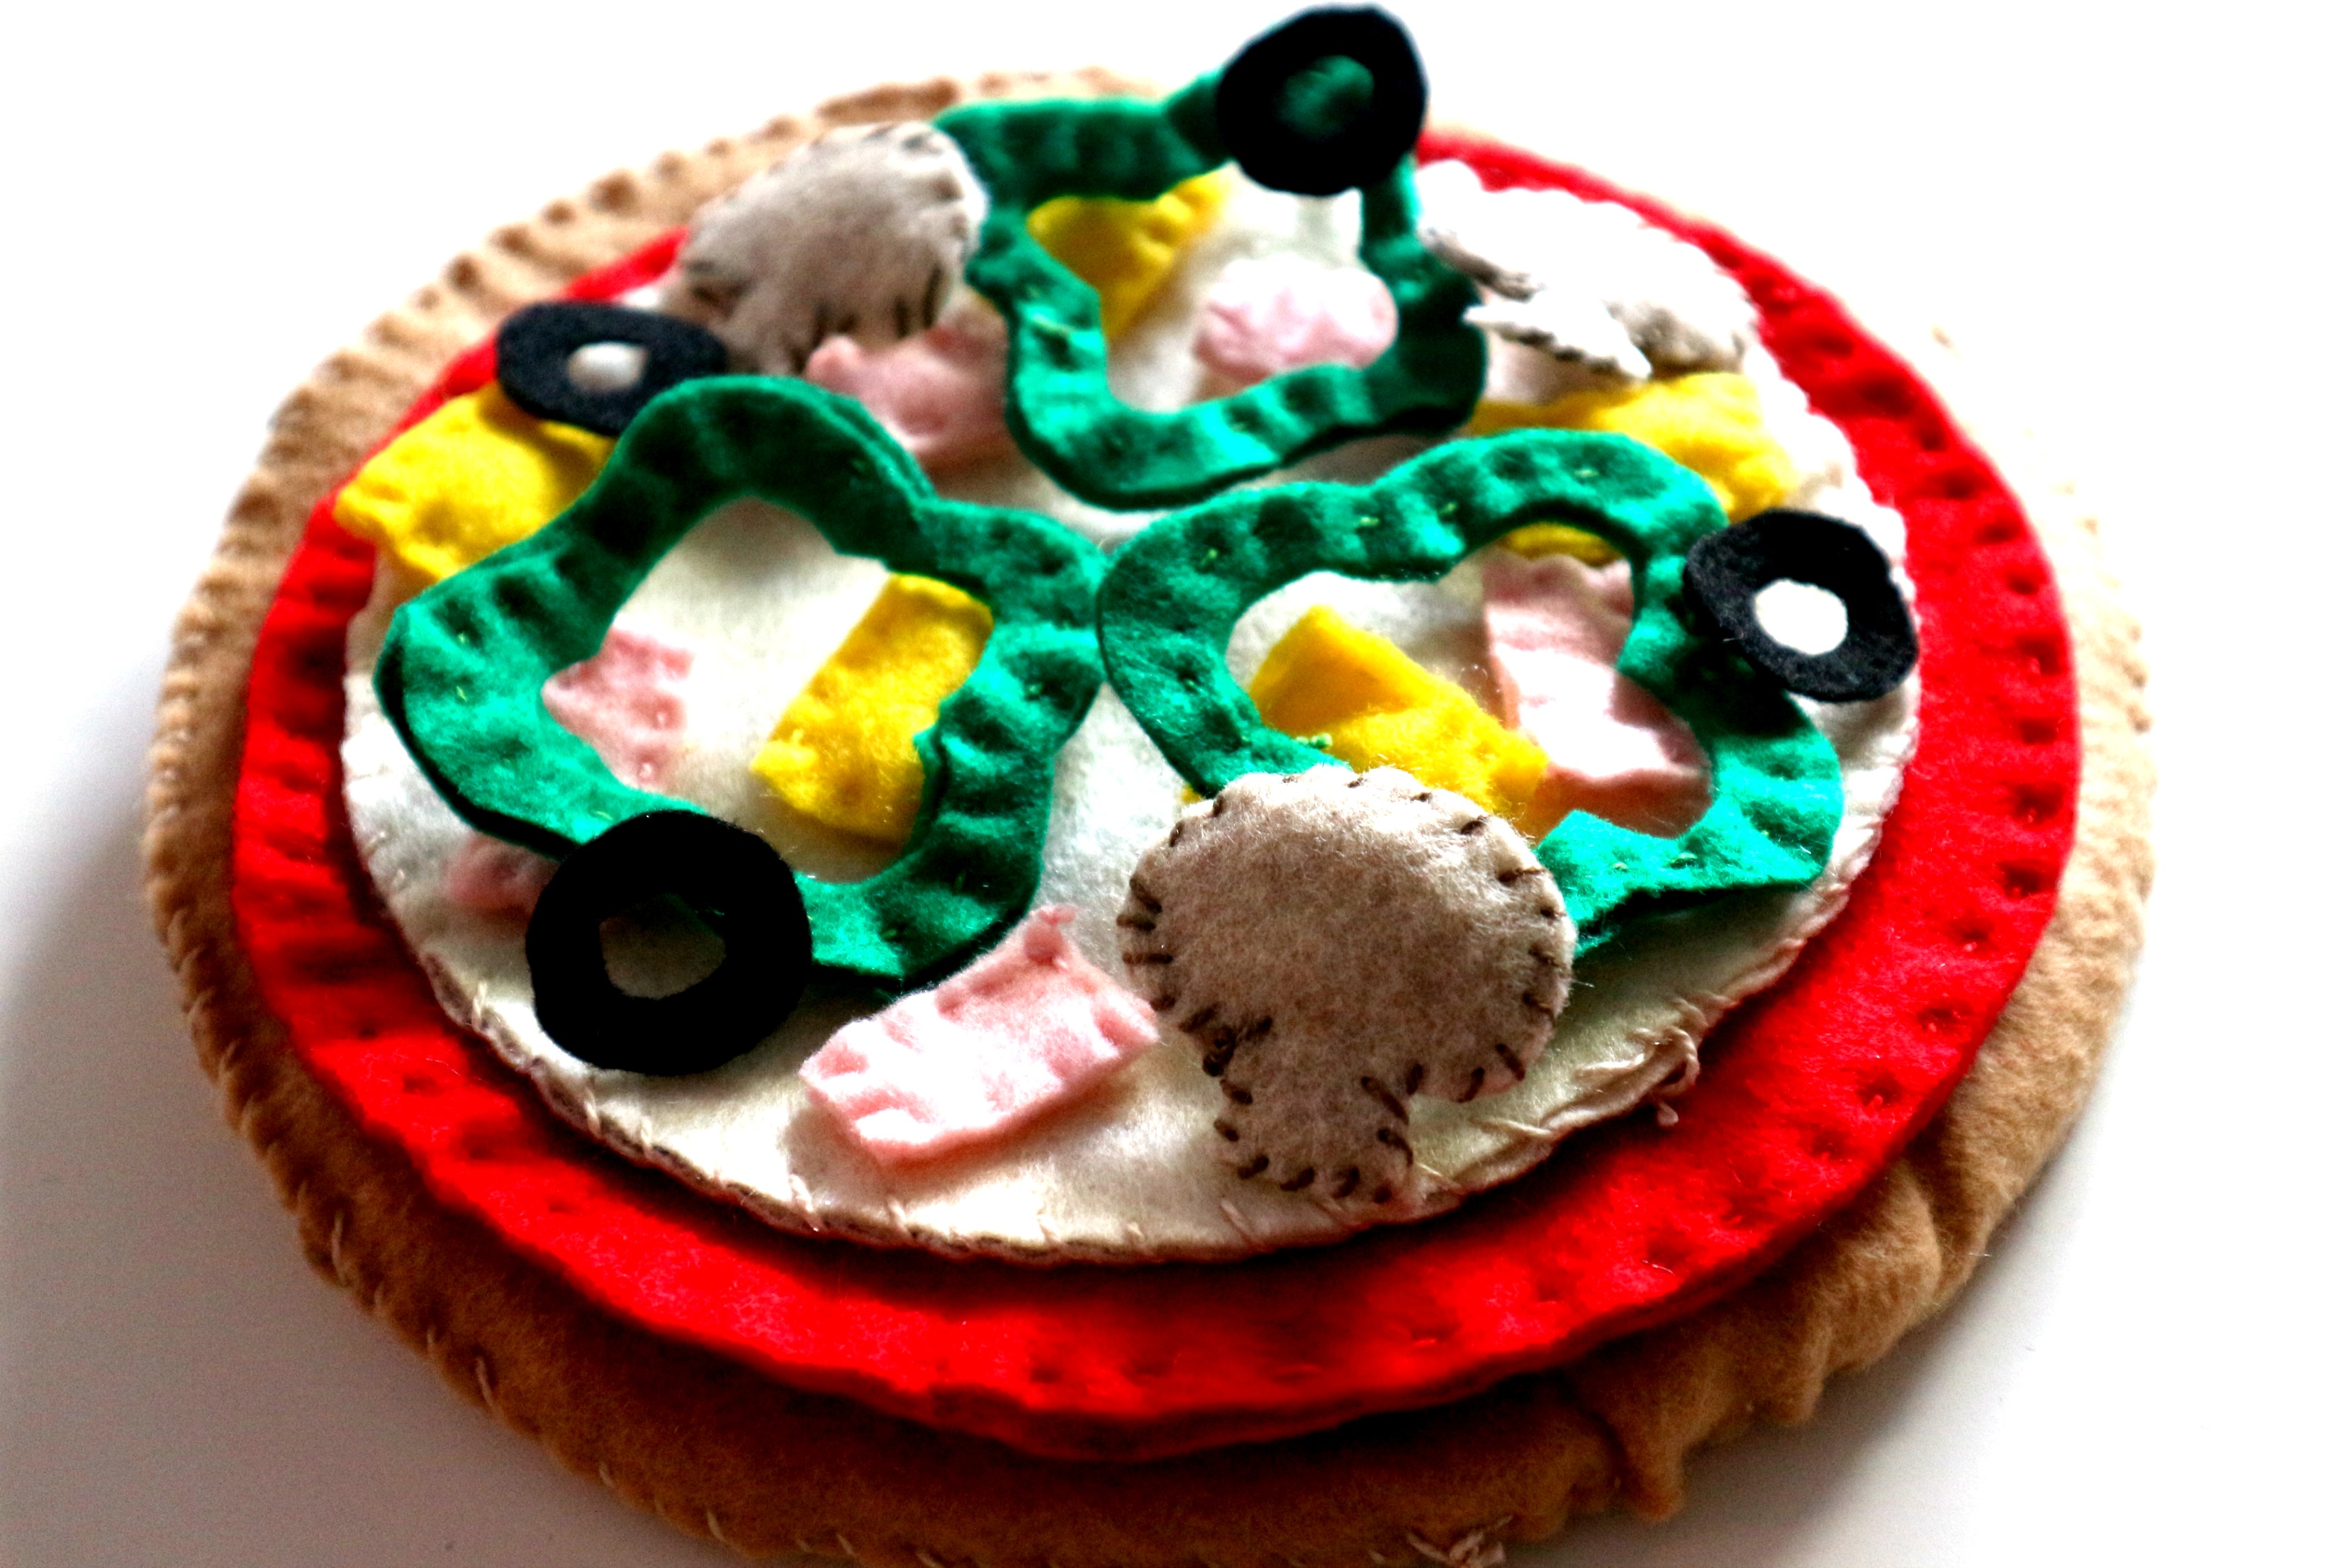
Kids love Pizza! Kids love to imitate their parents in the kitchen! Kids will love to play with this felt pizza.
This pizza toy/felt project can be made in 20 minutes with just scissors and felt or you can spend a few hours if you want to do a bit of hand sewing and add some stuffing.
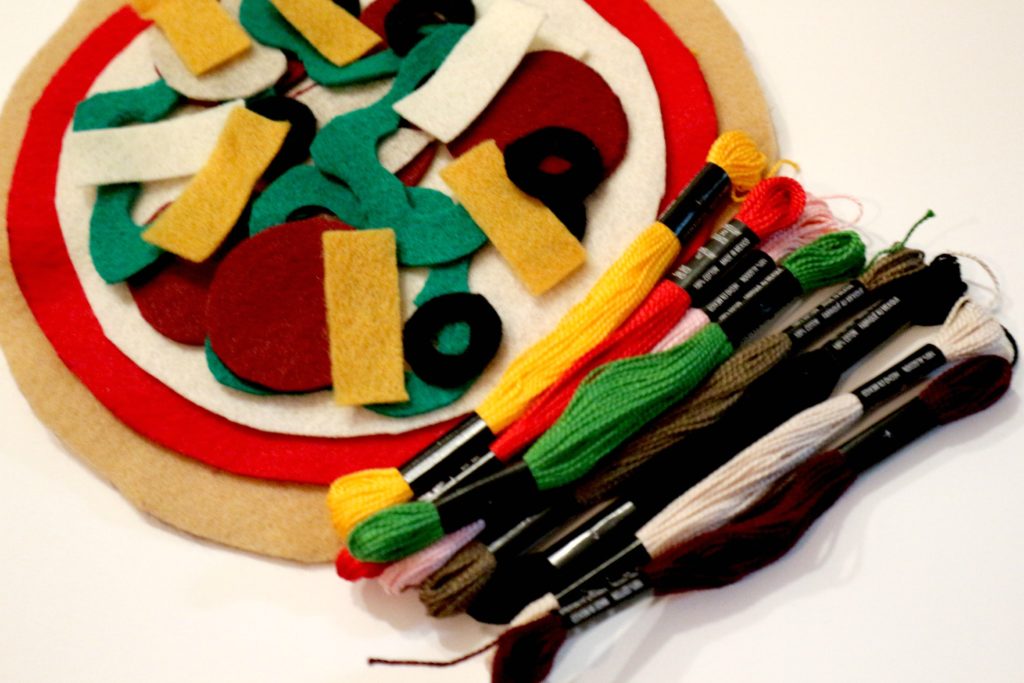
You will need felt in the following colours:
- 2 tan/light brown for the crust
- 2 red for pizza sauce
- 2 white/cream for mozzarella cheese
- 1 dark red for pepperoni
- 1 green for peppers
- 1 grey for mushrooms
- 1 pink for ham
- 1 black for olives
- 1 yellow for pineapple
- 1 orange for extra cheese
You will also need:
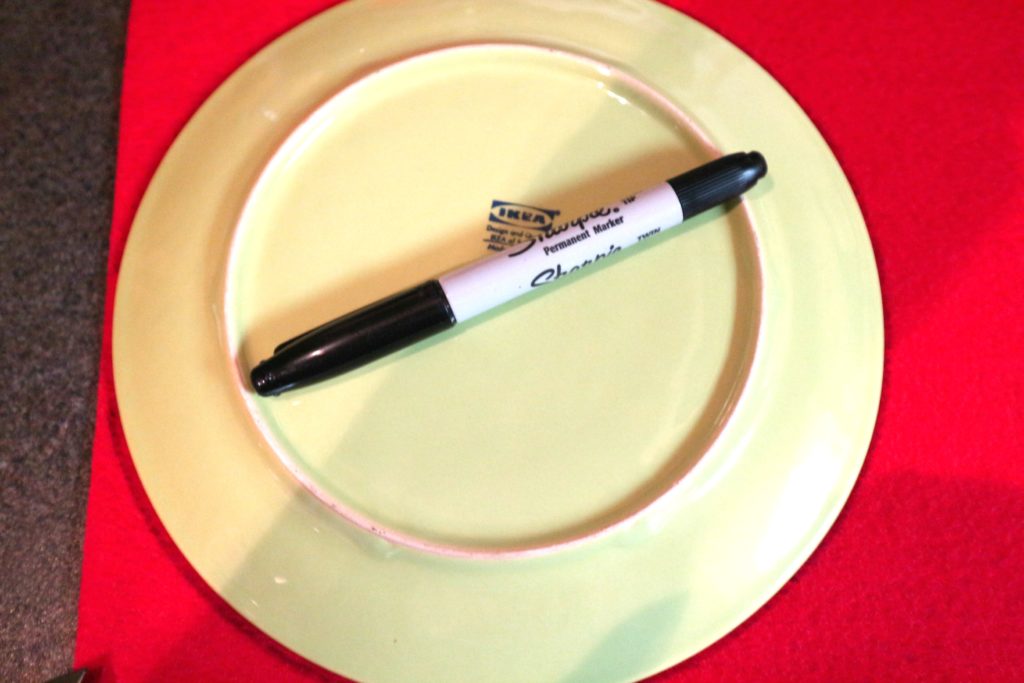
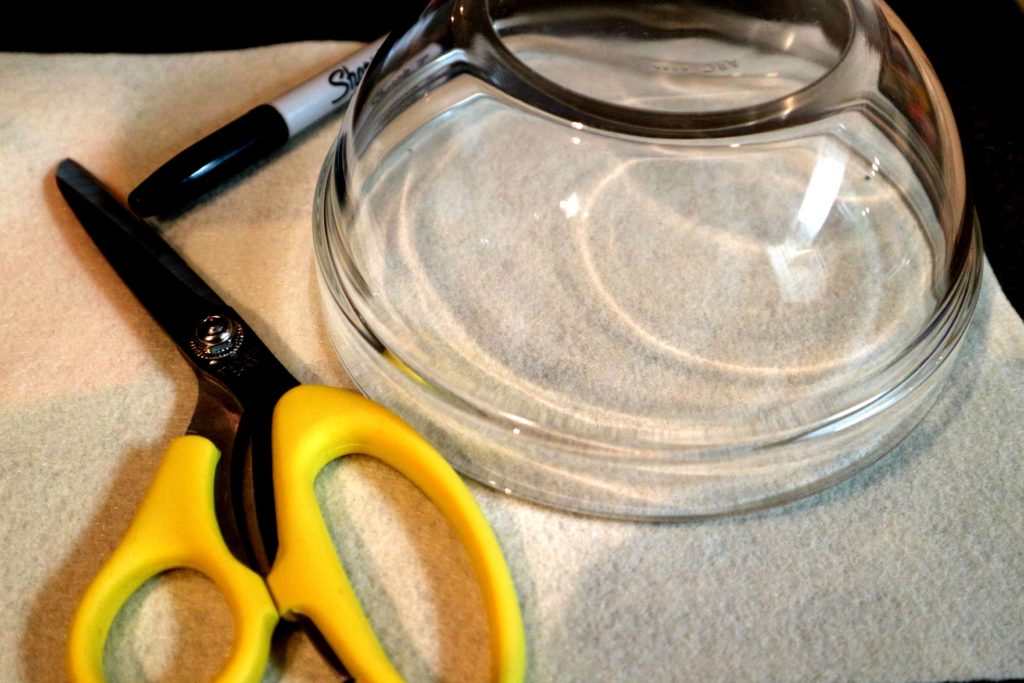
- bowls and plates to trace for big circles
- sewing needle
- embroidery floss (or thread)
- quilt batting or stuffing
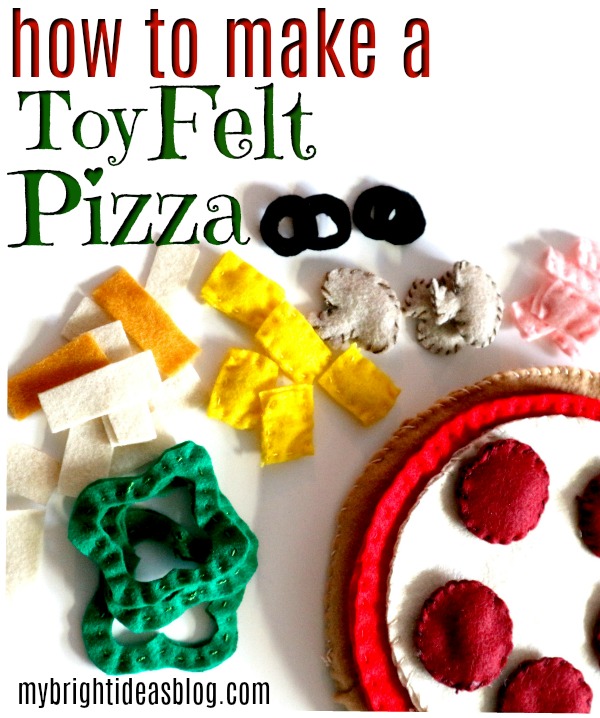
Let’s Get This Pizza Party Started!
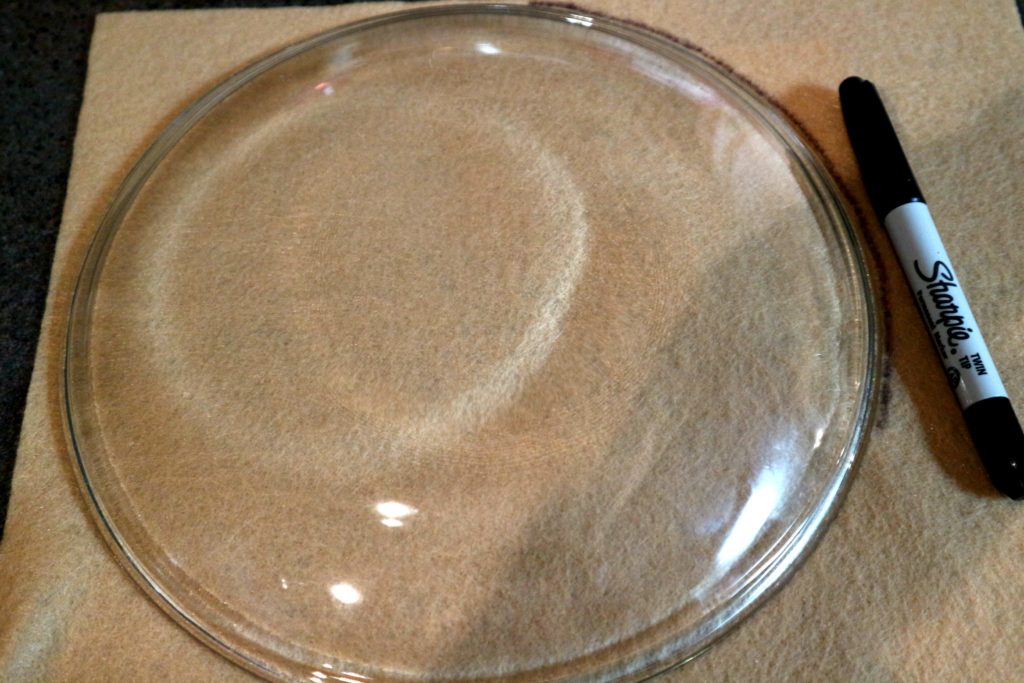
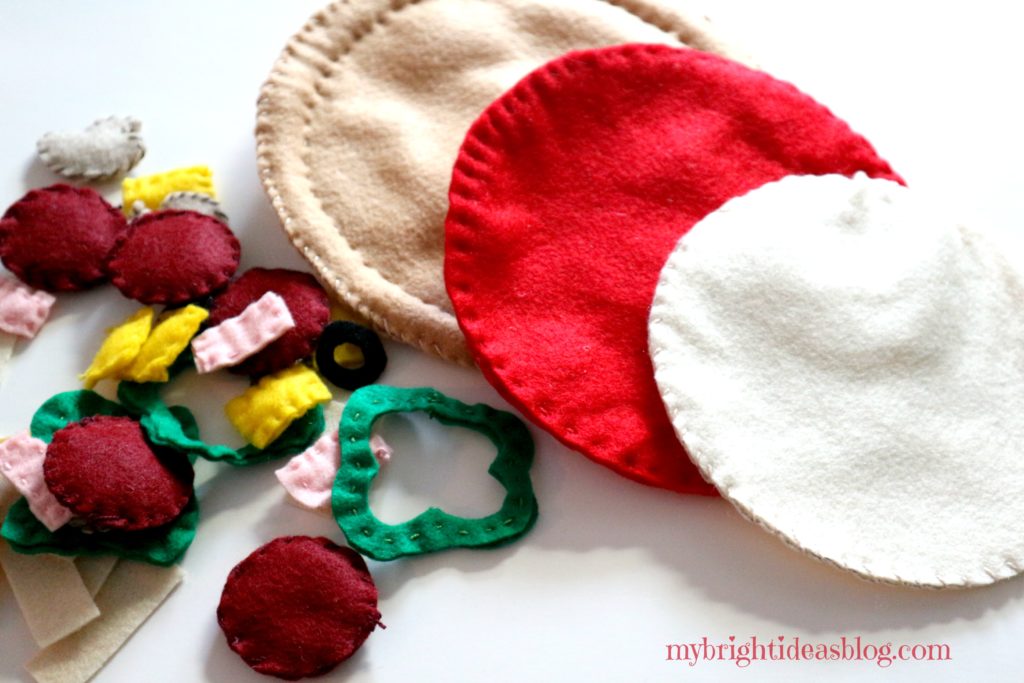
Beige Piece of Felt – Pizza Crust: Trace a large bowl or plate for your crust. Cut 2.
Piece of Bright Red Felt – Pizza Sauce: Using a plate or bowl slightly smaller than the last one, cut a slightly smaller circle than the crust pieces. Cut 2 red circles.
Cream or White Piece of Felt – Mozzerella Cheese: Cut the cheese…tee hee…out of a piece of white felt. Trace a slightly smaller plate or bowl than the piece of pizza sauce red felt. Cut 2 white circles.
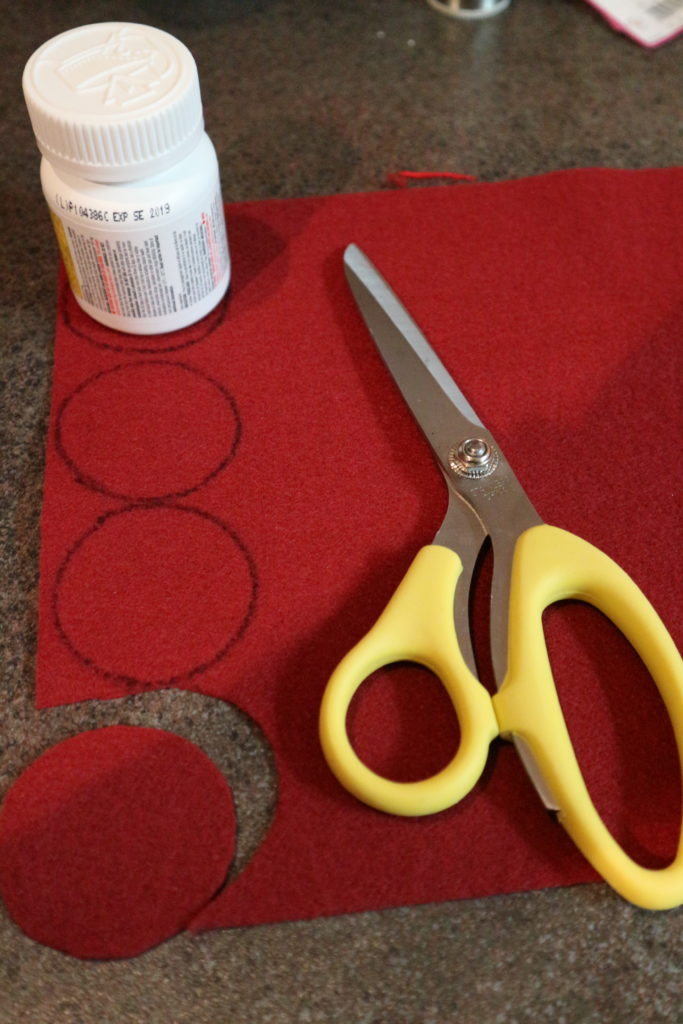
Dark Red Piece of Felt – Pepperoni: Cut 12 circles tracing something small like a vitamin bottle.
Grey/Beige piece of Felt – Mushrooms: Draw a mushroom shape and cut it out. Cut 10 mushrooms.
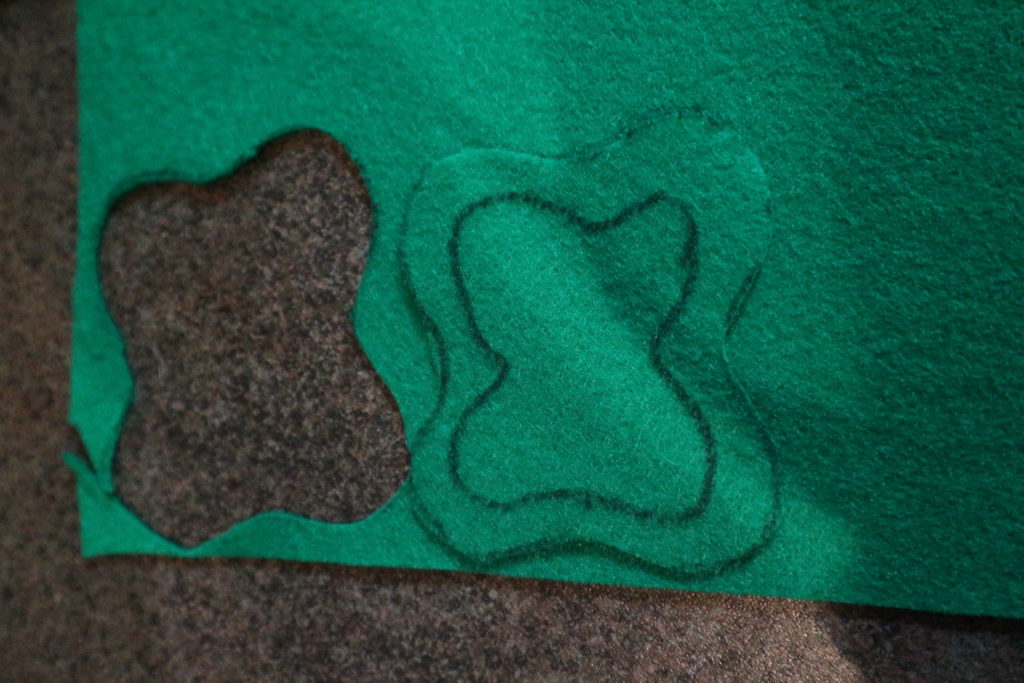
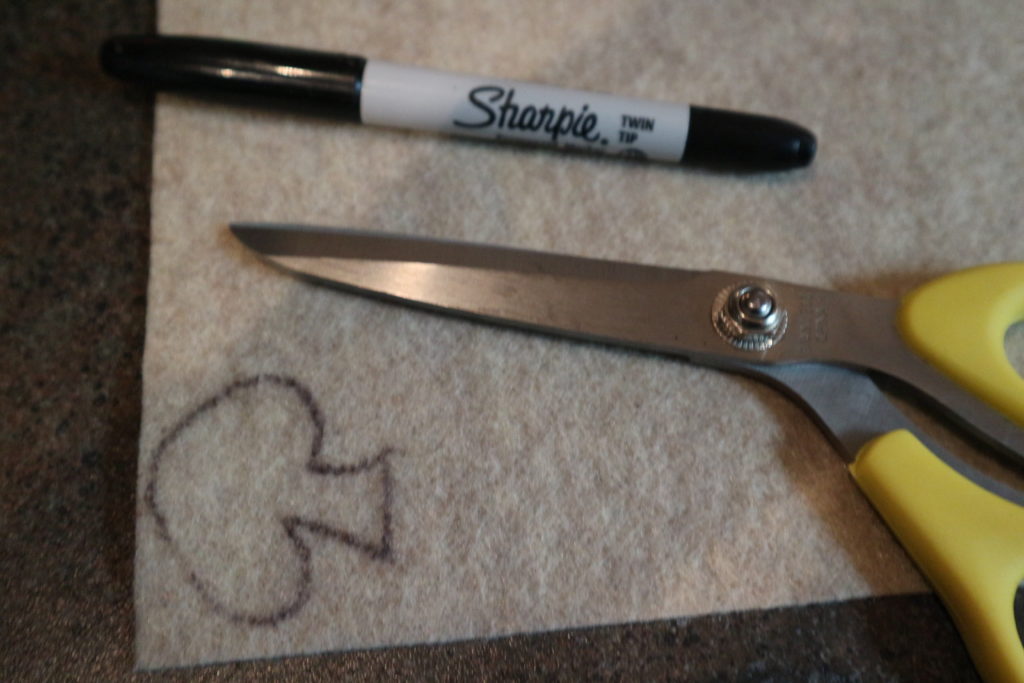
Green Piece of Felt – Peppers – It looks like a wiggly square, then outline it again and cut it out. Cut 8 peppers.
The rest of the toppings are up to you….
Black Felt – Olives: Cut a small circle and trace it a second time. Cut 8 olives.
Orange and White Felt – Grated Cheese: Cut long rectangles for some shredded cheese on top. Cut 6 of each.
Pink Felt Squares – Ham: Cut into squares-10 pink ham squares will be enough.
Orange/Yellow – Pineapple: This begins a great debate about whether you should have pineapple on a pizza. I’m for it! Hawaiian Pizza is my favorite. If you feel the same cut 10 pineapple pieces.
You aren’t a sewer? Then you could stop now and you can use this as a toy as it is. If you want to make it more 3 dimensional, find colors of embroidery floss that will closely match the colors of the felt.
Finishing the Pizza with Hand Sewing
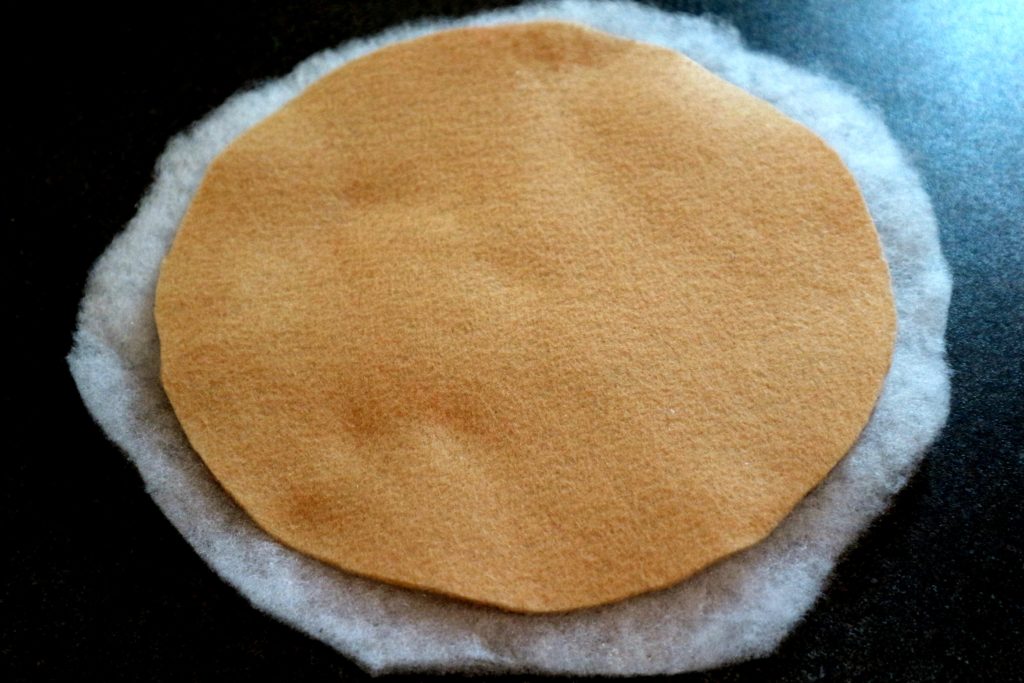
Finish the pizza crust: Cut a piece of cotton batting an inch larger than the pieces of beige felt. Sandwich the batting between the two pieces of beige felt.
Hand sew around the outside folding and tucking the excess inside the pieces of fabric. I think I used a whip stitch but you could also do a blanket stitch for this part.
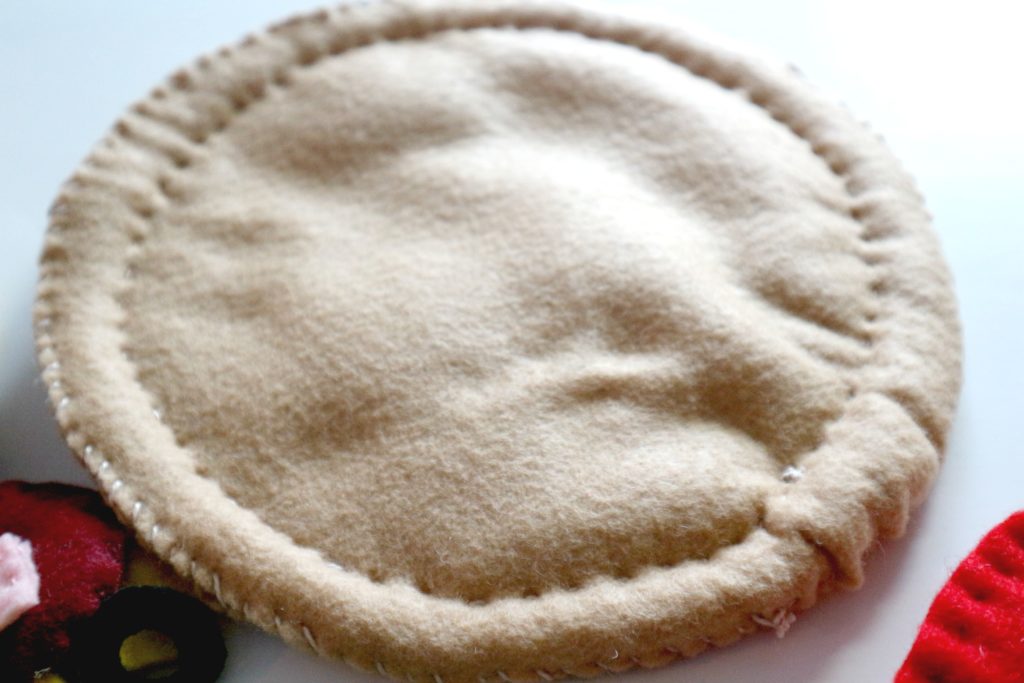
Sew around again an inch inside the seam to create the edge of the crust. For this I used a running stitch.
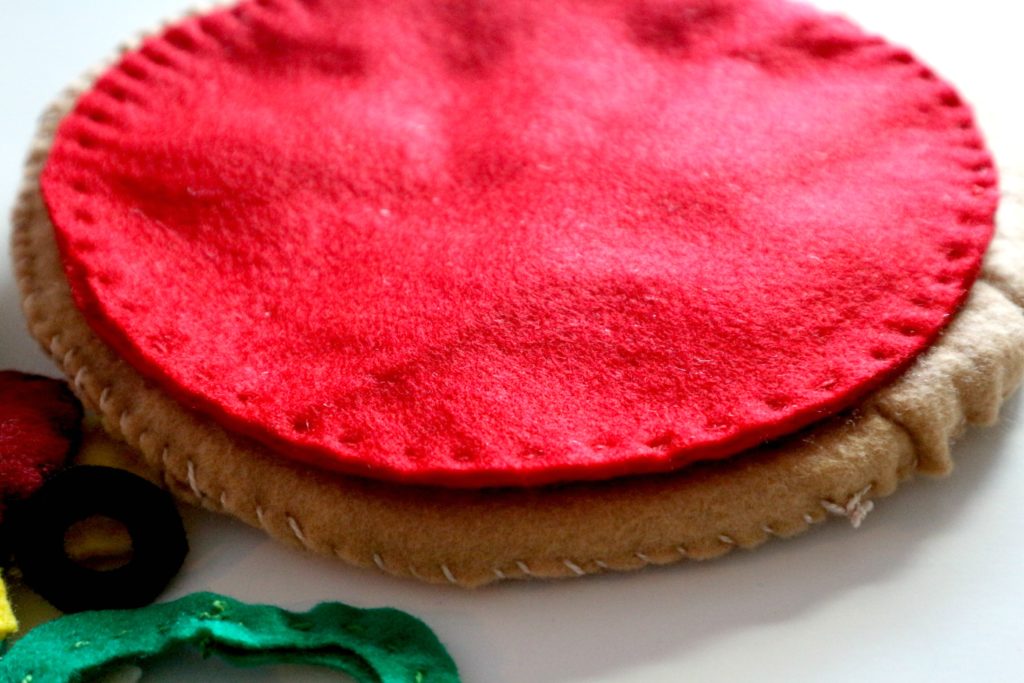
Stack the 2 pieces of red and sew around the edge with a running stich.
Next, put the two white pieces of mozzarella cheese pieces together and sew around the edge. Stitch each of the toppings together.
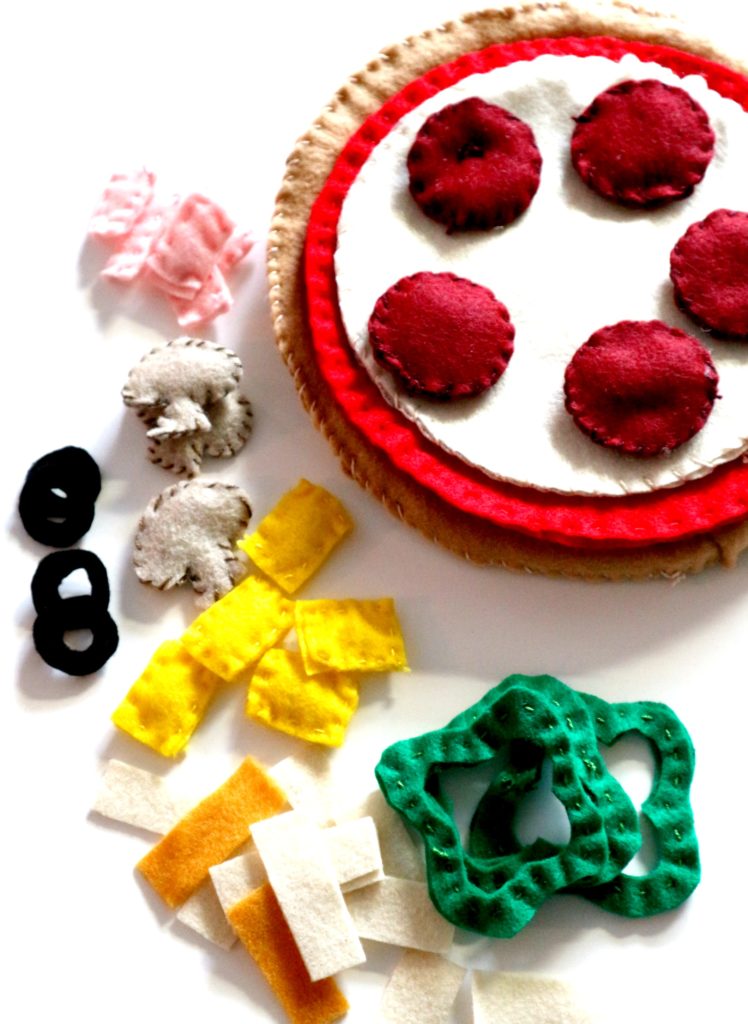
When sewing the pepperoni I added a little stuffing. The rest… mushrooms, ham, green peppers, pineapple were all sewn together….the olives and shredded cheese pieces I left as a single layer but you could double it and sew them together.
That’s all there is to it!
Store your pizza pieces in a large ziplock bag so you don’t lose the pieces. Have fun making this project for a little one in your life.
Here is the link to my previous post to make a no sew felt pizza.