
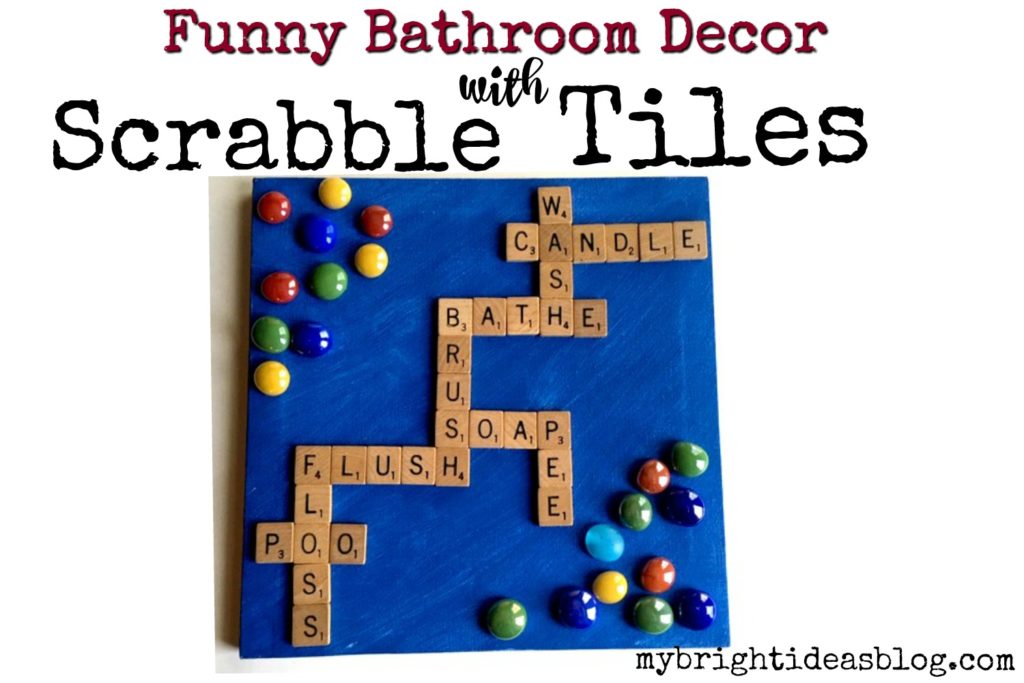
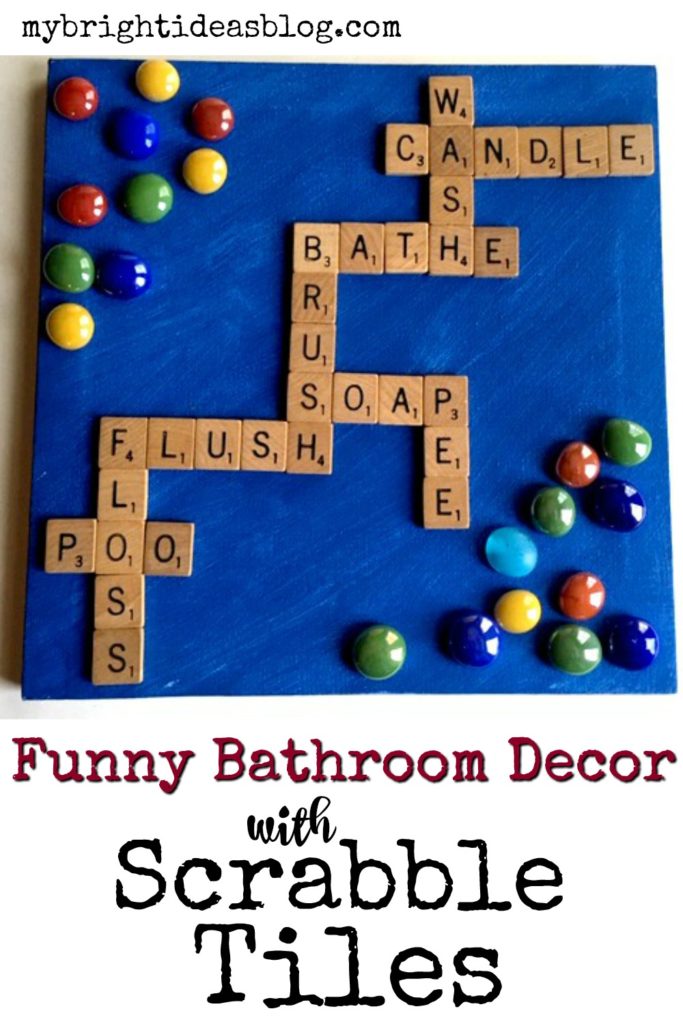
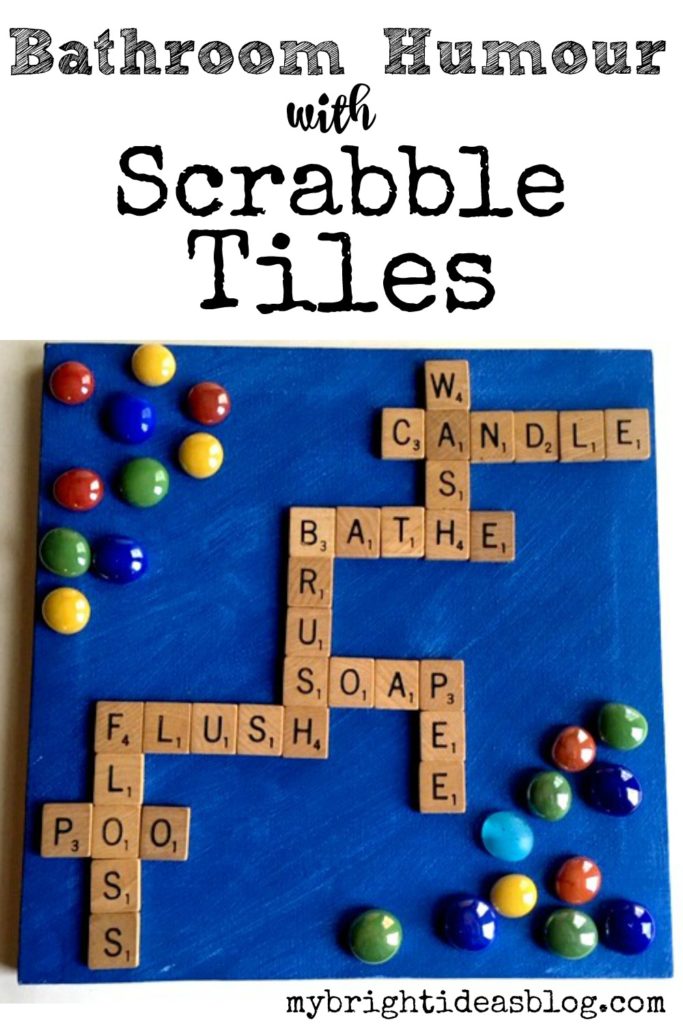
Here is a fun idea for using scrabble tiles to make a bathroom sign that will make your guests chuckle!
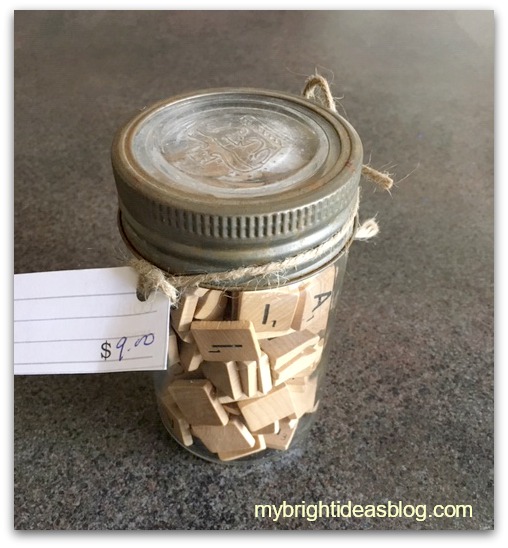
A while ago, I found this jar of scrabble tiles at an antique store. I could probably find scrabble tiles for a cheaper price in an old board game box at a thrift store but this cool old jar reminded me of my mom’s canned peaches…so I bought it.
For this craft you will need:
- scrabble tiles
- blank canvas
- craft paint and paint brush
- hot glue gun
- glass stones or other decorative items
![]()
I used a 12×12 blank artist canvas from the dollar store. Nothing but the best! Tee hee.
It would be sensible to paint your canvas right away so that it’s got time to dry.
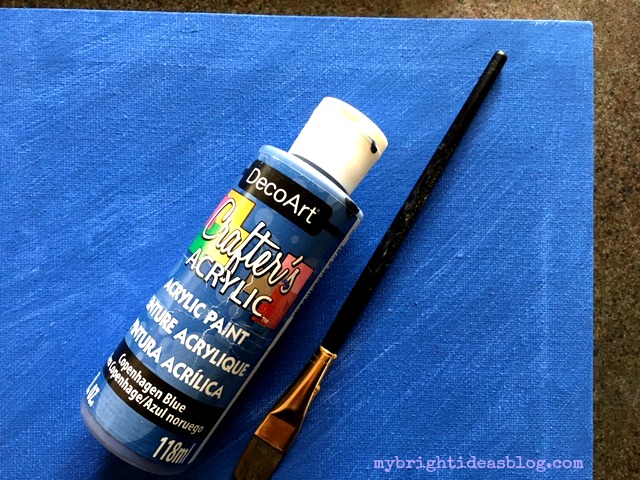
“Copenhagen Blue” craft paint, my brush, canvas, hot glue gun and glue are all dollar store supplies. I was really tempted to leave mine white so I didn’t paint it right away. But later I changed my mind. This meant that I needed to slide all the tiles off and paint it before I could glue it on.
Now for the fun part!
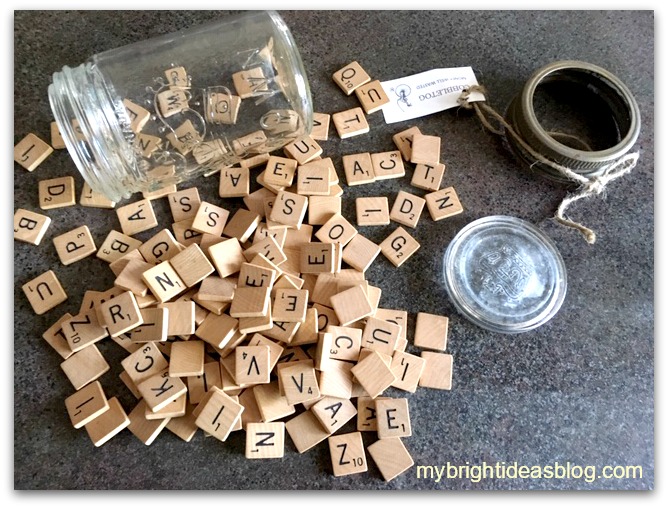
Spread out your tiles and see what sort of bathroom words you can find.
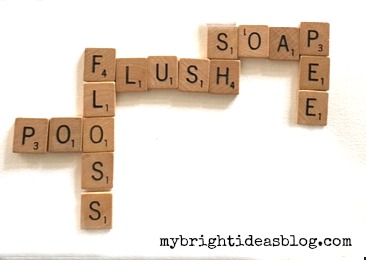
Pee, poo, aim and flush are my best toilet words. Shower, wash, bathe (or bath), soap, bubbles, shampoo, tub etc. for the bathtub words. Brush, floss, gargle, spit for the dental hygiene words.
After you have found the letters to your favorite words you need to make them line up with other words on your canvas or board. This can be a bit frustrating.
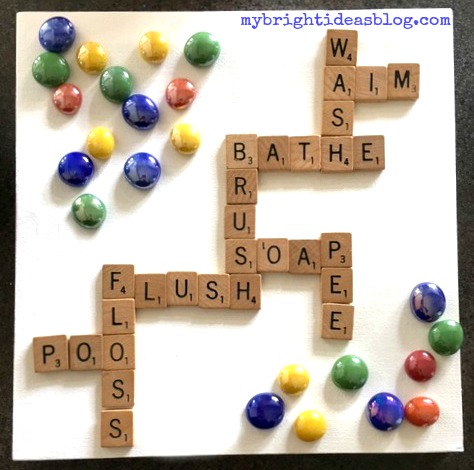
I tried some random craft supplies before I settled on the bright glass stones and blue paint.

Since I hadn’t painted it yet I needed to carefully remove the tiles and set them aside while I painted my canvas blue. It dries very quickly.
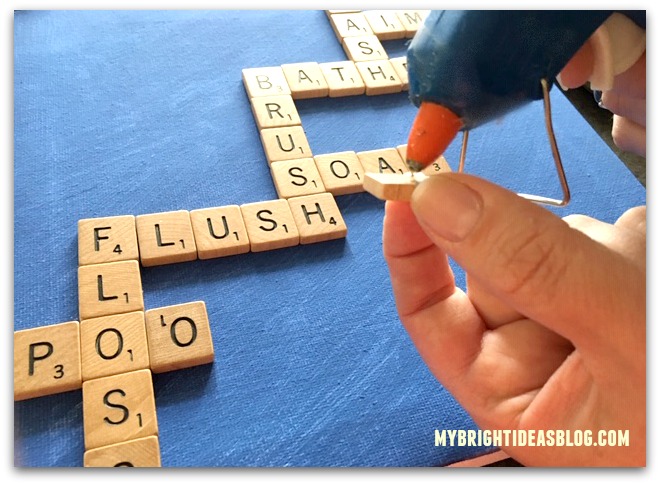
Then I recreated the words in the right order and using a hot glue gun, glue each peice into place.
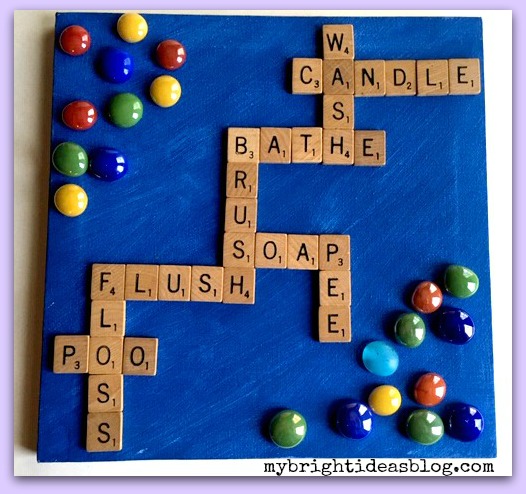
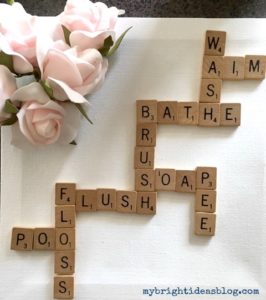
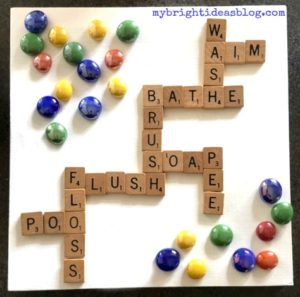
And there you have the final product! I thought the blue represented water and the glass stones were bubbles.
…
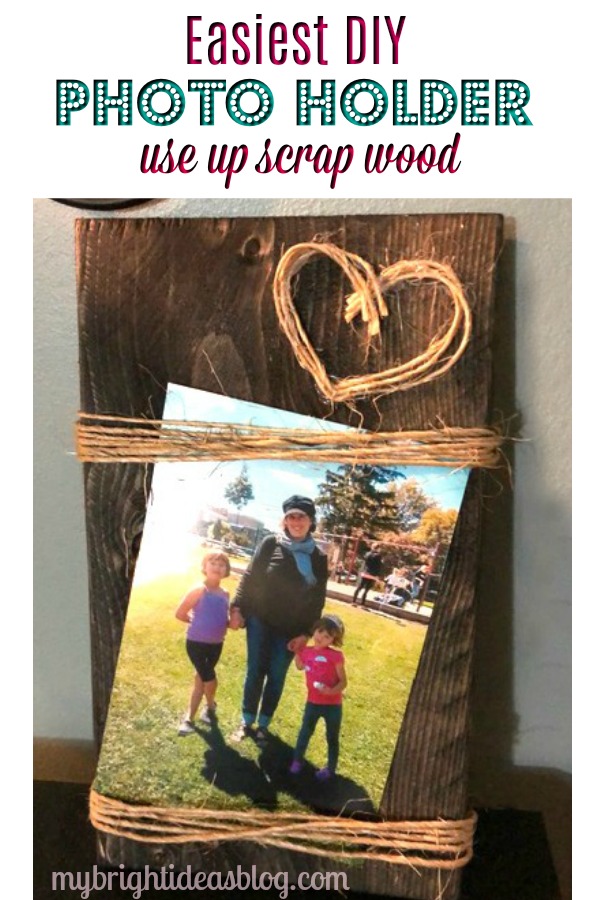
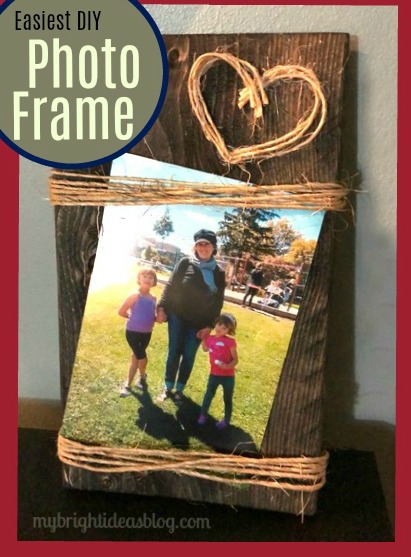
Easy Wood Photo Frame Idea
Let’s make a 5 minute craft that looks great-a rustic picture frame that holds a typical 4×6 photo.
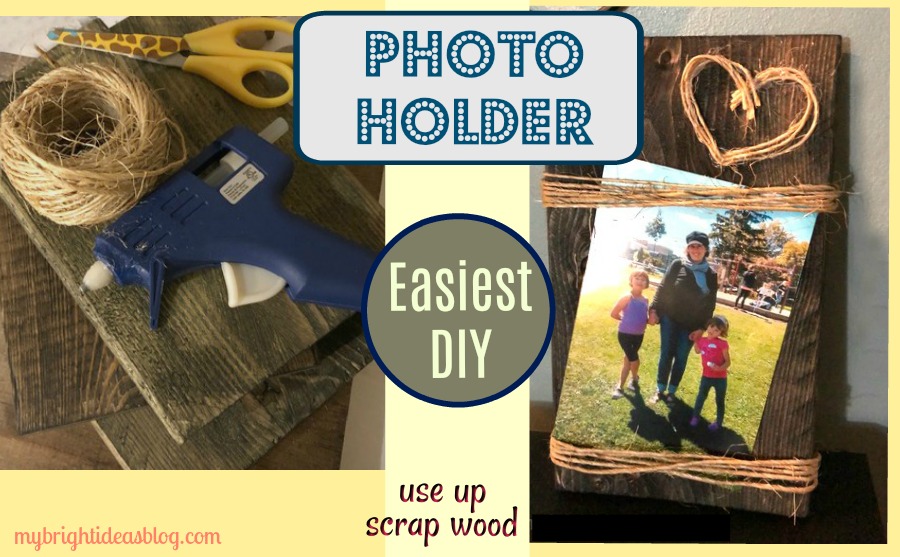
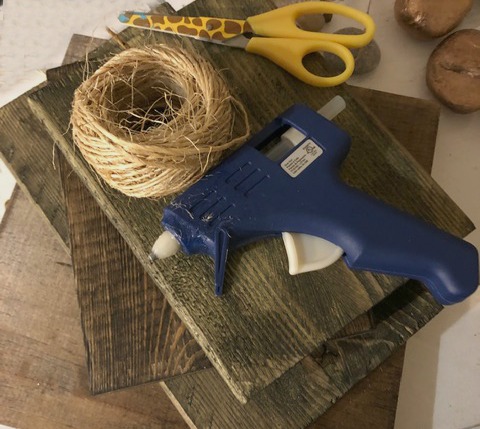
Before the winter weather came in our direction I planned ahead for winter crafts by cutting up scraps of lumber and coating it with a bit of dark wood stain. You never know what sort of crafts could use a bit wood and hot glue gun. I’ll post some other wood scrap ideas at the bottom of the post.
Rustic Wood Photo Holder
You will need:
-
- a scrap of wood approx. 5 inches by 9 inches
- walnut wood stain
- rag
- basic twine
- hot glue gun
- ruler
- picture hook or eye screws
- 4×6 photo
The piece of wood I used was a 1×6 board originally. In actuality its more like 5 1/4 inches wide and 9 1/4 inches long (13cm x 24cm). Use what ever you have this doesn’t need to be exactly the way I did it.
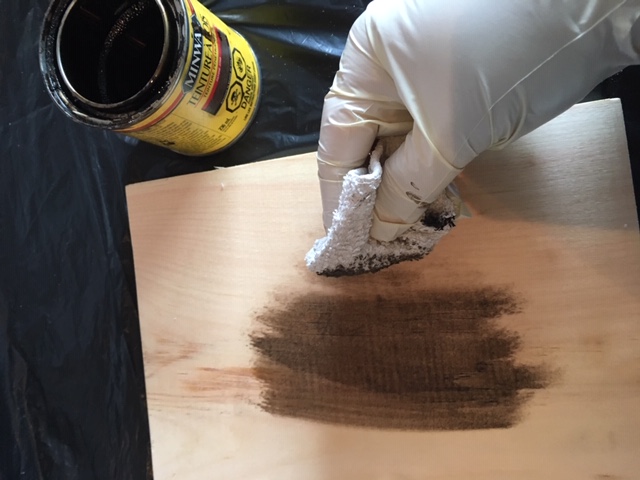
Stain the wood with a rag dipped into a dark brown stain such as Minwax Walnut or Jacobean.
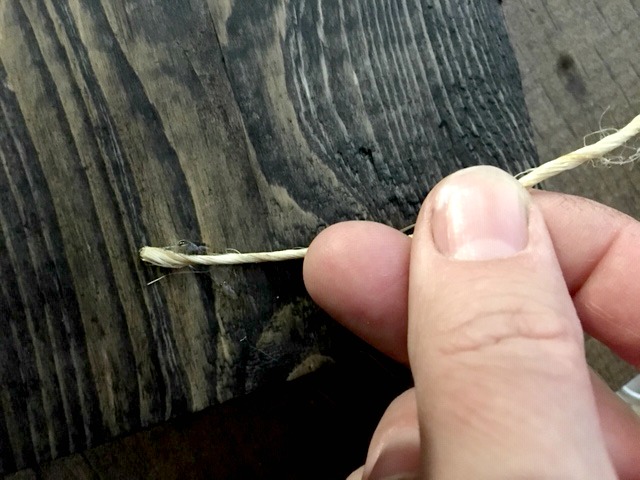
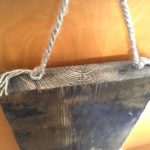
After the stain is dry, choose the better looking side to be the front. Turn it over and using a hot glue gun, glue the end of the twine to the back of the wooden board approx. 1 inch from the bottom.
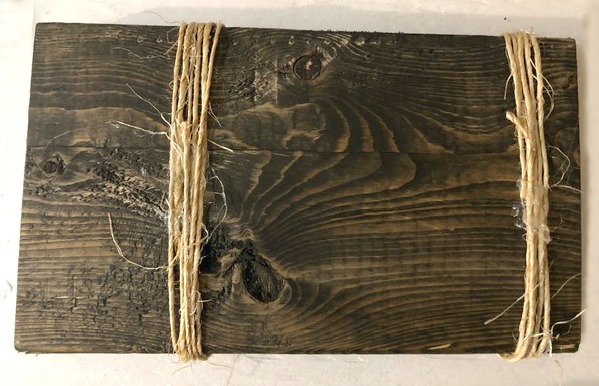
Wrap the twine around the board approximately 5 times keeping it fairly tight and adding more hot glue to secure each line of twine.
Repeat again 5 and 1/2 inches away from the first twine wrapped section. Have a 4×6 photo handy to test out the distance you would like the top and bottom of the photo.
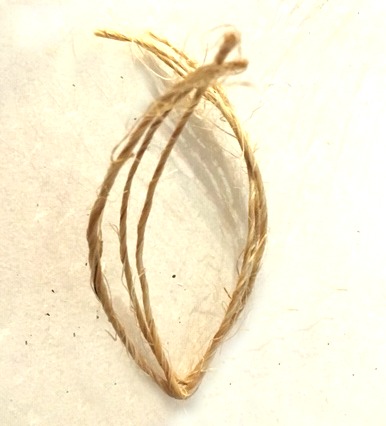
Take 2 or 3 strands of twine and cut to 7 inches long.
Bend the twine in half so there is a point for the bottom of your heart.
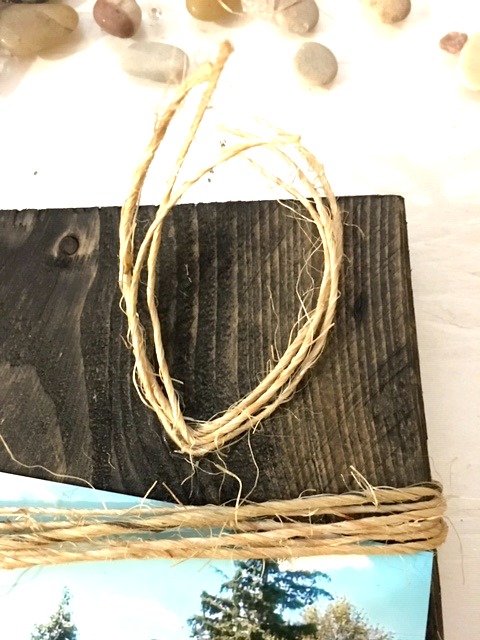
Add a dab of glue to the bent area of the twine and secure it onto the board. I added to the top right.
Add more small dabs of glue at the top of the heart. Use very little here because we don’t want it to dribble and show on the finished side.
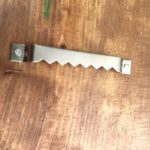
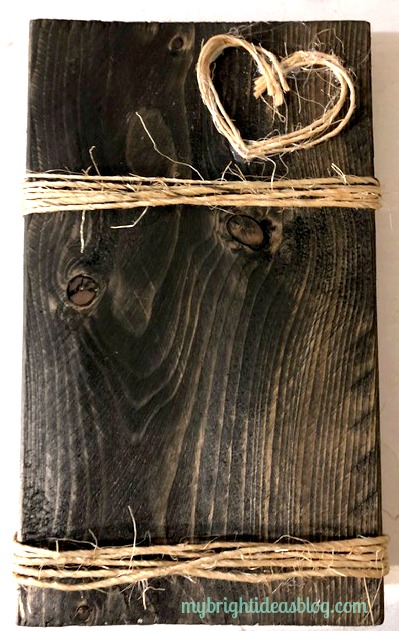
If you would like it to be able to hang up on the wall you could hammer in a picture hook. Another option is the screw in eye hooks and tie more twine or jute rope to hang it up.
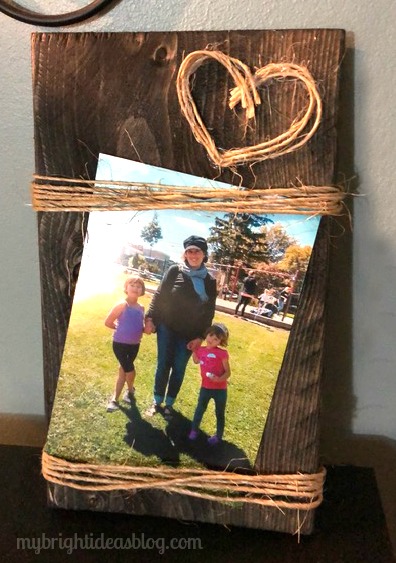
Add a special photo and give it as a gift.
I put this on the craft table at work and it sold right away! Fortunately, I have a stack of wood ready for more crafting. See the links below for more ideas for how to use up the little pieces of wood you have in your cut off scrap pile.
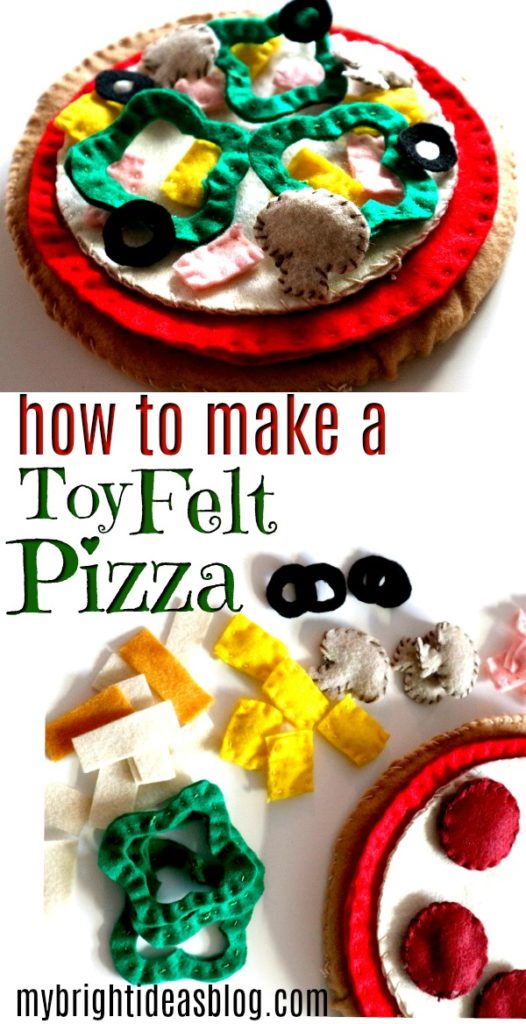
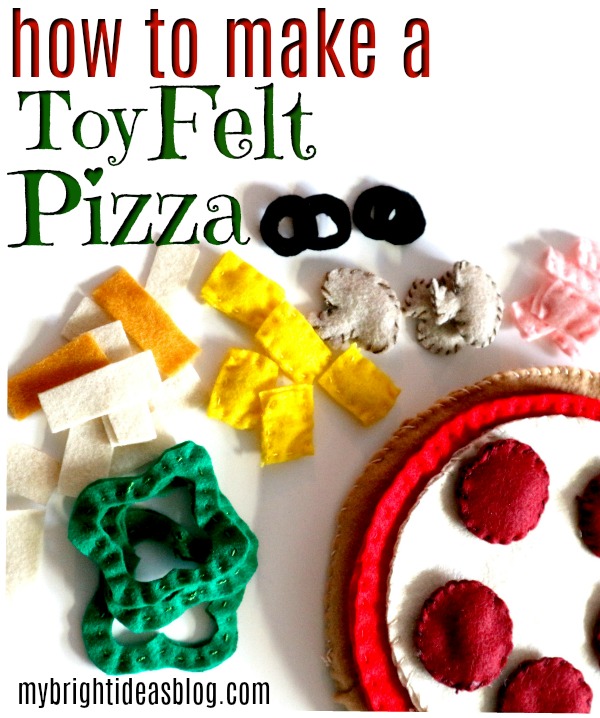
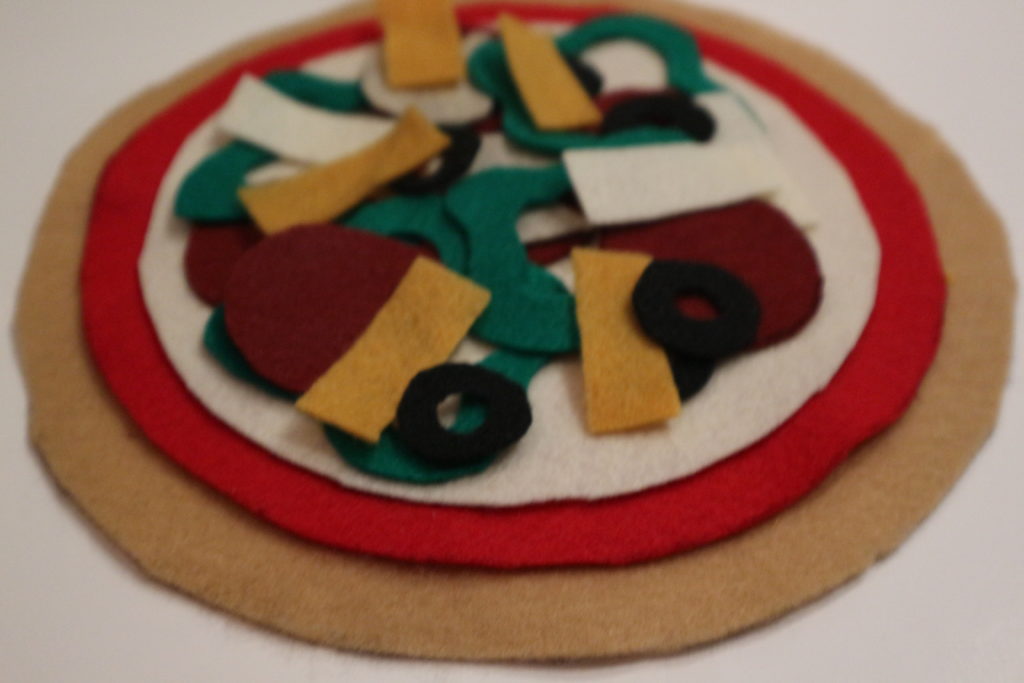
Cloth Pizza Toy Made From Felt
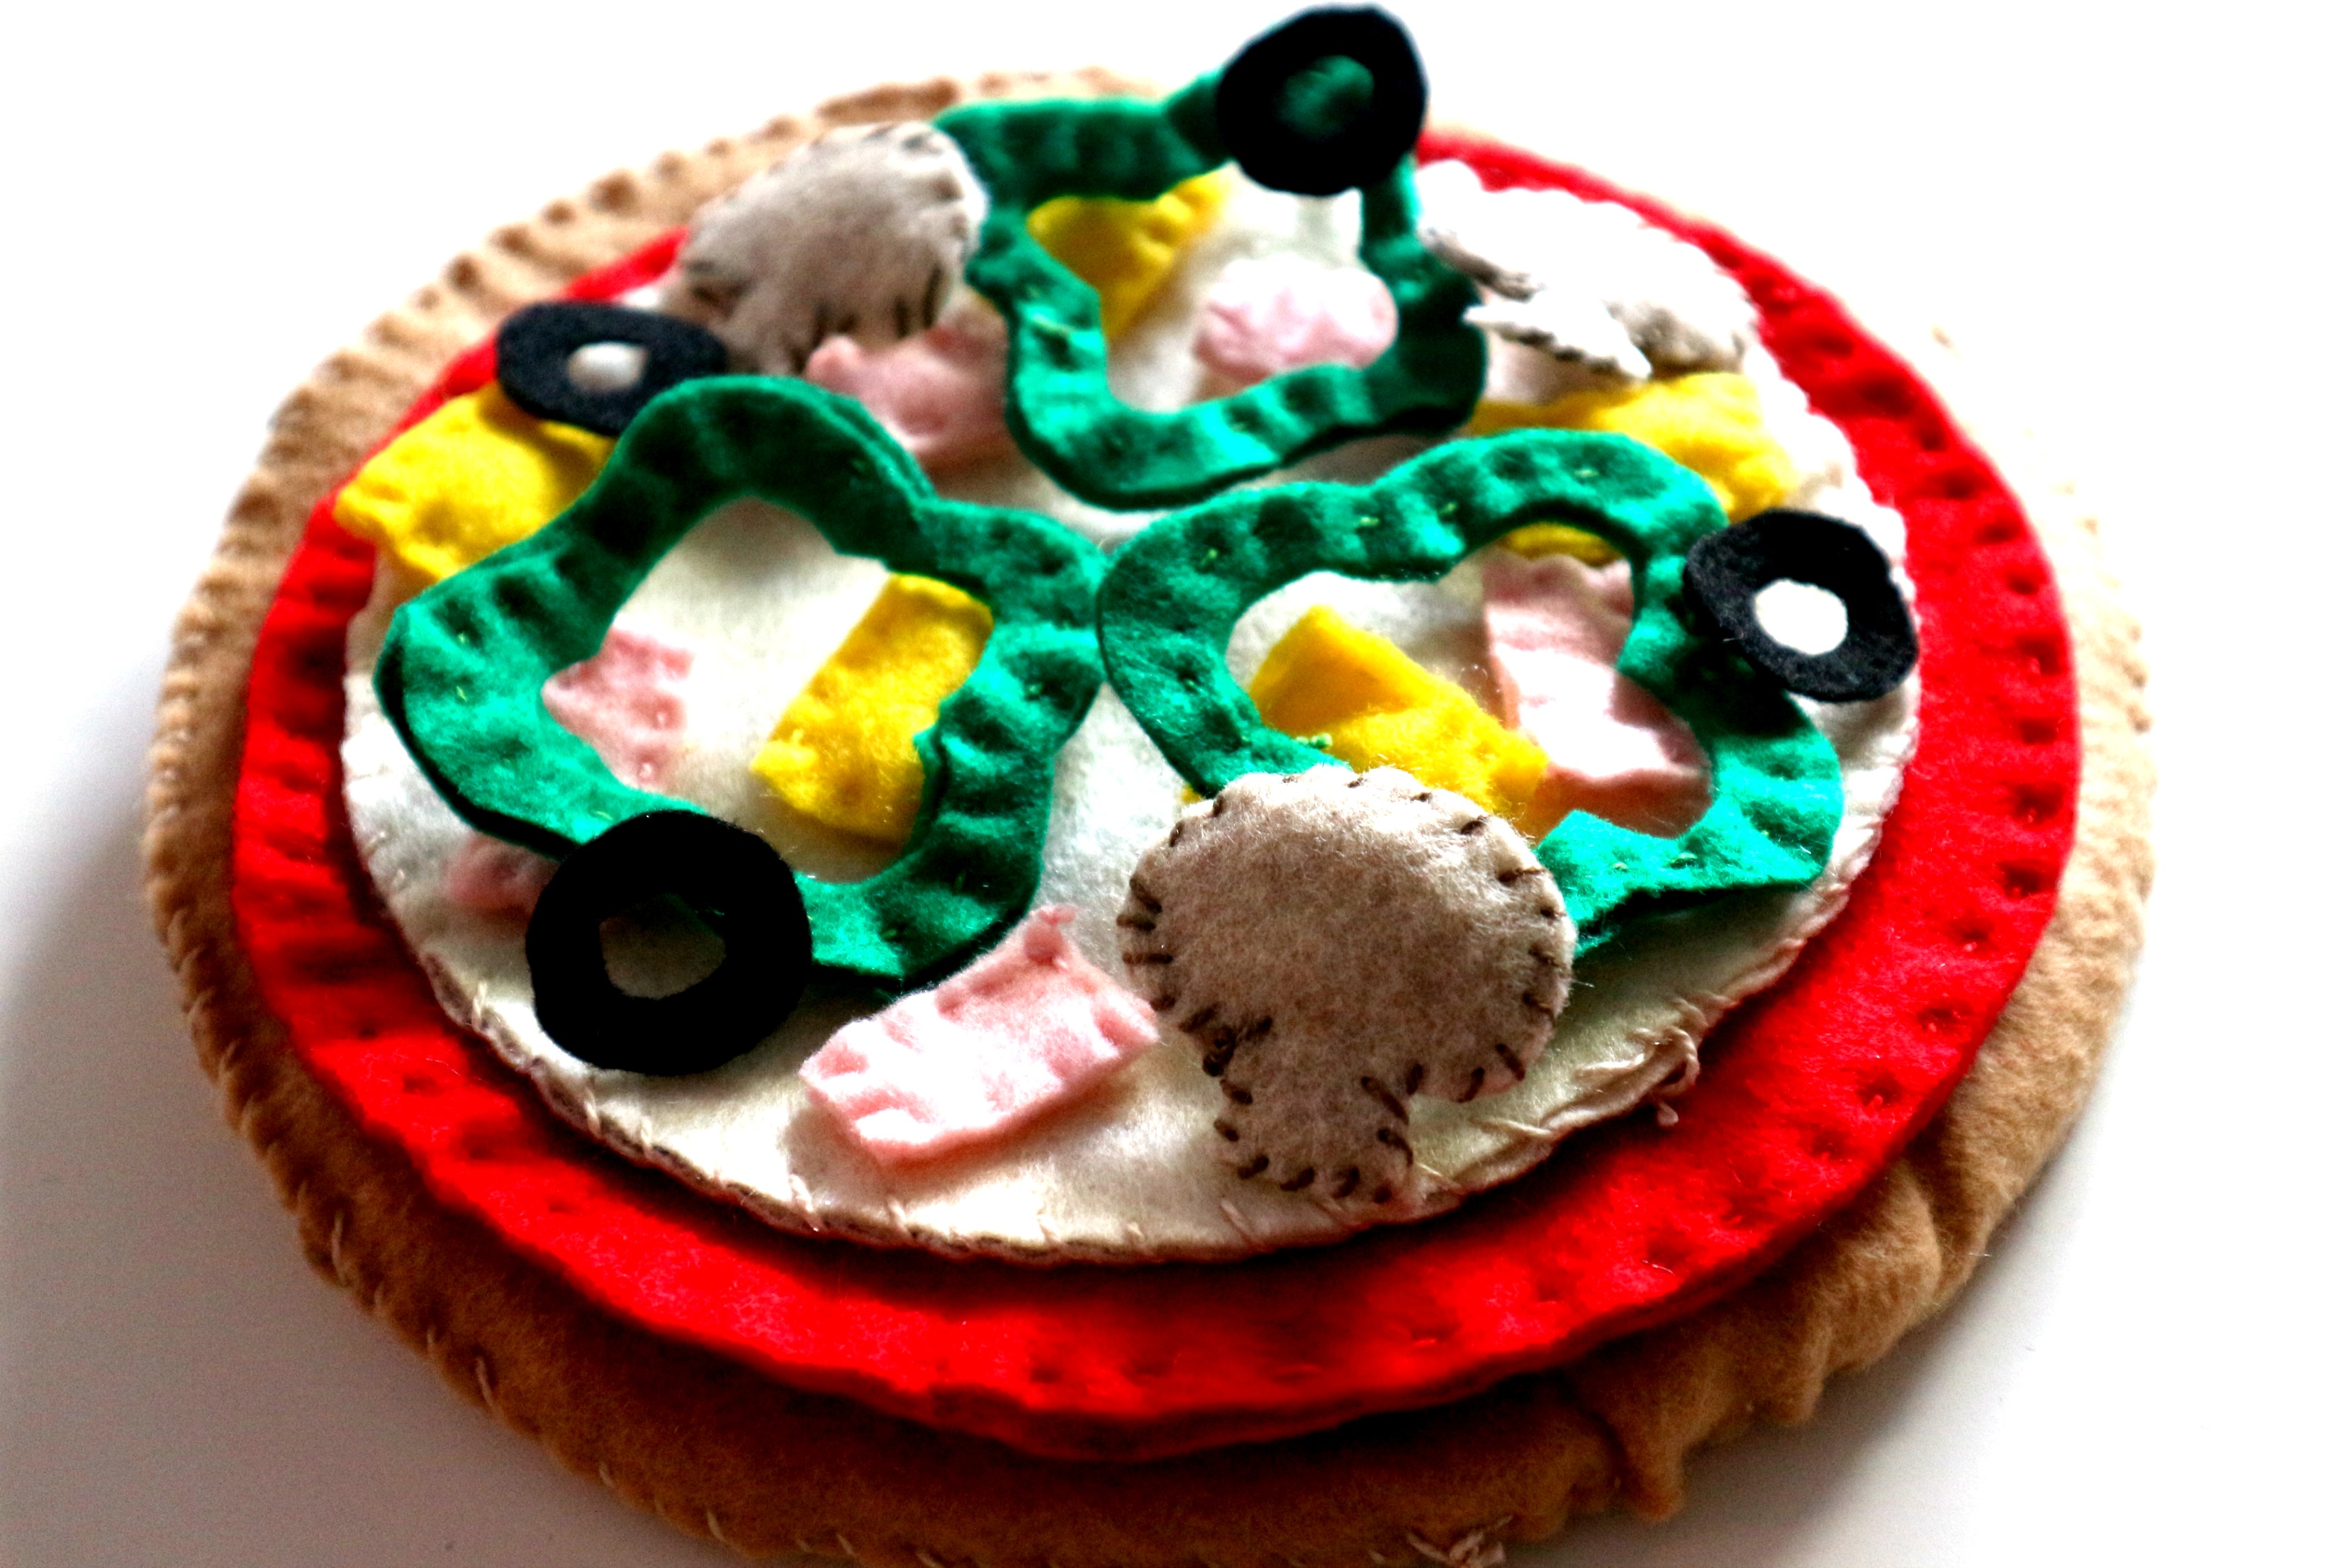
Kids love Pizza! Kids love to imitate their parents in the kitchen! Kids will love to play with this felt pizza.
This pizza toy/felt project can be made in 20 minutes with just scissors and felt or you can spend a few hours if you want to do a bit of hand sewing and add some stuffing.
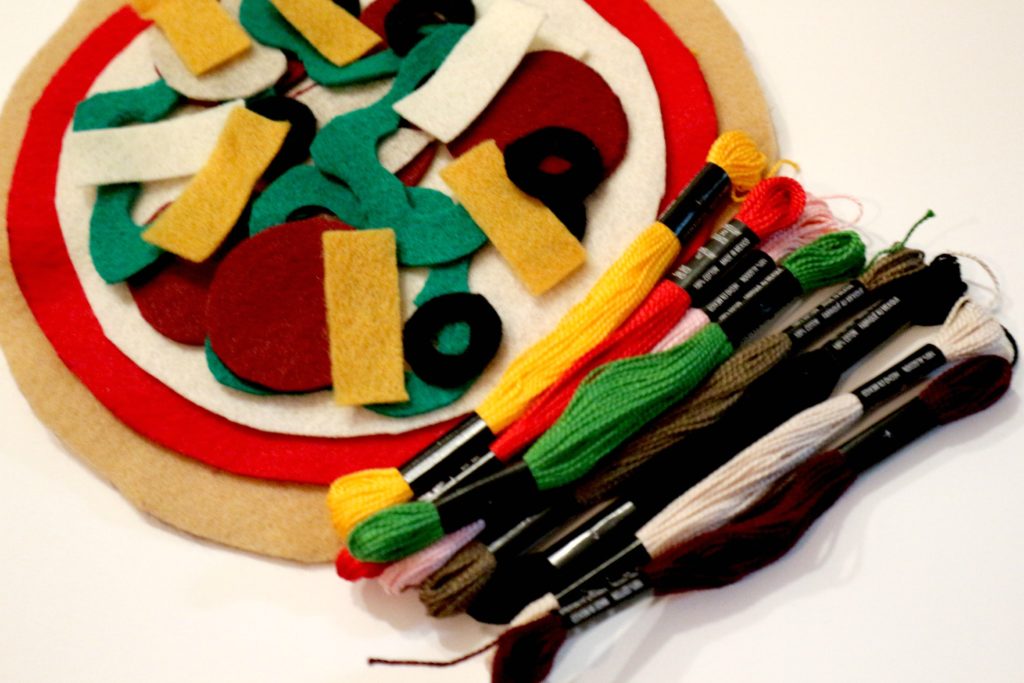
You will need felt in the following colours:
- 2 tan/light brown for the crust
- 2 red for pizza sauce
- 2 white/cream for mozzarella cheese
- 1 dark red for pepperoni
- 1 green for peppers
- 1 grey for mushrooms
- 1 pink for ham
- 1 black for olives
- 1 yellow for pineapple
- 1 orange for extra cheese
You will also need:
- bowls and plates to trace for big circles
- sewing needle
- embroidery floss (or thread)
- quilt batting or stuffing
Let’s Get This Pizza Party Started!
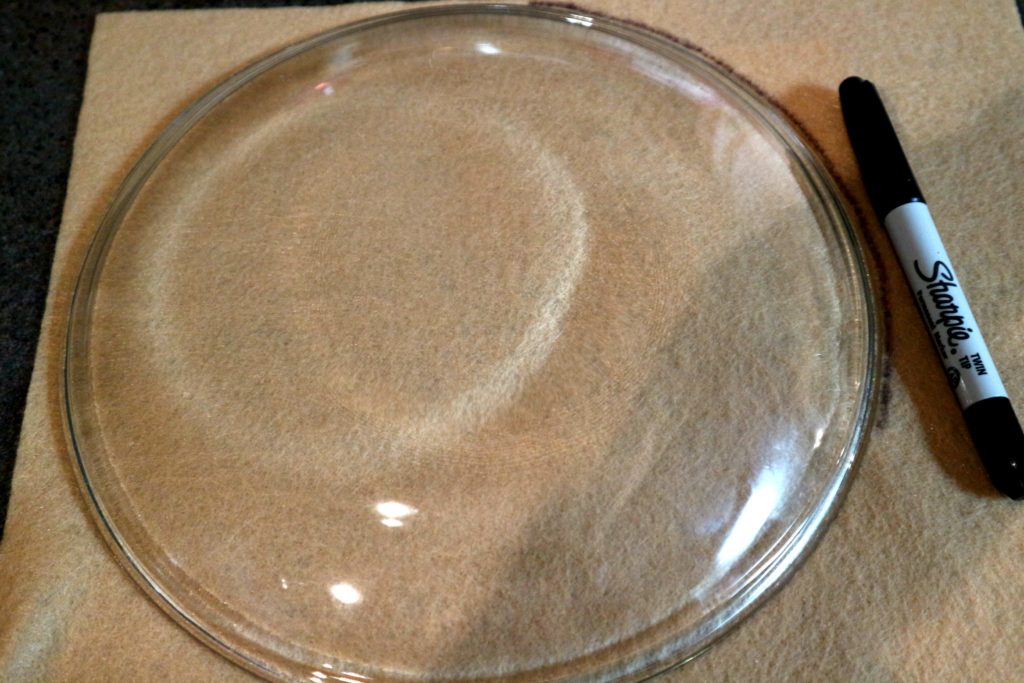
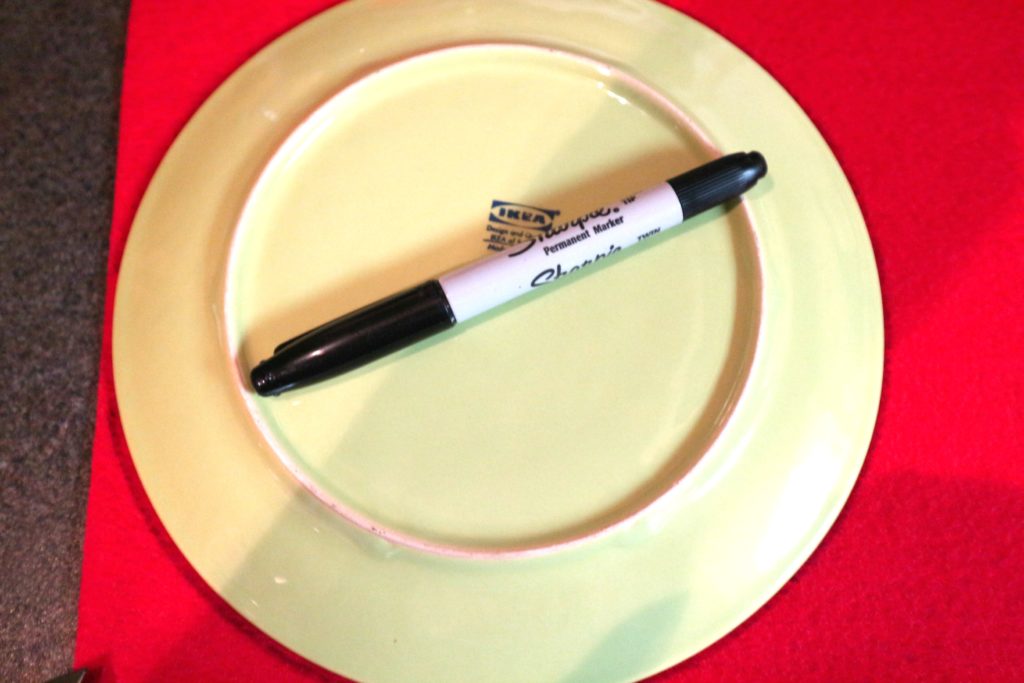
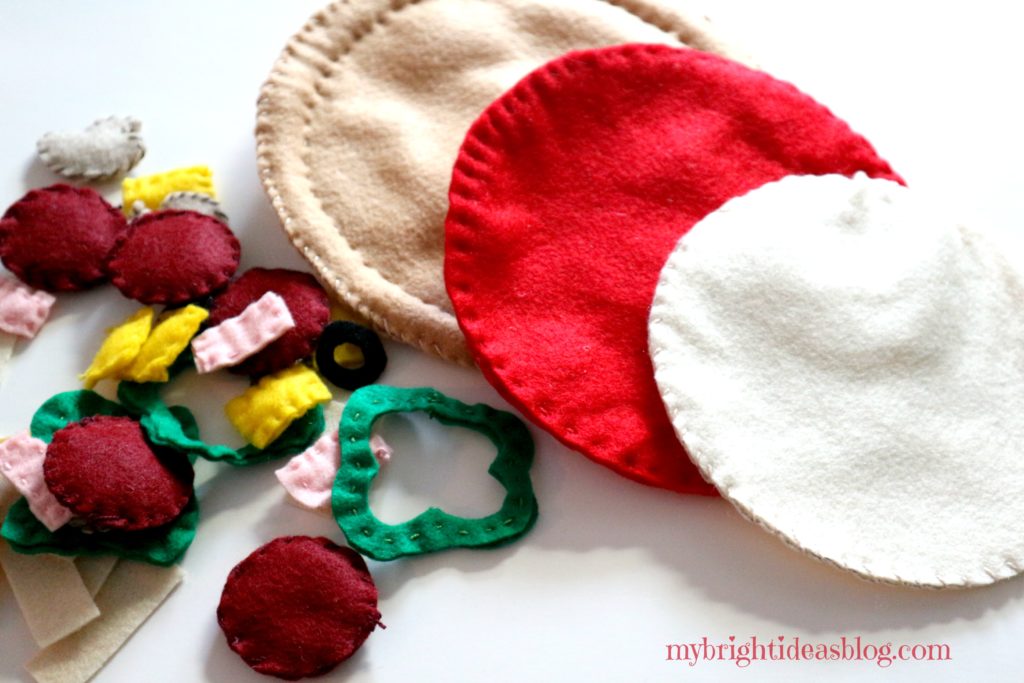
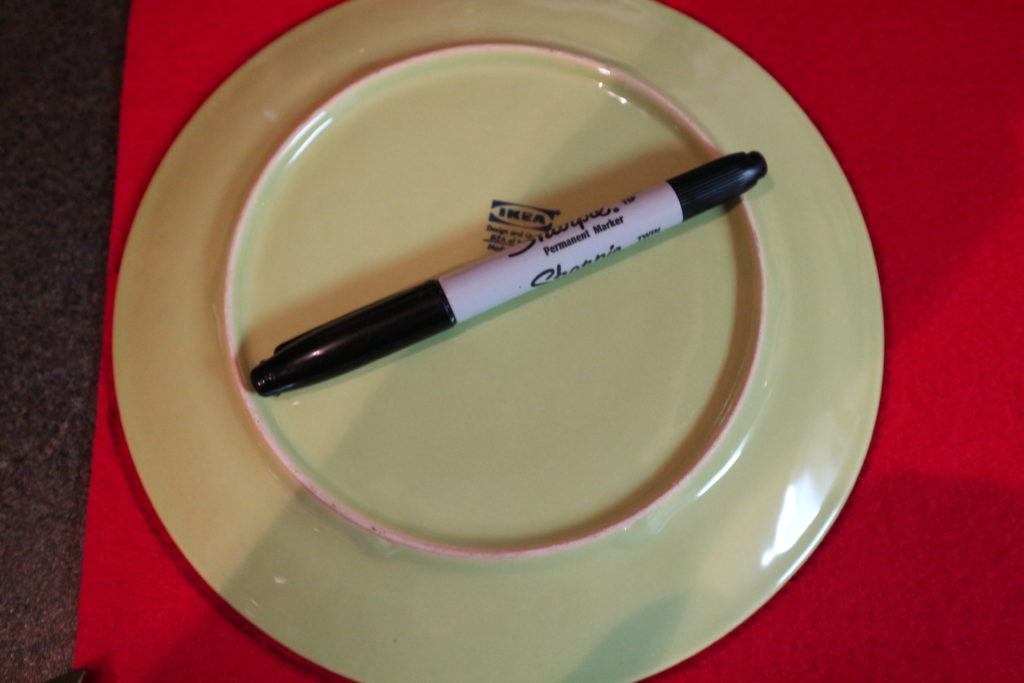
Beige Piece of Felt – Pizza Crust: Trace a large bowl or plate for your crust. Cut 2.
Piece of Bright Red Felt – Pizza Sauce: Using a plate or bowl slightly smaller than the last one, cut a slightly smaller circle than the crust pieces. Cut 2 red circles.
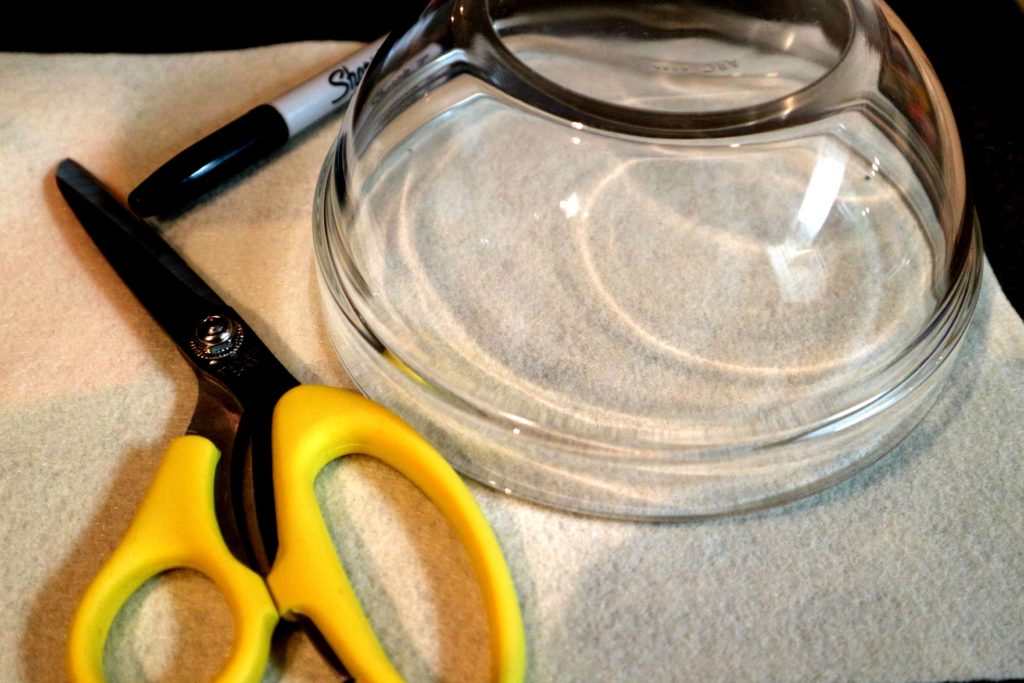
Cream or White Piece of Felt – Mozzerella Cheese: Cut the cheese…tee hee…out of a piece of white felt. Trace a slightly smaller plate or bowl than the piece of pizza sauce red felt. Cut 2 white circles.
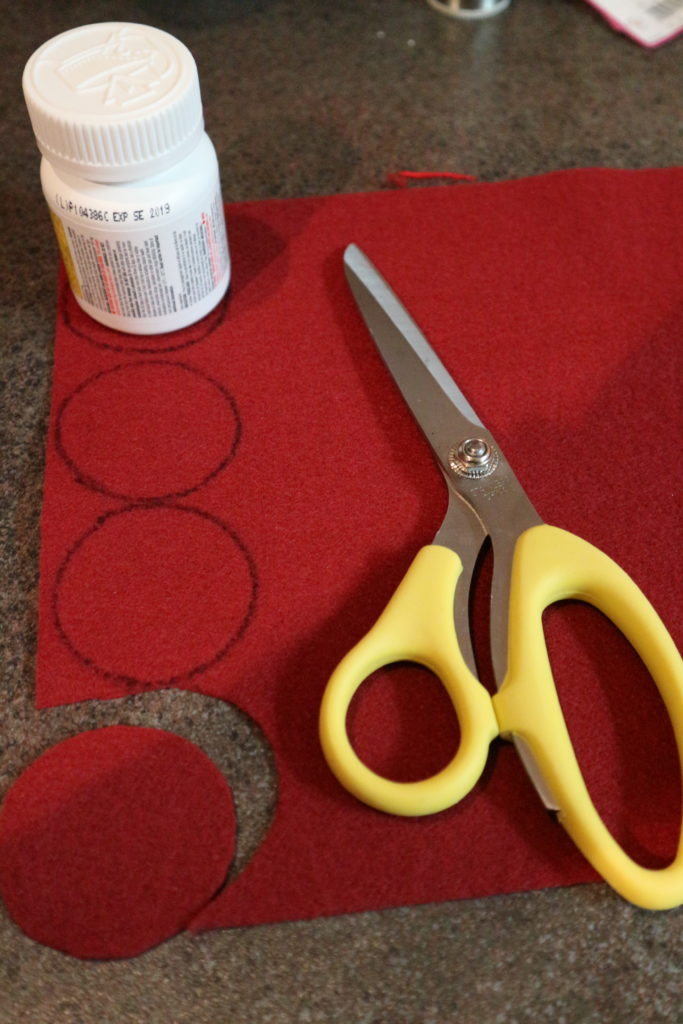
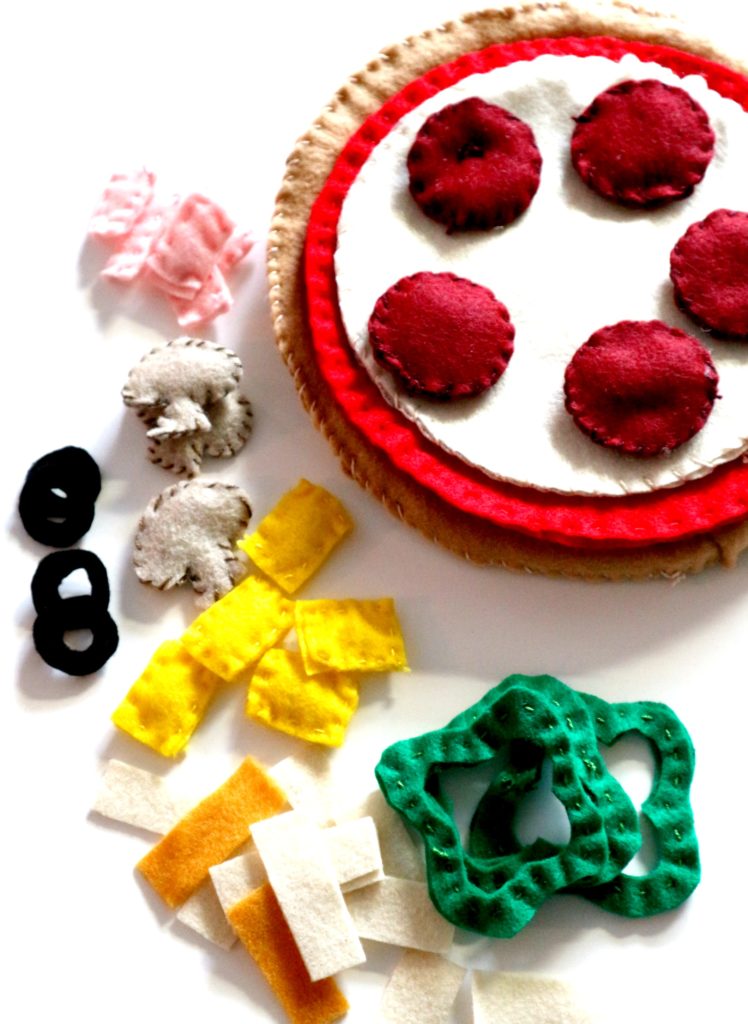
Dark Red Piece of Felt – Pepperoni: Cut 12 circles tracing something small like a vitamin bottle.
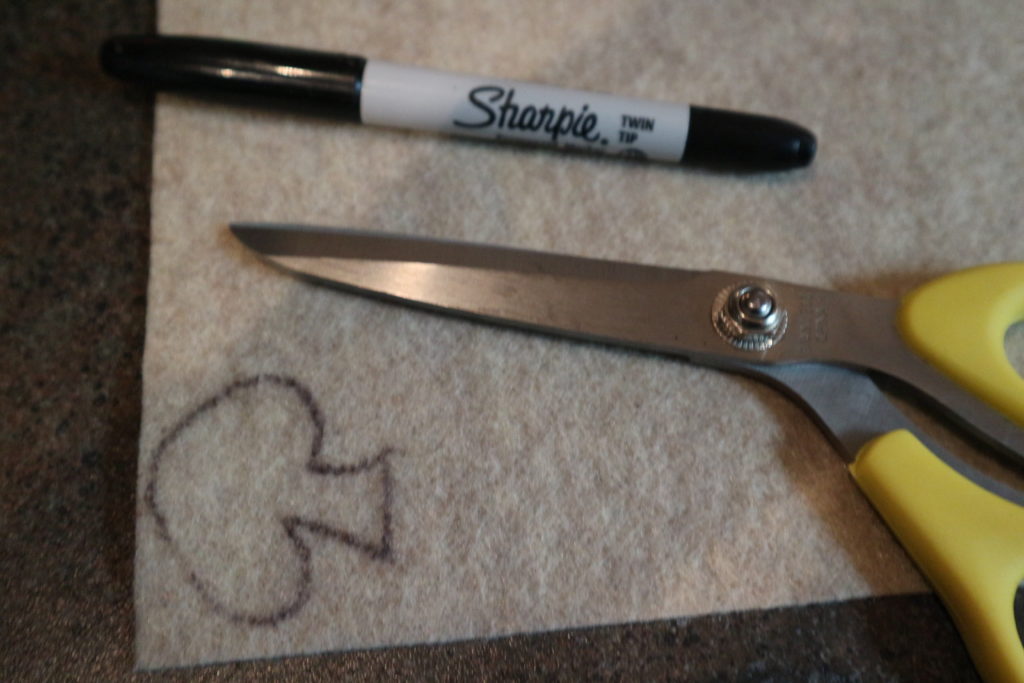
Grey/Beige piece of Felt – Mushrooms: Draw a mushroom shape and cut it out. Cut 10 mushrooms.
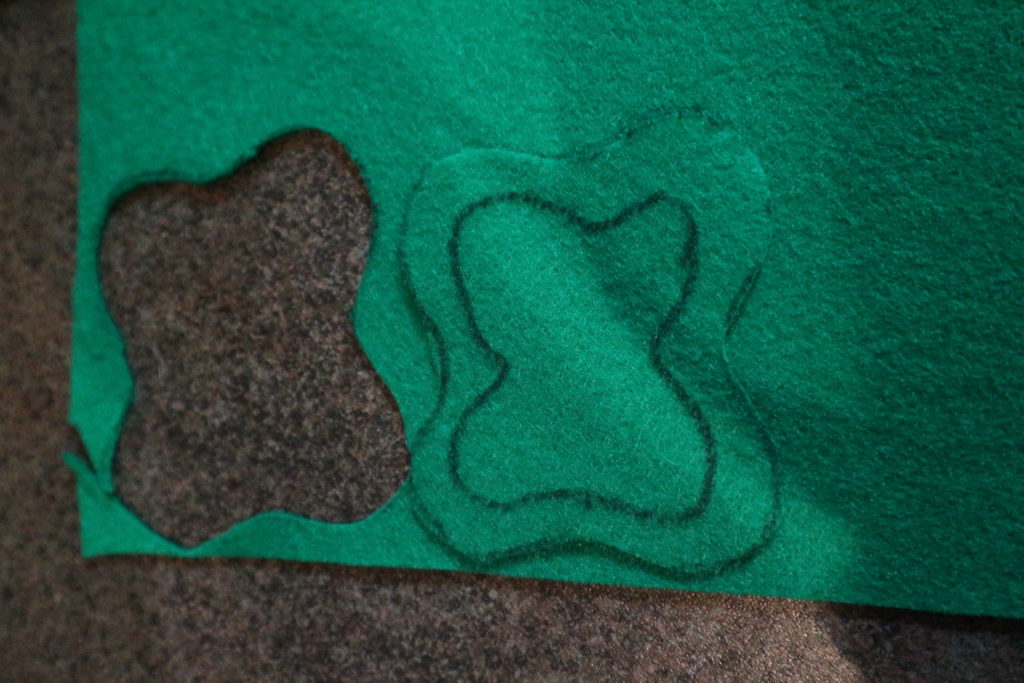
Green Piece of Felt – Peppers – It looks like a wiggly square, then outline it again and cut it out. Cut 8 peppers.
The rest of the toppings are up to you….
Black Felt – Olives: Cut a small circle and trace it a second time. Cut 8 olives.
Orange and White Felt – Grated Cheese: Cut long rectangles for some shredded cheese on top. Cut 6 of each.
Pink Felt Squares – Ham: Cut into squares-10 pink ham squares will be enough.
Orange/Yellow – Pineapple: This begins a great debate about whether you should have pineapple on a pizza. I’m for it! Hawaiian Pizza is my favorite. If you feel the same cut 10 pineapple pieces.
You aren’t a sewer? Then you could stop now and you can use this as a toy as it is. If you want to make it more 3 dimensional, find colors of embroidery floss that will closely match the colors of the felt.
Finishing the Pizza with Hand Sewing
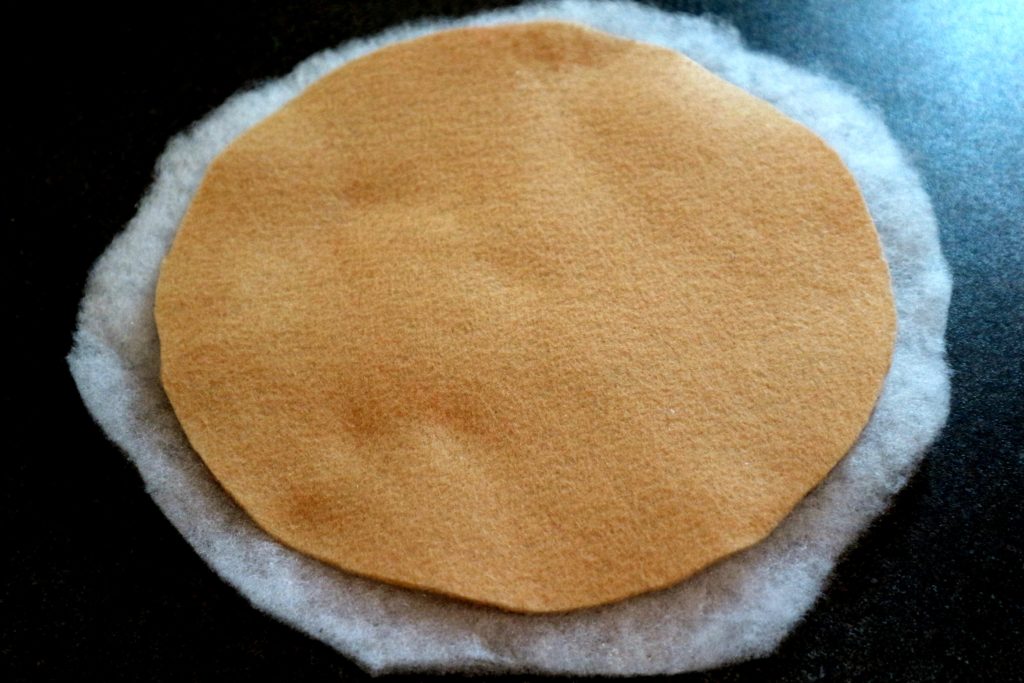
Finish the pizza crust: Cut a piece of cotton batting an inch larger than the pieces of beige felt. Sandwich the batting between the two pieces of beige felt.
Hand sew around the outside folding and tucking the excess inside the pieces of fabric. I think I used a whip stitch but you could also do a blanket stitch for this part.
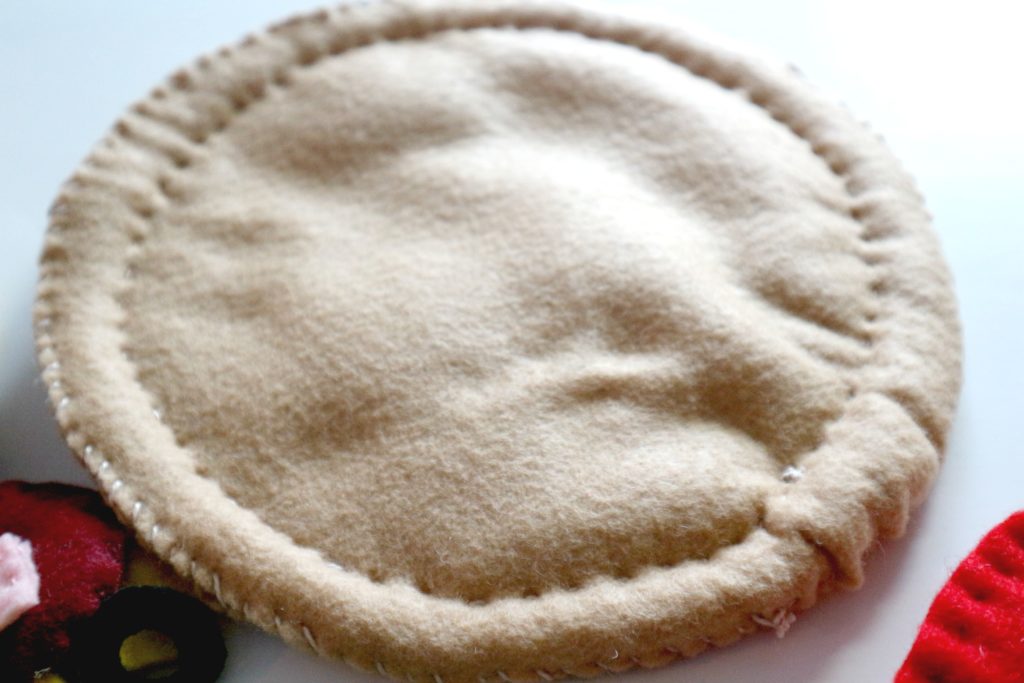
Sew around again an inch inside the seam to create the edge of the crust. For this I used a running stitch.
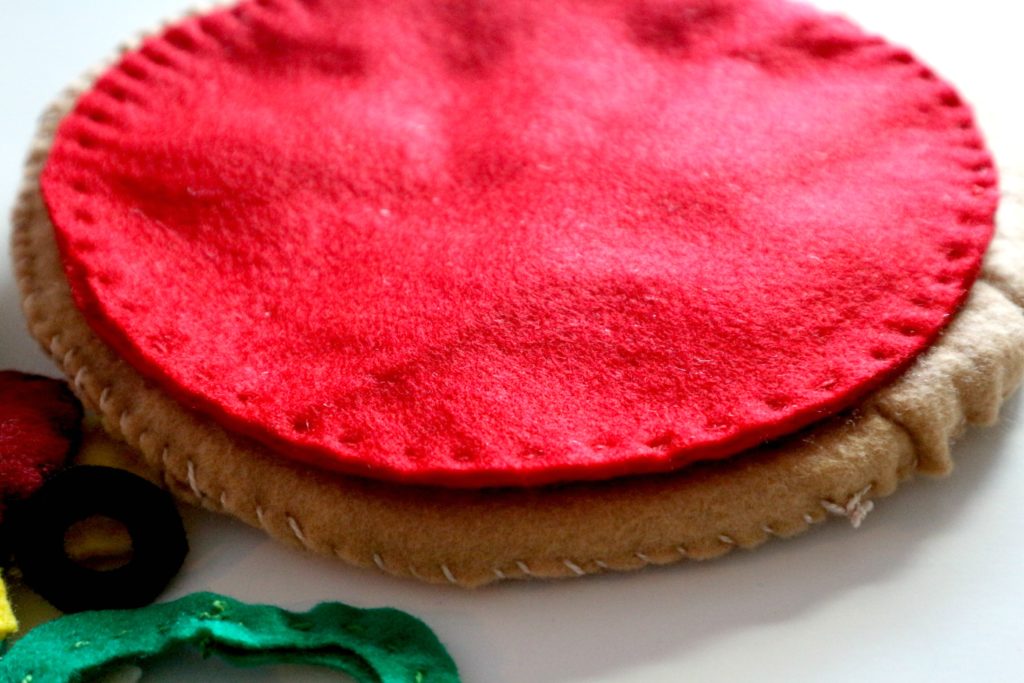
Stack the 2 pieces of red and sew around the edge with a running stich.
Next, put the two white pieces of mozzarella cheese pieces together and sew around the edge. Stitch each of the toppings together.
When sewing the pepperoni I added a little stuffing. The rest… mushrooms, ham, green peppers, pineapple were all sewn together….the olives and shredded cheese pieces I left as a single layer but you could double it and sew them together.
That’s all there is to it!
Store your pizza pieces in a large ziplock bag so you don’t lose the pieces. Have fun making this project for a little one in your life.
Here is the link to my previous post to make a no sew felt pizza.

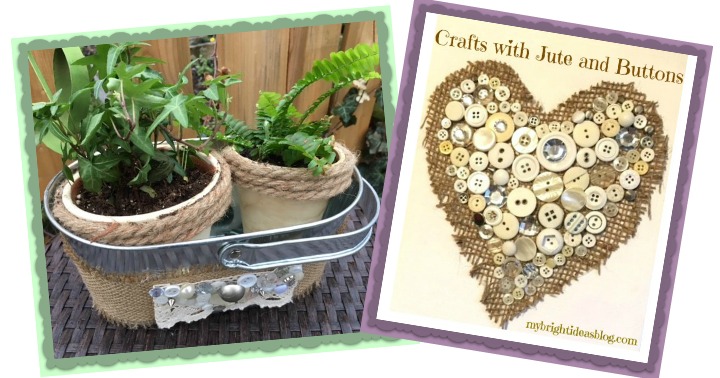
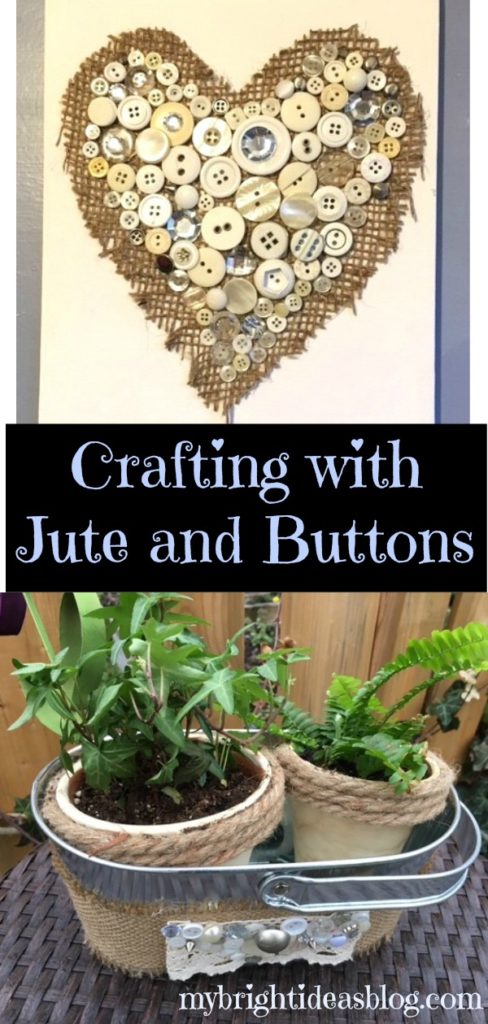
Crafts Using Burlap and Buttons – Easy Project that Looks Great!
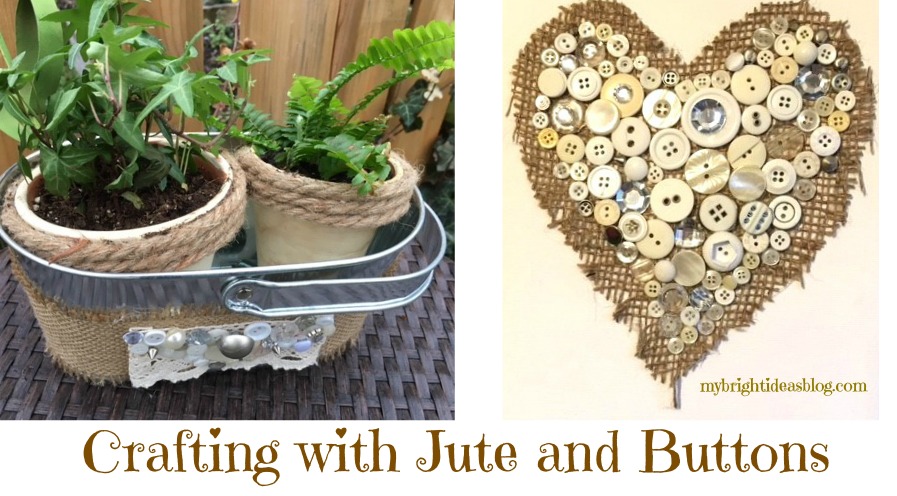
Is it a new trend that burlap and jute are in so many crafts? Maybe this has been around a while and I’m just noticing it. The crafts on Pinterest with both jute/burlap and buttons are really catching my eye. So I thought it was high time to get on this button-burlap-jute wave! :o)
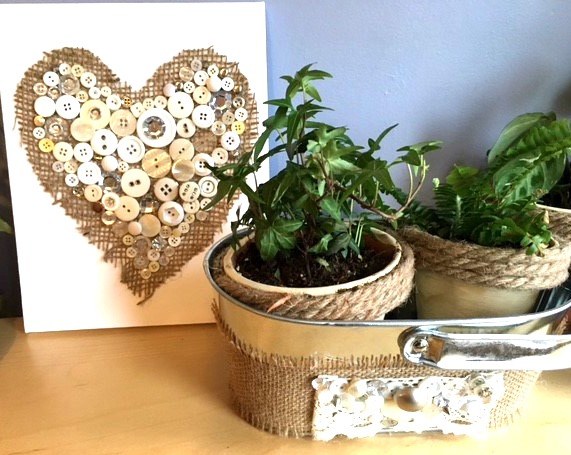
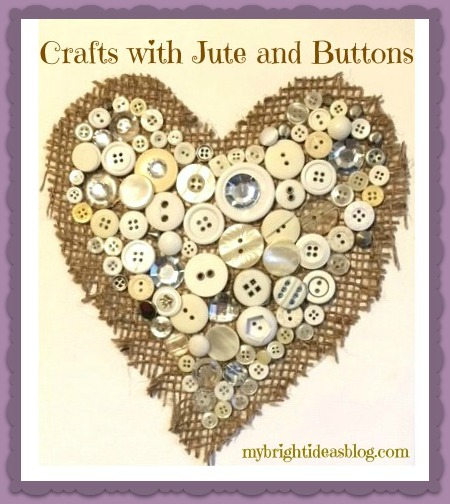
Project #1 – Jute and Button Wall Art
You will need: Burlap/Jute, Mixed Buttons, 8×10 Canvas, Hot Glue Gun or White Glue and Paper
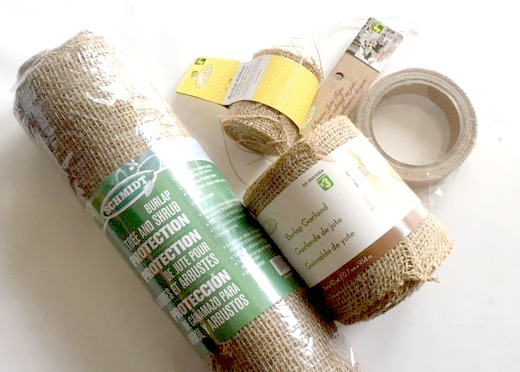 The local Dollar Store had several options…in both the garden area and the craft sections. For this project I cut up the big burlap bag that you would cover your shrubs with for the winter. There is still plenty of fabric left over I could still use it in the garden or other crafts.
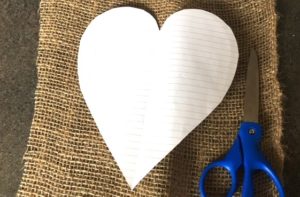
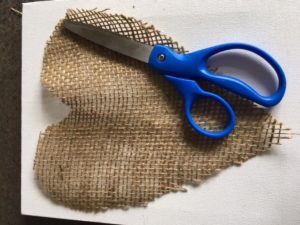
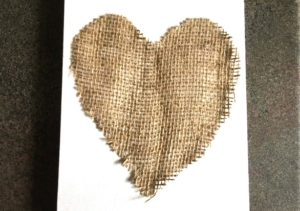
I cut a heart shape on paper first and then used it as a template for cutting out the burlap. Then I put a few dabs of hot glue on the 8×10 canvas to flatten the burlap into place.
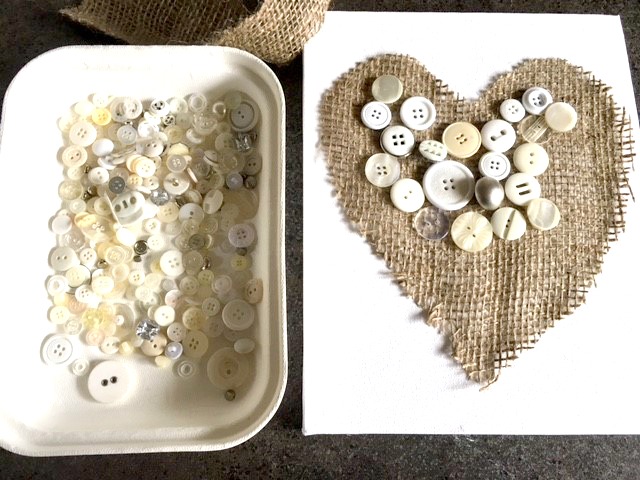
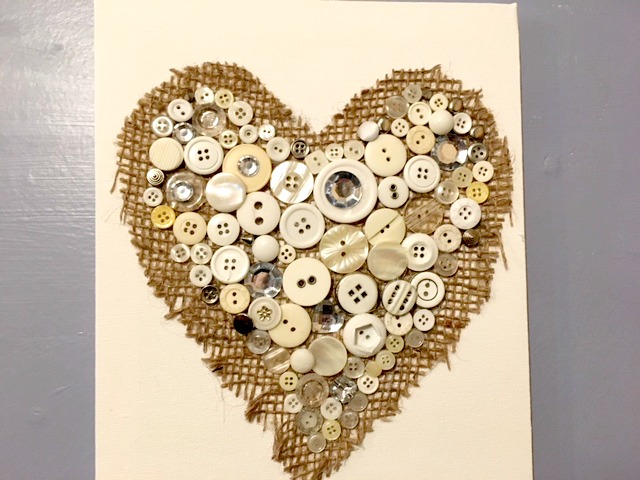
The buttons I used were all cream color or silver. They came as a bag of buttons from my Dollar Store for $1.50. There are some nice Pinterest posts with examples of art made with colorful mixture of buttons-I might try a colorful one next time. Start by gluing the biggest buttons in the centre and work outwards with the smallest buttons.
 Watch your fingers while you glue the buttons on! Using the hot glue gun might be a bad idea for the small buttons. I like the speed of hot glue drying but since the project lies flat you could easily use regular white glue and spare your fingertips.
Project #2 – Jute Wrapped Tin Flower Pot
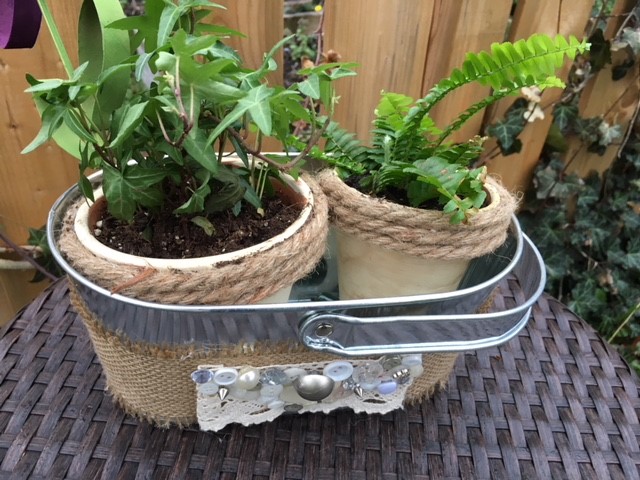 For this project you will need: Jute Ribbon 3 inches wide, a bit of lace, mixed buttons, flower pot (mine is a tin bucket style) and hot glue gun.
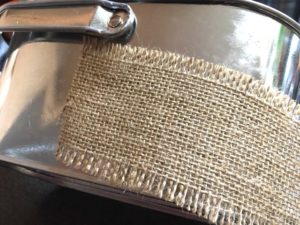
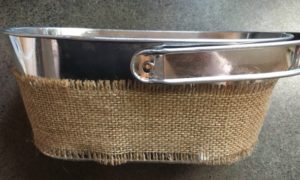
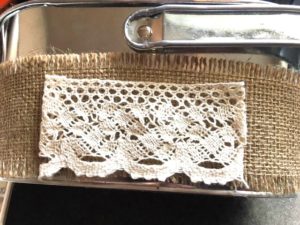
Using the hot glue gun attach the jute with a dab of hot glue on the back of the aluminum tin. Wrap it around the container and glue it flat. Mine puckered at the bottom so I pulled the jute snuggly and added more glue to secure it flat. I had a few inches of lace that was glued to the front of the container.
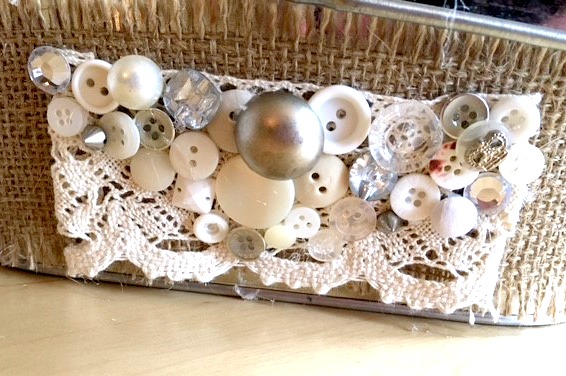 Then add on the buttons.
 I really like how these turned out and I think I might have some follow up projects with more glue and buttons. I would love to get a few bags of vintage buttons from a thrift store and mix it with broken jewelry to make a more sophisticated eclectic bit of art. On my to-do list are button bracelets and hairbands for the kids. I’ll let you know how that turns out later!
Have a super day!
….


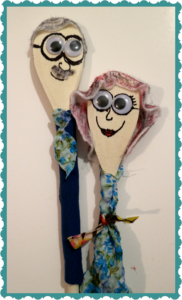
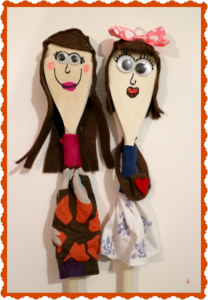
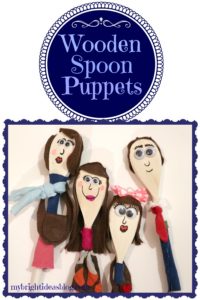
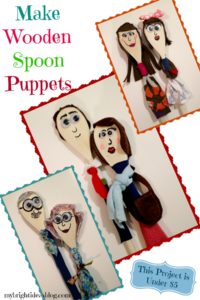
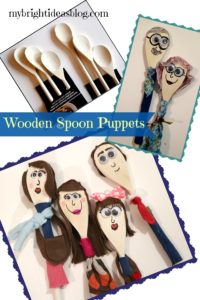
Wooden Spoon Puppets! Easy Fast Fun Inexpensive!
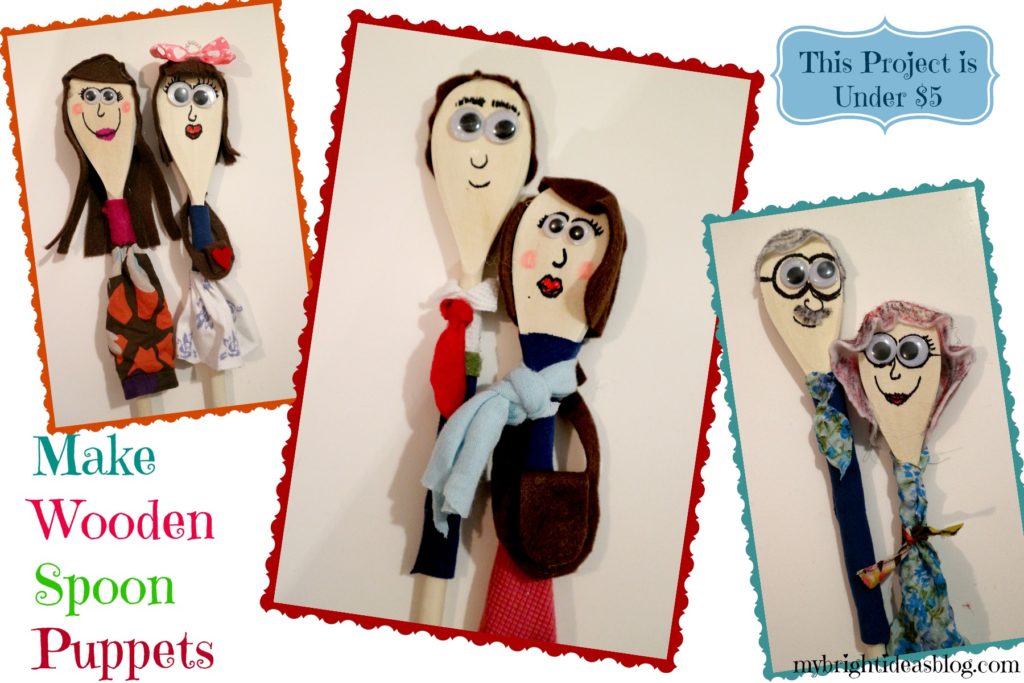
I was researching some puppet theatres to make and came across the easiest puppet idea ever! All you need is some wooden spoons, a sharpie, scraps of fabric, googly eyes and your hot glue gun.
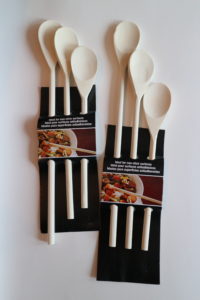 The wooden spoons I used were 3/ $1.50 making this an inexpensive craft. The shape of the spoon makes a perfect head shape. Some spoons have wide handles too that would be great for drawing on the clothing but these cheap and cheerful spoons were very skinny.
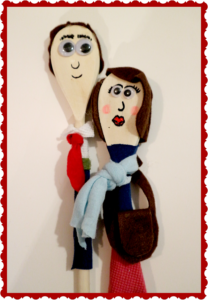
First I added googly eyes and then I drew on the rest of their faces. The hair was a bit tricky. I used pieces of felt for it although you could use yarn or sewing trims.
Clothes are pretty easy just cover up the spoon with a scrap of fabric and hot glue it in place. Its actually easier than you might think to make a shirt and tie.
This is the sort of craft that will actually stick around a long time after you make it. You have made an actual toy. I was thinking this is the sort of thing you could take on a camping trip instead of Barbie’s or dolls with all the little bits and pieces that you might lose.

..
Marshmallow Snowman Edible Winter Craft Project
What a fun winter project to do with the kids! Snowmen made out of marshmallows!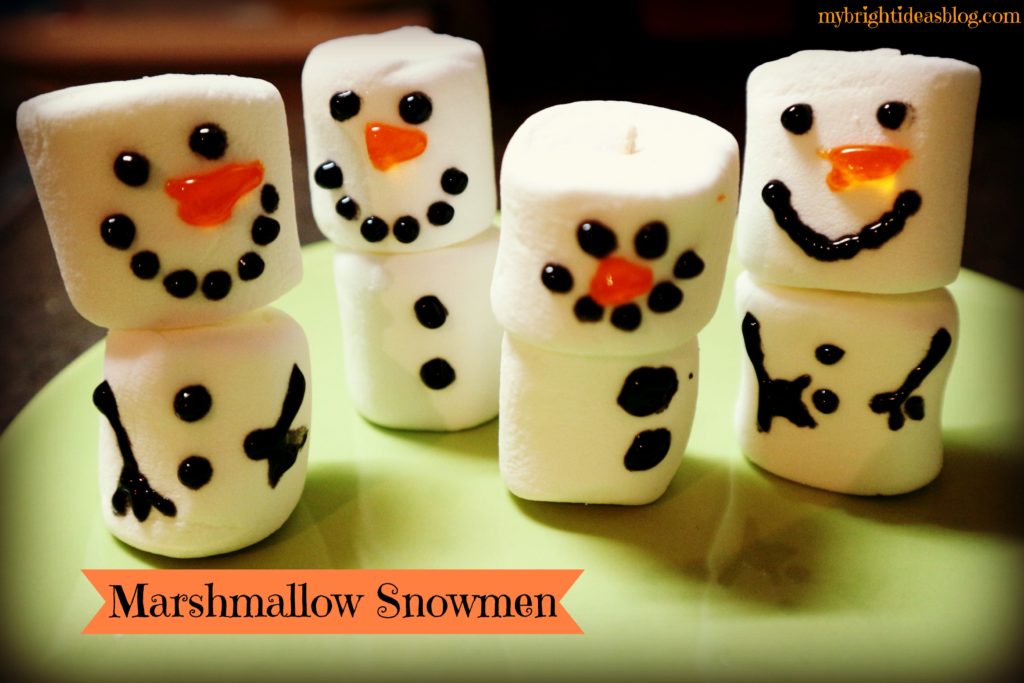 What a fun winter project to do with the kids! Snowmen made out of marshmallows!
This post should probably be divided into 2 sections. The tidy marshmallow family made with toothpicks and icing gel. Or part 2 the crazy looking marshmallow family that was tipping over because of all the candy stuck to them. Much like a making a gingerbread house the second family though a bit ugly was very fun and creative to make….and nibble on.
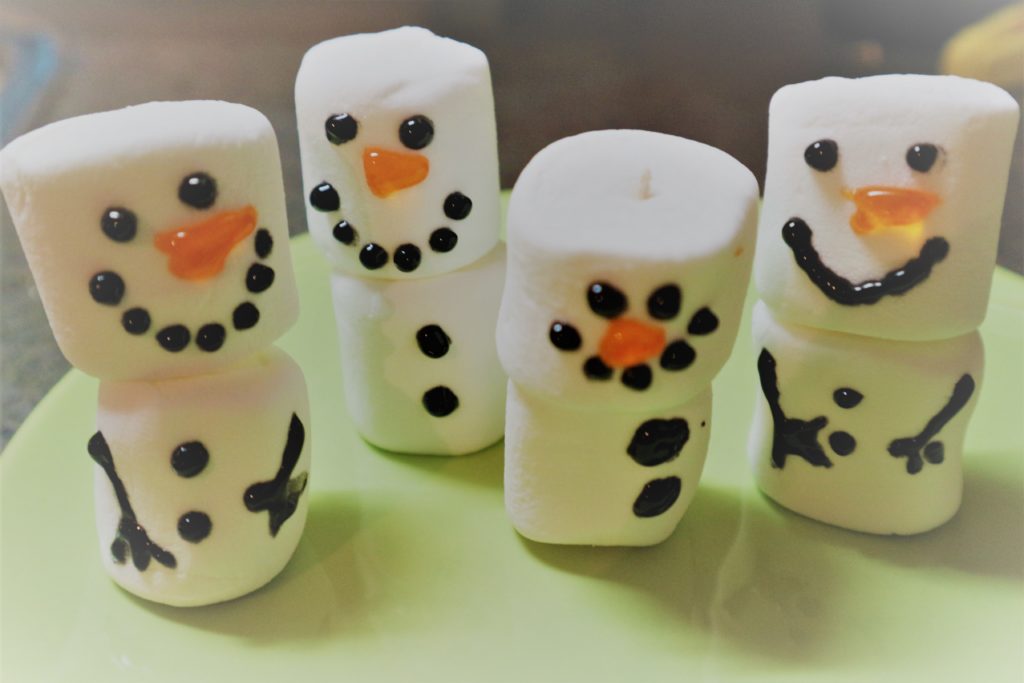
Marshmallow Snowman Part 1
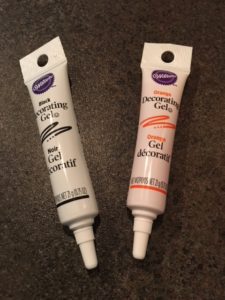
For this you just need marshmallows, toothpicks and Wilton’s decorating Gel in black and orange.
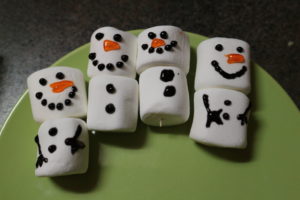
This is so easy! Just use toothpicks to connect the marshmallows. Draw on dots for the eyes, mouth and buttons, draw on stick arms (optional) and use the orange for the carrot nose.
It takes a few hours for the gel to set so try not to move them right away.
Marshmallow Snowman – Part 2
This time it was much more of an adventure – trying different things to see what would work.
I happen to have 3 sizes of marshmallows in the house-which never normally happen since I only buy one bag of them once a year at camping time for roasting on the campfire and s’mores. But we just made 2 batches of rice crispy squares for a class goodbye party for my daughter’s teacher.
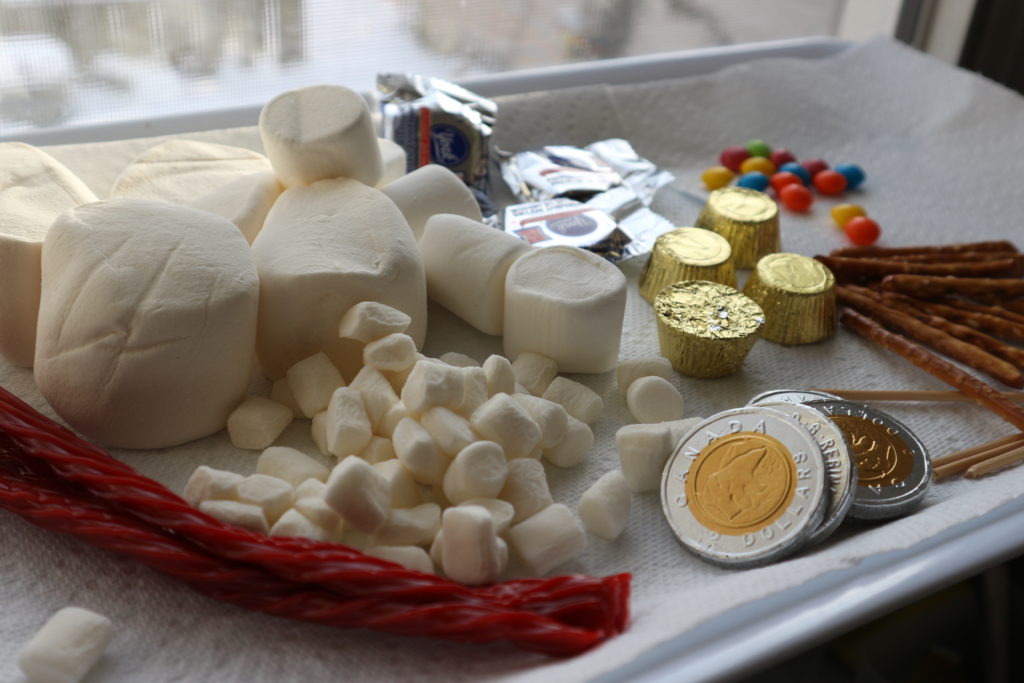
So gather up the supplies, marshmallows, skittles, pretzel arms, gold coins/pepperment patties etc. for hat, toothpicks to hold the body together, licorice and chocolate chips. I walked through the local bulk supply store and looked for things you would use for gingerbread house-like their icing for gluing buttons on.

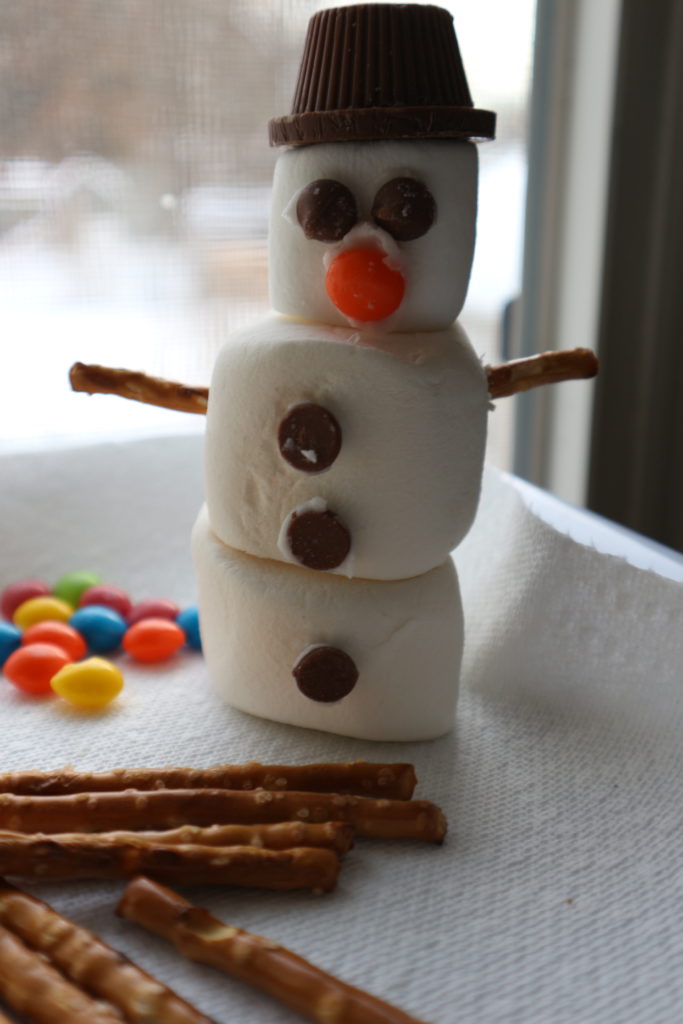
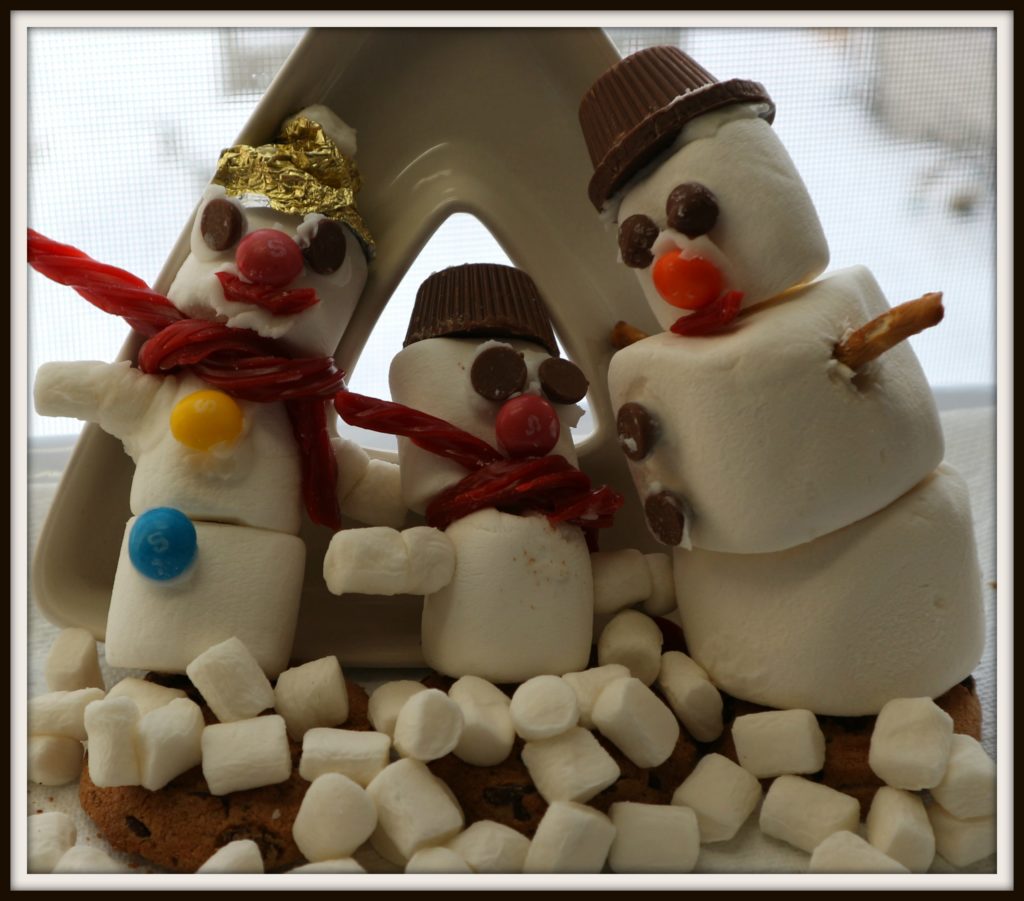
The chocolate hat made this guy very top heavy. For the gal on the left I ate a chocolate cup and turned the foil into her hat. Eating the snacks along the way is a bit of a problem when you only bought a few of this and a few of that. Tee hee….

Other snowy projects to try….
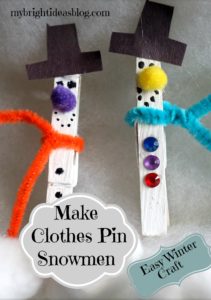
Clothes Pin Snowman – Make Easy Kids Craft
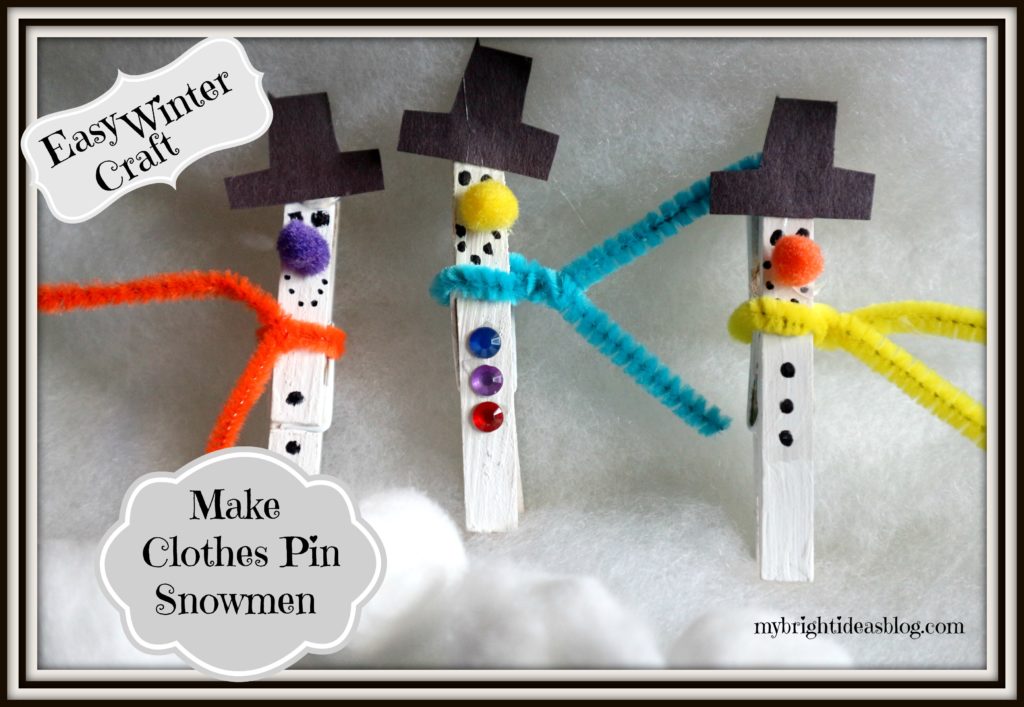
It’s the adorable pompom nose that really got me wanting to make this quick and easy children’s craft. Paint a clothes pin white and start building a snowman.
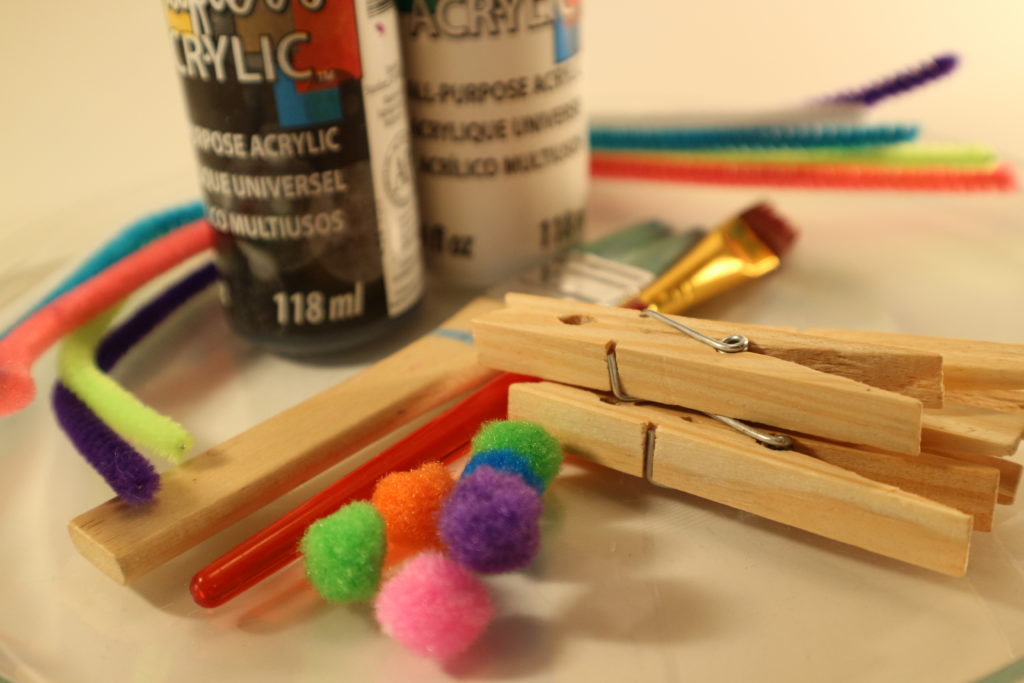
Gather up your usual basket of crafts. You’ll need pipe cleaners or a bit of yarn for the scarves. Clothes pegs, paint brushes, white paint, a black sharpie and little scraps of black paper or felt for the hat.
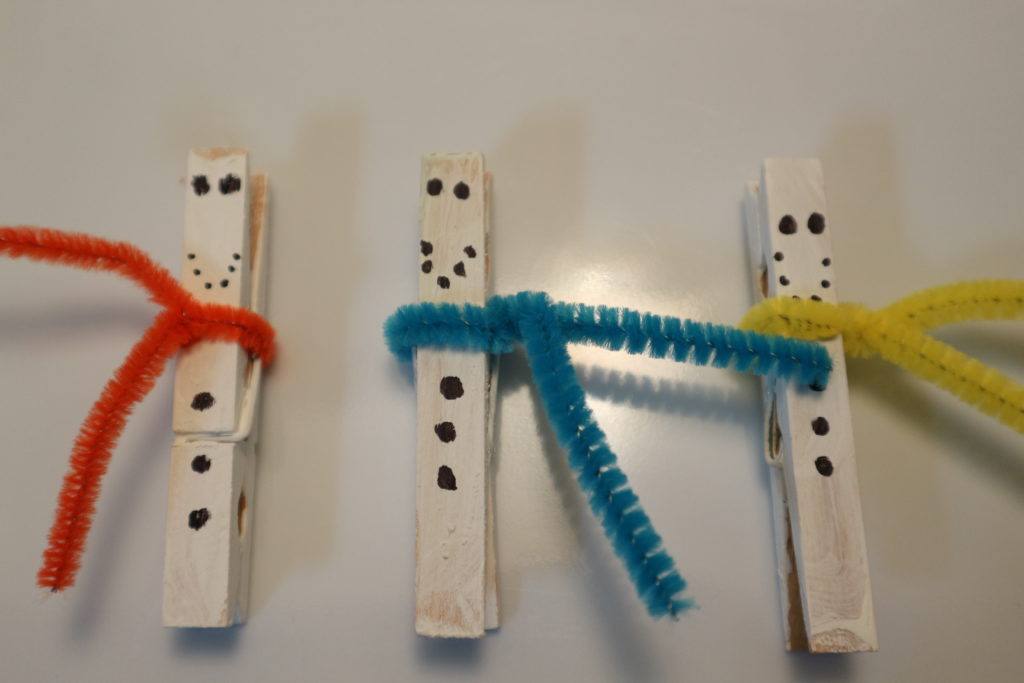
Paint your clothes pegs white and wait at least an hour for drying time.
Cut off a bit of yarn or half of a pipe cleaner and tie your snowmen a cozy scarf. Take your black marker and make his coal eyes , mouth and buttons.
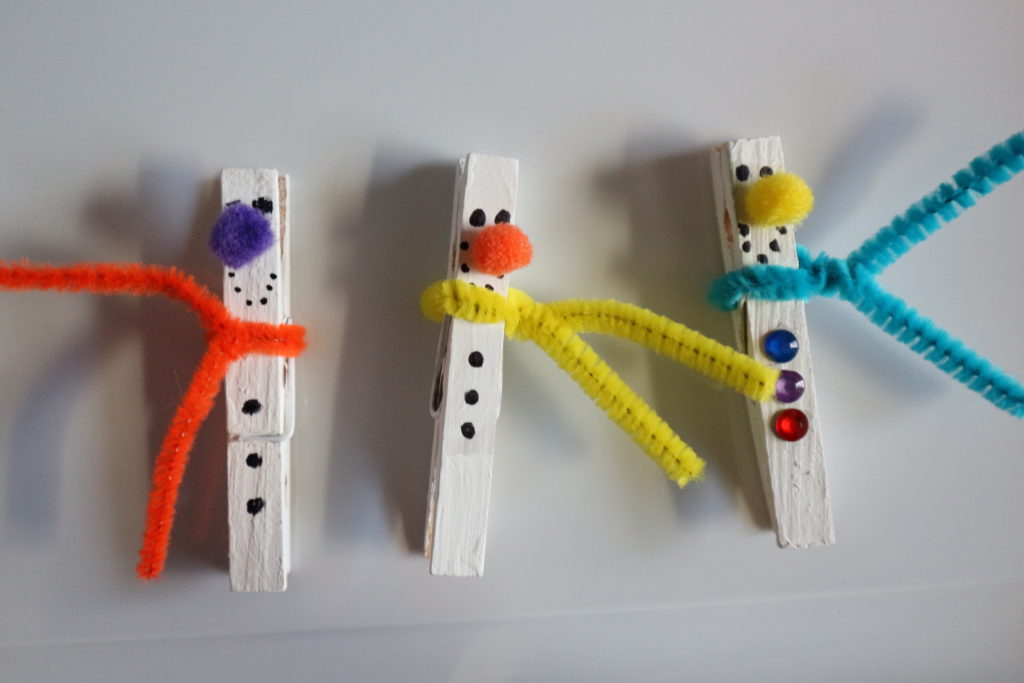
Take your black marker and make his coal eyes , mouth and buttons. One of my snow men felt he wanted to dress it up a bit and put on some small rhinestones. Glue on the pompom noses. I thought originally that they should be orange noses for a carrot but my craft kit only had one orange one left.
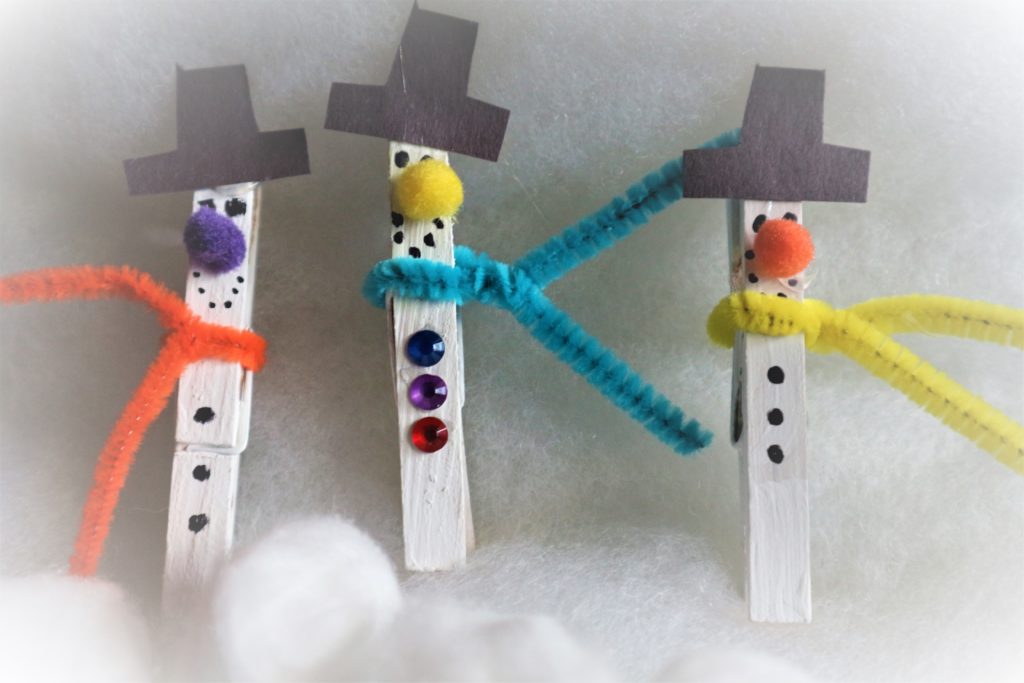
Finally I put on some little hats to finish off the outfit. Super cute kiddie craft!
Make a Felt Pizza Toy in minutes – No sew
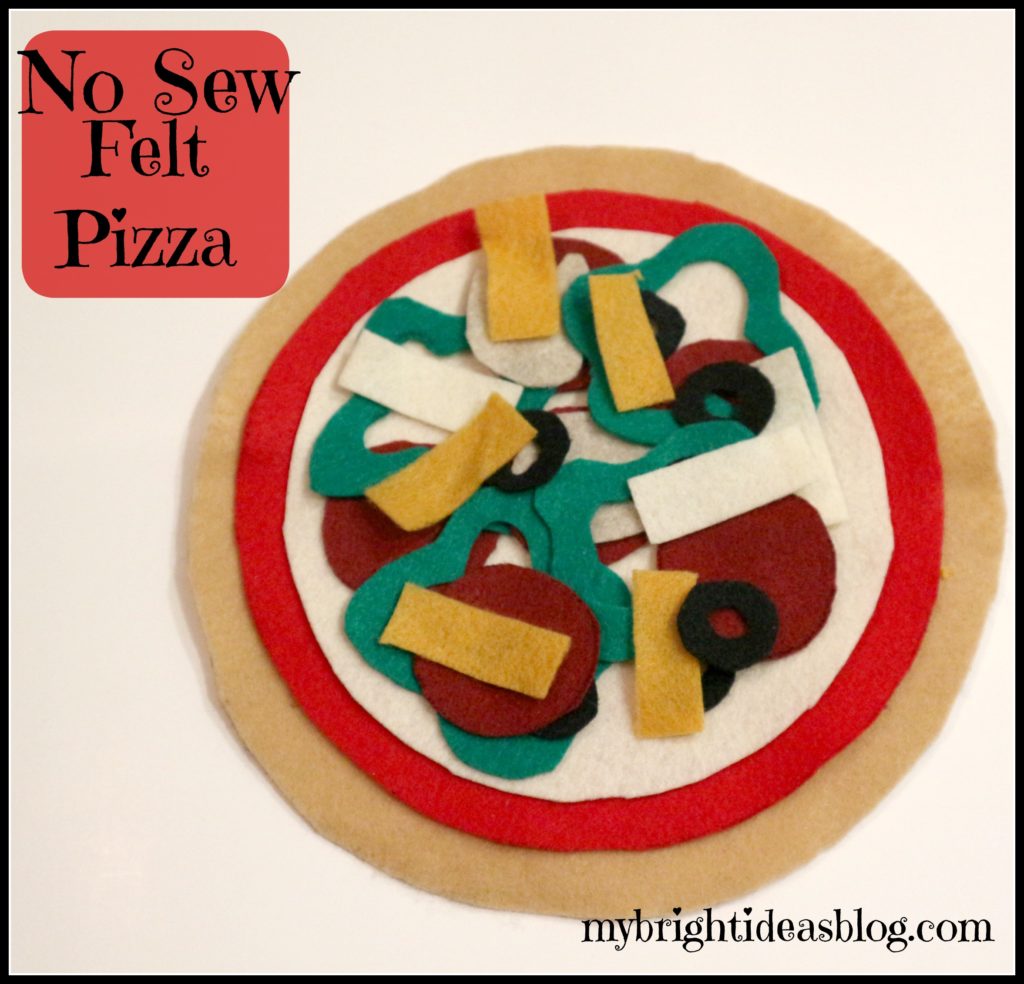 How to make an easy, no-sew felt pizza! It’s super easy and fun to make with very little skill needed. Since kids are always trying to imitate parents in the kitchen this will be a hit!
You will need felt in the following colours:
- 1 tan/light brown for the crust
- 1 red for pizza sauce
- 1 white/cream for mozzarella cheese
- dark red for pepperoni
- green for peppers
- grey for mushrooms
- pink for ham
- black for olives
- yellow for pineapple
- orange for extra cheese
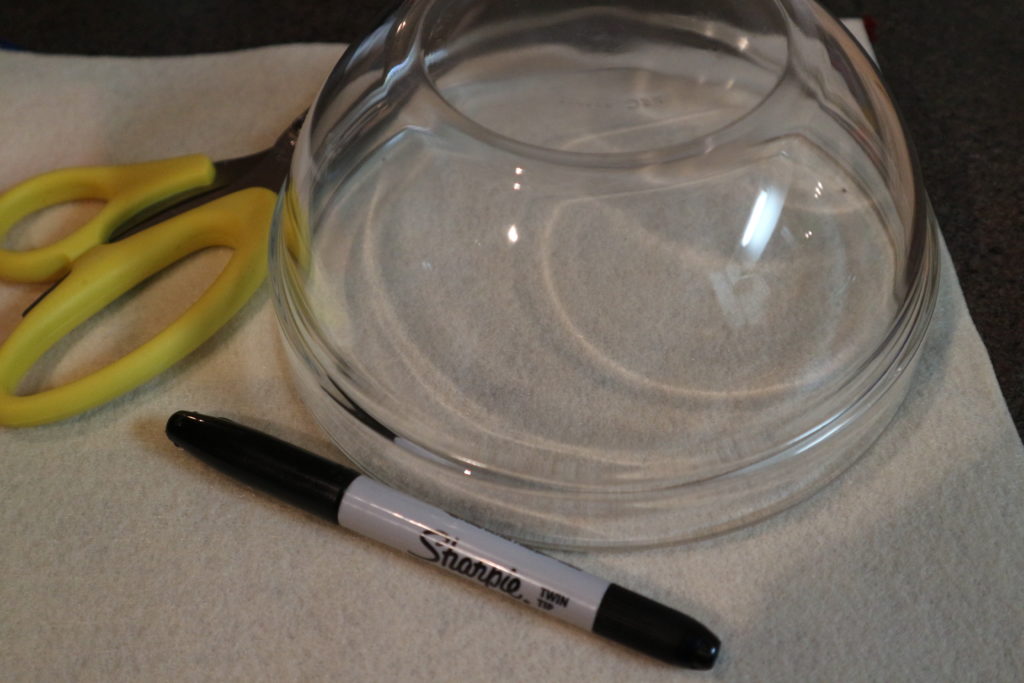
- PLUS – bowls and plates to trace for big circles
- marker
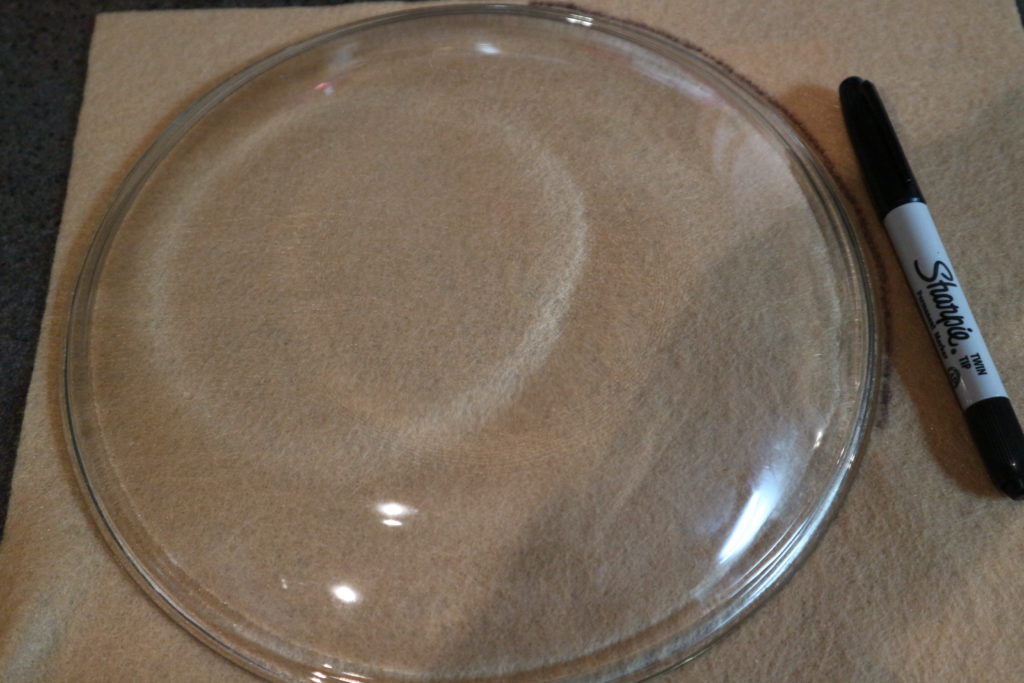
Cream Felt-Pizza Crust: Trace a large bowl or plate for your crust.
Bright Red Felt-Pizza Sauce: Using a plate or bowl slightly smaller than the last one, cut a slightly smaller circle.
White Felt-Mozzerella Cheese: Cut the cheese…tee hee…out of a piece of white felt. Trace a slightly smaller plate or bowl than the piece of pizza sauce red felt.
Dark Red Felt-Pepperoni: Cut 6 circles tracing something small like a vitamin bottle.
Grey/Beige Felt-Mushrooms: Draw a mushroom shape and cut it out. Cut 5 mushrooms.
Green Felt-Peppers – It looks like a wiggly square, then outline it again and cut it out. Cut 4 peppers.
The rest of the toppings are up to you….
Black Felt-Olives: Cut a small circle and trace it a second time. Cut 8 olives.
Orange and White Felt-Grated Cheese: Cut long rectangles for some shredded cheese on top. Cut 6 of each.
Pink Felt Squares-Ham: Cut into squares-6 pink ham squares will be enough.
Orange/Yellow-Pineapple: This begins a great debate about whether you should have pineapple on a pizza. I’m for it! Hawaiian Pizza is my favorite. If you feel the same cut 6 pineapple pieces.
Store your pizza pieces in a large ziplock bag.
Snowman Craft – Use a sock and rice! Super Fun Craft!
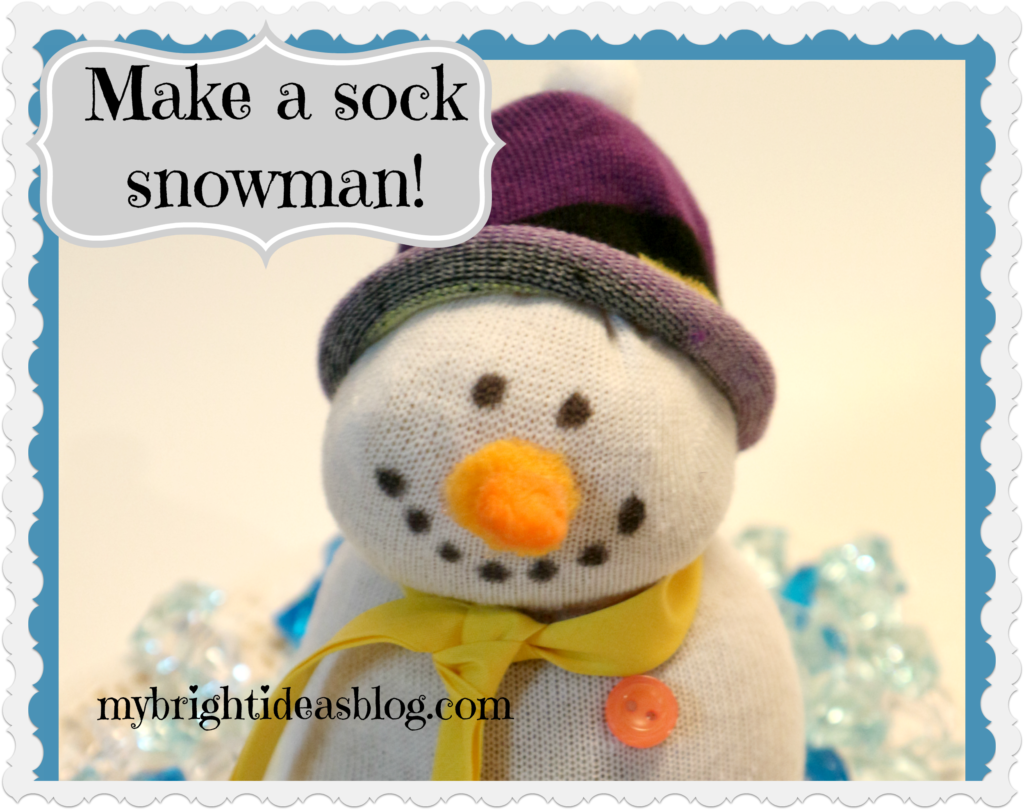 Looking for a sweet and easy craft project? This sock snowman is adorable and so easy for any crafting skill level. Grab your crafting kit and the lost sock basket on the dryer and we are ready to make this snowman project!
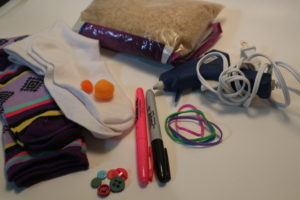
You will need: a white sock, a colored sock for the hat, 1 hat pom pom and 2 orange pom poms, a few buttons, 4 cups of rice (more if you want a big one or less if you want is smaller), elastics or yarn to tie off the rice, glue gun, black permanent marker, pink marker or highlighter.
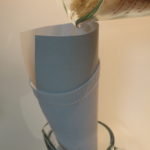
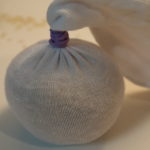
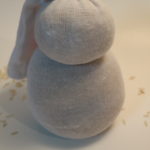
I made a funnel using a piece of cardstock and placed it inside the white sock. When you have it to the size you like tie it off with an elastic. Pour more rice into the sock to make the head for the snow-lady.
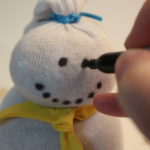
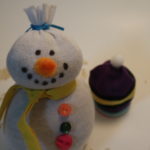
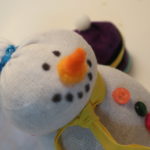
Draw dots for eyes and mouth with the black permanent marker. Glue buttons down her front. Tie a ribbon for her scarf-I used a scrap of bias tape from my sewing basket. Now you’ll need to make a carrot shaped nose. I glued 2 orange pom-poms together with a dab of hot glue and then trimmed it into the shape of the carrot. I thought it turned out pretty well. The hat is made out of the other colored sock. Just trim off a few inches from the toe area and roll it up once or twice. Hot glue a pom pom on the top.
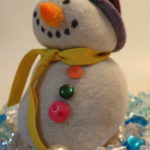
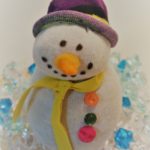
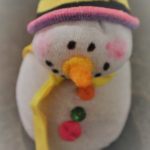
And that is how you do it! Pretty easy project the kids will enjoy making and a good gift for Grandma’s kitchen window.
I wonder if you could put him in the freezer and use him as a cold compress for the kids boo boos…..just a thought.