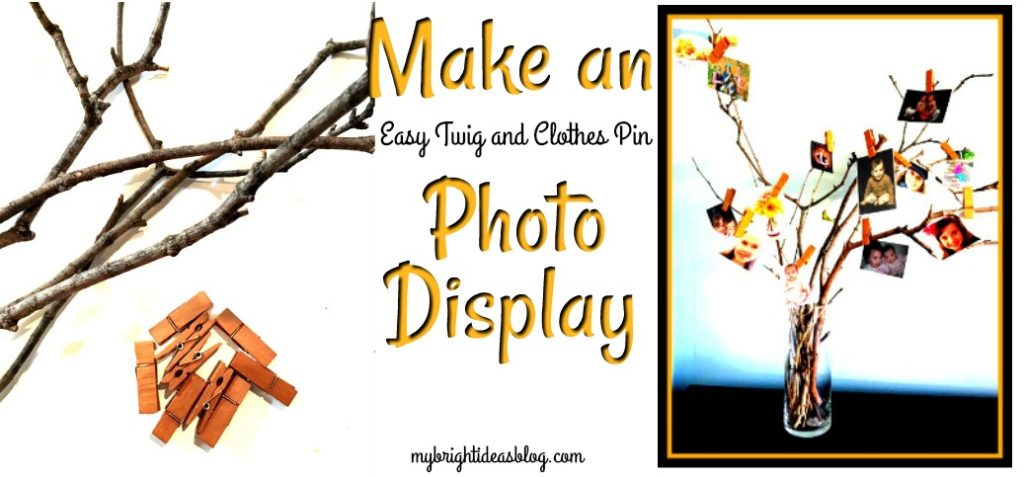
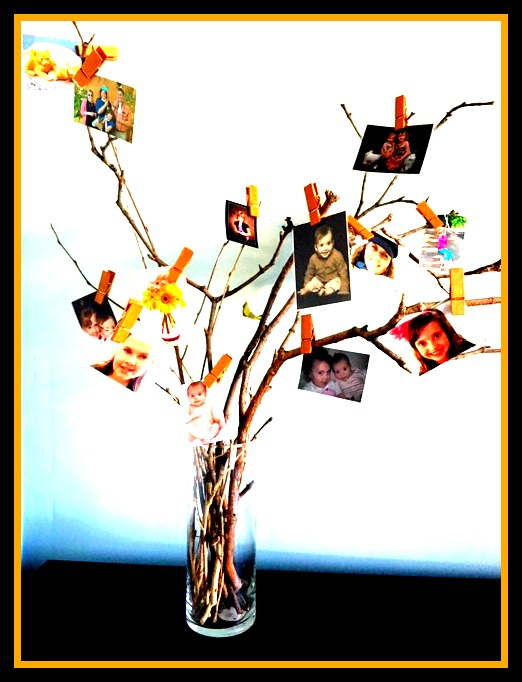
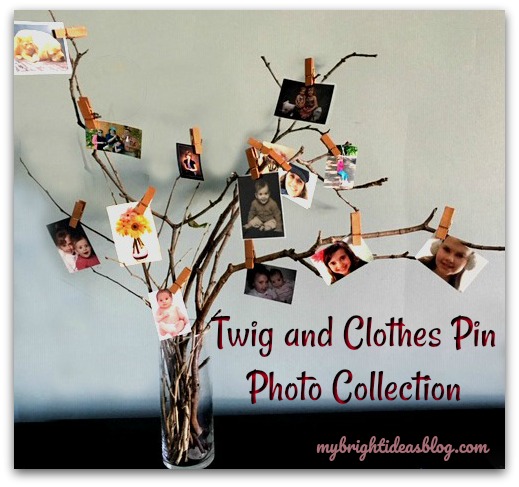
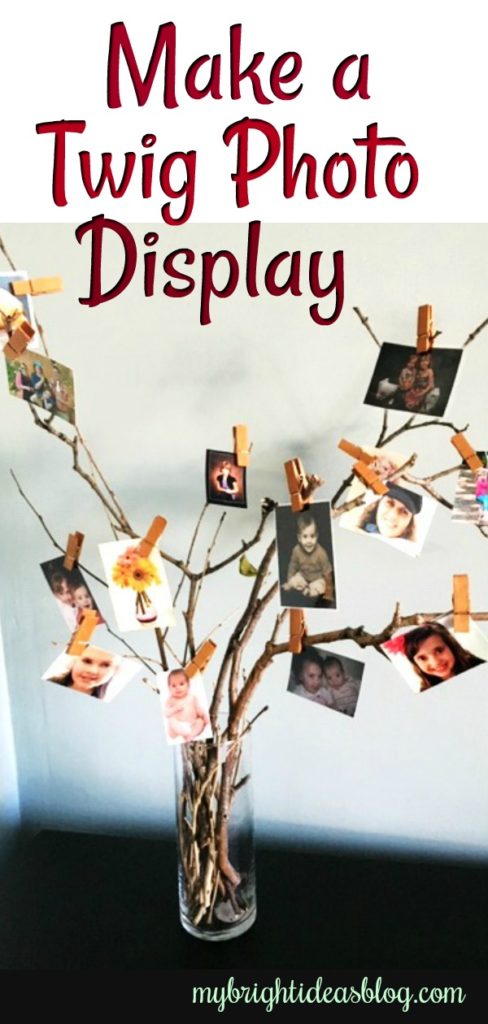
This is such an easy way to set up a quick photo display. It uses things you will already have at home.
I know this is my 4th twig project in the last 3 months but its such a fast, free and rustic product to work with. I have a particular tree that sheds sticks every time the wind blows. My last next door neighbour hated this tree. It made a sweet neighbour very bitter as it would litter those branches and bark all over their lawn too. She would say…that is a messy, messy tree!
What could I do but agree…..and make a craft with it! You know what they say….when life gives you lemons make lemonade.
You will need:
- a vase
- sticks
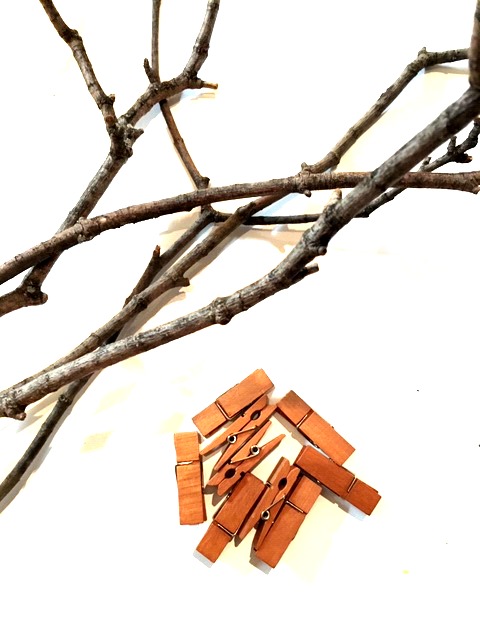
- small photos
- clothes pegs
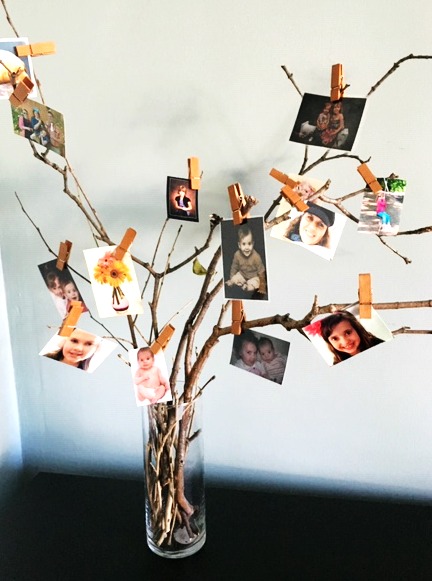
These clothes pins are from the craft store. They are a shorter version of a classic clothes pin with a coat of an orange stain. If you use regular clothes pins you could spray paint them or decorate the clothes pins to make them a little fancier.
Usually my posts are tutorials showing you how to do a project step by step. But I imagine most people can figure out that you put the sticks into the vase, clip the photos onto the sticks. Done.
If you have an open space on a table top-that looks bare, this could be a perfect solution.
Thank you for taking a moment to pause by my twig-projects-filled blog! I hope you will check out the other posts I have done with twigs…or sewing…or…photo frames…
See you again soon!

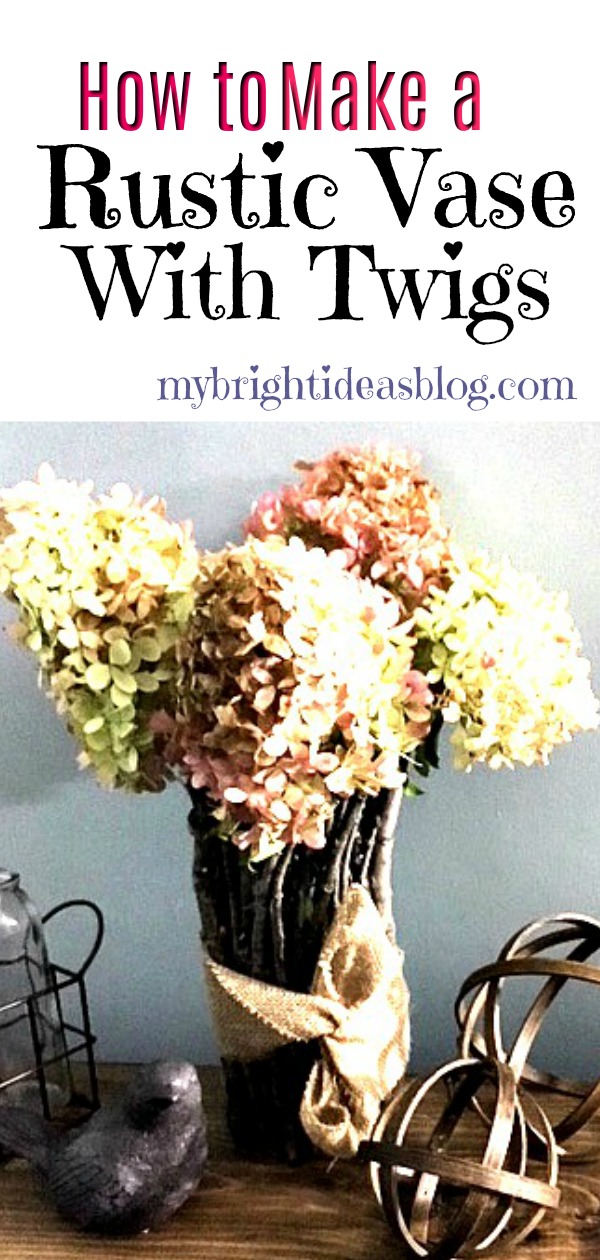
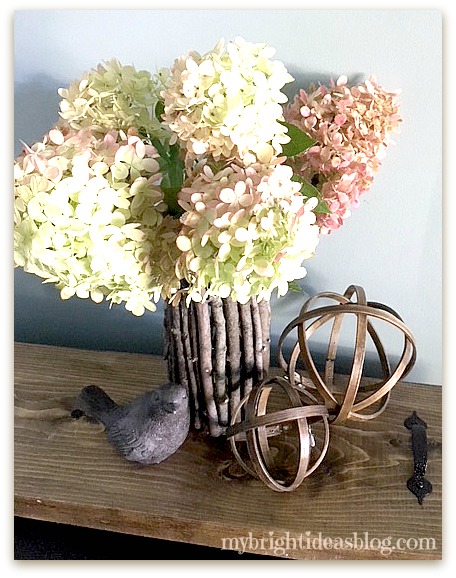
Make a Twig Vase – Super Easy DIY!
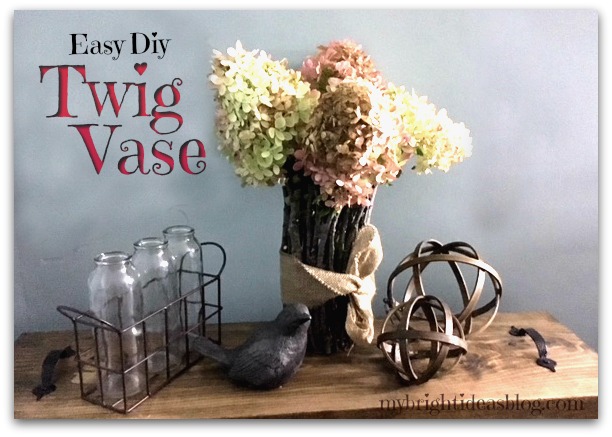
Here is a super easy, super rustic, super pretty twig vase! I am loving using twigs and sticks in crafts. It’s free! It’s also time to do some trimming in the backyard gardens so I get the job done and a craft project to do when the work is done!
You will need:
- an inexpensive straight vase
- twigs
- snips
- hot glue gun
- 6 or more hot glue sticks
- burlap or raffia
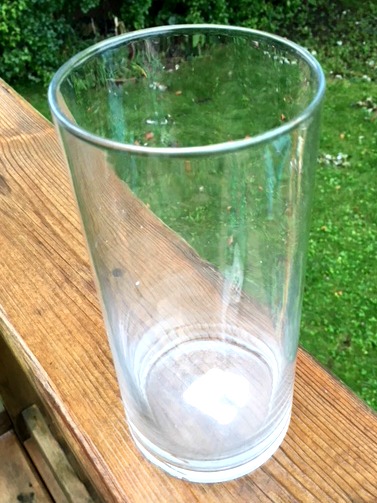
First, choose your vase. If you don’t have a tall straight vase already in the back of your cupboards then pop over to the dollar store, or a thrift store you will definitely find them there. I had this vase on hand. The Dollarama sticker was still on the bottom. $1.25. That is the total expenses on this craft if you already have the glue gun and glue supplies.
I love me a cheap craft!
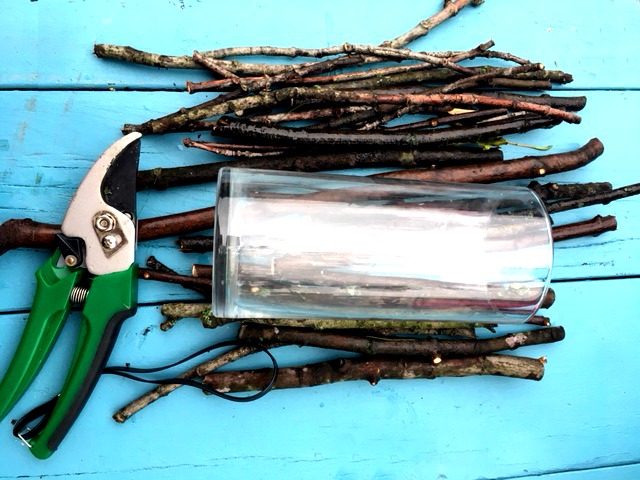
Using sharp shears, cut twigs in different lengths taller than your vase. Choose sticks that are as straight as possible. Trim off any side twigs as short as possible.
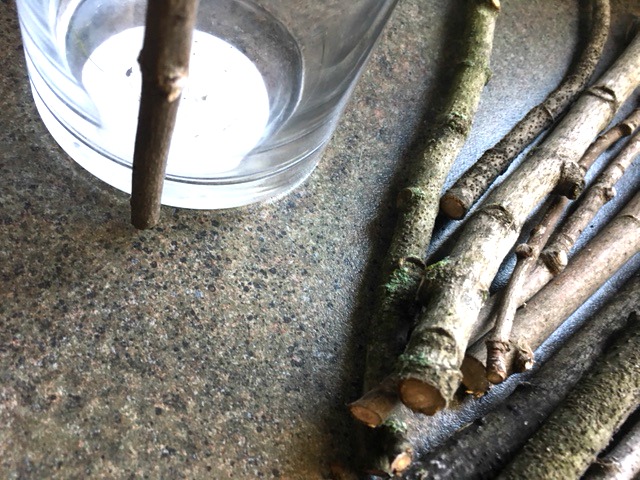
Plug in your glue gun. Set the twig in place and see where it will make contact with the glass of the vase. Add the glue in those contact places. I do this instead of running a line all the way down the stick. That is a lot of waste. Hold the twig in place 10 or 20 seconds while the glue cools. Mind your fingers!
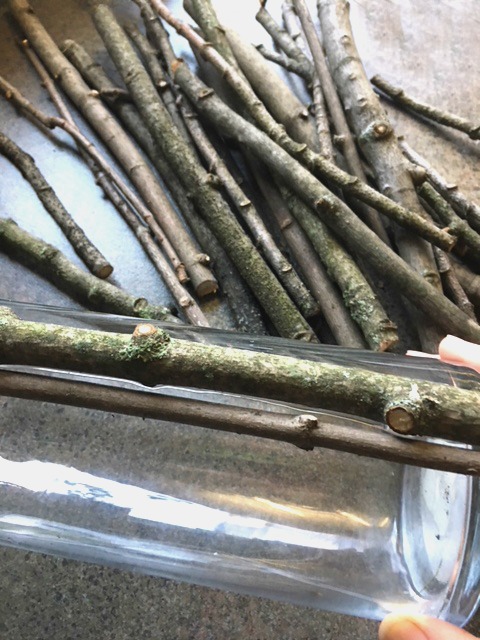
Work around the vase with each twig fitting tightly next to the previous twig. If there are spaces you can put a thin twig in later to fill in the gaps.
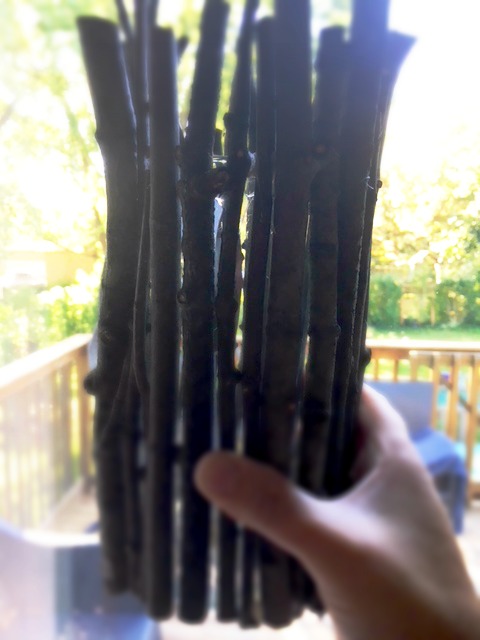
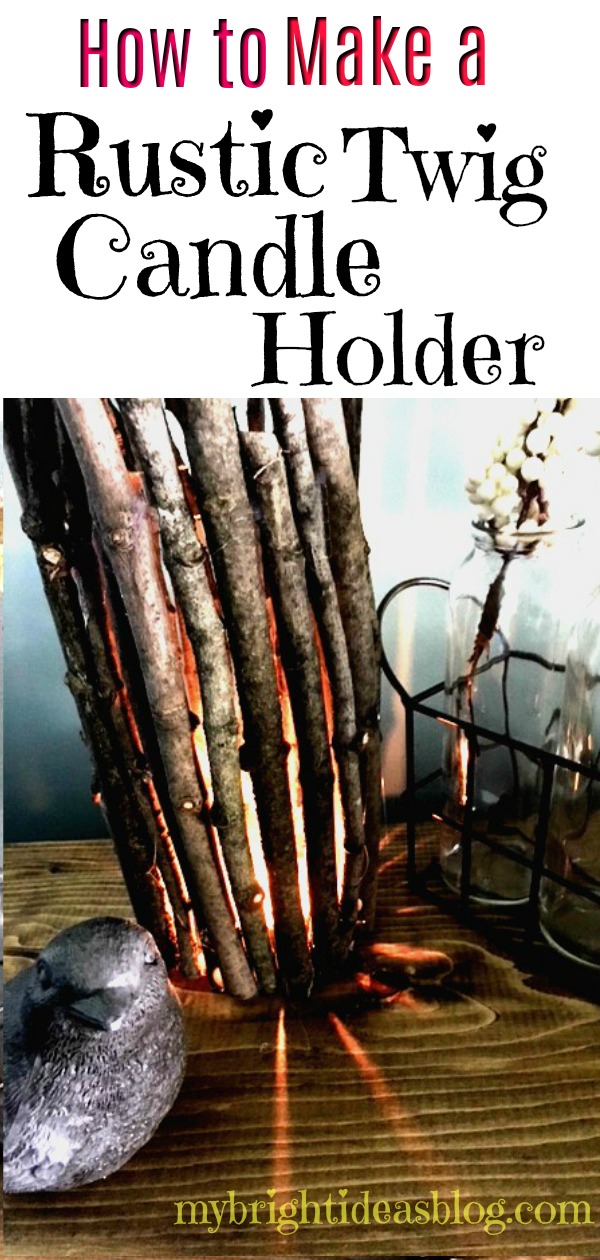
You will notice that the light does pass through the gaps. If that bothers you, cut a brown or black paper down to the vase size and slide it inside.
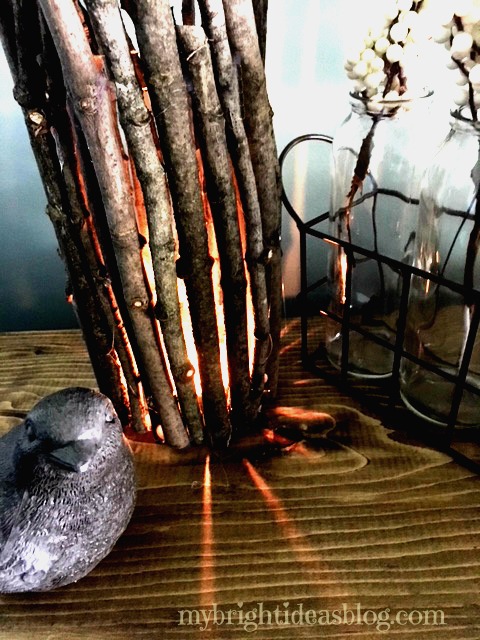
OR…you could embrace these gaps and use it as a candle holder. If you go this route please do not put paper in your vase. You will surely start a fire. Eek!
I didn’t mind the gaps in the vase so I skipped the paper and can use it with a tea light or with dried or artificial flowers.
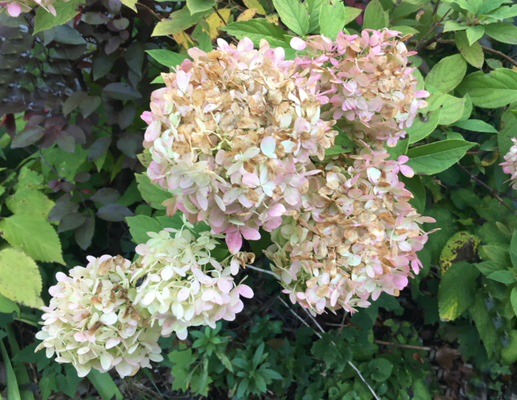
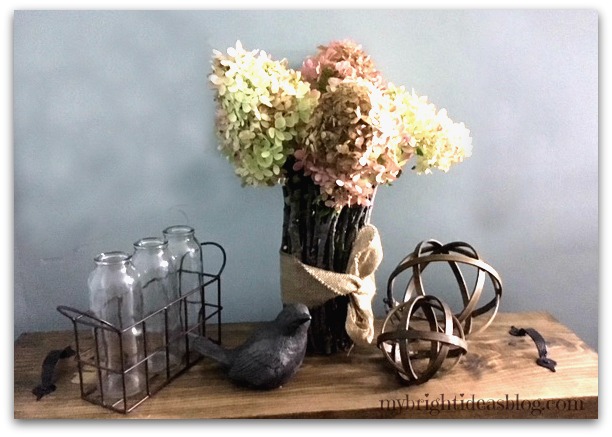
So to the garden we go for some flowers. I cut these hydrangeas. These are going to dry nicely in the vase and look the same for months and months.
Isn’t that lovely? I hope you enjoyed this rustic twig/stick project. I really love making things with twigs.
Wait! Oh my days!!!! I forgot to put on the bow!
Cancel the photo shoot and back to the craft counter….
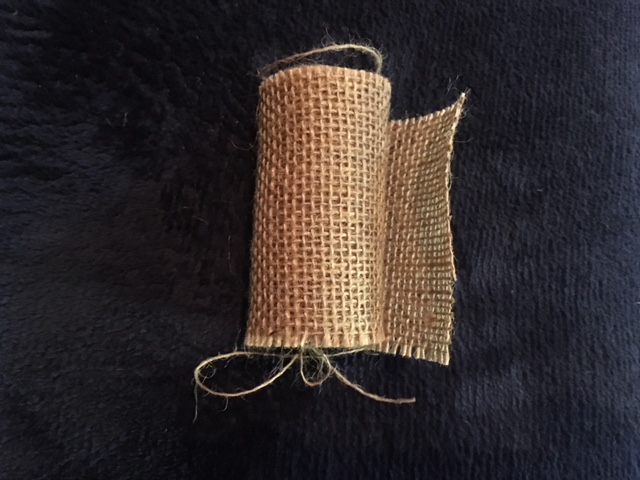
I know I have raffia somewhere but I can’t remember which craft bin I put it in. So instead I used this 3 inch wide burlap roll from the dollar store and wrapped it around the vase.
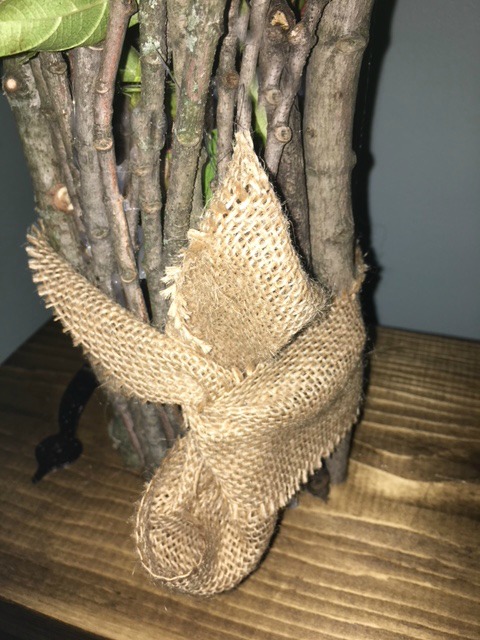
After tying it in a knot I tucked the ends under the centre. It looks like a bow but less bulky.
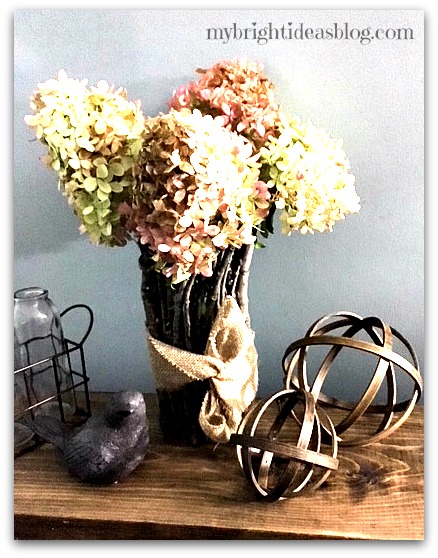
There now that is better! Its a lovely rustic vase perfect for this time of year!
I really appreciate you reading to the end and hope you will remember to pin this or share it on your favorite social media site.
If you would like to see how I made the orbs or wood tray in the photo above, click the links below.
Till next time!
…