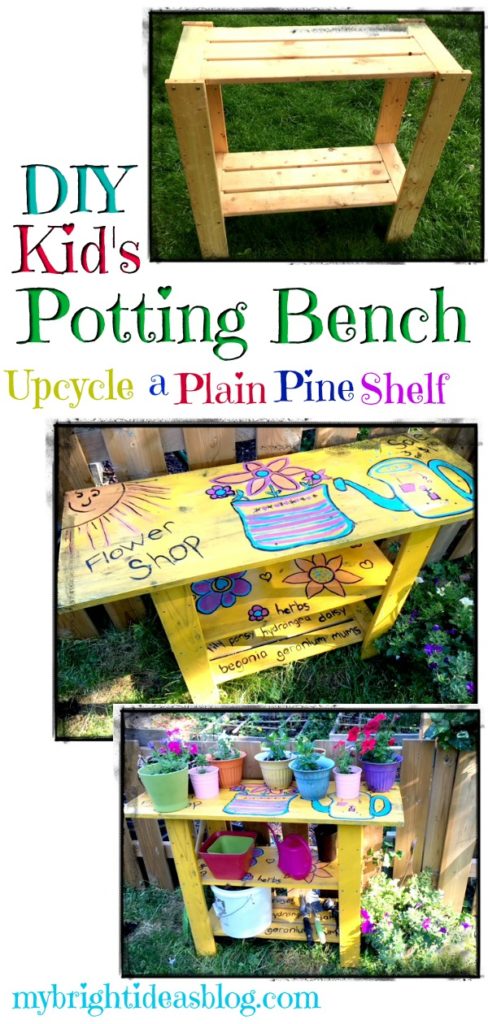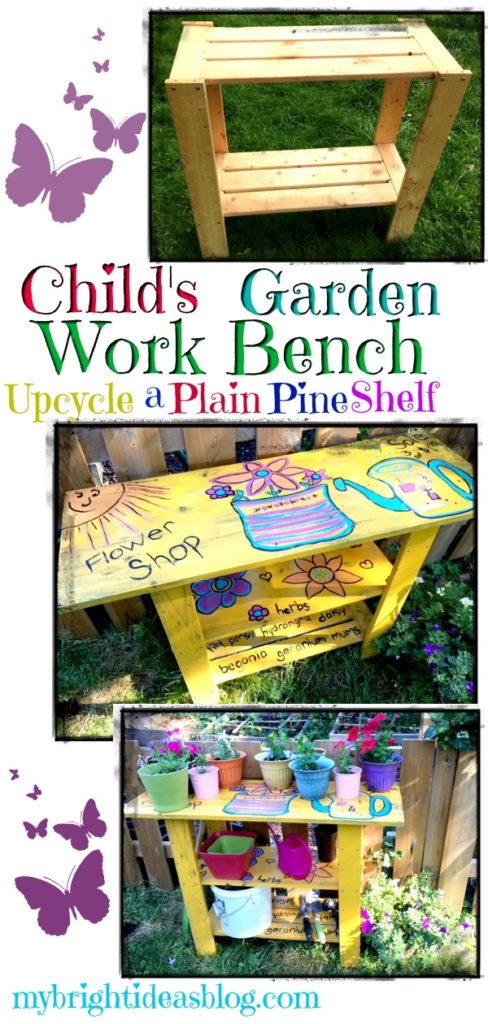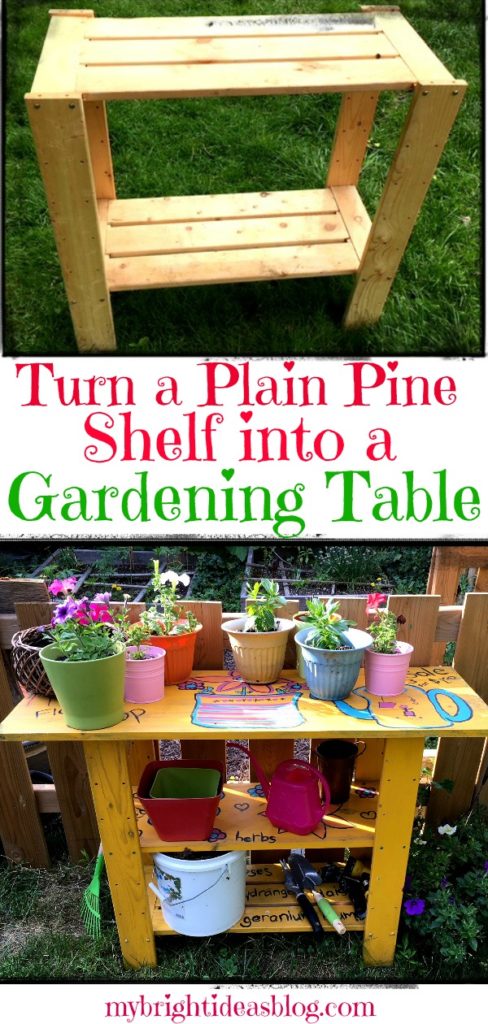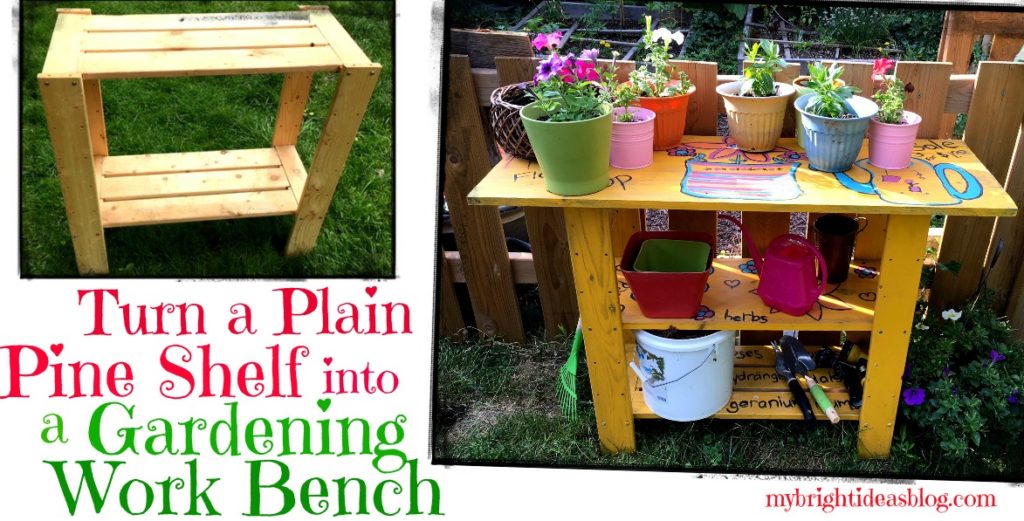
This is an easy DIY project for the inexpensive wooden pine shelves in the back of your closet that you’ve had for years. I was staring at mine thinking about getting rid of this plain old shelf and then I thought what if I added another shelf, made the top bigger and painted it a bright color and turn it into a garden potting station for the kids.
I have another one that I could turn into a lemonade stand using the same idea. I’ll let you know if that turns out!
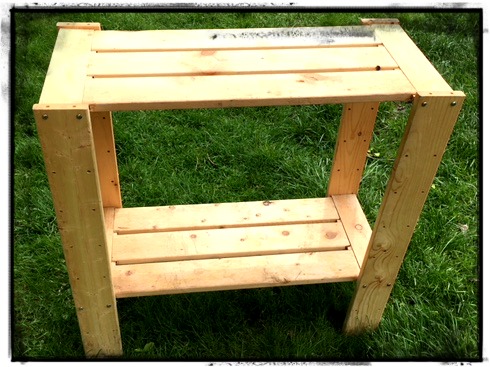
This is actually an old project I made years ago so some of the details are a bit foggy. This shelf was holding our camping gear. Its really only good to hold very large things on the bottom shelf because it doesn’t have a middle shelf. It turns out that its pretty easy to add a shelf by having a board cut to size.
You will need:
- a bare wood pine shelf
- pine cut down to 12 x 30 and 16 x 42
- 16 x 1 inch deck screws and a drill
- sandpaper
- outdoor paint
- paint brushes
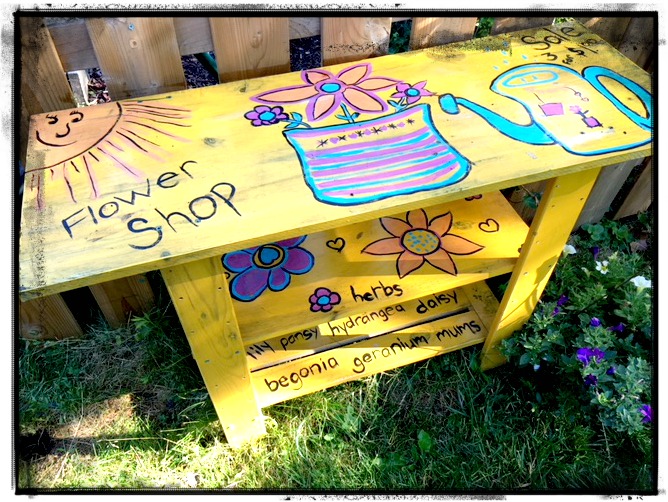
As I said this project was done 3 years ago so I’m going by memory on the details.
The middle shelf on mine measured 12 by 30 inches (30 by 76 cm’s) …. Your shelf may not be exactly the same so measure yours before having the shelf piece cut.
The piece on top is 16 by 42 inches (40 by 107 cm’s). Hopefully you have some wood scraps you can use in your garage left over from another project. If not they will cut the boards for you at the hardware/lumber store.
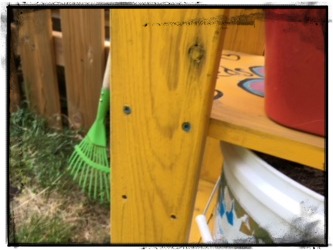
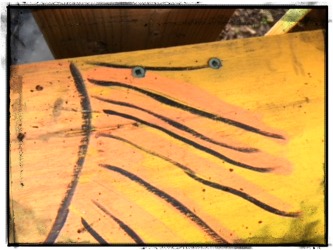
The boards will need to be drilled in place. I used the pre-drilled holes and attached the middle shelf with 2 deck screws on each corner. I put 8 deck screws in the top of the table to attach it to the vertical boards of the shelf. The nice thing about a work bench is it can be a bit rough-so I didn’t sink the screws and fill the holes.
Next the entire shelf will need to be painted. Our shelf is outdoors all summer and is stored in the garage for the winter. I used left over paints in my basement that were meant for other projects. The bright yellow paint was a miss-tint that I bought for $8.00, several years ago. It needed a lot of stirring before I could get started. Follow the instructions on the paint tin.
After I had done 2 coats of paint we were able to decorate it. The girls love to spend time playing flower store! When I purchase new flowers and vegetable plants at the garden centre they gather all the hand tools, seeds and the new plants and play at shop keepers for hours. I finally bought them some fake flowers from the dollarstore for their play store so I could get mine into the garden!
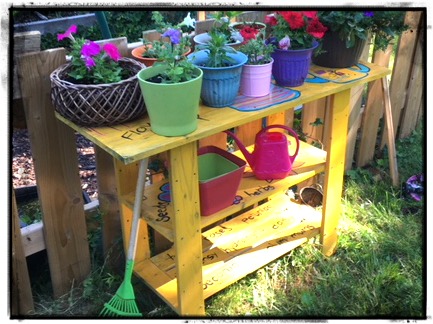
This year they were really involved in the planting of the newly purchased plants and not just pretending to sell them. Their planters are doing really well! We have to keep an eye on our potted plants since a few squirrels that are digging around
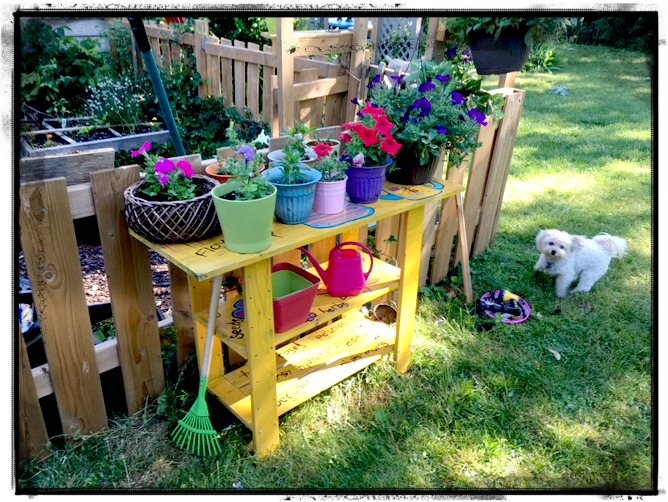
Gemma our Yorkie-Poo snuck into this photo. This photo shows the fence around our vegetable garden. This keeps the dogs from digging in the dirt. There are also some nice bunnies in there who nibble on the lettuce in the square foot gardens.
We have our own Floppsy, Mopsy and Cottontail!
Enjoy making yourselves a work bench. Come to think of there is lots we can do with these bare bones shelves. Next on my to do list might be a lemonade stand….
Enjoy your projects, til next time!

…
Plant Puns on Painted Potted Flower Pots – Adorable Gift Idea to Make Them Smile!

Turn An Old Bike Into a Garden Planter Feature!
Bicycle Planter Garden Feature
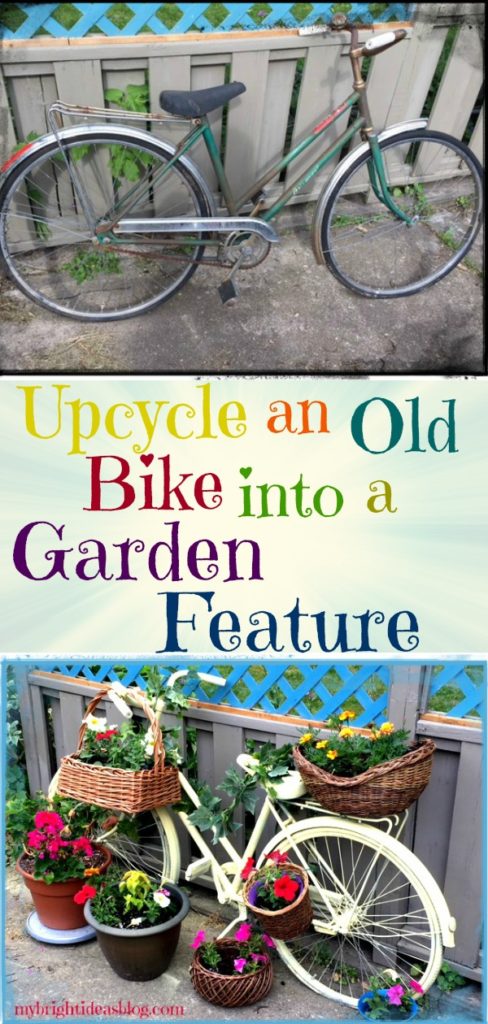
Have you seen painted bikes around town? I have seen a few-plus lots of pictures of painted, planted, garden bikes on Pinterest and at last I’ve made one for myself! Here it is!
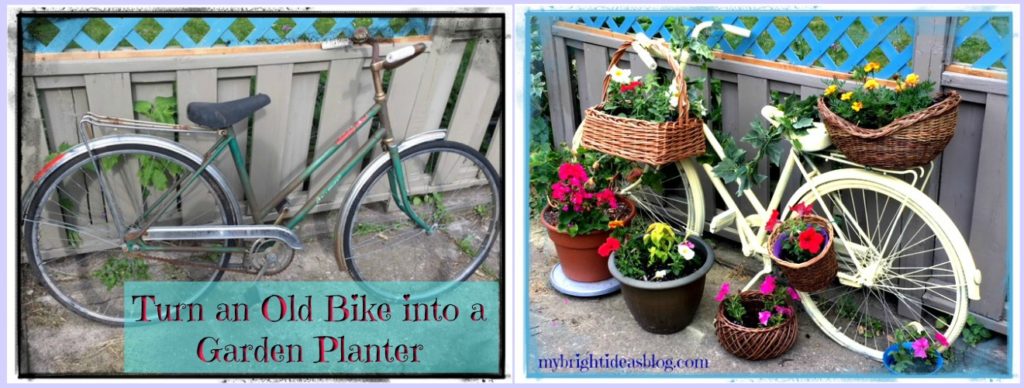
We have really being trying to put an effort into our back garden this year. In return we will want to be out there visiting with friends and family. We are off to a good start with our effort to spend a bit of time nearly every day to pull weeds and water the gardens….and spray paint a few things along the way…let me tell you about that!
How to Upcycle a Bike into a Planter!
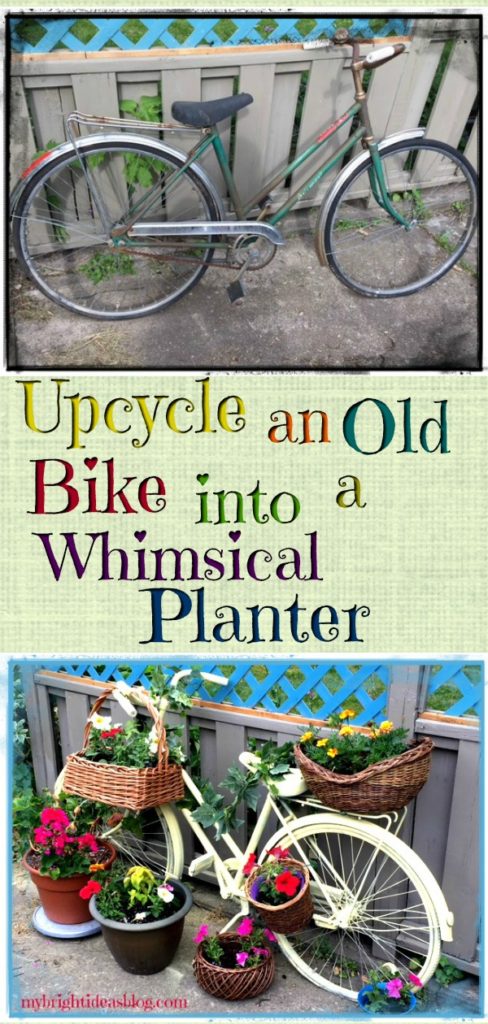
The first step to this project is to get a used old bike. I have found a few at the used sports store for $30 or more and I thought how sad is it to wreck a good working bike. So I waited to find a cheap one on Kijiji.ca which is a buying and selling website that is very popular in my area. I found this beauty for $15.
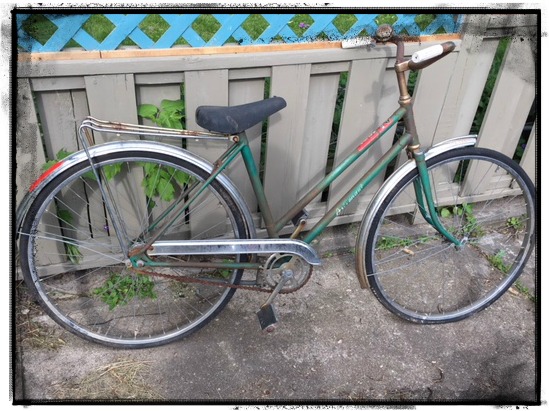
If you look closely you can see the rubber on the wheels is actually peeling apart. The bike doesn’t turn right or left so I felt okay about painting it and ending its time on the open roads to be part of my backyard.
Besides the old bike you will also need:
- safety glasses
- a damp rag
- fine sandpaper
- spray paint (2 or 3 cans)
- baskets
- plants
- plastic bag or coconut coir lining
- quality potting soil
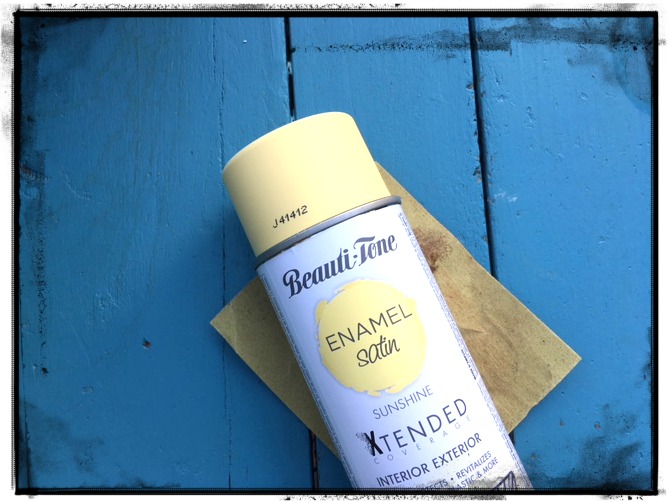
To prepare the bike for painting the first thing to do is wipe it down. This bike was covered in dirt and cob webs from the previous owner. Next, using a fairly fine sand paper …100 grit maybe…sand lightly the surface of the metal. This removed some rust on the fender and frame of the bike. You don’t want that in your eyes so pop on a pair of safety glasses first. If you were painting a gorgeous looking bike or a bike you would want to ride around town – you should pay a lot more attention to detail. You would take the wheels off and make sure everything is smooth. However, this bike was already in rough shape so I just gave it another wipe with a damp rag to get the dust off and moved on to the spray paint.
I had a hard time choosing what color to paint it. After much deliberation I decided on this brand “Beauti-Tone” of spray paint in red on some Muskoka chairs and loved how it sprays. I chose a satin “Sunshine” yellow.
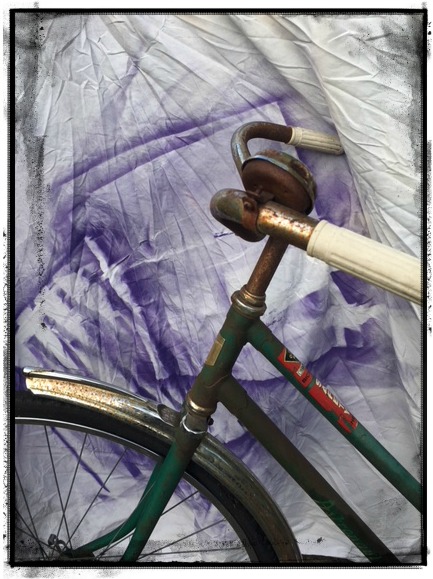 Spray paint is amazing for covering over all sorts of blemishes. I had thought that I would peel off the old stickers on it but then couldn’t be bothered and painted right on over it. I used an old sheet for a drop cloth and needed a can and a half of spray paint-so buy 2 cans!
Follow the instructions on your spray paint. Spray paint outdoors if possible on a non breezy day.
Recently I popped into the Goodwill charity shop. I was looking for bowling balls to paint into decorative gazing balls for the garden. (I’m so excited to do that project soon!) That day there was a slew of beautiful baskets and other odds and ends that looked perfect for some of my future projects.
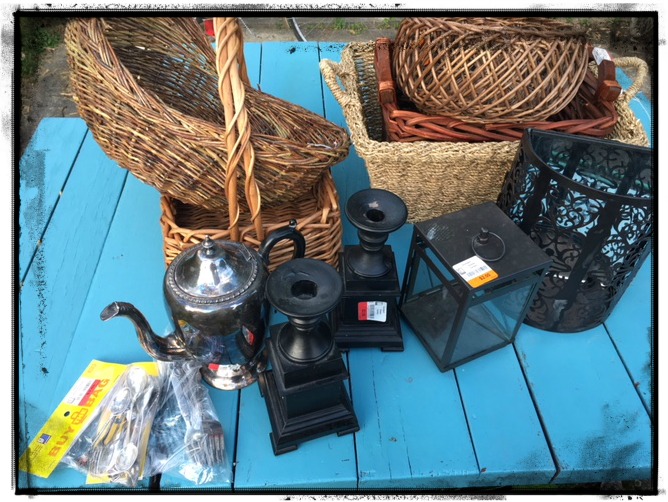
What great finds! Everything I got was around $3 each. These wicker baskets could have been painted to match the bike but I like the natural brown. I just LOVE baskets!
When I was a kid, my grandfather would pop around to our house with a basket whenever he found berries in season or a pie for desert. He would knock at the side door and my sisters and I would run around the house shouting Grampa is here! Such a favorite visitor. He was very generous with his love and baskets of berries. So thoughtful. I think that’s why I love baskets, I love Grampa gifts that come in the baskets!
I thought this basket would be great zip tied to the handle bars or on the luggage rack at the back.
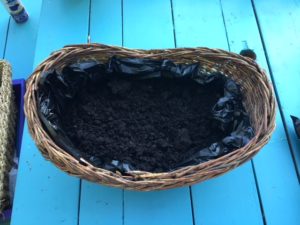
You can’t simply put dirt into the basket because every time it gets watered or rains it will seep through the cracks. Using a natural basket in the sun and rain is going to age it fairly quickly. Before adding the soil you might want to use a clear spray paint on the basket to help it last longer.
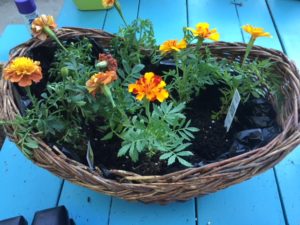
You can line the bottom of the basket with a plastic (garbage bag), newspaper or coconut coir liner. If you use plastic there won’t be any drainage allowed so you might want to poke some tiny holes in the plastic. Add some good quality soil and then the plants.
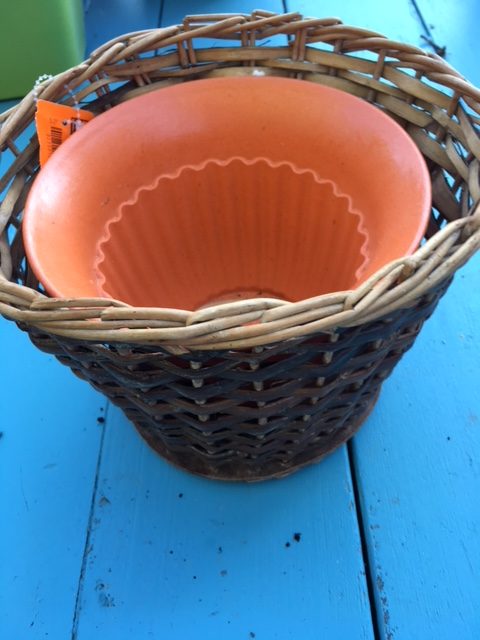
If you can find a pot that fits inside the basket that would be even better for packing things away at the end of the summer.
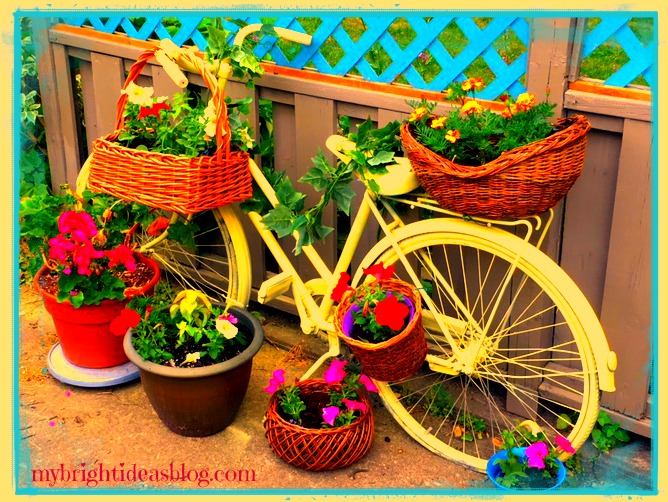
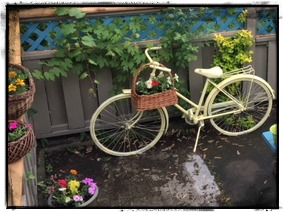
I was tweaking the photo above and turned the bike vibrant bright yellow. I really like it brighter so I might change it next year to a darker yellow or red. Ooh la la!
When your planters are ready you can you use plastic zip ties to attach each basket to the bike. I also used gigantic zip ties to attach the bike to the fence. I purchased my zip ties from the dollar store. Make sure it is fairly steady. The weight of the dirt in the baskets was surprisingly heavy. I would hate to see the bike topple over in a big wind storm-what a mess! I placed my bike planter right onto a concrete patio, but many put it in the flower gardens. In this case you could dig holes for the wheels and bury the bike a bit so its actually in the ground.
Wondering what I did with the other items on from the thrift store?
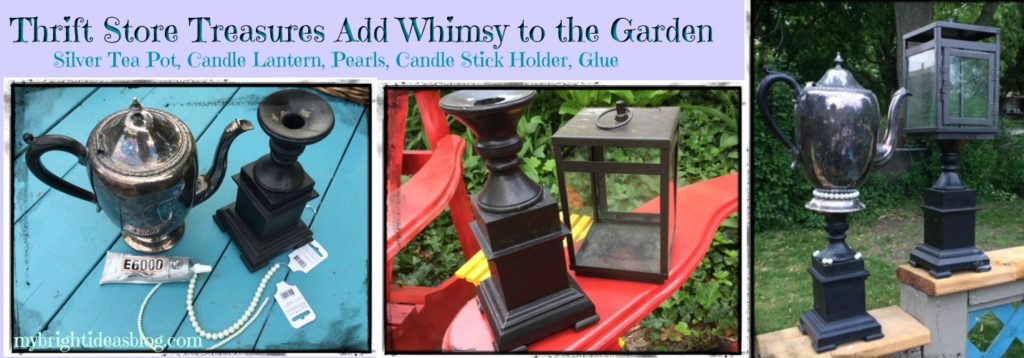
I simply glued the silver plated tea pot to a black candle stick with E6000 Glue. Then I took a string of pearls ($1.25 The Dollar Tree) and glued it to the base of the tea pot. Why not?! Express your whimsical self with color and fun items.
Next invite friends over for a backyard visit and root beer float! There are lots of conversation pieces decorating the garden this year. I’ll show you some other things I’ve been up to soon!
DIY Garden Solar Lights Using 2 Wire Planters
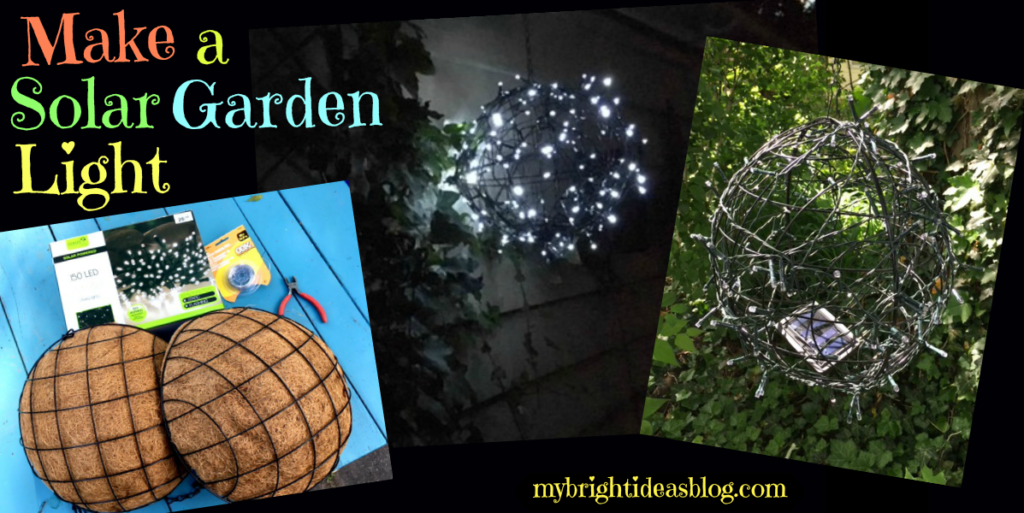
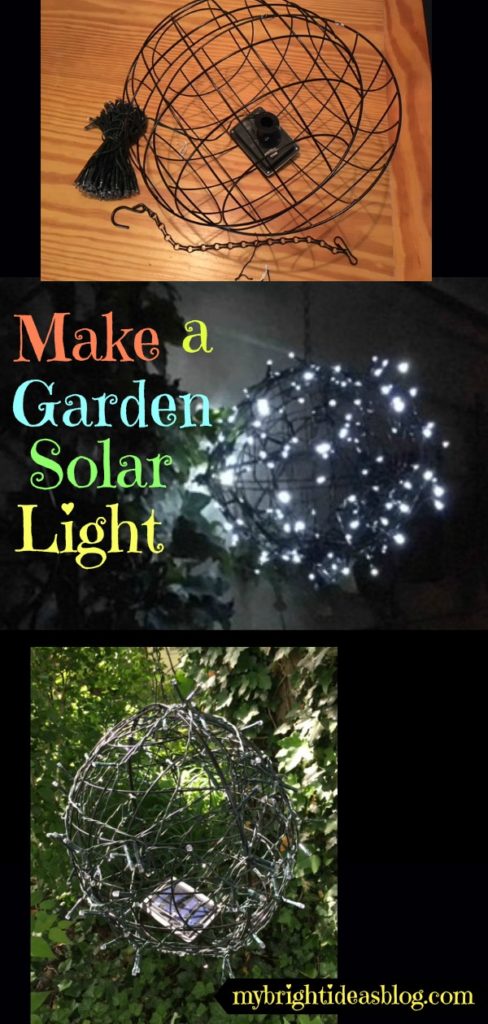
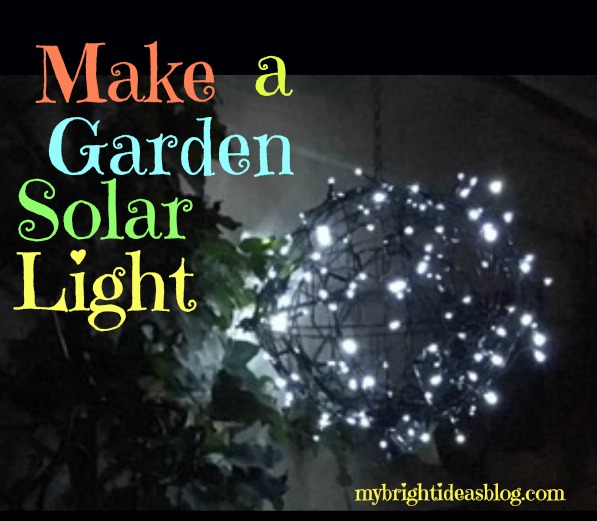
For this project I’m going to show you how to take 2 wire planters, attach them together and wrap LED solar twinkle lights around them to make a gorgeous night time garden light.
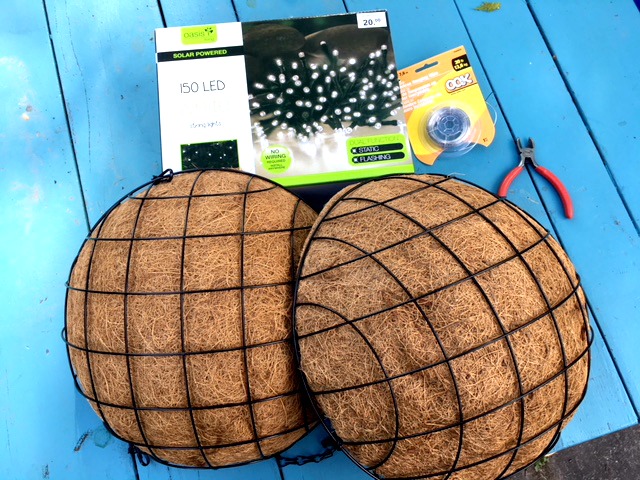
You will need:
- 2 wire plant baskets (dollar store $1-$4 each)
- pliers/wire cutters
- 10-15 black twist ties or fine wire cut to 3 inches long
- package of solar twinkle lights (I paid $20 but if I can find these cheaper I will let you know!)
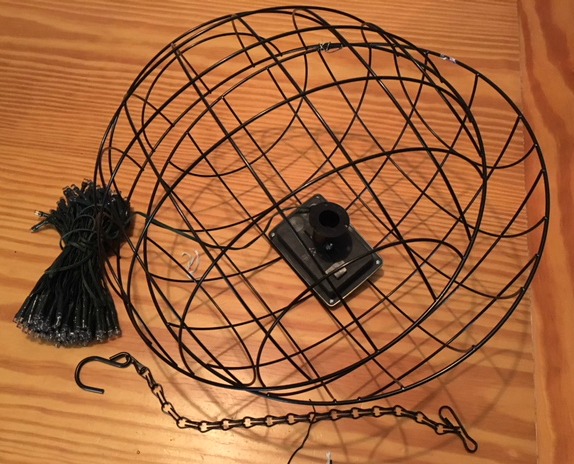 Before you start your project I would recommend that you test to make sure your solar lights are working as they should. My first project, I put all together and waited for the sun to set and then realized the light was defective and needed to go back to the store. Grrr…On my second go at the project I put them in a dark cupboard and peeked in. It worked perfectly so I started again.
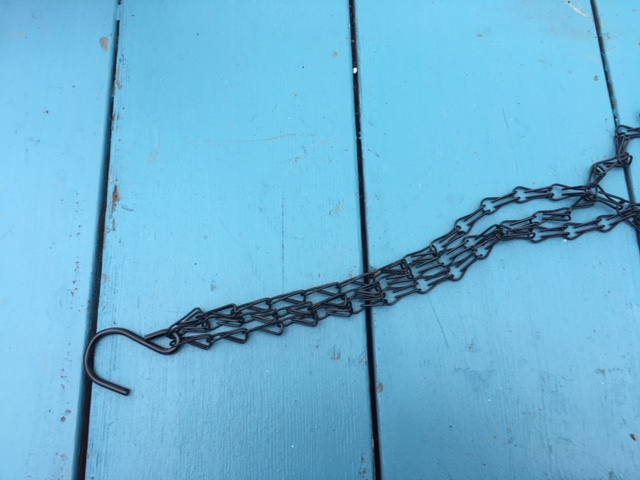 To easily remove the hook and chains, there is usually a clip on the wire hanger. Using your pliers remove two of the chains leaving just one hook and one strand of chains.
 Match up the pattern of the wire basket and wrap a bit of wire around it. The above picture was my first try. I forgot to match up the wire basket and the wire punctured my skin. In the first 10 seconds I was bleeding. So my next try I used just twist ties. Black twist ties preferably so it isn’t obvious. If you are going to use wire, put on some work gloves.
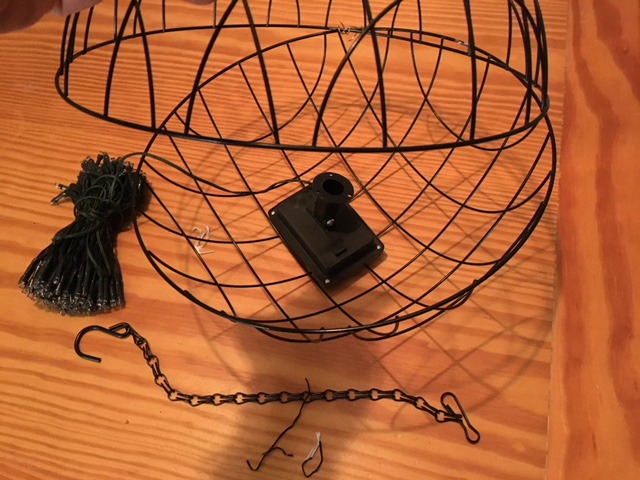 With one side secured-open it looks like a clam shell. Put the solar lamp inside the two planters and secured the other side closed.
 Starting from the other end of the twinkle lights, begin wrapping the lights around the sphere. Wrap the light with a twist tie to secure the lights snuggly around the ball. As you go around and around you can open up previously used twist ties and secure the newly wrapped lights into it.. Continue until the lights are completely attached.
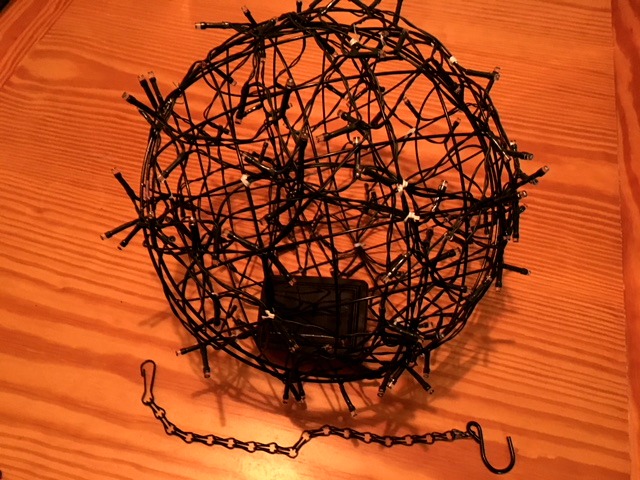
Attached the hook to the top of the sphere and its ready to hang up! As you can see I needed to use some white twist ties. If it bothers me to see those I could replace them later when I get more black twist ties.
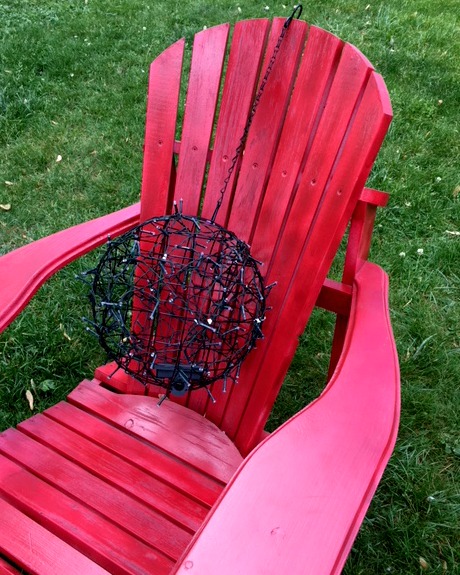 Next I need to decide where I should put it.
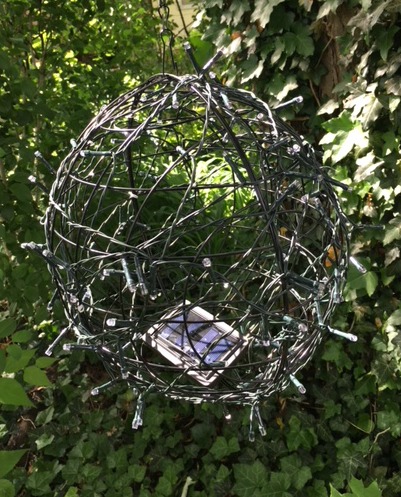 If I can find the solar lights a bit cheaper I would like to make 3 of these and hang it from a huge old tree in the backyard.
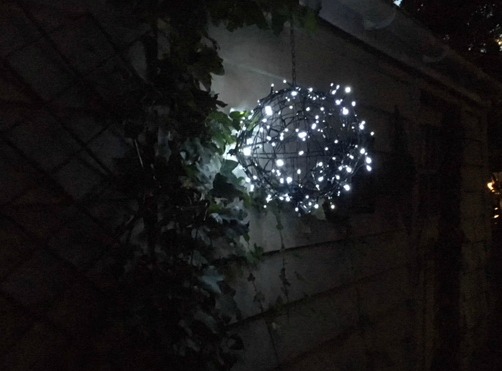
For now it is hanging on the side of the garage. I’m very pleased with the results!
…
Mason Jar Tissue Holder

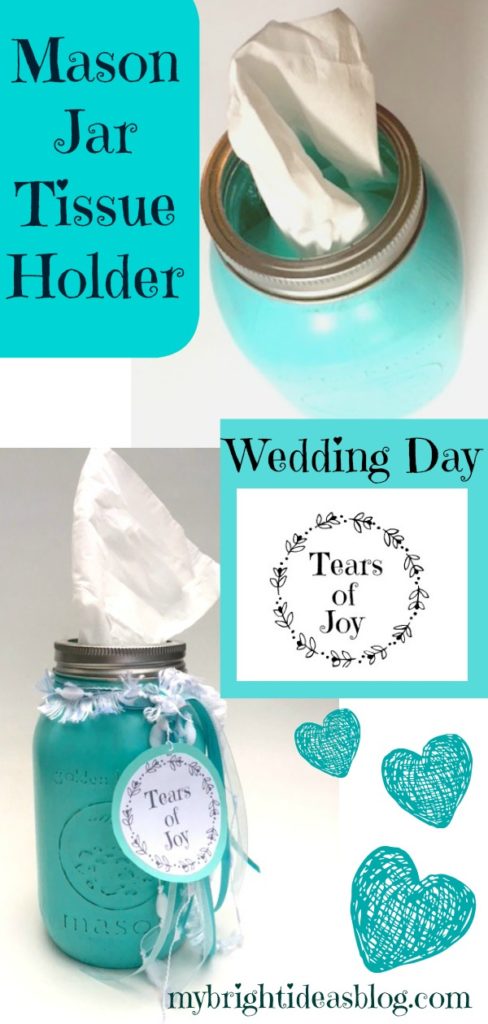
Tomorrow a friend’s daughter is getting married and I’m going to pop around to their house today to drop them of this mason jar tissue dispenser. Even for friends who aren’t prone to crying – weddings and daughters and stress and wedding parties and lack of sleep can bring out the tissues for anyone. Might as well be prepared with a jar of tissues that match the day!
You will need:
- goo gone or lift off if there is any sticky label residue
- rubbing alcohol
- a mason jar
- multi-surface paint (or glass paint)
- paint brush or sponge
- sand paper or emery board
- box of tissues
- wide mouth jar band
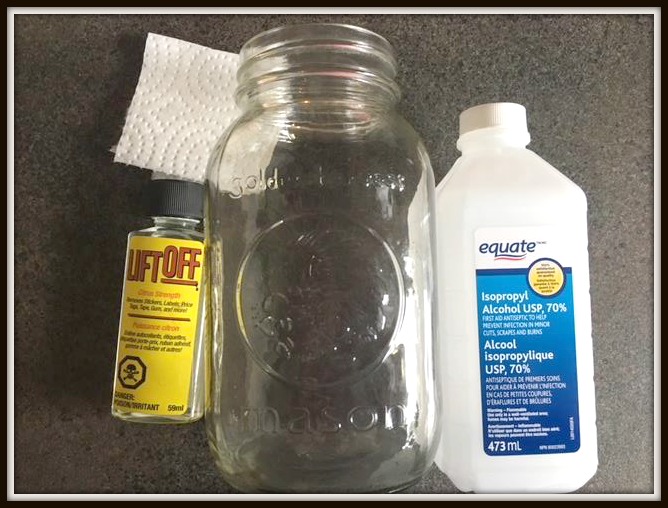
First of all, we need to clean and dry the mason jar. If there is any sticky residue from previous labels take if off with goo gone or lift off – then wash with soap and water. Wipe the outside of the jar with rubbing alcohol.
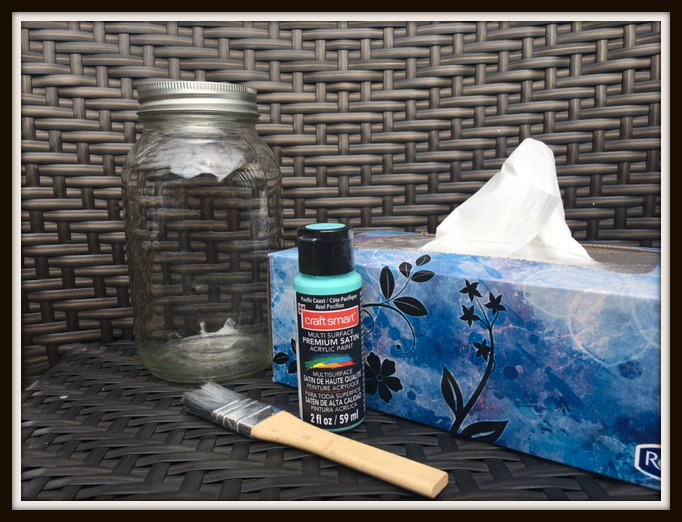
I used a multi-surface, acrylic craft paint from Michael’s-“Pacific Coast”. It was not expensive approx. $3.50. It can be used on fabric, glass, ceramics, wood, metal, plastic, terra cotta etc. 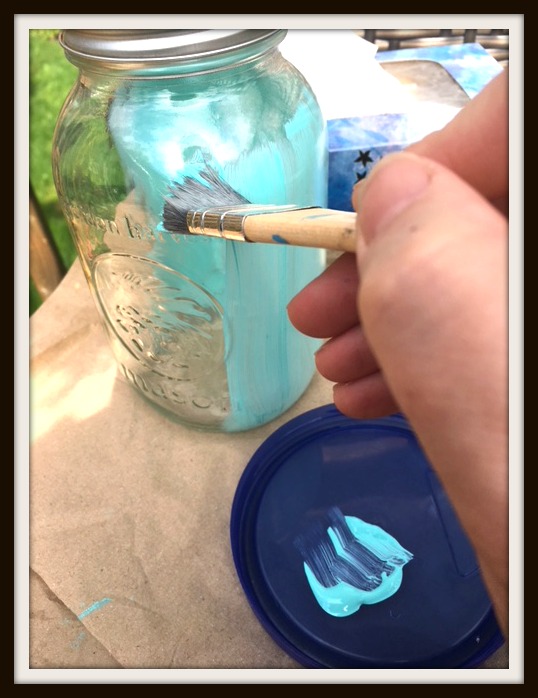
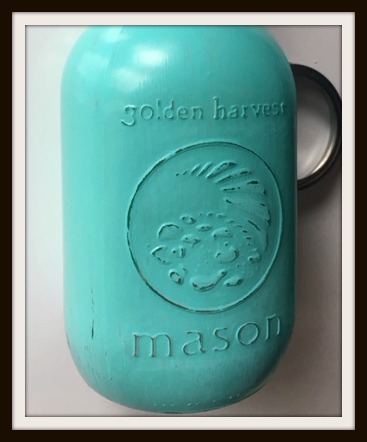
Using a paint brush or sponge, paint the jar and allow to dry. Most likely you will require another coat of paint. It dries fairly quickly. Leave over night to really allow the paint to dry thoroughly before moving on to the next step.
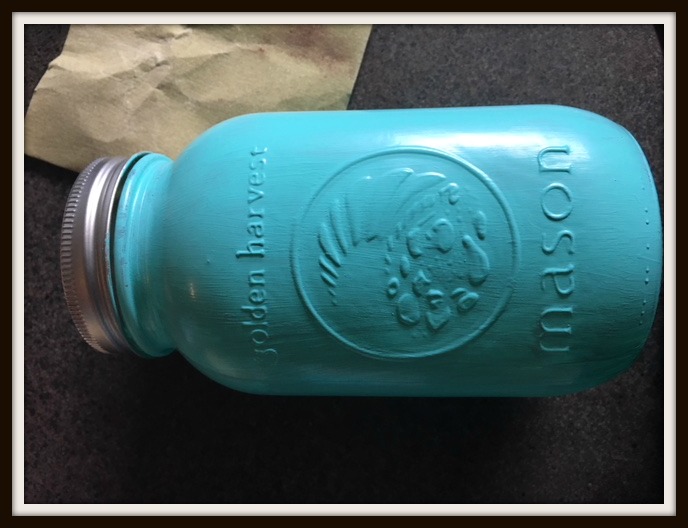
Using an emery board or sandpaper, gently rough up raised lettering.
Next we add the tissues!
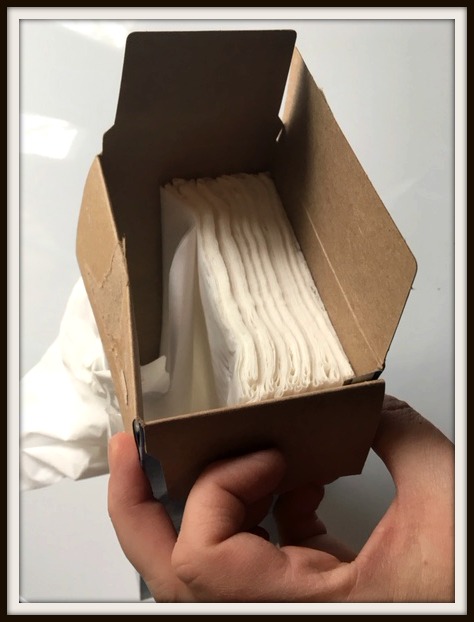
Open the box of tissues at one end. Remove half of the tissues, keeping them in a stack. Keep the top tissue slightly pulled up.
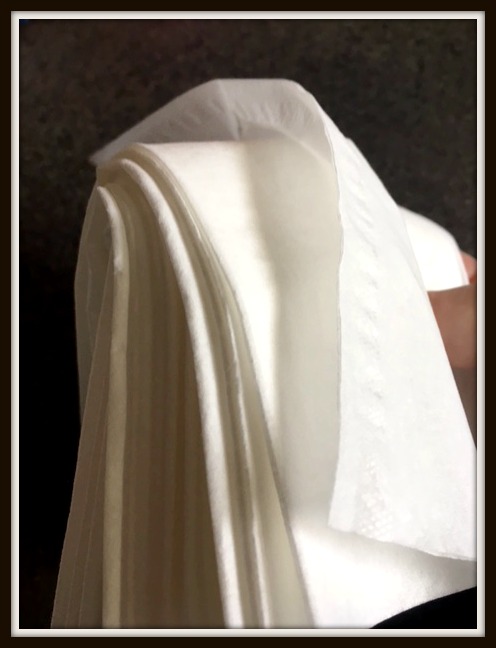
Fold the stack of tissues in half-keeping that top tissue easy to grab.
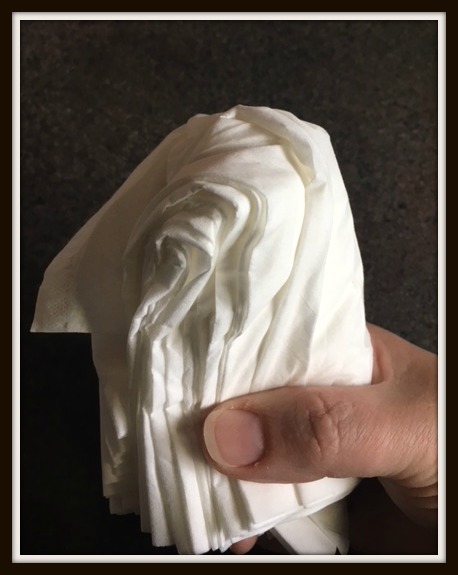
Fold it again so it will be slim enough to slide through the neck of your jar. Then gently wiggle the top tissue upwards. Test to see if the next one will follow.
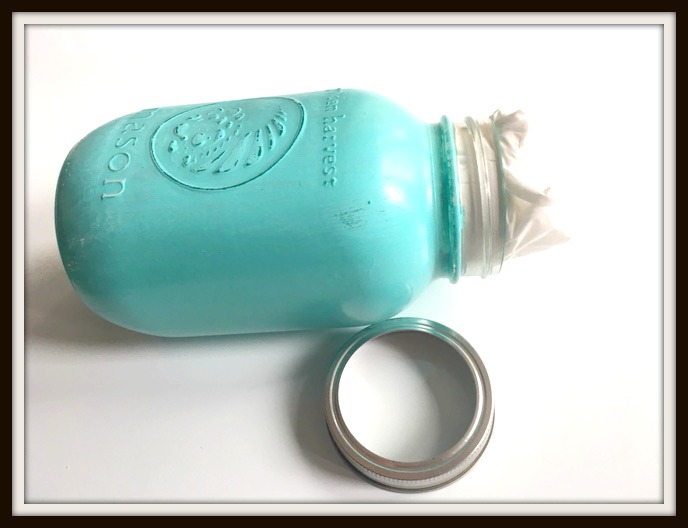
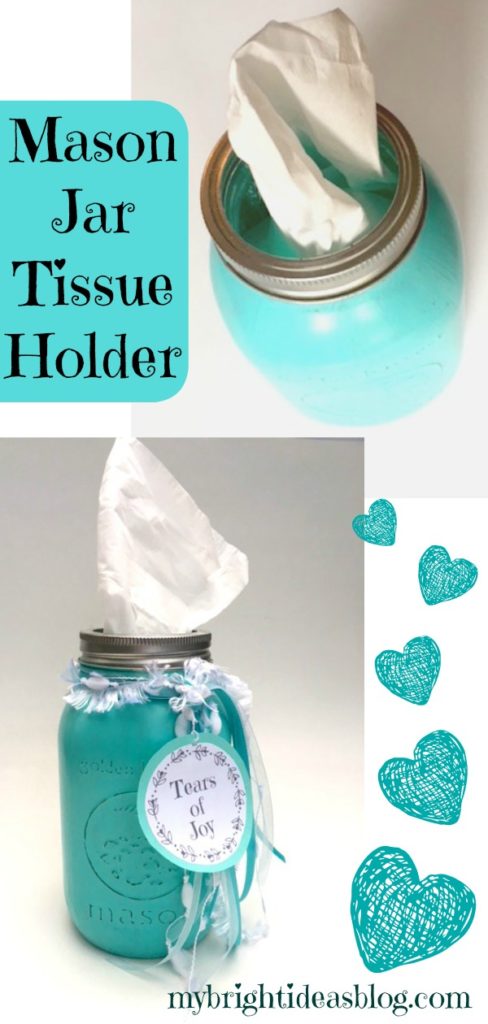
Screw the ring lid back onto the jar. I like the silver ring lids that come with new jars. If your ring is looking shabby or you want a dramatic look you could easily spray paint it black or soft white before screwing it back onto the jar.
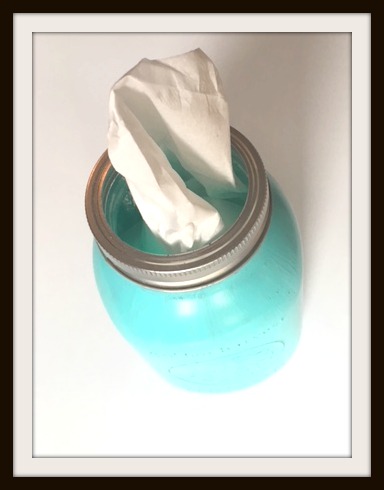
Looks good!
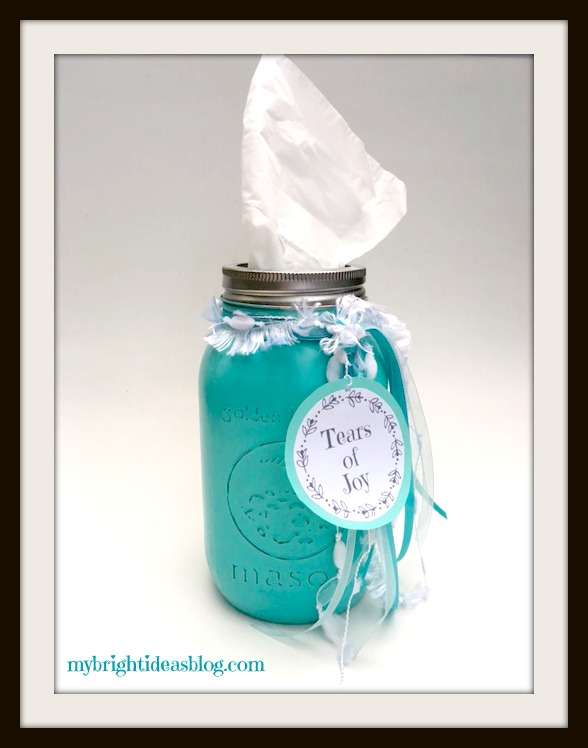
I added a little bit of random white and matching ribbons and simply tied a not around the neck of the jar. I also printed a little note that says “tears of joy”. Using a glue stick I pasted that onto a piece of coordinating cardstock. I punched a tiny hole in the papers and tied it into the ribbons.

Just a quick footnote!
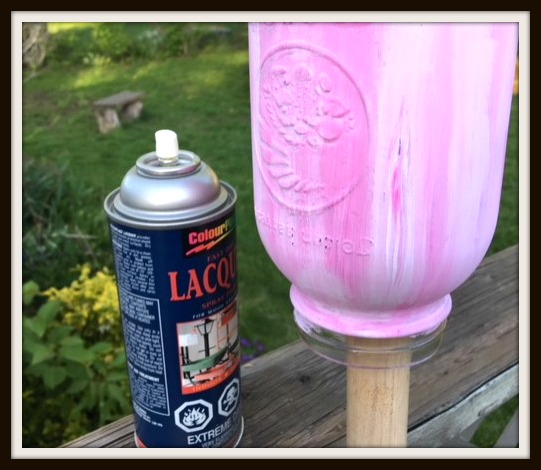
With this pink jar I tried painting with regular pink and white craft glue. It worked but it was a very mat finish so I put it on a broom handle and sprayed it with a clear topcoat. This had the desired finish and kept my hands free from the paint.

