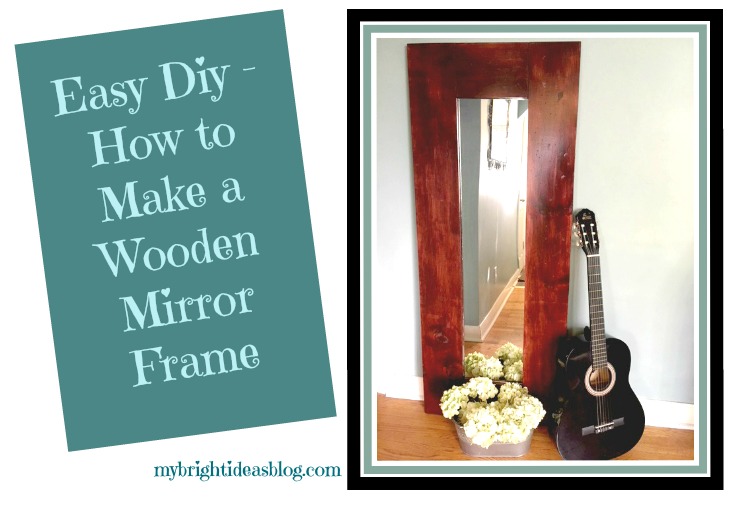
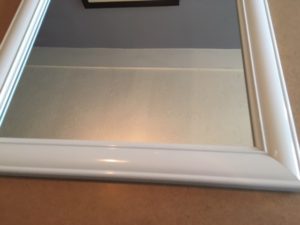
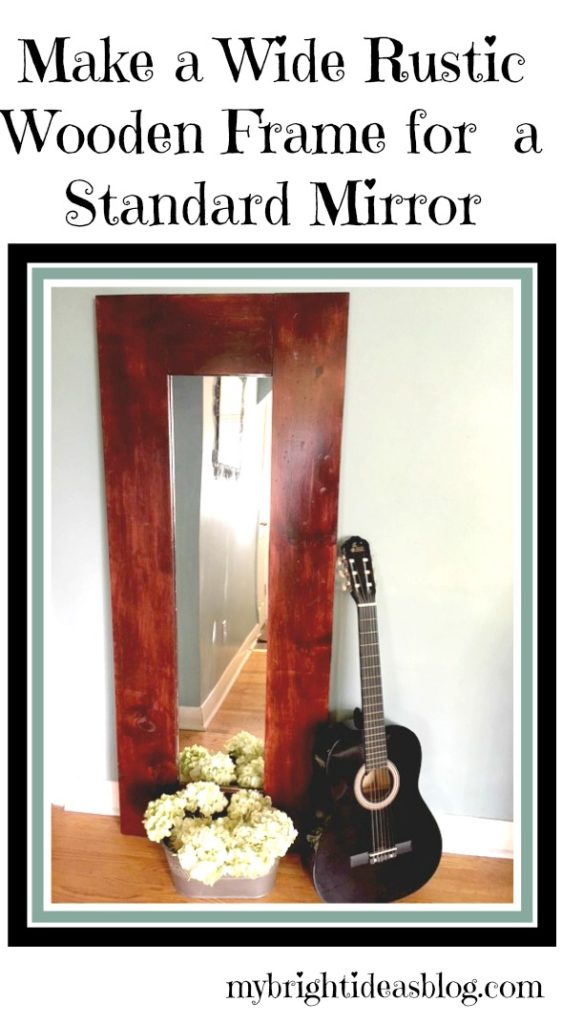
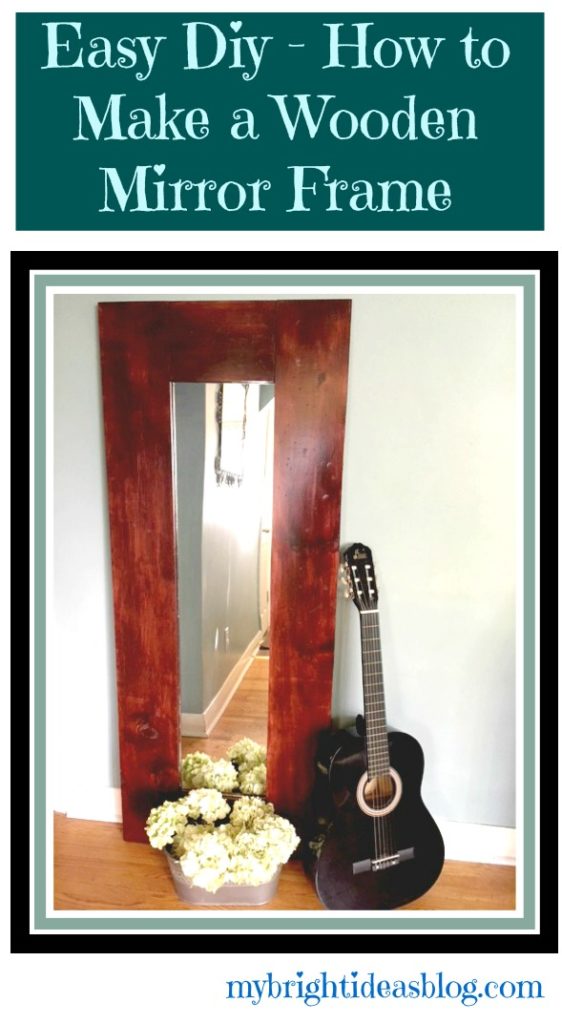
This week I got it into my head to take a cheap mirror and make it really substantial with a wood frame. Recently, I replaced all the doors to the bedrooms and closets and that was where most of our mirrors were. Hanging on the backs of doors. Now the doors are so new and lovely I can’t bear to attach anything to them. So I’m heading out the door not knowing if my skirt is stuck in the back of my tights…or any other possible wardrobe mistake is happening.
For this project you need:
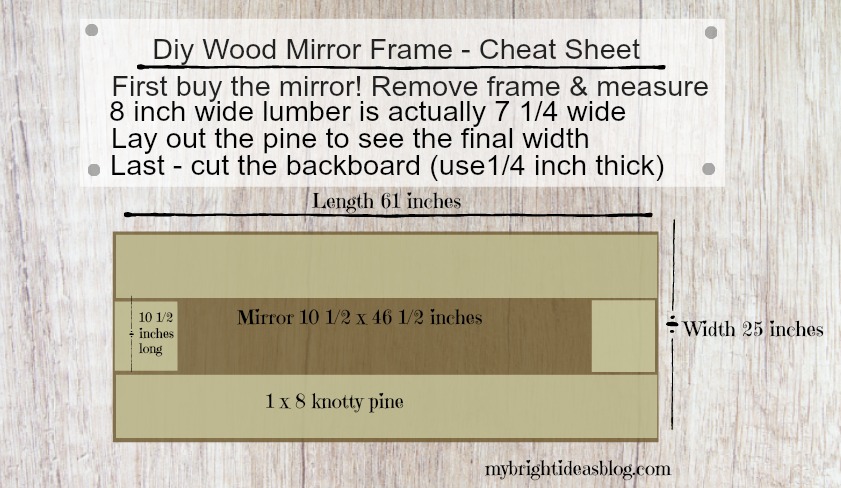
- one 1/4 x 48 x 96 backboard cut down to size $21.40 (mine was 25 x 61 – but measure your mirror and pine pieces first) I had this cut done at Home Depot
- inexpensive pine boards (I needed 2 boards 1x8x6 $7.97 each) choose straight boards
- a mirror $13.99 – mine was 13×49 but when you take it out of the plastic frame it was 10 1/2 x 46 1/2
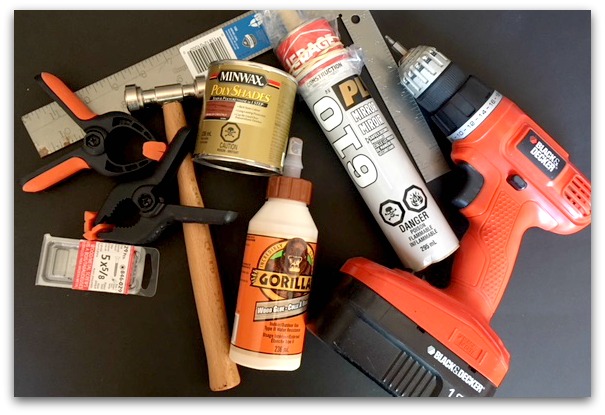
- exacto knife
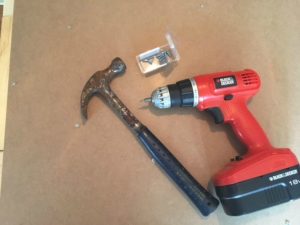
- tools to bang up the wood if you want it distressed…hammer, saw, big nail
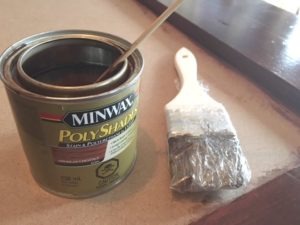
- stain and brush (mini wax polishade $11.97,this is an “all- in-one” stain and polyurethane so you brush it on)
- Wood Glue $5.27
- Clamps (at least 10)
- Screws $2.97 (5 x 5/8)
- Mirror Caulking $6.97 (LePage 610 Mirror) and Caulking Gun
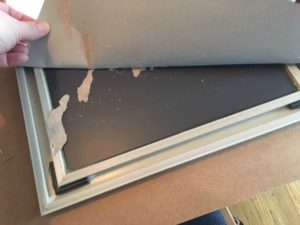
Carefully Dismantle the Mirror
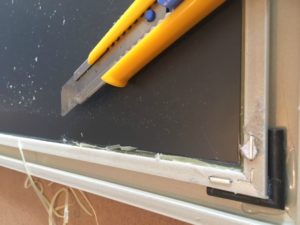
The very first step before you cut your wood is buy the mirror. If you just follow my sizing for wood cuts you may have a different size mirror and have to recut or get new wood. Remove it from the frame by turning it over and tear off the paper on the back. Take an exacto knife and cut away all of the glue on the edges. The mirror is actually a lot thinner and delicate than you might think-so don’t assume it will pop out. It will break easily. I found I needed to slice the along the edge of the plastic frame and then turn the knife and cut at a different angle. This required a lot more time and patience than I expected.
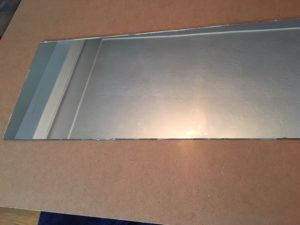
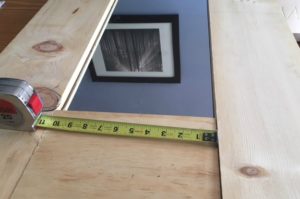

Very carefully lay the mirror on your surface and measure. I wanted to use a wide wood-you can go wider or narrower just adjust the size of your backboard. You may be able to find the right wood in the lumber area near the fence building supplies this will be less expensive. I went with the wood in the furniture building section because of the sizes available.
My mirror is 10 1/2 inches by 46 1/2 inches wide.
The pine boards were 1 x 8 x 6. But you must remember that they aren’t truly 8 inches wide. Its more like 7 1/4. That is why you need to lay things out measure to determine the needed width of the backboard. A bit too small is okay but it can’t be bigger than your finished project. That would look kind-a dumb.
The finished size of my mirror and pine is 25 inches by 61 inches so that is the size I need to cut the backboard. I had Home Depot cut this one because I don’t have a table saw and it will fit in the car easier!
Place the mirror on the backboard and then see if your pine is exactly how you want it. My side pieces were 61 inches long and the cross pieces were 10 1/2 inches. Everything looking good? Now trace the mirror with a pencil on the backboard. Remove the mirror…carefully…and put it in a safe place. I put mine behind a cabinet. Since we put on 2 coats of the finish it could take 24-48 hours. Keep the kids away from that mirror.
Distressing the Wood-Optional
If you are wanting to make the wood look rustic this is when to do it. It feels a bit wrong ruining nice wood-like your keying a car. I used a hammer with several screw on attachments to bang in several different kinds of marks and also I dragged it across the wood to make a few lines. You could use a regular hammer, counter sinker and saw to make these markings.
Putting it all together
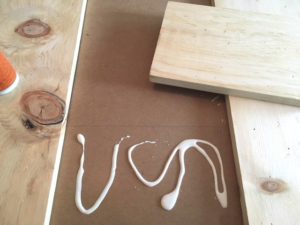
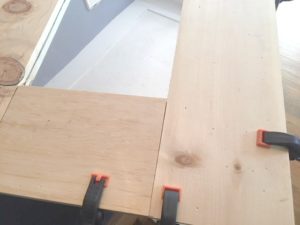
Now that the wood is nicely banged up lets put it altogether. Use the wood glue and put the 4 wood pieces where they belong on the back board. Clamp in place quickly-the glue makes the pine slip around. At this point I got out the mirror again. Do I need to say carefully again? I hate broken glass with kids and dogs in the house. I’m a worrier! I thought before everything was set I would double check that the mirror fit in. It did! Now get it back to its safe place behind the cabinet.
Put in a few screws into the bottom to keep the boards in place. This is awkward since you need to come from below with your project pulled a little off the table. The majority of screws went in after the glue had dried and I could flip it over.
Finishing Steps
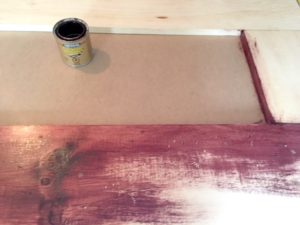
In this project I used Miniwax PolyShades “Stain and Polyurethane in One” with a paint brush. I originally chose a shade too red and sanded it down a bit and added American Chestnut for my second coat. If you have a stain only product, use a rag and not a paint brush.
Stir this product a lot. You can feel that the polyurethane part of the mixture separates and sinks to the bottom. Stir it mid project a few times just to be sure.
This called for a very thin coat, wait 8 hours, rub surface with steel wool, wipe off fine dust, apply another very thin coat until you have the desired color. So there is a bit of waiting involved on this project. I wrapped my paintbrush in plastic wrap between coats so it didn’t harden.
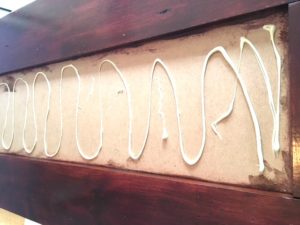
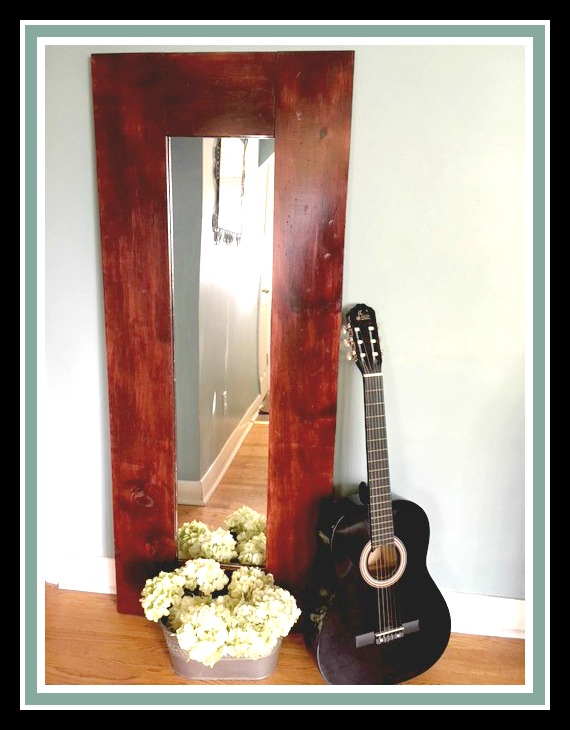
The final step is to glue in the mirror! Almost done! I used LePage 610 PL Mirror Adhesive. It doesn’t say on the package how long you need to wait for the glue to dry. The instructions say the first 10 minutes is key if you need to reposition the mirror. Don’t move it after 10 minutes. It should be a perfect fit. I applied the adhesive to the backboard and then placed the mirror on top. I gently applied even pressure to push the mirror into the glue. The website actually says that it is cured in 48 hours. Not realizing this until later I moved mine after only 3 hours because I needed the table it was on.
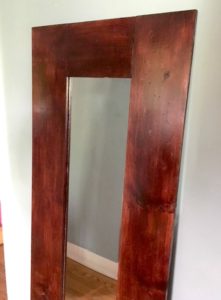
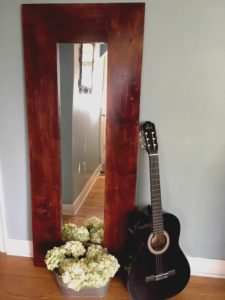
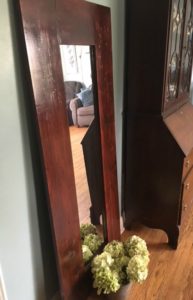
Mirrors are recommended to make a small room appear larger. That is great for our little house but mostly we just need it to make sure our clothes are on straight. The finished product is a bit heavy but could be attached to a wall to raise it up.
The cost of this project depends on if you have some basic supplies already. Home Depot will make all the cuts for free if you need it.
I purchased the pine and backboard, mirror, screws and mirror calking so the project cost approx. $65. I have enough backboard left over to make another one using an old mirror- this time I might just paint the frame black or white and put it in a bedroom. The only thing I would need to purchase for the second one is the pine boards for another $16. The best part is that their were no worrying about mitred corners. This project takes a bit of time but its pretty easy!
Let me know if I am missing any details. I’m happy to hear feedback if you have questions!
…
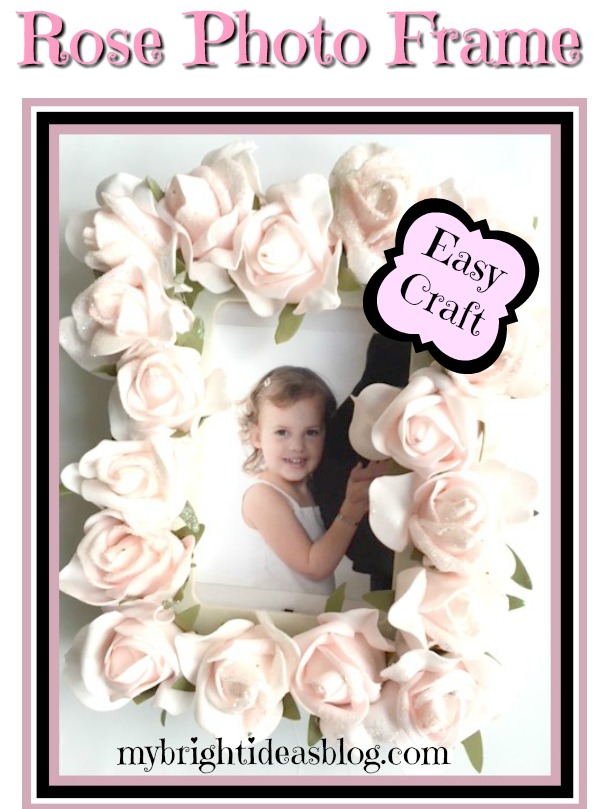
Make a Lovely Rose Picture Frame!

Hello there crafty darlings! Is it wedding season or baby season in your circle of friends? If you are looking for a lovely gift idea…I have just what you need! An easy craft that just requires a few dollars at the craft or dollar store and your trusty hot glue gun. Plug in the glue gun and lets get started!
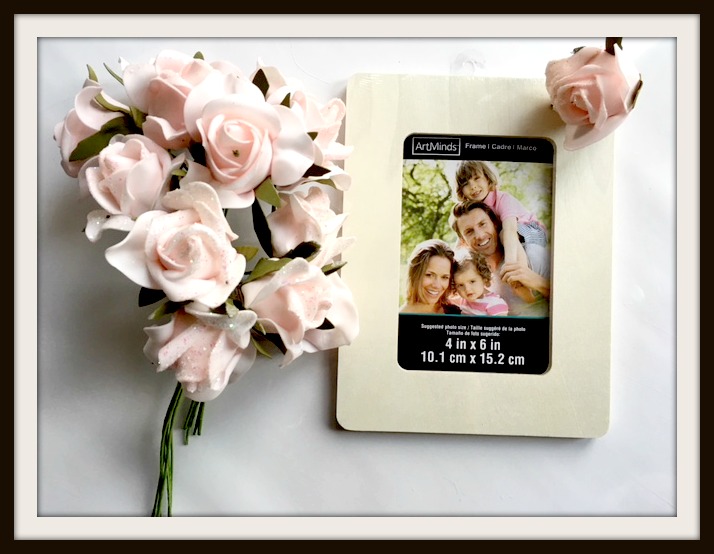
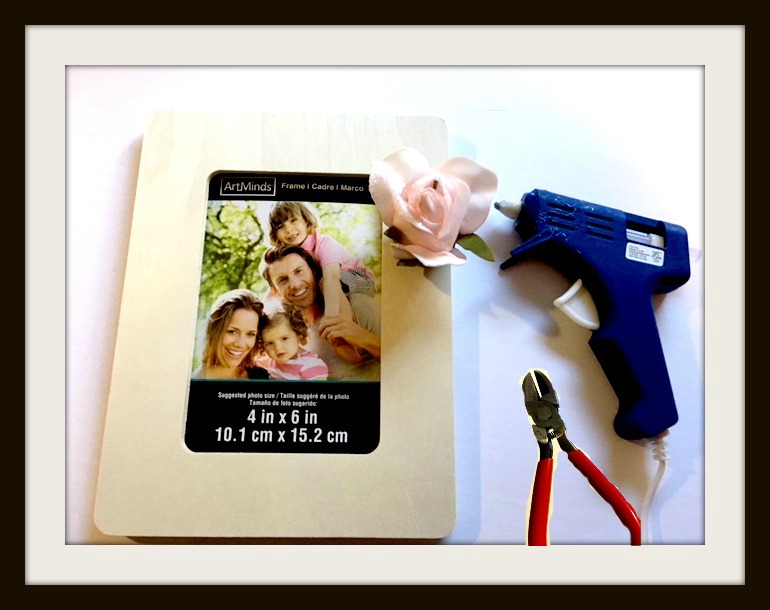
This project needs just 4 things.
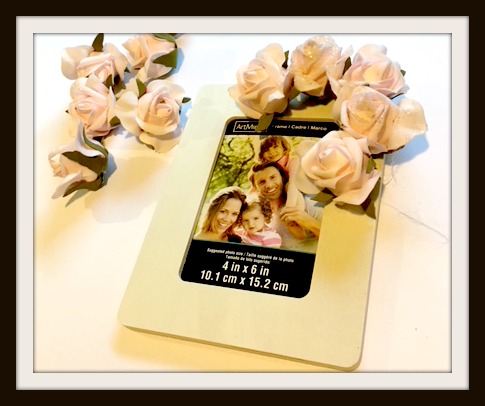
- Roses ($3.75 Dollarama 3 bunches at $1.25 each)
- 4x 6 Wooden Picture Frame ($2.00 Michaels)
- Hot Glue Gun
- Wire Cutters
I discovered some pretty dainty pink roses at my dollarstore. Each bunch had 6 flowers and I used 18 flowers for this project.
The first step is to trim the stem with wire cutters/pliers and bend the wire stem to the side. This style of flower sits very flat on the photo frame making it easy to glue. Wow this project is so easy!
I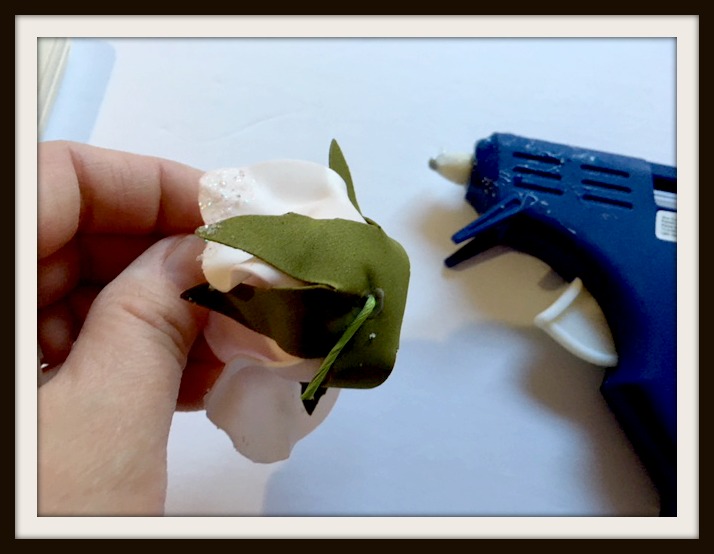
Next lay out your flowers and see how snuggly you want them to fit. Begin gluing the flowers on.
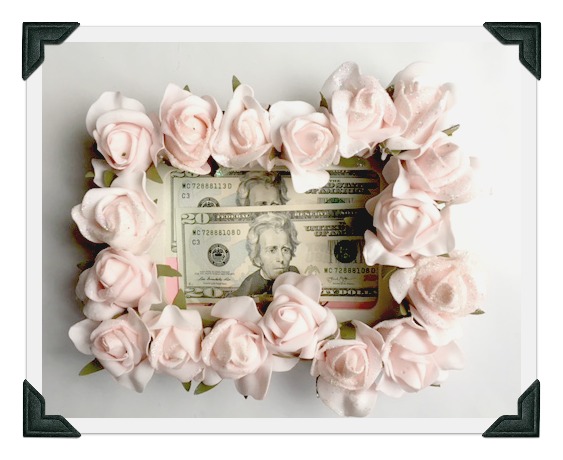
Now pause to admire the beauty and simplicity of this gift. Will you put a photo of the happy couple in the picture frame or their wedding invitation? Or will you put the birth announcement or leave it empty for the expecting parents? Or did you see my last post about putting gift cards or cash in photo frames to add to your thoughtful prezzie. http://mybrightideasblog.com/give-a-money-gift-in-a-picture-frame/
Voila! This project is done in 5 minutes and off you go to the baby shower with your gorgeous homemade picture frame.
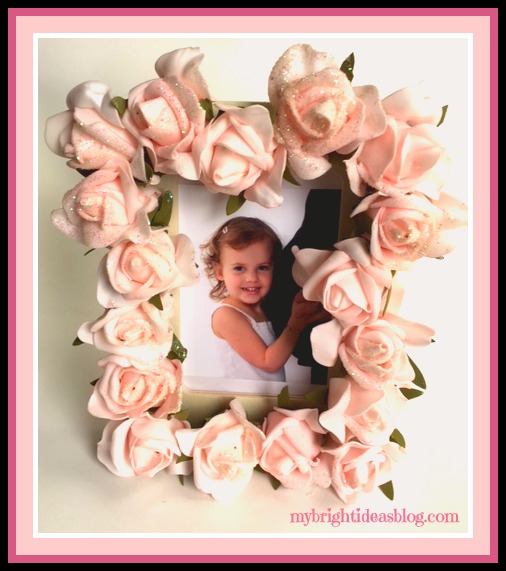
Did you see the tummy sticking out in the photo above? That is my belly growing my second daughter. In the end I’ve decided to give the rose photo frame to Miss B to put in her bedroom. She often remembers the happy times when she was an only child. LOL! This is a nice keepsake to remind her that she was very excited to be a big sister. This kiddo was soooo bald as a baby-not a stitch of hair but here she is a nearly 3 years old and it started to come in beautifully! It’s now 8 year later and her hair is long and luscious! Golly doesn’t time fly!
Wherever you are-I hope you have a super day! Thanks for stopping by!


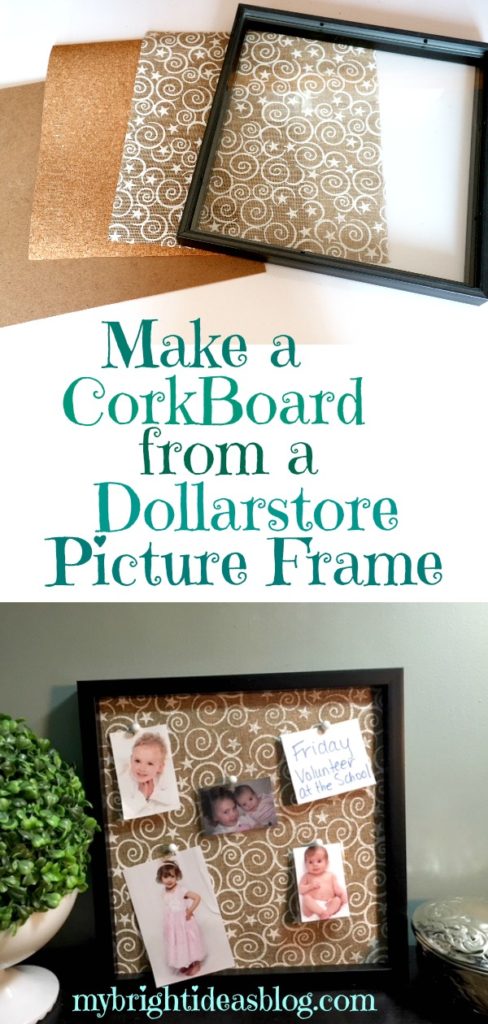
How to make a DollarStore Picture Frame into a Cork Board! Easy Project!

Hello again! Today’s project is all made from Dollarstore items! Its a bulletin board or corkboard-covered in fabric! The Dollarama Stores near me are getting great craft items. They are no longer everything in the store is $1 but they are getting better quality items and still much cheaper and closer than going to my local craft store.
For this project I purchased a very modern photo frame for $4, a roll of cork $3, a roll of jute (this one had a white painted design) you could use fabric for this instead. Additionally, you will need your scissors, ruler and hot glue gun and some cute tacks to post pictures or notes to it.
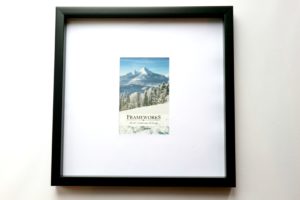
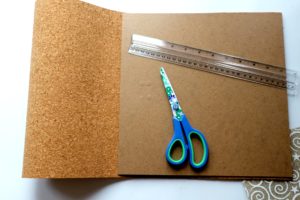
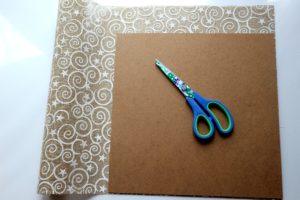
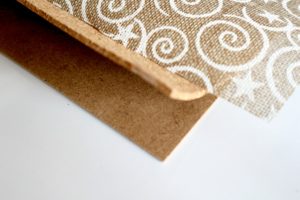
The frame I used was square 12×12. Take off the backing and remove the glass from the frame. Use the backing to trace and cut the cork to exactly the same size. Next cut the fabric larger than the backing. Make it an inch wider all the way around so you can wrap it around the cork and board and secure it on the back.
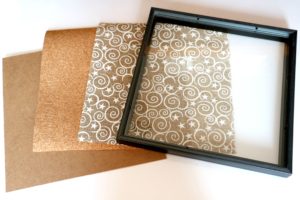
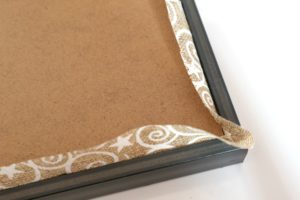
Now stack the layers-the board on the bottom, then the cork, then the fabric-and push it into the frame. Pull the fabric in tight. Everything should be snug.
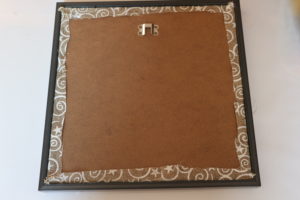


Hot glue the fabric flat-close to the edge and trim off extra fabric. Fold the corners so it is tidy with a mitred look. Find some little pictures and cute push pins. At the moment I have it leaned against a wall on a side table but it could be hung up on the wall….in fact-there is plenty of supplies left over to make more frames and put a collection of 2 or 3 on a wall! I just took down some shelves and know just the place!
All in all this is a 10 minute project with a cost of about $10 with left overs to make more projects. It was a success!

…