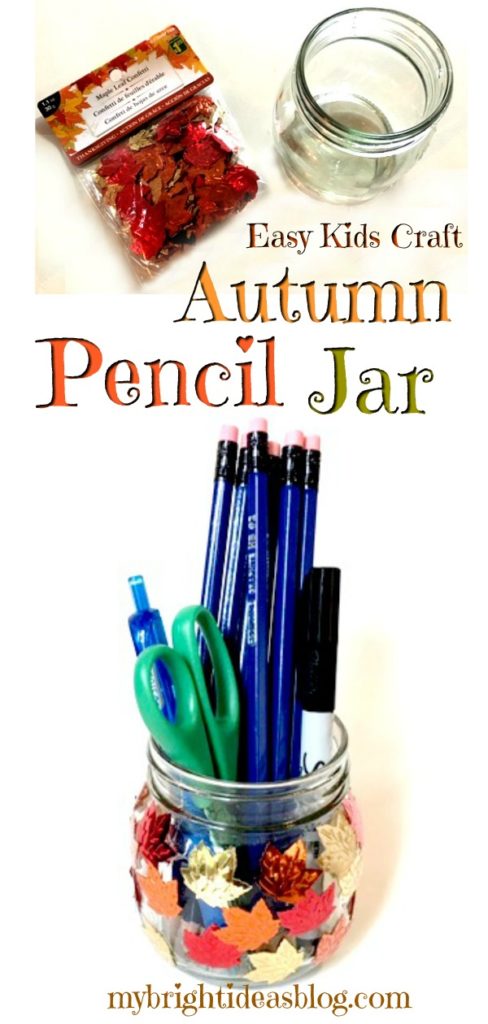
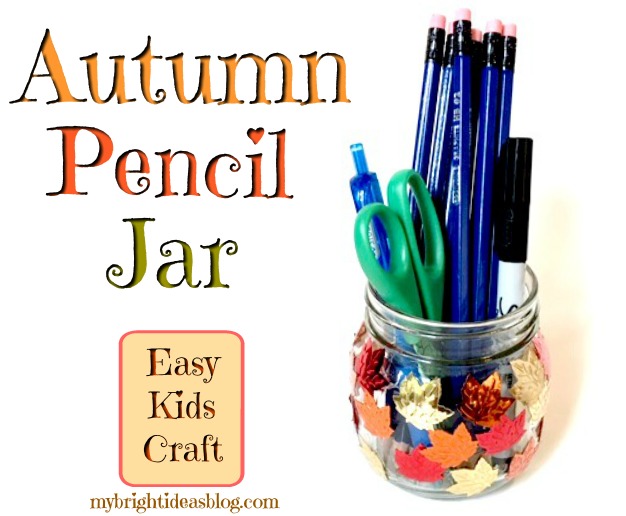

You will need:
- a short mason jar (or a jam or pickle jar from your recycle bin)
- clear glue
- leaf confetti (if you have a leaf punch make your own)
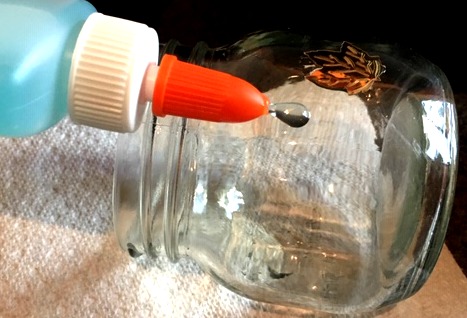
Glue!
Using clear glue is important. Originally, I used white craft glue and it dried very white and milky looking. So that was a craft fail. Meh!
Fortunately, I could pull off the leaves and wash off the old glue and start again.
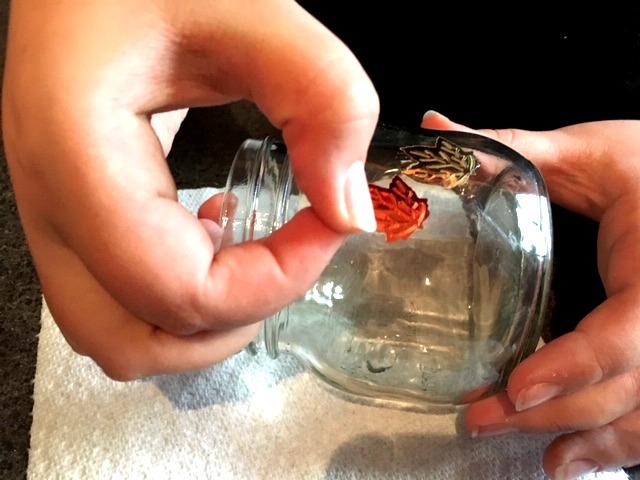
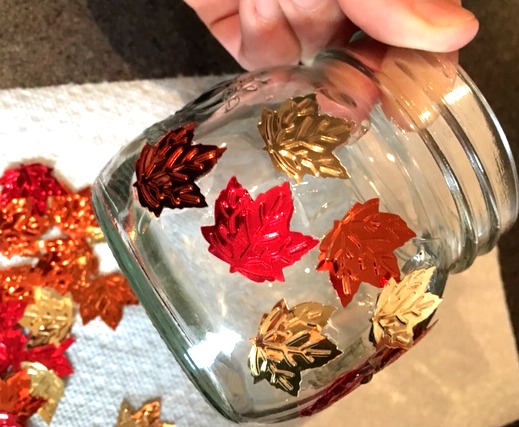
Glue and stick. Glue and stick. Repeat…repeat…repeat.
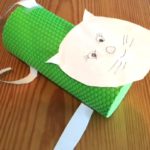
My 11 year old worked with me on this. She loves candles so she wanted to make this a candle holder.
Easy gift idea for the kids to make, right?!
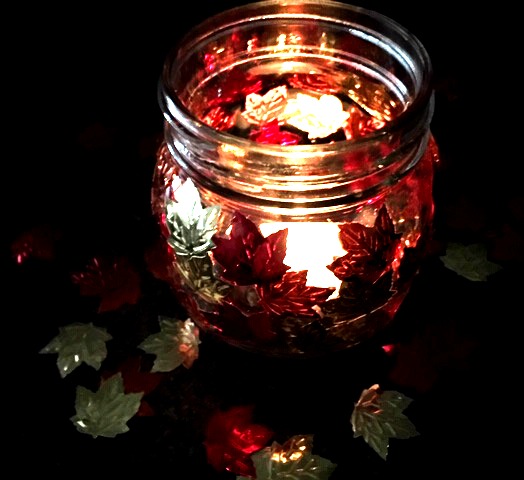
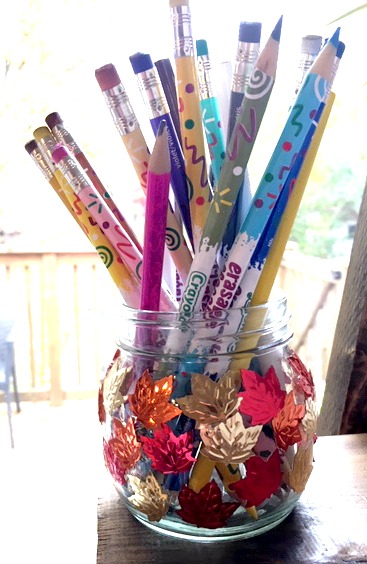
She was right it did look great with a candle light. Unfortunately, we are still in “keep the kids from setting the house on fire” protective parent mode – so we only use candles on very special occasions. So in the meantime, this gorgeous jar is going to be a pencil holder.
Thanks for checking out this post. I hope you enjoy Autumn before its gone.
Below are a few more kids crafts I’ve done over the past few weeks.
Post them on Pinterest or share them on your social media.
See you again soon!
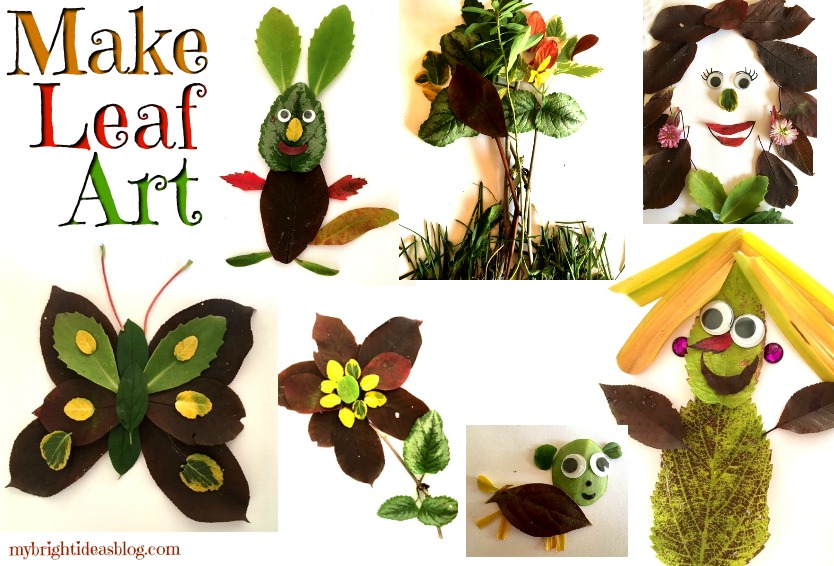
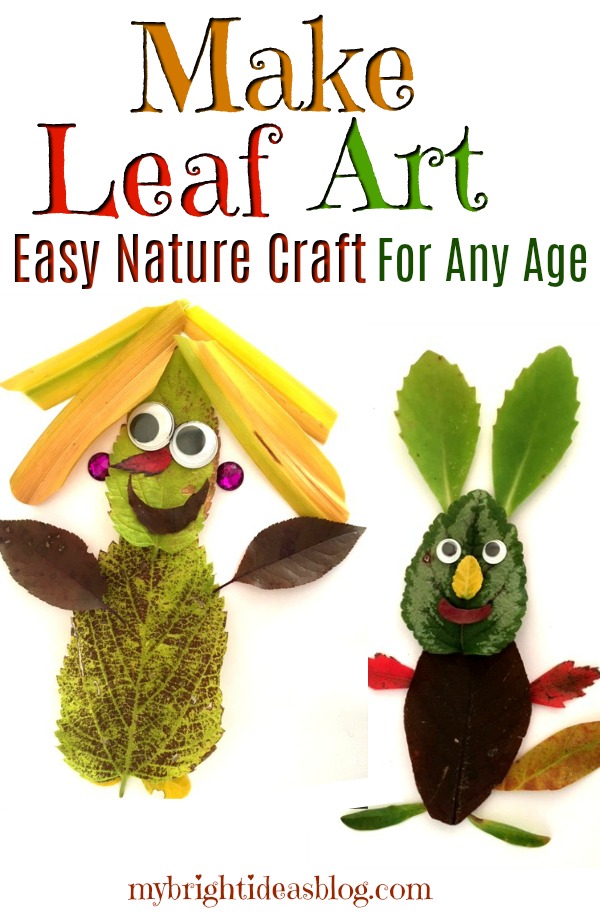
Make Leaf Art – Easy Nature Project!
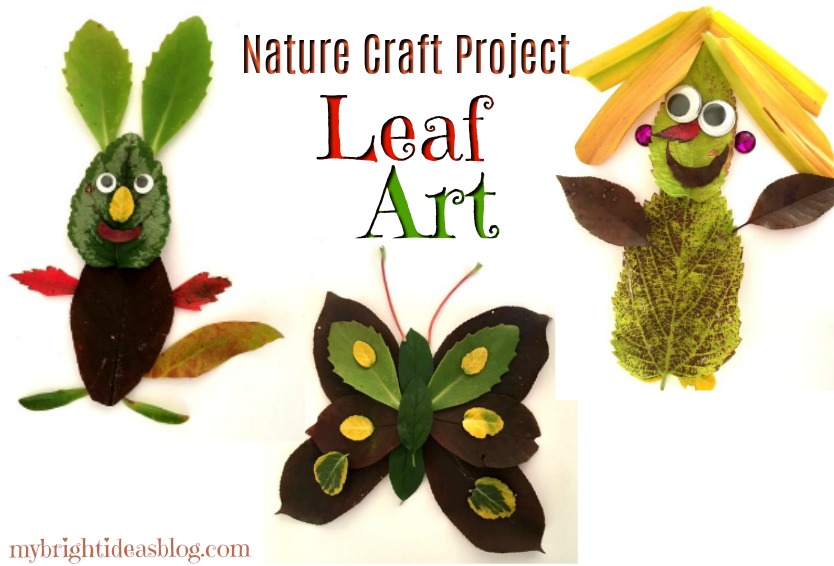
The Autumn season is here and the leaves are changing color and falling. This is a great time for a nature walk to collect and examine and reflect on the beauty of this season. Leaf Art!
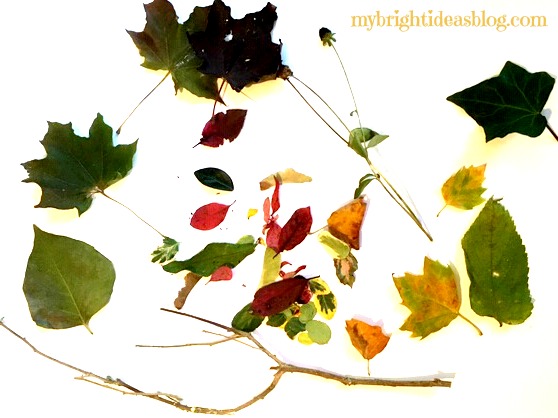
Start with some friends…any age will love this. Take a large clear bag and start to collect samples of nature.
What to look for:
- a variety of leaves
- pine cones
- pine needles
- acorns
- stones
- twigs
- a handful of grass
- small flowers
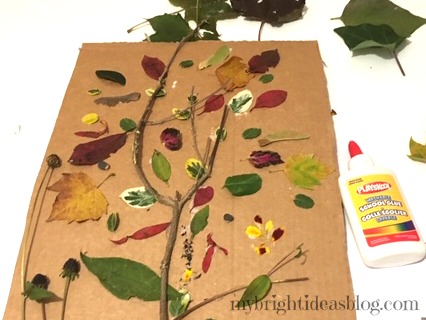
If your friends are little you might just want to use a piece of cardboard and glue your collection to the board. Puncture 2 holes near the top and add a string to hang it on the wall.
For Older Kids!
I think the older kids could do better. If you are over 5 you can make some really cool art from your nature walk.
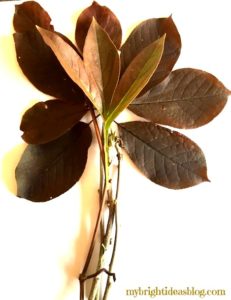
Pressing the leaves in books: If the kiddies or you need a nap after the big nature hike-don’t feel bad its the fresh cool autumn air! If you want to work on the crafting stage on a different day….You could put the leaves between book pages for a couple of days to make them flat and a bit dryer. If you just leave them out til tomorrow they will begin to dry up and curl.
We decided to make our crafts immediately before they shrivelled. I took pictures of each leaf masterpiece to print out an autumn nature photo album later.
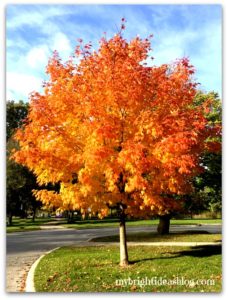
We took some great photos of vibrant orange and red leaves as the sun hit them.
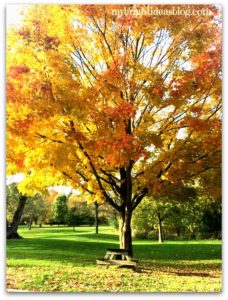
I love this time of year! Now let’s make some leaf art!
Making Trees!
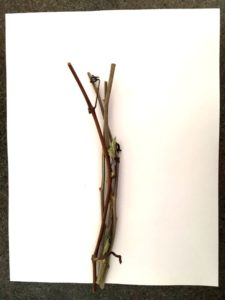
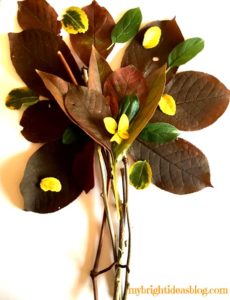
Put a few twigs as a trunk. Then add leaves to form a tree. You can glue the leaves or use double sided tape.
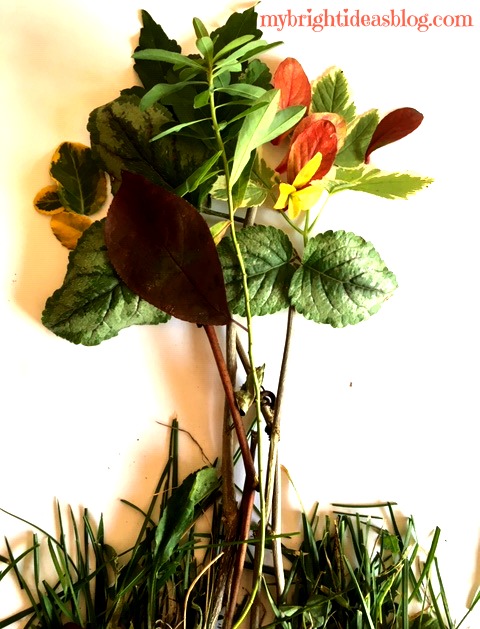
A collage of twigs and leaves make an easy tree picture. Change your leaves and your tree will look completely different.
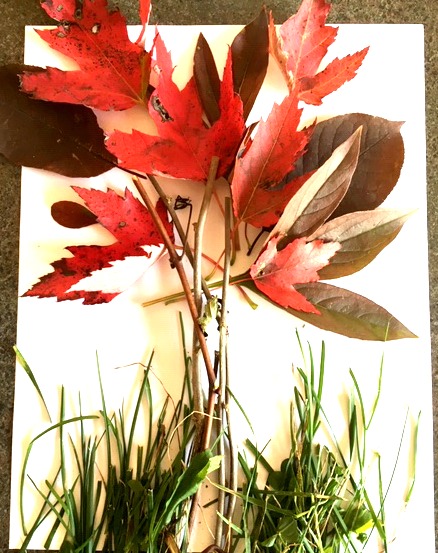
The grass can be trimmed with scissors.
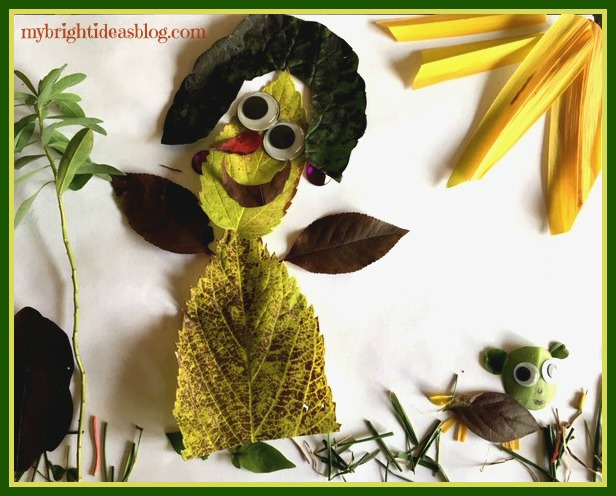
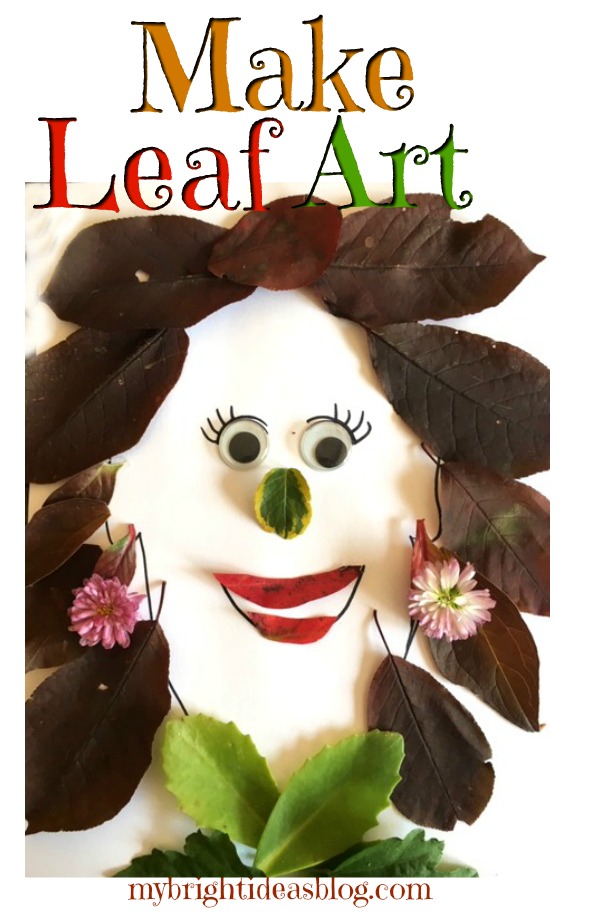
Making People!
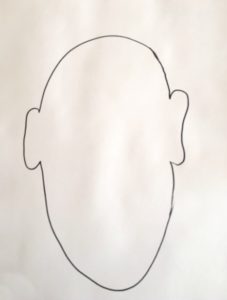
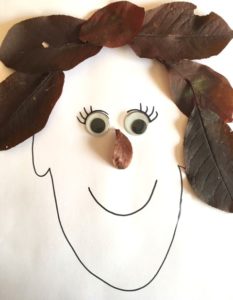
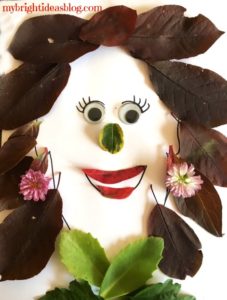
Draw a head on a page and then start making a self portrait. Huge googly eyes and flower earrings make this face stand out from the crowd.
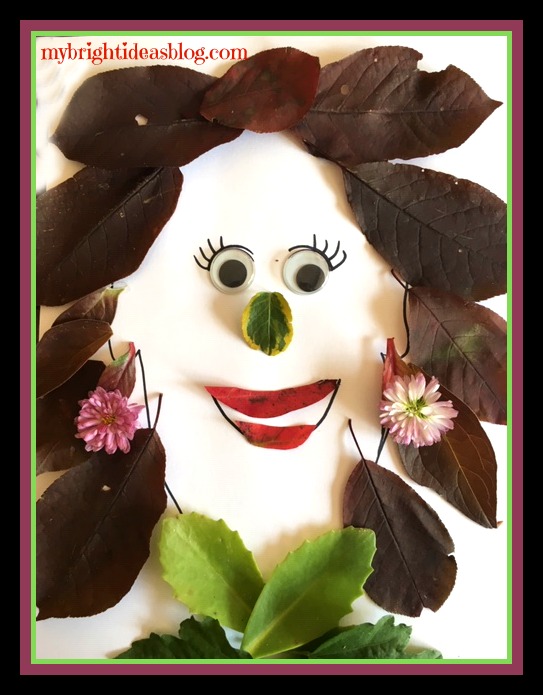
Oh my days! It’s like looking in the mirror!
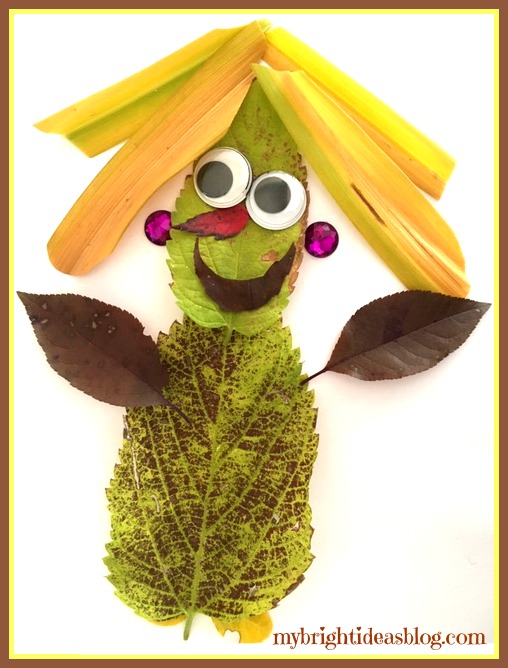
This one is for my 11 year older daughter who has lovely blonde hair and likes to have some sparkling earrings.
This one is for the youngest daughter. This is a picture of her and our little dog Gemma.
Making Animals!
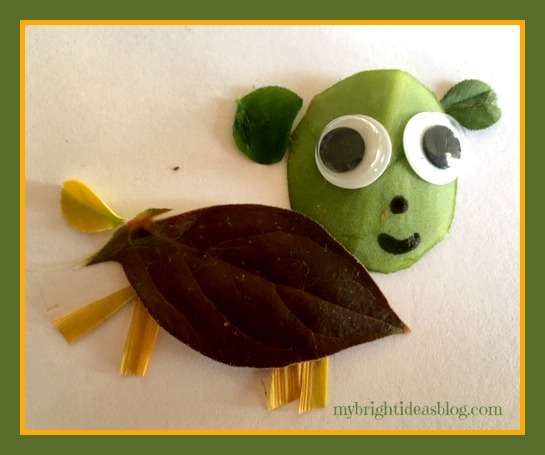
This is Gemma our little dog. Made by my younger daughter. I love the dog’s little round ears. That is made out of clover leaves. Notice that we used a sharpie (permanent marker) to make the mouth and nose. I also used scissors to make a the little legs.
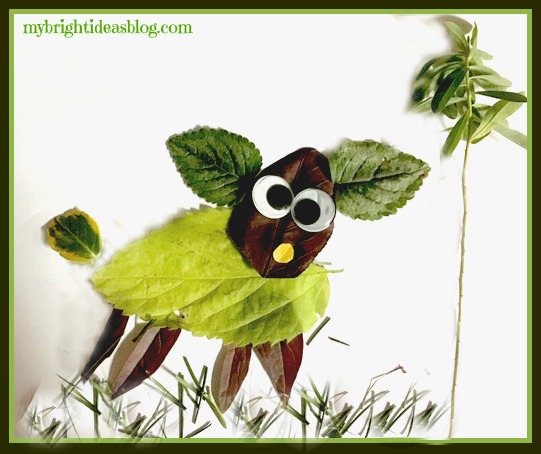
Our 11 year old made up this bit of art. It’s Gus our other dog. He looks like a surprised sheep! LOL!
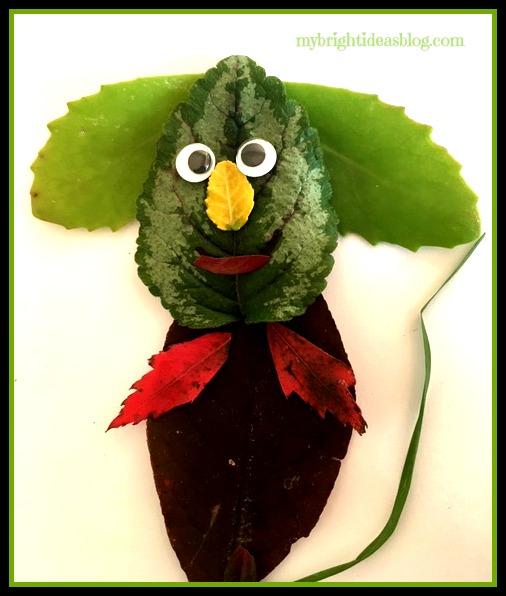
I think I thought this looked like a mouse but now he looks like a koala bear. Its the nose.
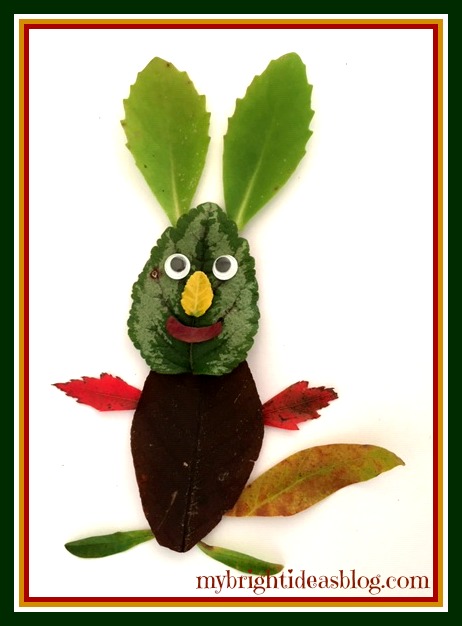
Turn the ears and it looks like a rabbit.
That is the highlights of today’s Leaf Art-Now to clear up the kitchen counter from these bits of nature so we can make lunch.
I hope you enjoyed this post. I had a great time making it.
If you are feeling stressed, get outside for a walk in nature and then craft with the leaves and twigs and grass you find. It’s my cure to melt away stress and have a blast with my family.
Have fun and see what you can make!
Here are some other NATURE craft projects!
Nature Craft – Perfect for Earth Day Activity – Clay Imprints with Plants and Flowers
…


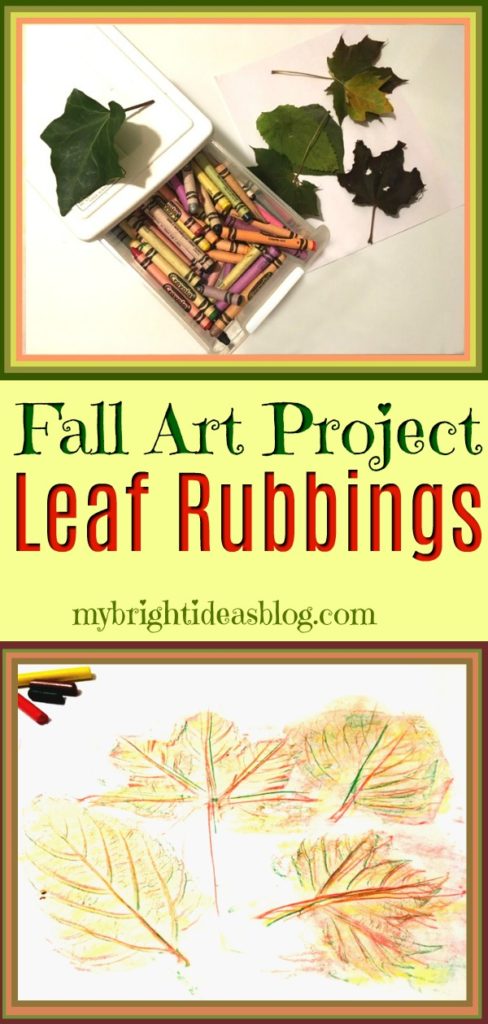
Fall Leaf Rubbing – Super Easy Kids Craft!
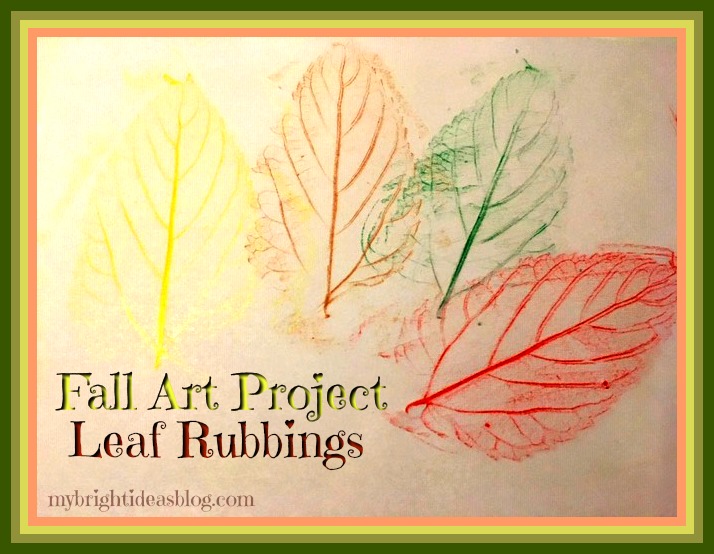
Remember doing Leaf Rubbings in the Fall when you were a kid? Well, Autumn is here again and its time for a nature walk to collect some leaves for this wonderful classic nature craft.
On your nature walk give the children (even young toddlers) a paper bag or large zip lock to collect their treasures.
Just in case they should ask the question…. Why do the leaves change color and fall off the trees?
Here is a quick answer….The leaves collect sunlight to feed the tree in the spring and summer. During the fall the tree goes into resting mode for the Winter. So the leaves turning color is the their way of getting ready for Winter.
There is much more to learn about it but that is the toddler explanation. If the kids are older why not do a research project to learn more. It’s quite interesting. For example, an oak tree’s leaves turn brown for a different reason then a maple tree’s leaves turning red. Chlorophyll and photosynthesis, glucose, oxygen and carbon dioxide-there is a whole factory in every tree we haven’t even noticed. Have a read through this website for a little lesson my 8 year old could handle..
https://www.sciencemadesimple.com/leaves.html
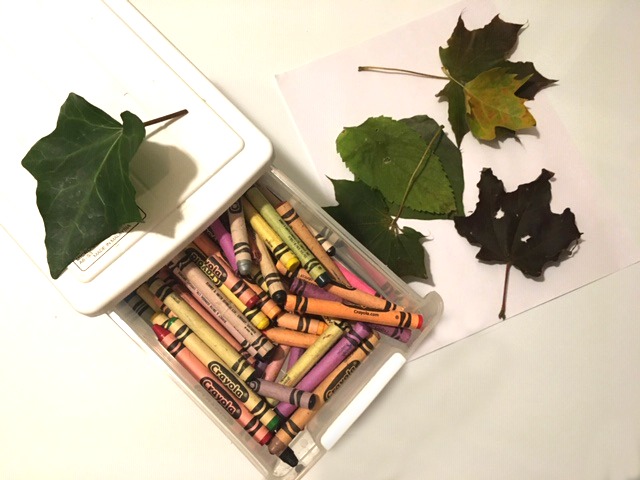
For this project you will need:
- Crayons…green, brown, orange, red, yellow
- Leaves
- Plain paper
Grab your crayons and paper and leaves. Peel the paper off your green, brown, orange and red crayons.
We have a nice collection of treasures from our nature hike-including stones, sticks and petals from my mums. For today’s project we just used the larger leaves. I’m setting the rest of the little treasures aside for another project.
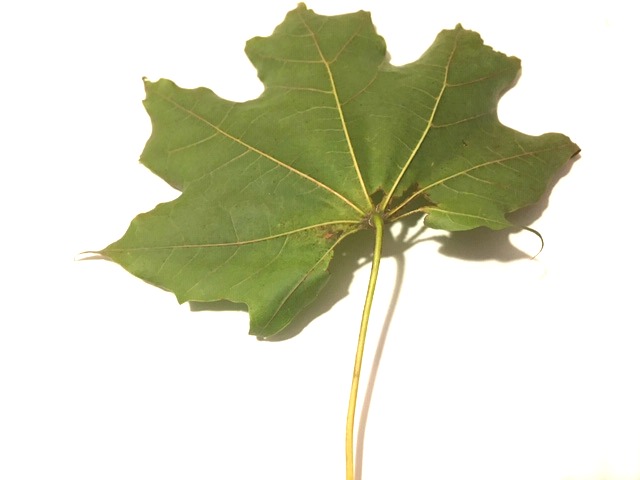
Take your leaf and turn it face down. Lay a blank page on top of the leaf. Turn your crayon on its side and rub on the leaf.
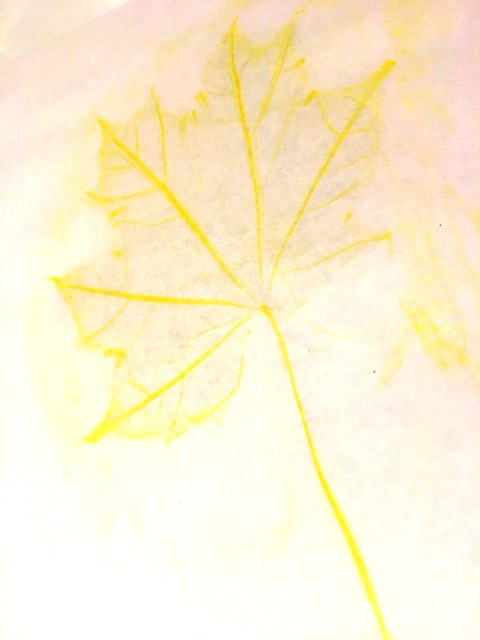
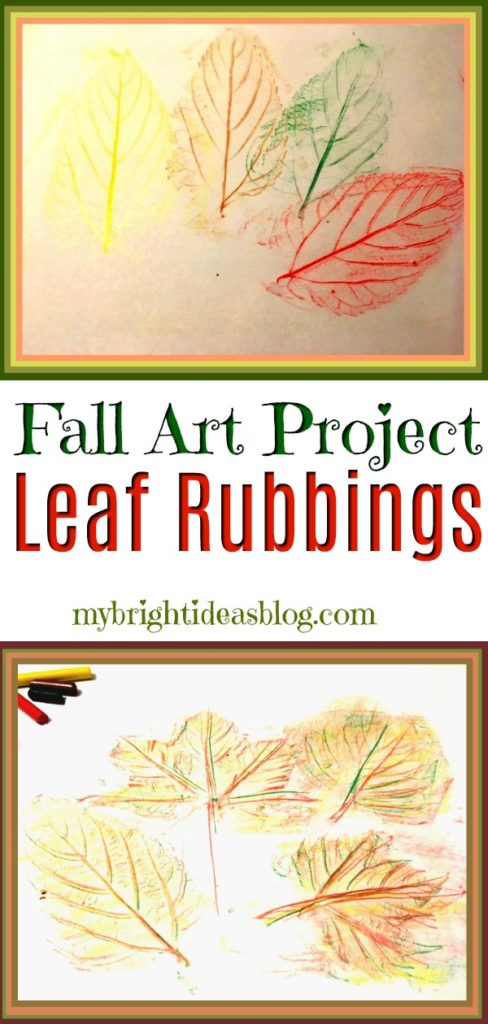
Yellow was one of my favorite colors to do rubbing but it doesn’t show up quite as well on photos.
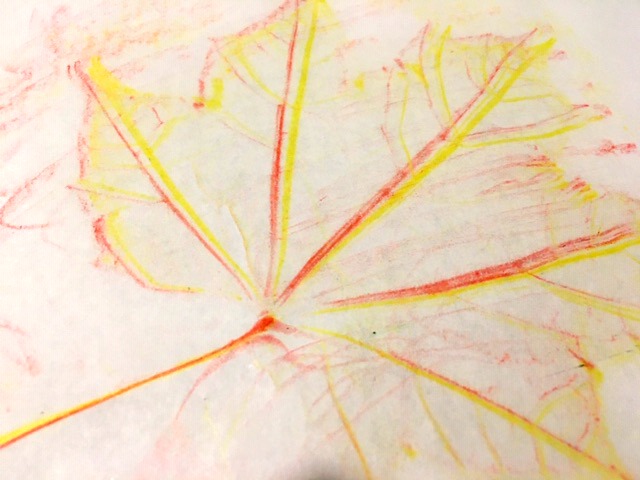
On this one we tried to layer red after the yellow but the leaf had moved a bit. It still looks cool though.
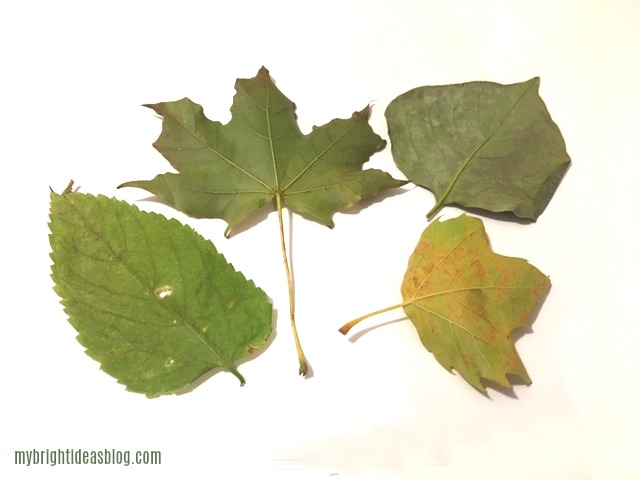
Were you able to collect a variety of leaves? If the weather didn’t work out for a proper nature hike in the woods, look around your yard and take a leaf sample of nearby shrubs and garden plants. They definitely have interesting leaves worth doing a leaf rubbing with too.
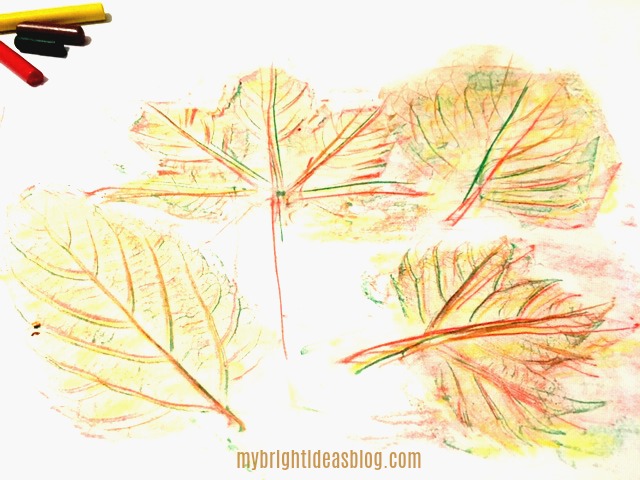
Here we tried all the crayon colors on each leaf.
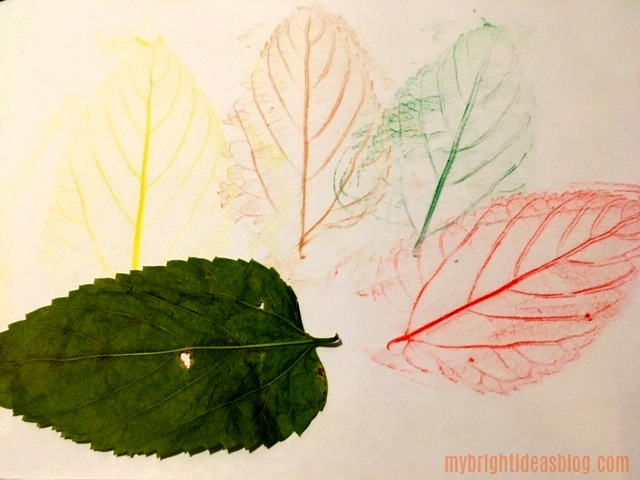
For this lovely art piece, we used only one colour on the leaf and then moved the leaf over and tried the next colour.
This is such a quick and easy autumn activity-it could be part of a yearly autumn tradition. If you have little ones in your life, I hope you can find a few moments to enjoy the Autumn changes of season and make some Fall art together.

Check out this post for a great nature craft using inexpensive clay!
Nature Craft – Perfect for Earth Day Activity – Clay Imprints with Plants and Flowers
…
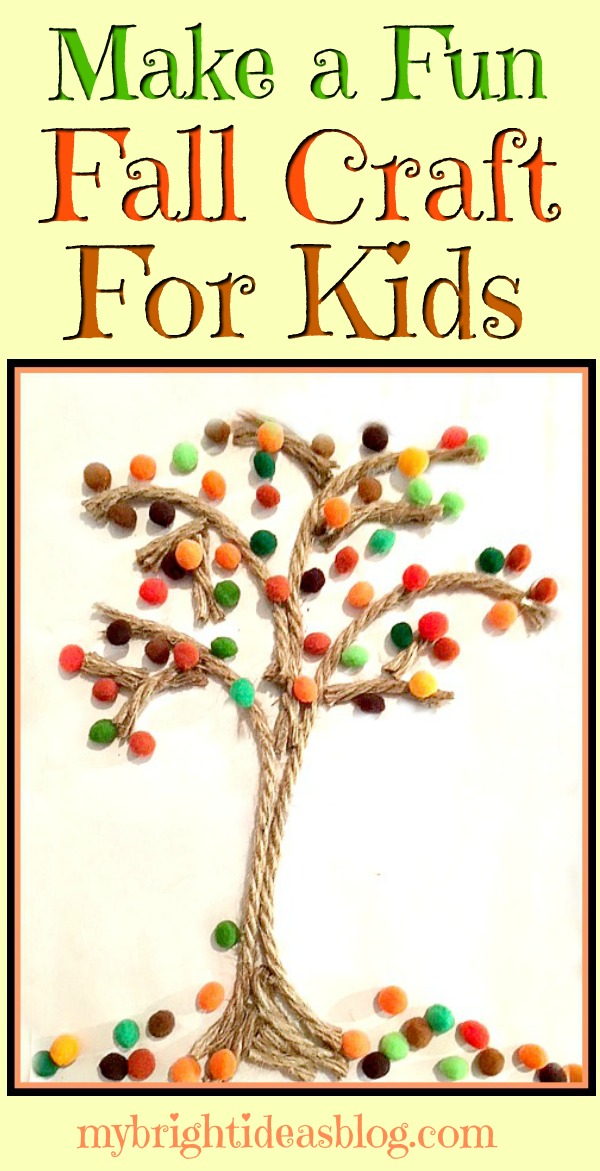
Easy Fall Kids Craft – Rope and Pompom Trees
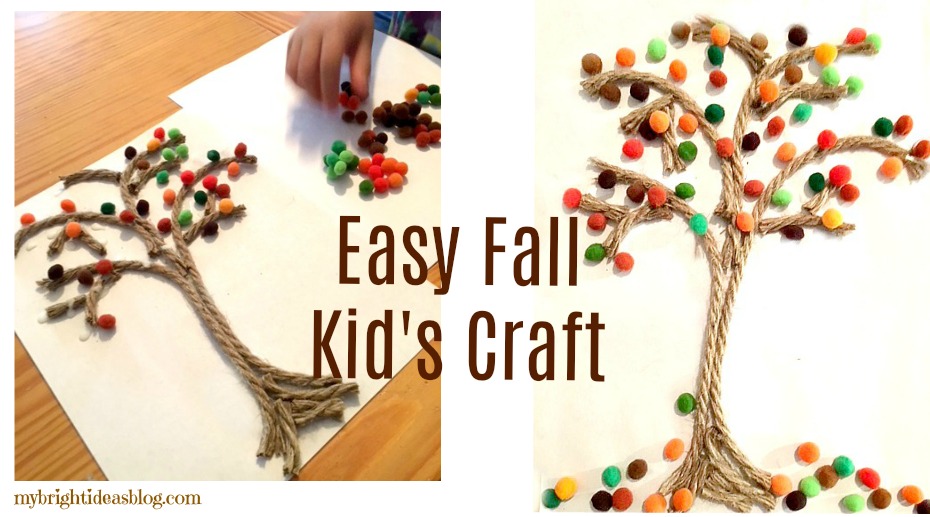
Today I was rolling through the dollar store….I only needed to pick up one item…but my shopping cart was full of crafts. As I perused the craft aisle, I stopped in my tracks when I saw the pompoms. Gasp! Packages of all sorts of colours! I got 6 packages…some for now and some for later. When I saw the package of multicoloured orange and yellow pompoms… I thought Fall Tree Craft! Whooohoo Start the Car!
I have neglected the kids crafts in favor of my DIY projects over the summer. So I’m brainstorming some kids projects for autumn before you know it winter will be here!
After my 8 year old got home from school we worked together on this easy kids craft. This is perfect for this time of year. Autumn colours of greens, browns, oranges and yellow.
You will need:
-
- rope or natural jute
- small pompoms in fall colours
- white glue
- cardstock or a blank white canvas
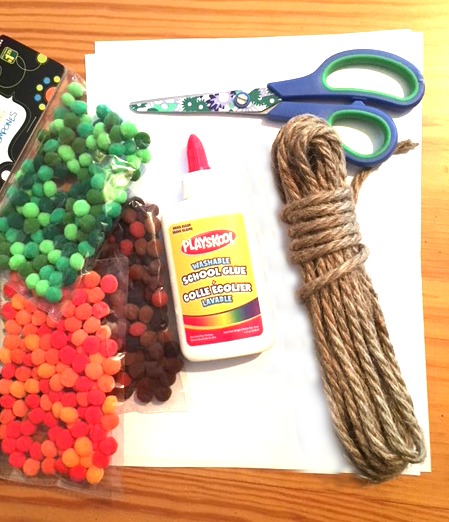
I mention using cardstock or a white canvas because this ends up being quite heavy and regular paper will be floppy from the weight.
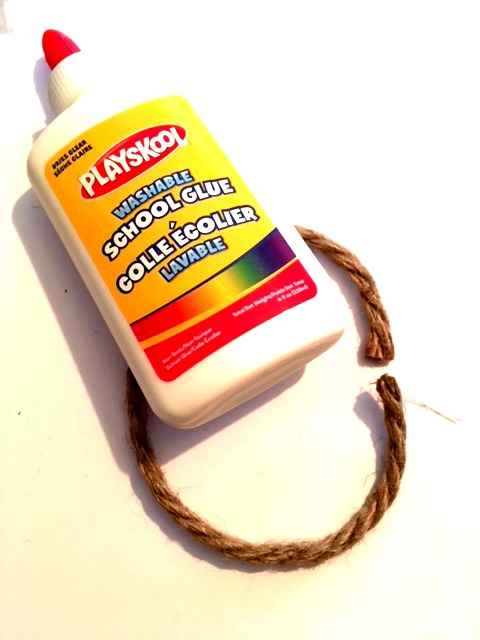
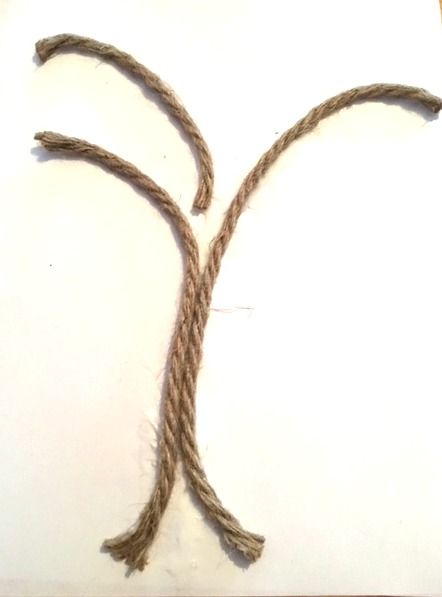
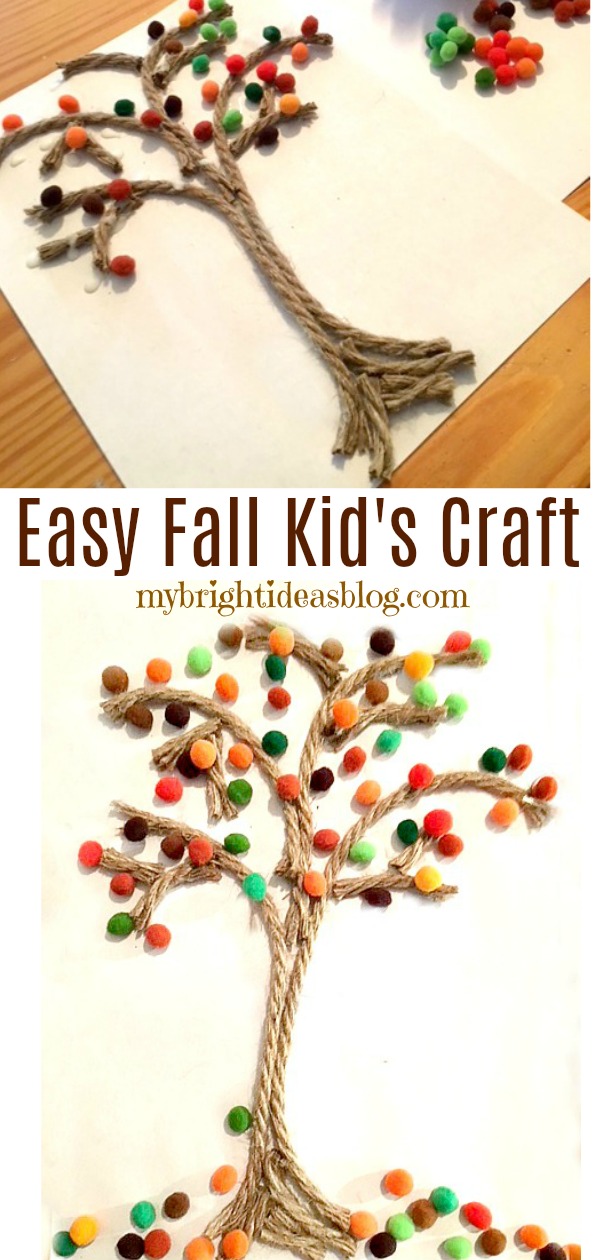
Start by cutting a piece of rope the length of your page or canvas.
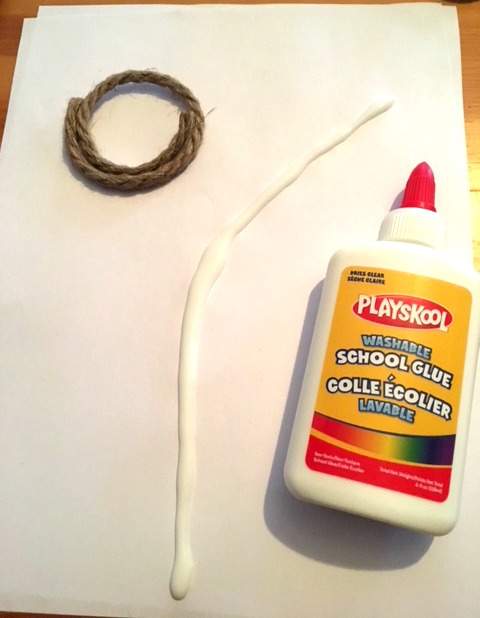
Make a line of glue starting from the middle bottom of your page or canvas running upwards and to the right to begin a branch.
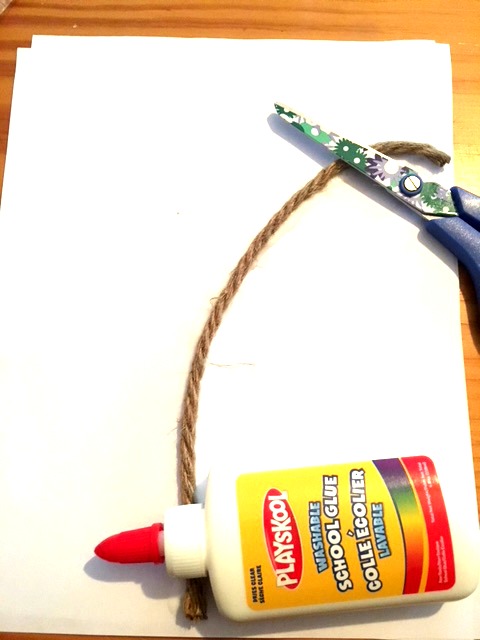
The ends of the rope seemed to pop up at first so I rested my glue and scissors for a few minutes until it began to stay flat.
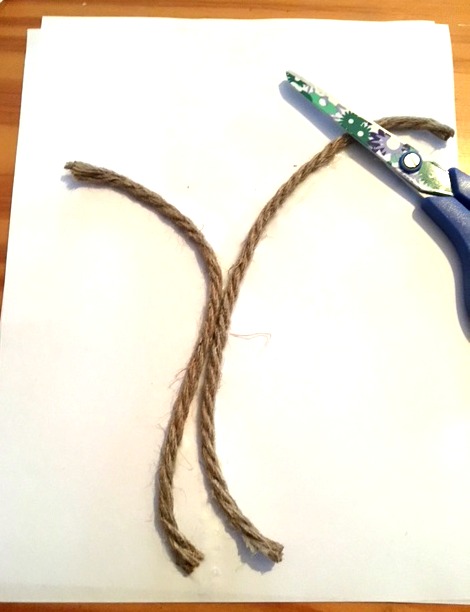
Add a second piece of rope that is the same length. Have that one turn to the left for another branch.
Begin cutting a few pieces to fill in some additional branches. Fill in the top of the tree by adding more 1 inch pieces of rope as smaller branches.
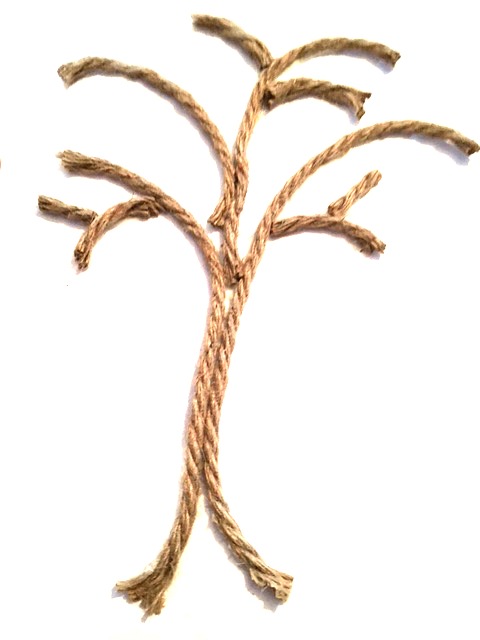
Next add small pieces of rope to thicken the bottom of the tree trunk.
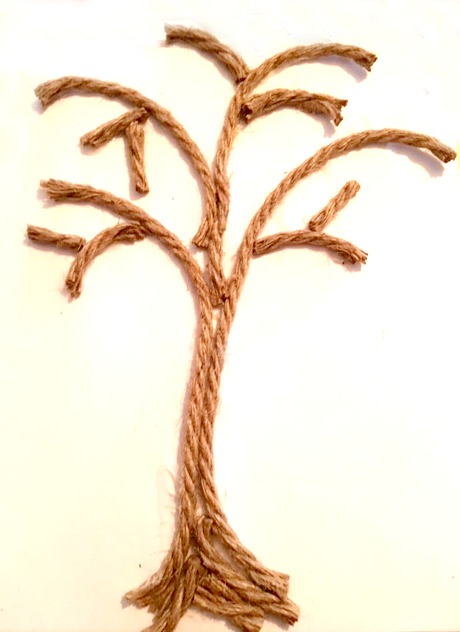
We were pretty happy with our tree trunk so we moved on to the pompoms.

Add a few dabs of glue on the rope and around the rope. Then add orange, yellow, brown and green pompoms.
Is it just me or do the colours of these pompoms make you think of Reese’s Pieces….is anyone else getting wondering if they have any chocolate hiding anywhere? Maybe its just me…focus on the craft…

I suggested we put some on the bottom of the trunk and on the ground. Miss M didn’t understand why we would want to do that. Um, darling look out the window. The wind has picked up and the leaves are swirling. By tomorrow the wind will have moved all the leaves from our lawn onto our neighbours lawn. Sorry about that sir.

Mother/Daughter craft time is good fun! This girl is always crafting something out of our recycling bin. She is just like me…always planning a project.
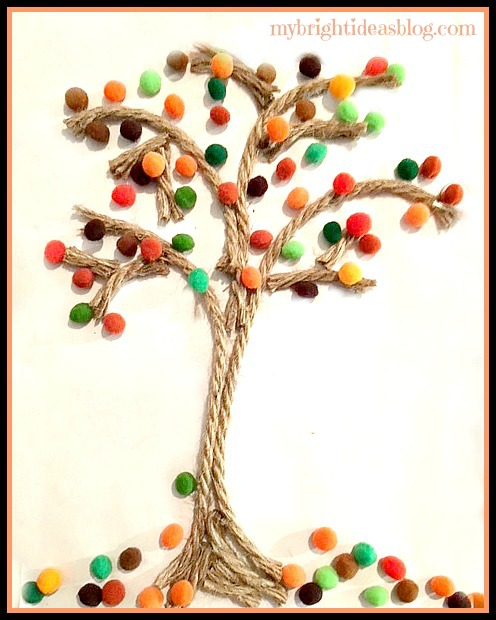
So there you have it! A super easy autumn craft perfect for this season. Beautiful fall colours in your tree art. Now maybe we should grab our rakes and head out to deal with the real leaves.
Thanks for popping by to see this fall craft! Pin it on Pinterest or share it with your favourite social media platform.
…
Plant Puns on Painted Potted Flower Pots – Adorable Gift Idea to Make Them Smile!
Nature Craft – Perfect for Earth Day Activity – Clay Imprints with Plants and Flowers
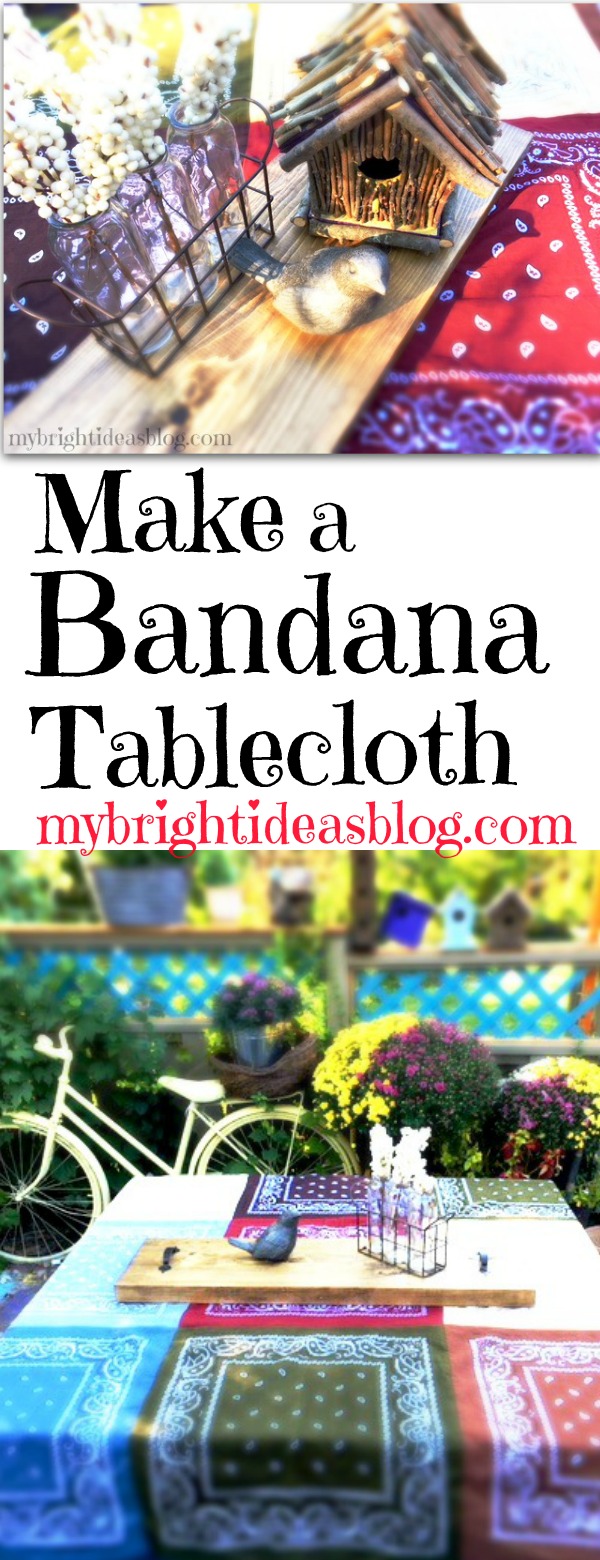
Make a Fall Table Cloth – From Bandanas

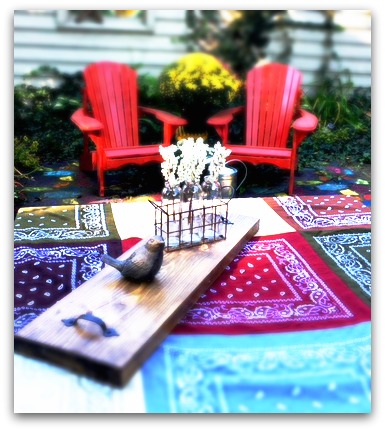
Signs of fall are everywhere. The flowers are scraggly and need to be pulled. Its all very sad to see the colour disappear. So my solution is to buy some bright mums and sew a bandana table cloth for the picnic table (or kitchen table).
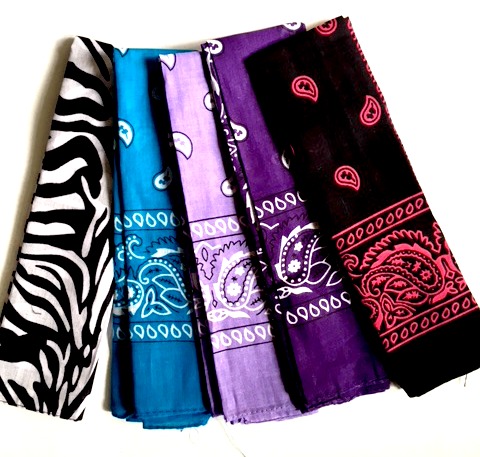
 I was able to find an amazing collection of bandanas at “a Buck or Two”-its a sort of dollar store where things can cost several dollars. You can also buy bandanas (or search for hankerchief or handkerchief) online. I bought way too many so there will be several more projects to come!
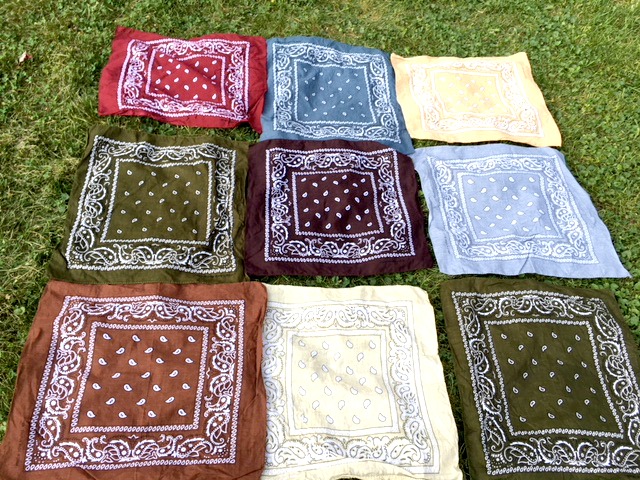
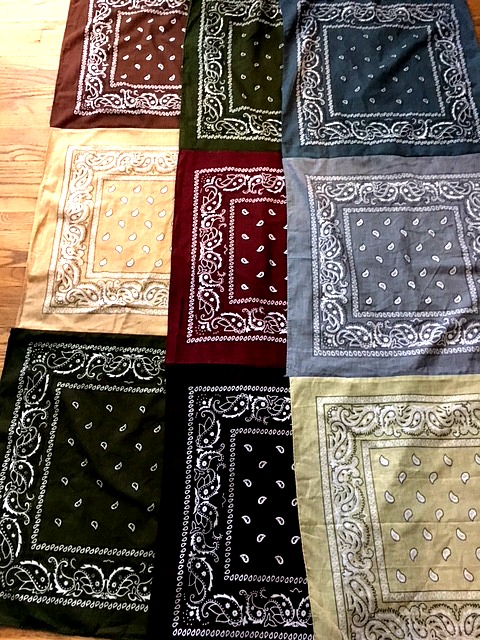
I wanted an autumn theme so I chose greens, beiges, maroon, blue and brown. It might be a good idea to lay out the squares and take a photo if you want a specific layout. As you stack them up they can get a bit shuffled.
 They come folded and they are cotton so they really should be washed and dried before sewing to prevent shrinkage and bleeding colours.
You will need:
- 9 bandanas
- sewing machine
- pins
- scissors
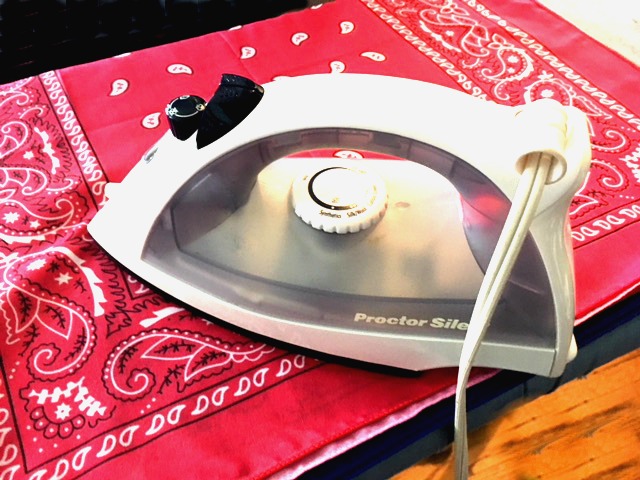
Get out the iron! Iron all the bandanas. Or find a kid who likes to iron….tee hee….
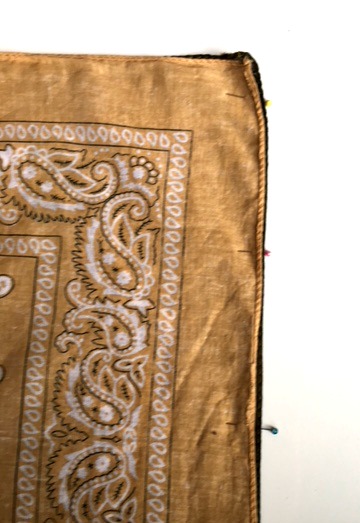
Start by pinning the first two bandanas, right sides together. Bandanas seem to have a slightly longer side. Mine were 20×21. Make sure they are all facing the same direction so are the same width. They are often not sewn straight or square. Fortunately, this project is very forgiving.
Hey who ironed this beige one!? Slacker!
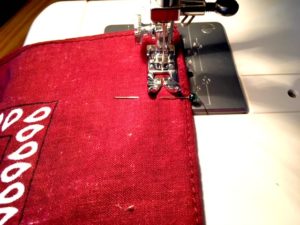
Sew along the edge.
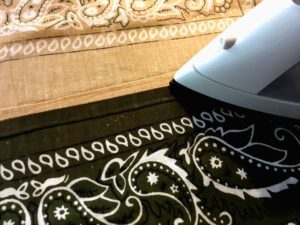 Iron the seems flat.
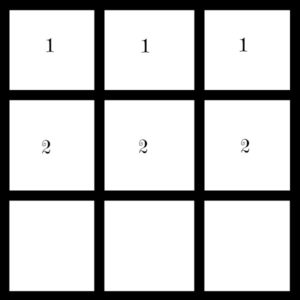 I started by pinning the top sets of 2. (1/2)
 Next, I sewed the 3rd square onto the bottom of the pair (2/3).
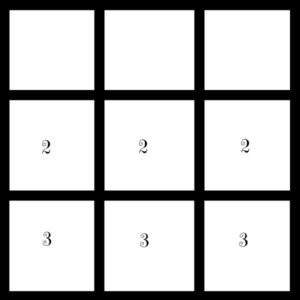
 As you can see, now I have three strips of three bandanas.
Start by pinning the left line to the middle line. Match the centre seem/corners. Sew the strips together.
 Finally, line up the middle corners of the last line of squares to pin it to the last line of squares. Sew them in place to complete the tablecloth. Finish by ironing it.
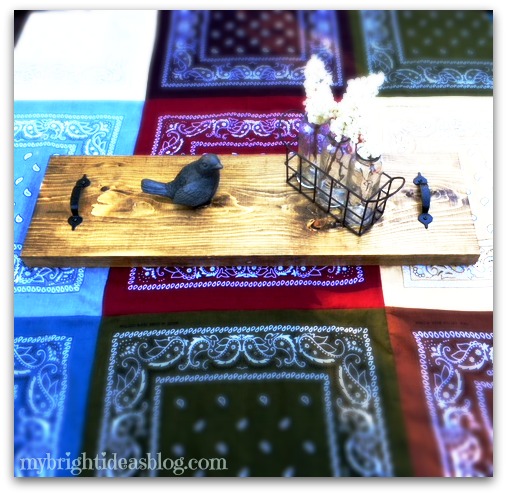
Now your done! If you are detailed oriented you could fold over the edge of the tablecloth and sew a hem. But as you can tell I’m not that sort of gal and the bandanas are all finished so there is no edges to fray. If your squares didn’t line up hemming it could correct a jagged edge. Happily mine matched up this time!
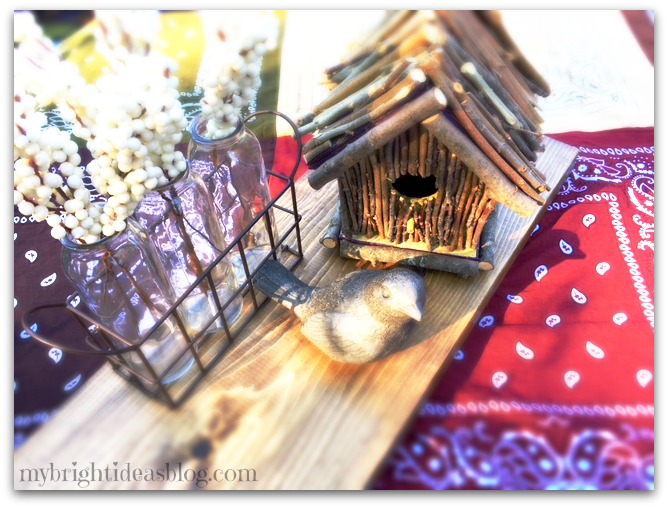 Isn’t this little bird adorable. I got it at Canadian Tire! Never overlook your local hardware store’s garden centre. You never know what you’ll find.
 Thank you for reading to the end! Please pin this on Pinterest and follow me on your favorite social media!
Below are a few more of my projects you might want to look at.
…


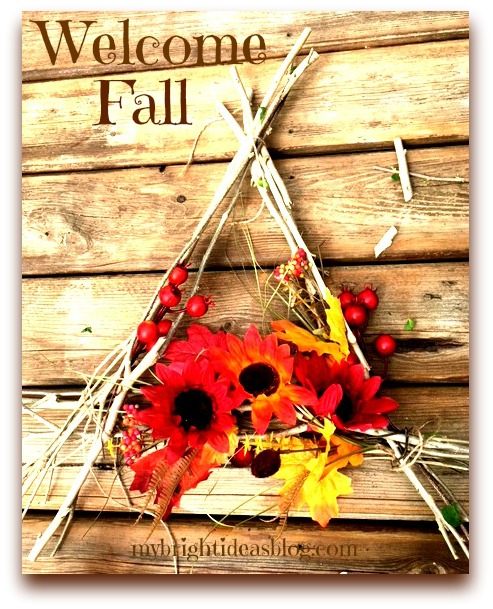
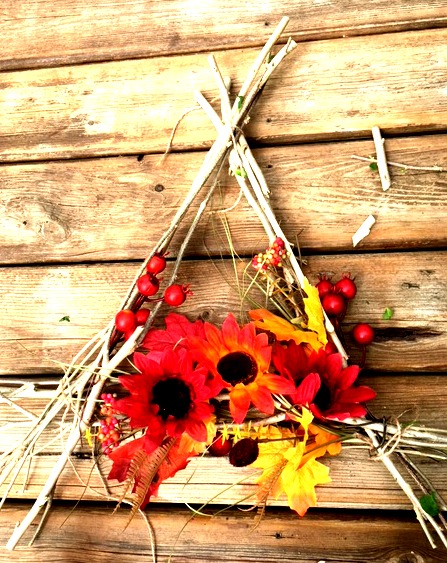
How to make an Autumn Wreath from Branches!
The other day, I was having a visit with my neighbour Tanya, and I looked at her door with a wreath that was way over due for a change. I think it she put it up in April….now its September…She mentioned that she should go shopping for an autumn wreath. I said Whoah! Don’t buy anything. Leave it with your buddy ol’ pal to make one.
I didn’t want to make it a typical round wreath but what could I do to make it different…but in-expensive….mmmm.
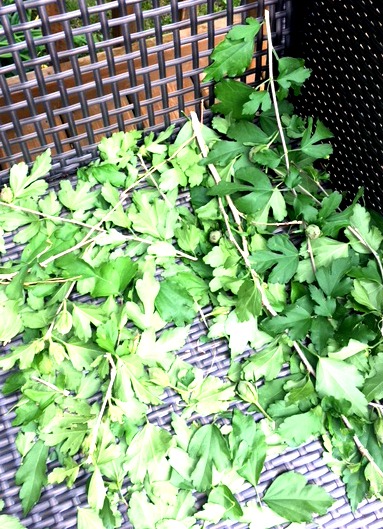
Meanwhile….my garden looks like a jungle. We have had lots of rain and sun and this means everything had big gnarly growth spurts.
When we purchased the house we were surprised that we had 25 Rose of Sharon bushes around the backyard. That is a lot of purple Rose of Sharons. They are pretty when they are in bloom and get quite full adding to privacy along the chain link fence. However, they do attract bees and the pods open and drop seeds and grow more and more and more.
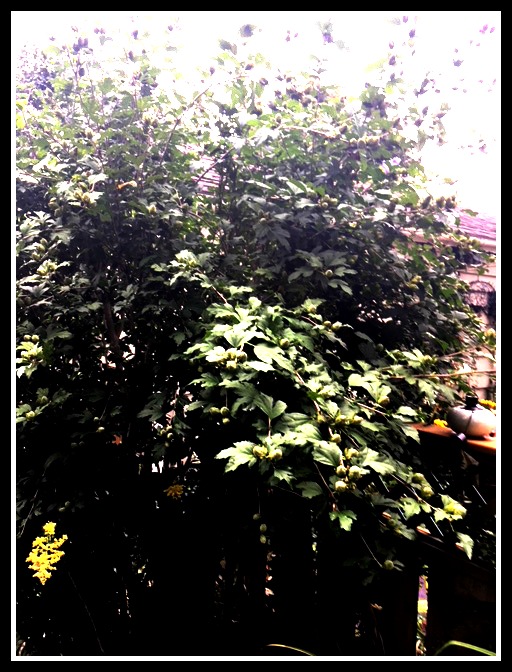
There is a lot of trimming to do….and did I mention there is 25 of these shrubs? Momma Mia that’s a lot of trimming to do this week.
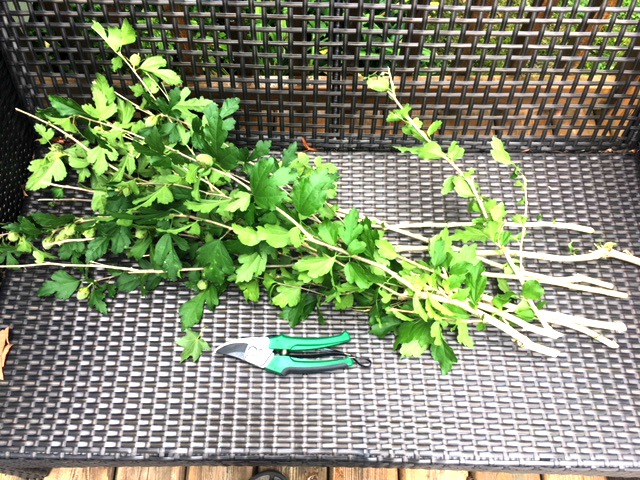
I was thinking about the promised wreath I wanted to make for Tanya. But I was looking at the trimming to do…wreath….trimming….and then it hit me!! Use the branches from the shrubs to make Tanya’s autumn wreath!
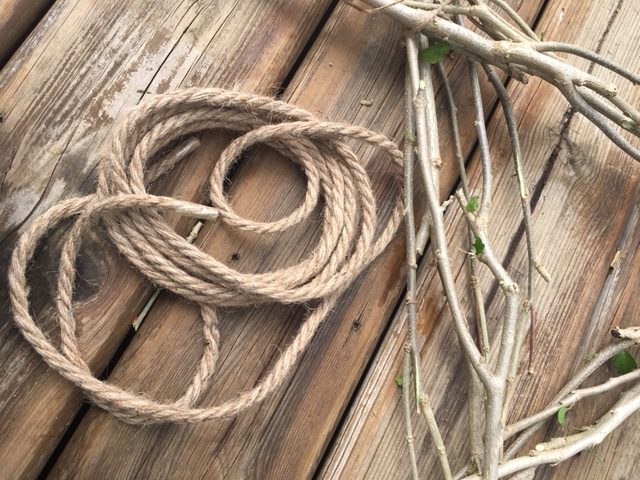
Supplies I used:
- Shrubs or Trees branches
- Garden Snips
- Twine or Rope
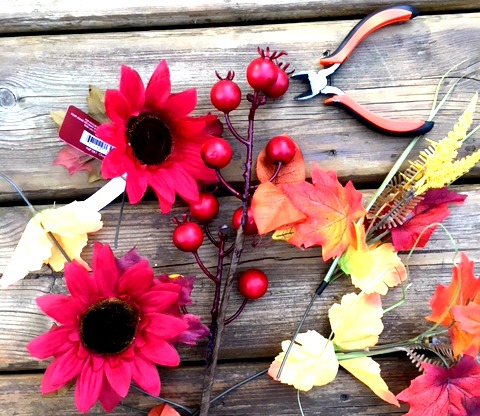
- Wire Cutters
- Autumn Flowers
- Glue Gun (I didn’t need it but I had it handy)

I pulled off the little branches and the leaves on 9 longish branches.

I put 3 twigs in a triangle shape and located some twine.
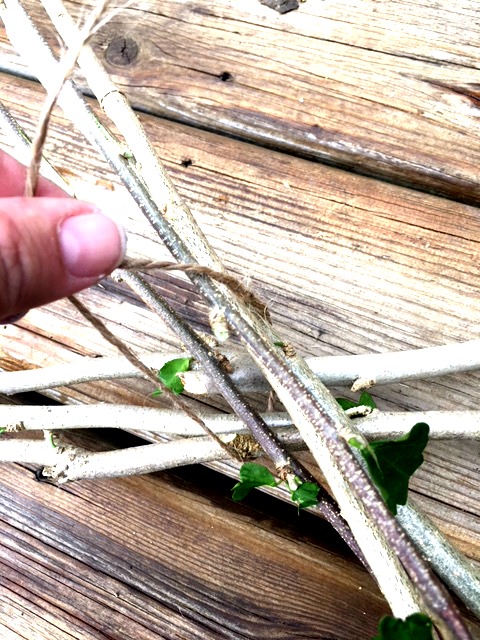
Twine is great for tying your sticks together. I better keep it handy for the rest of the trimming that is still waiting for me.
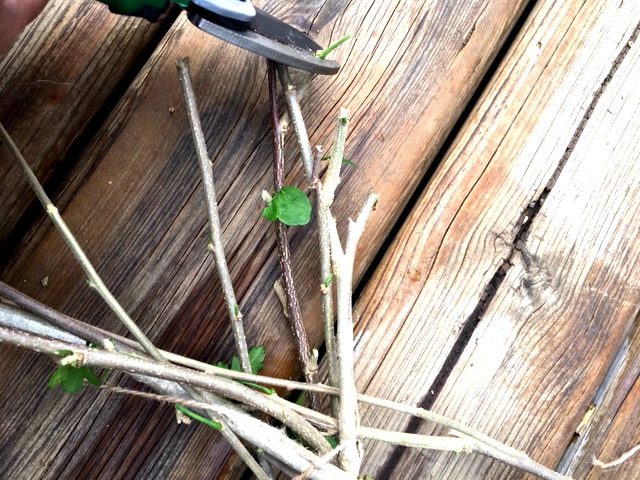
At first, I was going to keep the ends long and staggered but I decided to trim the ends down further.
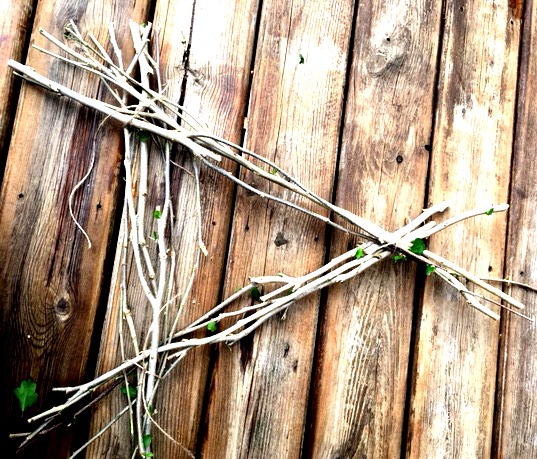
I like the rough ends but we don’t want to poke out Tanya’s family’s eyes!
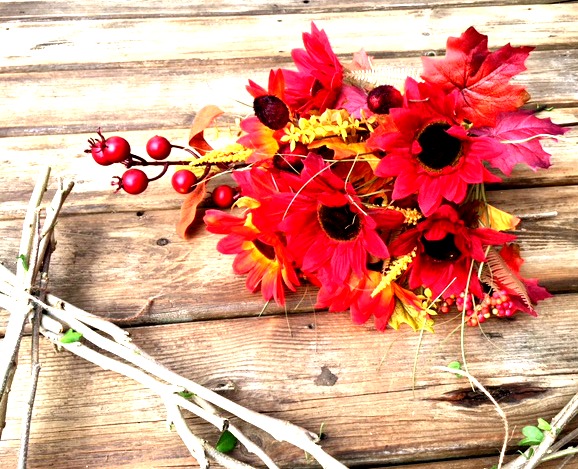
Time to add the flowers. I picked up a few bunches of autumn flowers from the dollar store. I only used a few sprigs from this lovely bouquet. I could easily make a few more of these as gifts (or to put on the craft table at work…of course). I spent about $10 on the flowers and twine so if I made another 3 or 4 that would make them each costing only $3 each. Cha-ching!
I had some thick twine that I used to reinforce the corners. Ribbon or lace would look cool too. Use what ever scraps you have.
I didn’t need to use a hot glue gun because I wove the ends into the twigs and wrapped the wire of artificial flowers around the twigs. You might want to use a hot glue gun to secure short pieces to the twigs.
Since the sticks make up the base and they are free-from my backyard-this is quite inexpensive. I’ve got enough flowers left to make another 4 of these! Cool…any other neighbours with a bare front door?
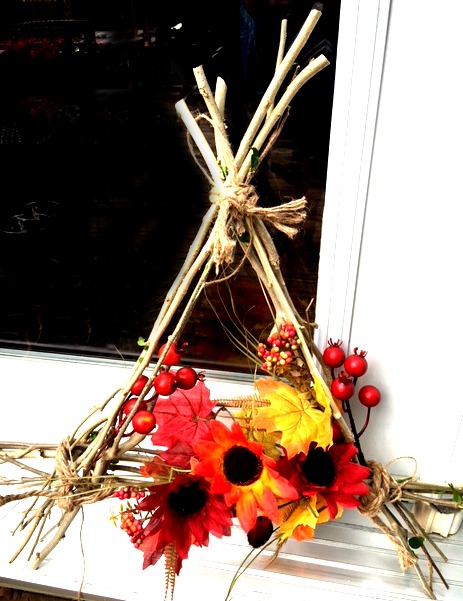
So rustic and woodsy.
Now who is going to clean up the left overs and finish the trimming….sigh…better get back to work.
See you again soon!