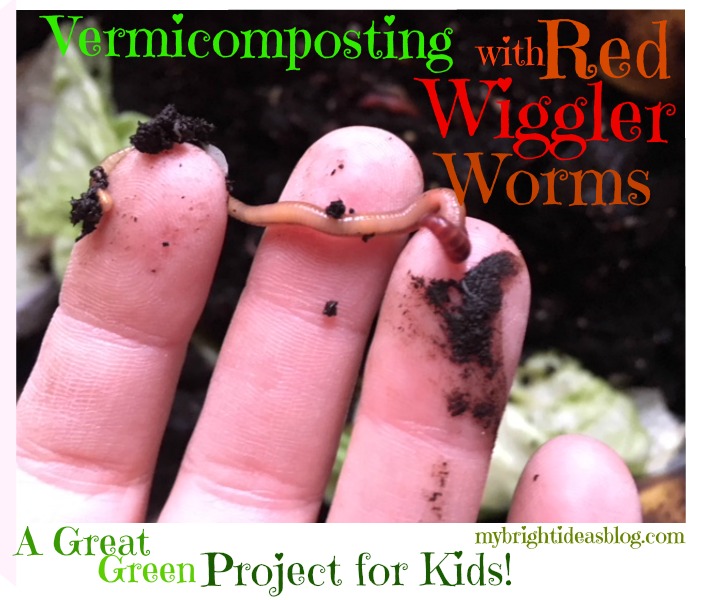
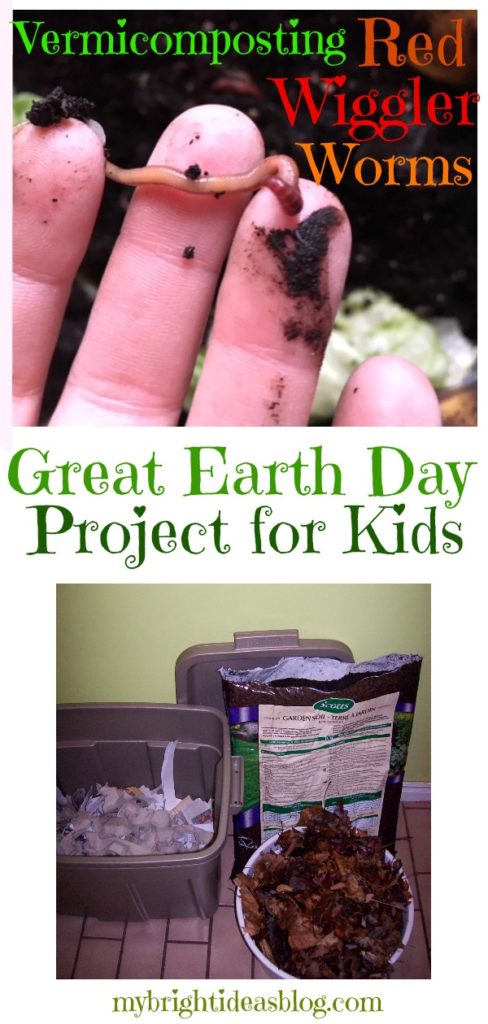
For the last 11 years I have been keeping a big secret! I have pet worms. I love indoor composting with red wiggler worms. At times I have had as many as 30 Worm Compost bins in my laundry room (that was a bit much but at the time I was vegan and had a home day care so I was really going through a lot of fruit and veggies). I’ve tried several different techniques and bins and in the end I prefer to use the easiest system to make with just 2 regular old Rubbermaid bins.
It all began when I was a stay at home mom using cloth diapers and wanting to be kind to the planet. I had a lot of time to research all sorts of ways to add less to the garbage. We had a compost bin in the backyard but that year it snowed so much that I couldn’t get through the knee-deep snow to the compost without shovelling myself a path and I had a toddler at the time. So, I started my first bin in 2008 by purchasing a jar of worms from a man on kijiji.ca (local website in Canada that we can buy and sell things…similar to Craigslist). The jar was small and seemed to only have dirt in it he assured me it was worth $10 and there were worm babies and eggs and soon I would have a thriving community of worms. He was right. One bin turned into 2 then 3 then I was posting on kijiji to sell containers of worms. Then I would sell completely finished bins with the community of worms well established. I still have my 3 outdoor compost bins but most of the food scraps go into my many indoor bins where the worms compost the food so much faster.
How you can do it too!
To set up a bin you can start with any quantity of worms. Some websites say to start with a pound or 500 worms but truthfully if you can get a friend to share even a small quantity, in the right environment, they will multiply to fill the space perfectly.
All you need to begin:
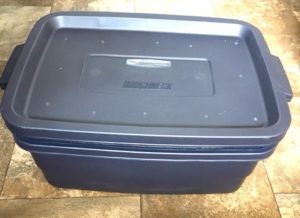
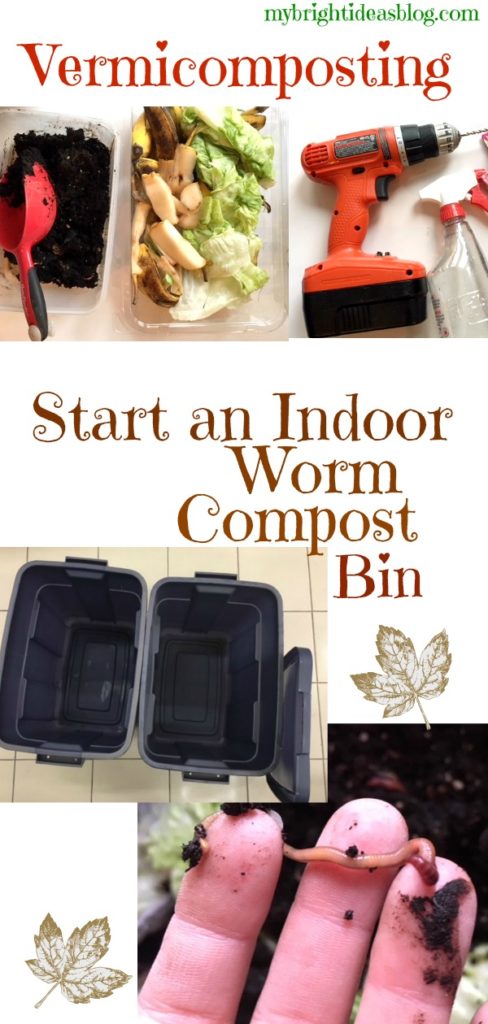
2 Rubbermaid bins 1 Lid (they prefer to be in the dark so avoid clear bins)
Paper products-shredded paper, cardboard, newspaper (toilet paper rolls, fast food drink holders, shredded bills)
Soil-garden soil from the backyard is fine. No fertilizer or additives.
Food scraps…fruit (not citrus) and veggie peelings (not tomatoes, garlic, onion or potatoes) tea bags, coffee filter with some coffee, crushed egg shells.
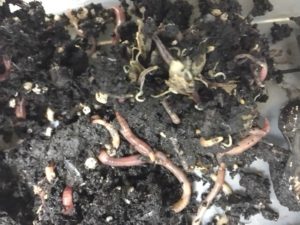
Red Wiggler Worms
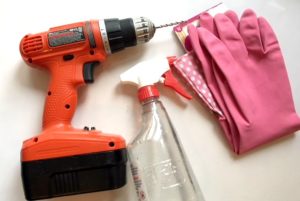
Drill
Optional, coconut coir, dry leaves, rubber gloves and an old kitchen or garden utensil to move and dig in the bin
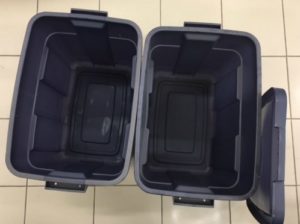
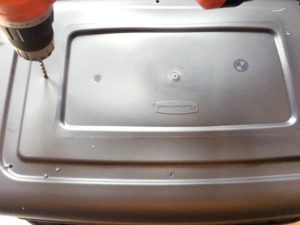
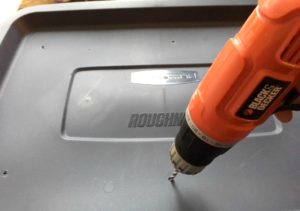

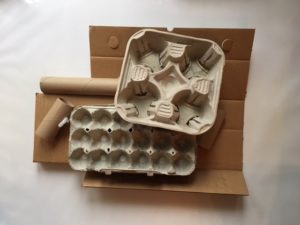
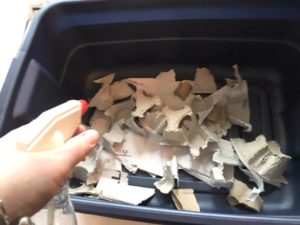
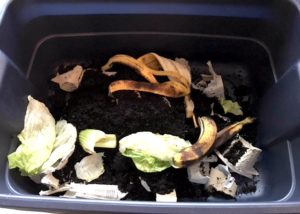
A simple bin is made of large Rubbermaid tote/bin with lid. Drill holes in the top for ventilation and in the bottom to allow drainage of liquids. Use a second bin underneath to catch any fluids that drain out the bottom. Prepare bedding before adding the worms. The bedding is made of soil, wet cardboard, shredded newspaper (nothing glossy or full color pages), shredded bills and envelopes (plastic windows removed), egg cartons, toilet paper rolls etc. Garden leaves and soil. Soil can be from the yard or a purchased bag but should not with chemical additives and fertilizers. The environment should be moist but not soaked. Excess moisture will drain into the bin below. If you put rocks or bricks in the bin below you won’t need to empty it very often. In time the liquid below will need to be emptied. Pour the liquid into a jug and dilute with water. Water your garden with this nutrient rich compost tea.
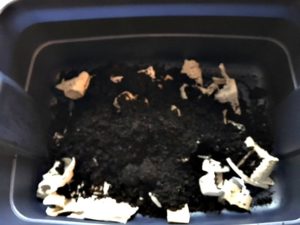
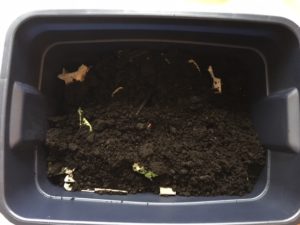
Ideally the bin should be moist- not soggy. If the dirt in the bin seems dry take a spray water bottle and mist it with water or turn the compost dirt to reveal wetter dirt at the base of the bin. If the bin seems too moist, add more dry items to the bedding such as paper, leaves or soil. The worms will travel through the dirt and stir it up.
Kitchen Compost
In a tub collect your family’s food scraps. You can add compost once per week. Remember worms are vegan. Don’t let anyone scrape their plates into our worm compost tub. No meat, dairy or oils. They love fruit-but not citrus. They adore vegetable peelings-but not tomatoes, garlic, onion or potatoes. In moderation tea bags, coffee filter with some coffee, crushed egg shells.
The most important tip to remember is to cover over the food compost with soil and bedding. If you are rushed and just dump the scraps on top of the bin you will get a lot of fruit flies and all the worms will come up to the top. EEK!
Will they try to escape?
Worms will only attempt to escape if there is no food or the environment is uncomfortably wet or acidic. Add kitchen waste once or twice weekly and then a layer of dirt or bedding to discourage fruit flies and mold. Digging a hole to bury the fresh food compost and covering it over is another alternative. Feed your worms any non-meat, non-dairy organic waste such as fruits, vegetables, rinsed-crushed egg shells, tea bags, coffee grounds, paper, coffee and filters, and shredded garden waste. Breaking or cutting food scraps into small pieces will help them to break down easier. If you find there is an odour cut back on the amount of food you add to your bin. I have had a bin get a bit sickly and the worms were all on the sides of the inside. This was because I was juicing pineapple and ginger and giving them the pulp from the ground up fruits and making it far too acidic and spicy for them. Not to worry I rescued my wiggly little friends and set their bin back to their best environment again.
The Best Environment
Your worms are best kept at room temperature. Exposure to hot sunny conditions or cold winters of temperatures below 10 degrees Celsius should be avoided. The worms can die in extreme temperatures. I live in London Ontario Canada-summer can be 35 degrees Celsius (95 Fahrenheit) and winter can be -35 degrees Celsius (-31 Fahrenheit). Outdoor worm bins would not work here. Keeping your worms indoors year round is likely your best option. If your vacation plans are for longer than 2 weeks you may want to consider asking a friend to add compost for them.
How to Harvest the finished compost?
After several months the paper products will have disappeared. Its a good time to add fresh bedding. I tend to move all the food to one side of the bin. The worms will begin to migrate over the fresh banana peels and avocado which are their favorite foods in my opinion. The worms will be busy and migrate to one side so you can scoop out the soil from the opposite side. Keep your eye open for eggs and the odd worm so they don’t leave the bin with the soil.
Some websites say to spread the contents of the bin onto a plastic tarp and place a bright light on them so they move away from the light. That seems messy and unkind to me. I prefer to just take out a bit at a time.
Vermicompost will provide nutrients to your plants and will help the soil hold moisture. It can be used in a number of different ways:
1) Sprinkle into a seed row when planting.
2) When transplanting, add a handful of soil to the hole you have dug for the plant.
3) Use as a top dressing, sprinkling the compost around the base of your plants.
4) Mix with potting soil (half and half) for house plants.
Remember to dilute the liquid that drains out and water your garden with it.
I really do enjoy talking about worm composting. I’ve even did demonstrations at the girls school for as young as kindergarten. Grade 3 has a soil part to their curriculum which the last 2 years we were able to teach the students about setting up the bins. As you can see by now, I do love my little worm farm, so send me your questions and comments!
…

How to Make an Easy Infinity Scarf with Zipper Hidden Pocket
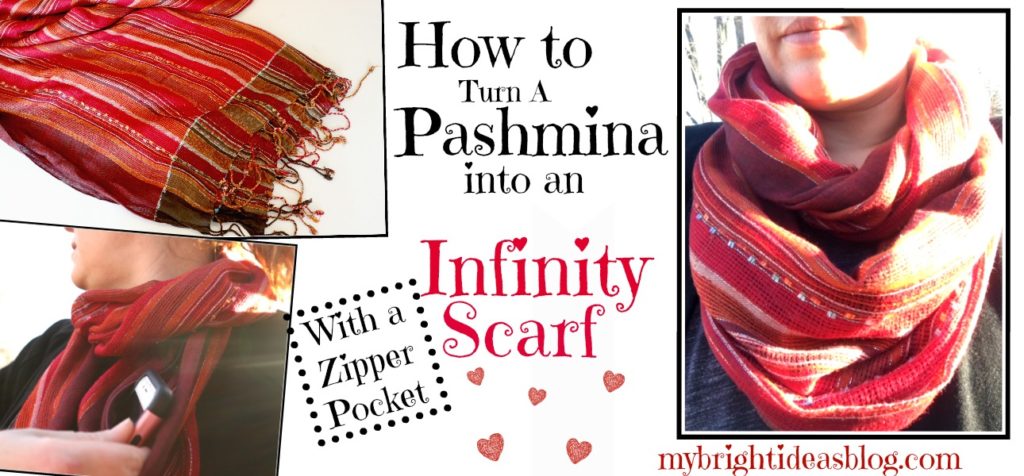
I love scarves! I find a cute pattern or fabulous colored scarf on sale and I can’t help myself! Then I hoard them. So I had an idea to make a scarf with a hidden pocket and thought, instead of using new fabric why not make it with an older scarf I had not used in a long time.
The hidden pocket scarf idea I stumbled upon the last time I was travelling abroad and wanted to be able to keep my passport handy-but hidden while on the journey. Now I am thinking about how handy it would be to walk the dogs with keys, ID and phone hidden in a zipper section of the scarf. Maybe it would be a gift idea for a tween or teenager who isn’t into purses and needs to carry her personal items.
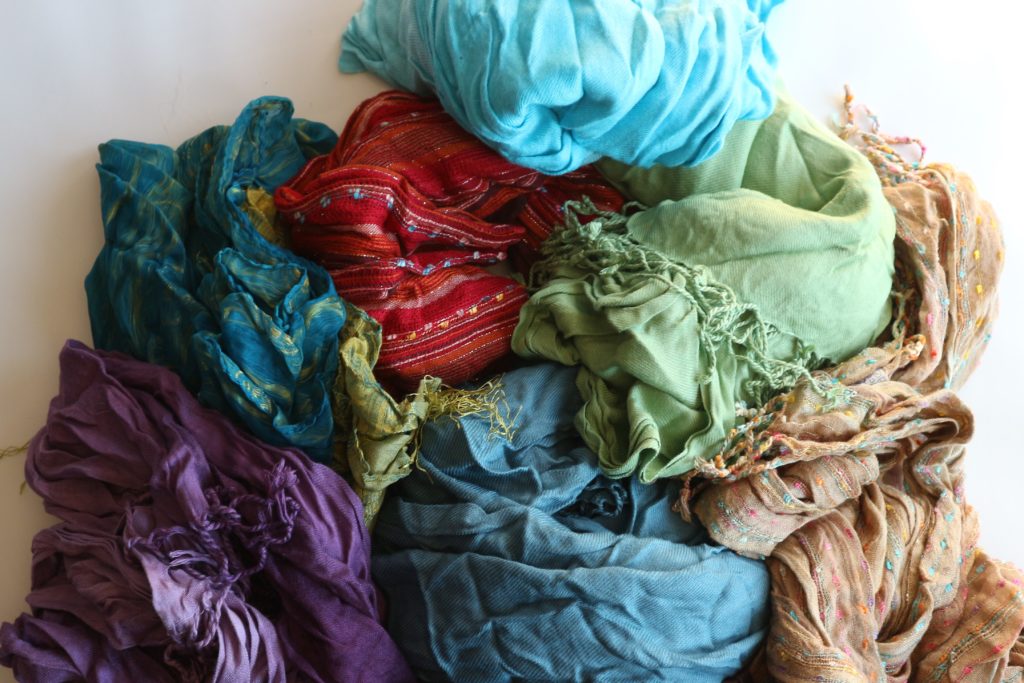
Here are just a few of my older pashmina scarves. I have bins and bins of them.
For this project you will need:
- Scarf or Fabric
- Short Zipper (7 inches or 18 cm long)
- Sewing Machine
- Pins
- Scissors
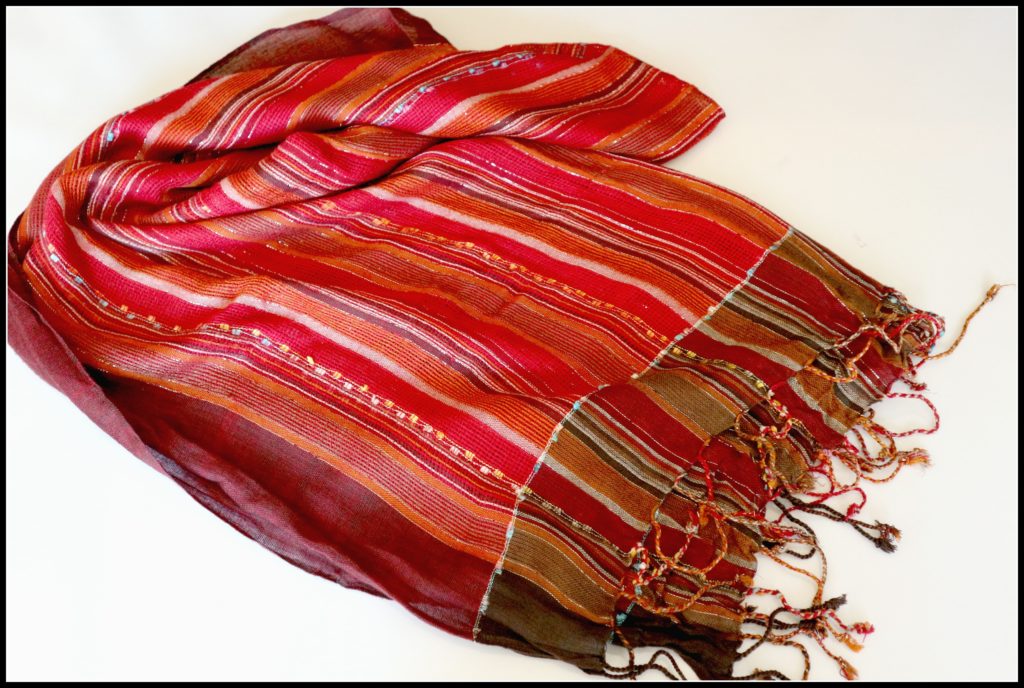
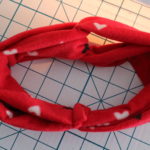
I happened to have a small RED zipper so I chose the red scarf. I love it when a project uses old things I have around rather than buying new supplies!
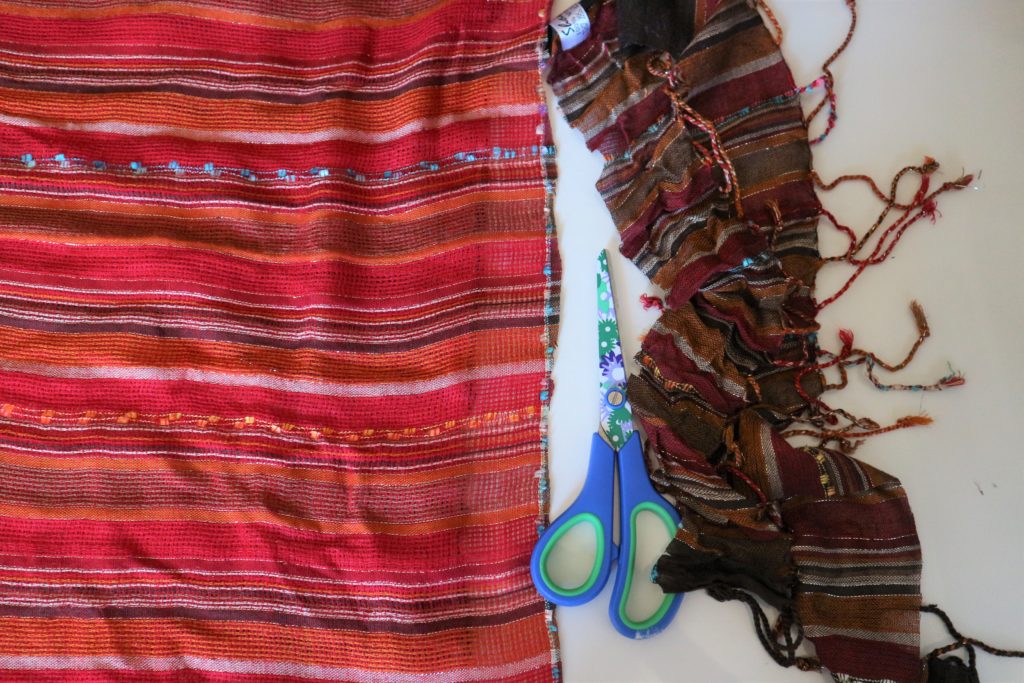
If you are using a pashmina trim off the fringe.
You can also make the zippered infinity scarves out of old clothes, a soft blanket or scarves or new fresh fabric.
For this project I would find a bit of fabric that measures at least 18 x 70 inches (45cms x 177cms).
My scarf was 26 x 69 inches (66 cms x 175 cms). It was even shorter after I trimmed off the fringe and I think it’s a great length-finished its 66 inches long. I prefer it to be extra wide too.
You will need a zipper approx. 7 inches or 18cms long.

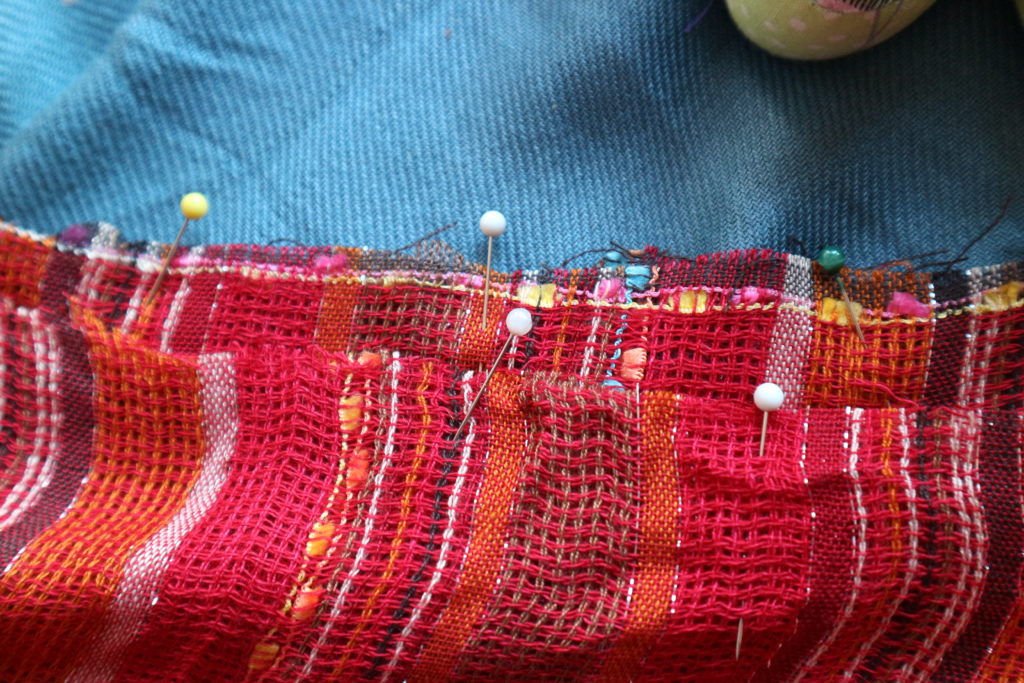
Fold the scarf in half, so its long and skinny with right sides facing together. Decide where you would like the zipper to sit. I put mine a few inches from the end. Using pins, mark the ends of where the zipper will go.
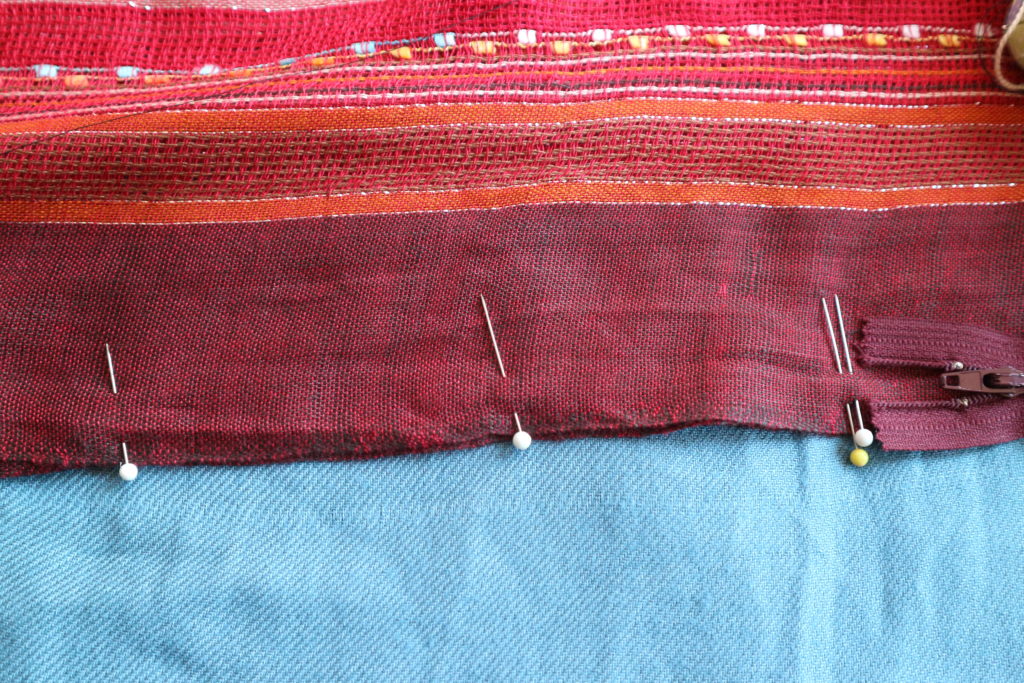
Pin along the rest of edge.
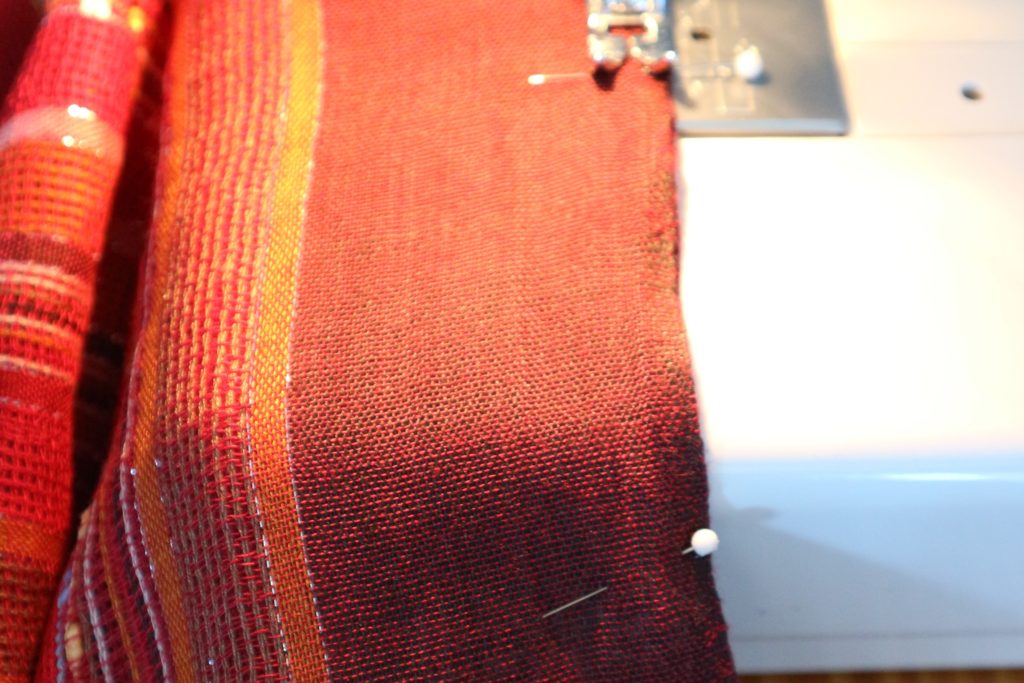
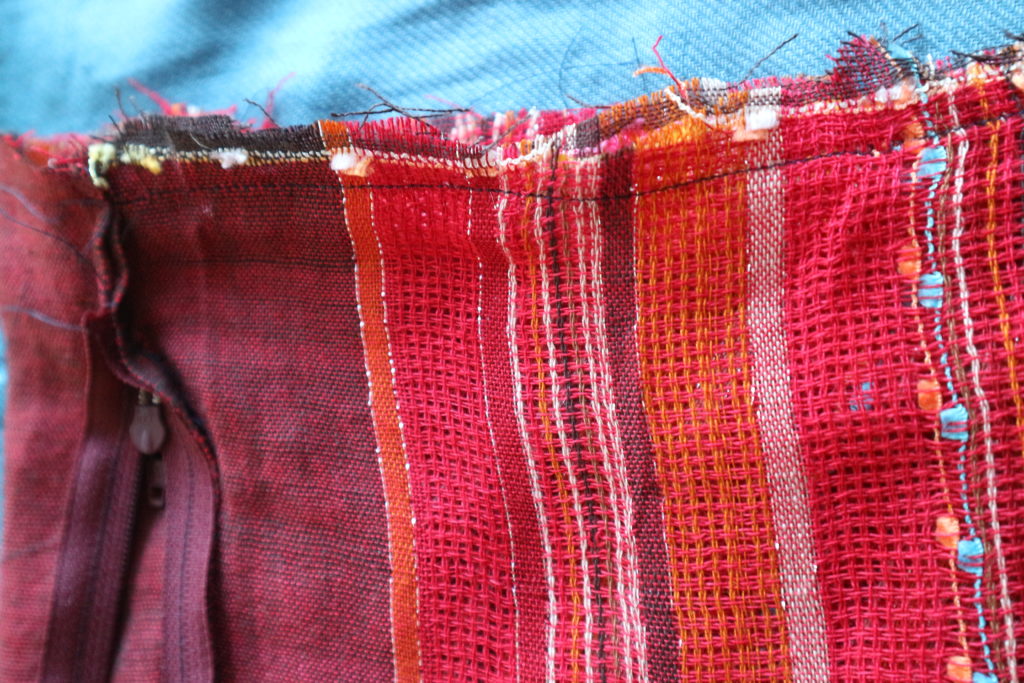
Sew along the long edge. Stop sewing where you marked the zipper will be.
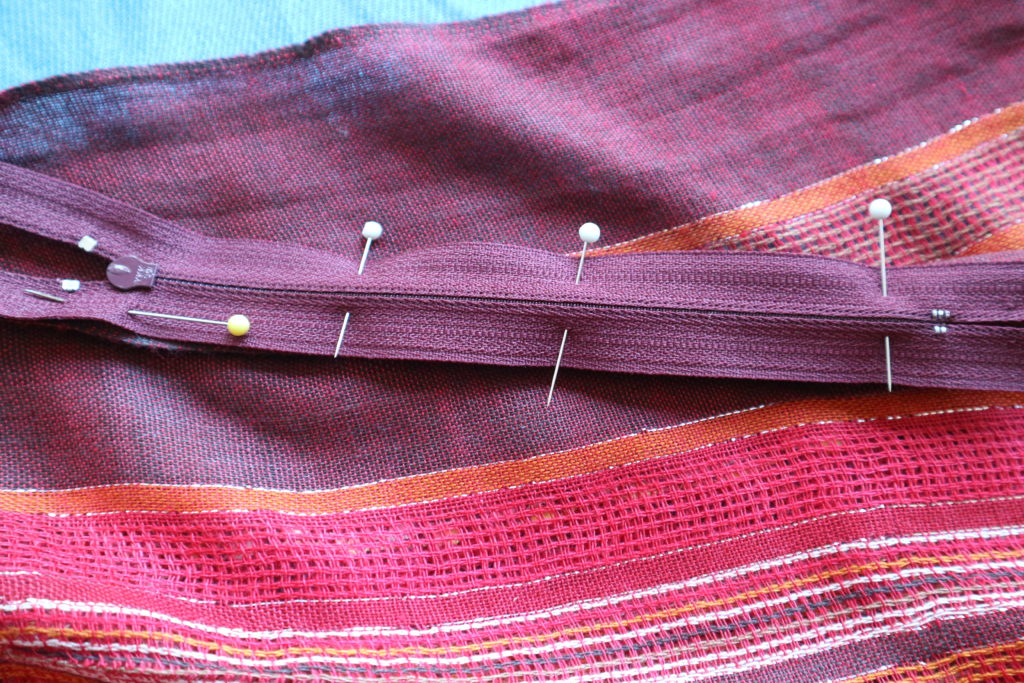
Open the gap you left for the zipper and pin one side of the zipper in place. The right side of the zipper should be down facing the right side of the fabric.
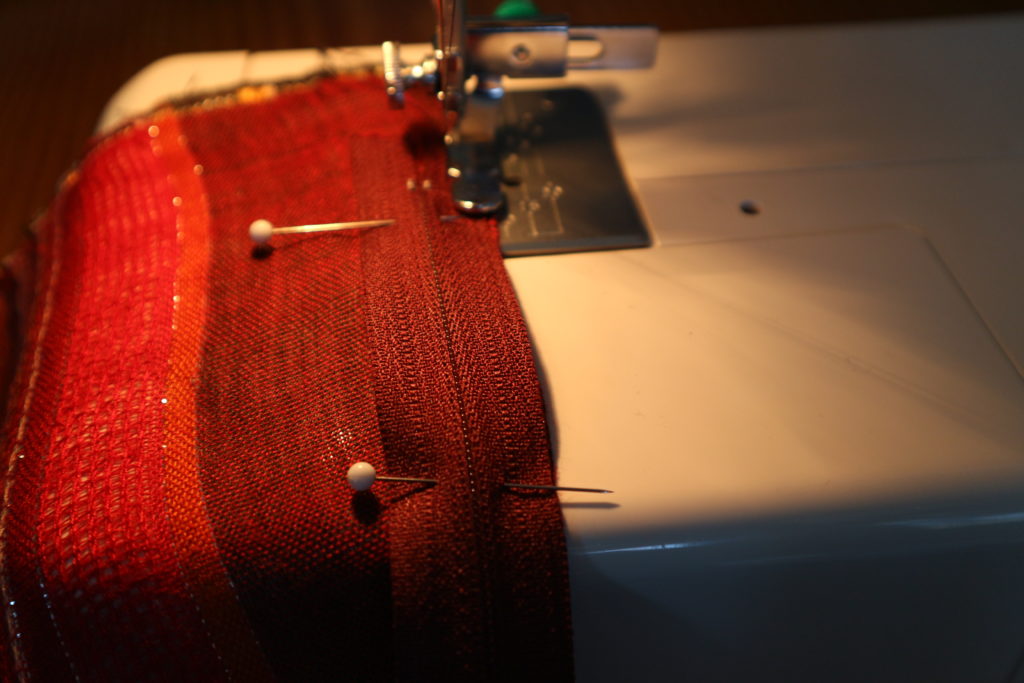
Sew the zipper into place on the first side. Flip it over and pin and sew the other side in place.
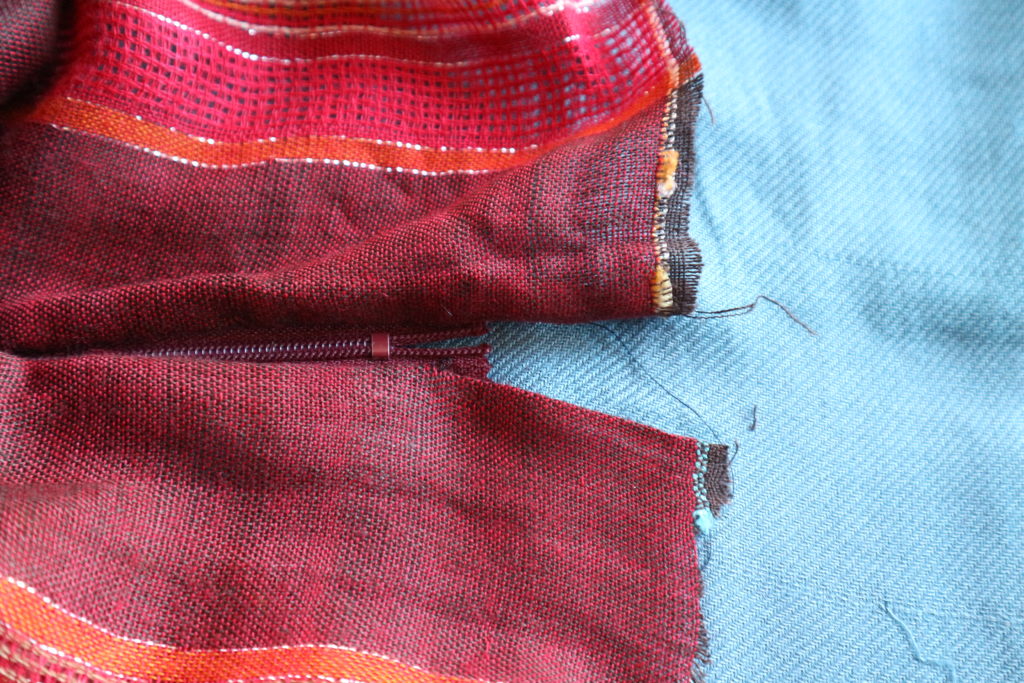
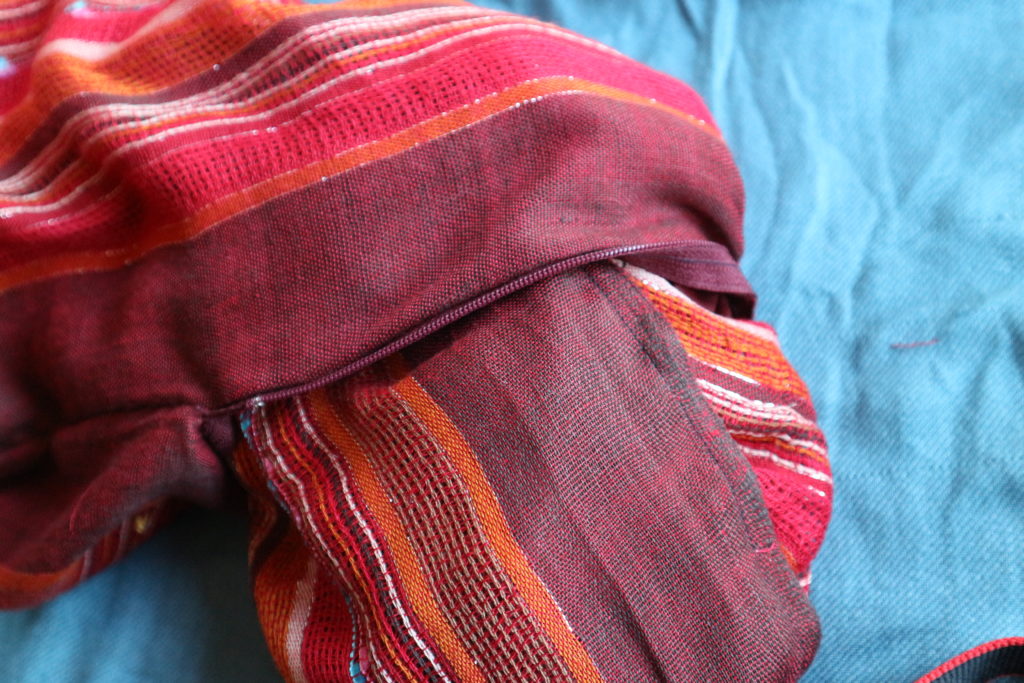
Close the gap at the end of the scarf by sewing the seam together.
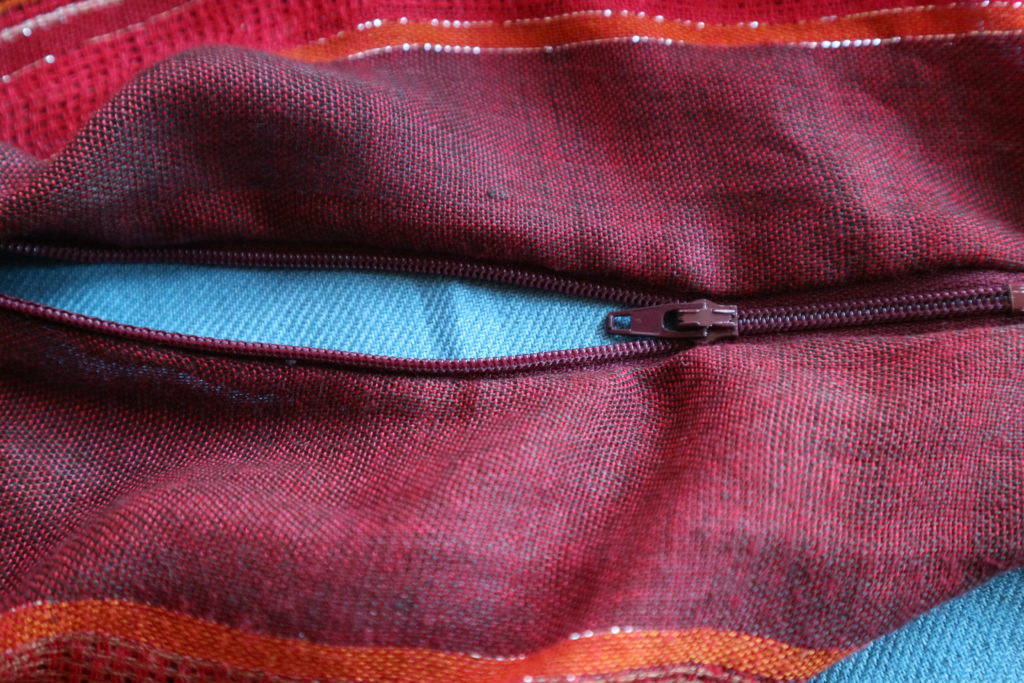
Now test the zipper. It’s opening smoothly. Yeah! Leave the zipper open.
Pull one end of the tube through to meet the other end. Match up the seams and pin all the way around the tube.
Sew all the way around the edge. Be sure to only sew through two layers – we’re making the tube into a circle. Sew the two layers together all the way around.
Pull the scarf out through the open zipper hole.

Great Job! Now try it on!
Use the zipper pocket to hide your phone or passport or other lightweight items. Your belongings will fall down toward the bottom of the scarf. That is cool with me since its easy to grab.

Tuck the zipper towards your body so its not noticeable.
This is a great solution for where to put your things when wearing leggings that have no pockets. Or travelling in an area where you are concerned about pickpockets. Or dog walking….It’s just plain convenient too.
I really enjoyed reinventing my scarf! Thanks for reading this post, feel free to comment if you need more details!
…


Painted Ceramic Bowls – Paint Your Own Dishes Your Way!
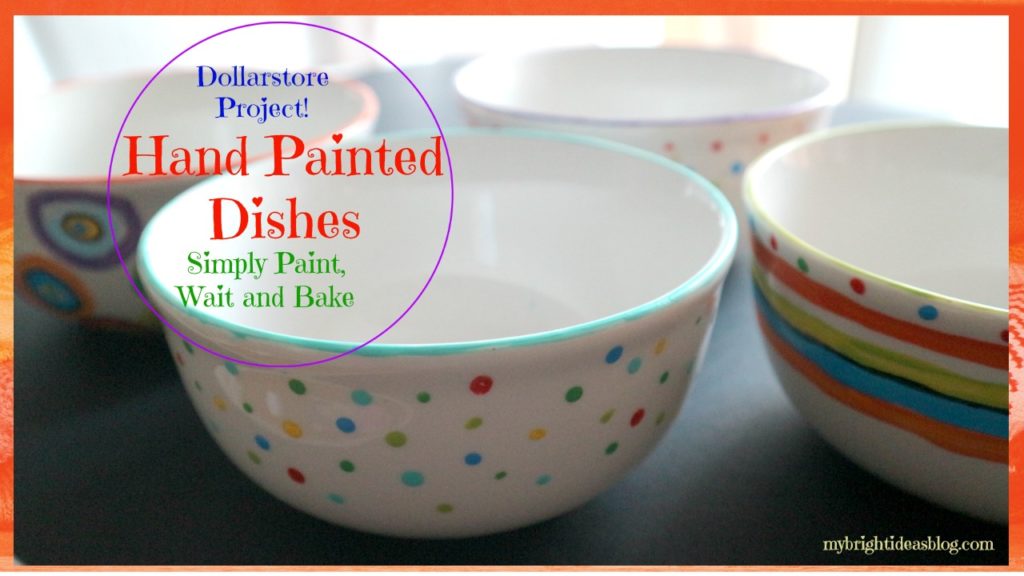
Hand Painting your own dishes is so easy! I had no idea you could just write or paint a message on a dish and bake it and you have a personalized dish, vase, mug… You can buy plain bowls and mugs anywhere. These were from Dollar Tree for $1.25.
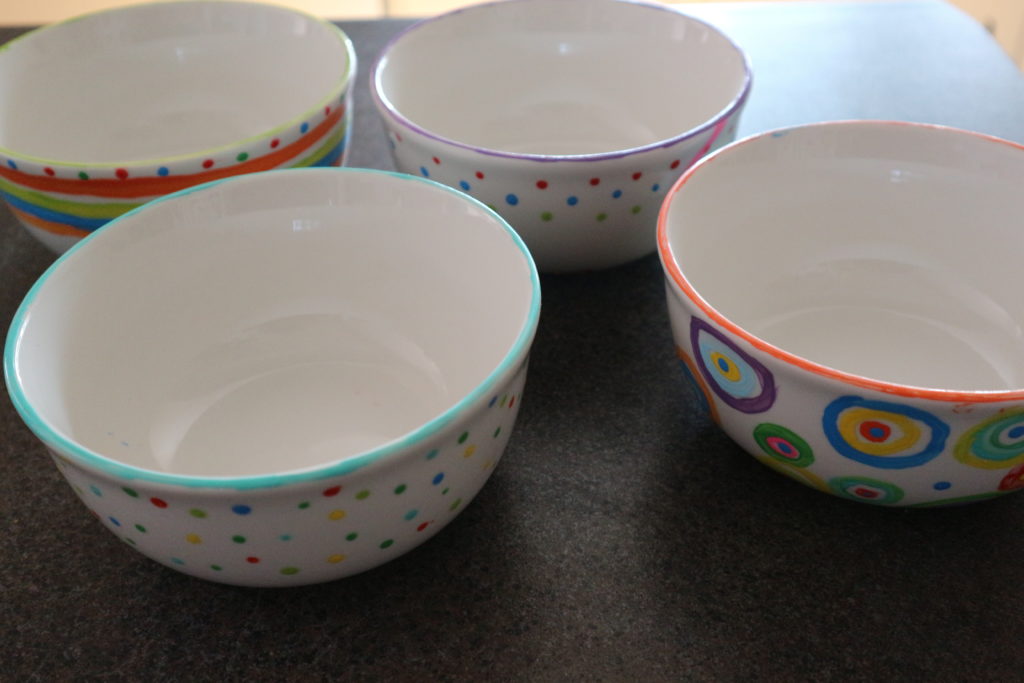
I had so much fun painting the first 4 bright colored designs I sent out the hubby and kids to get us another 4 so we could all decorate our own!
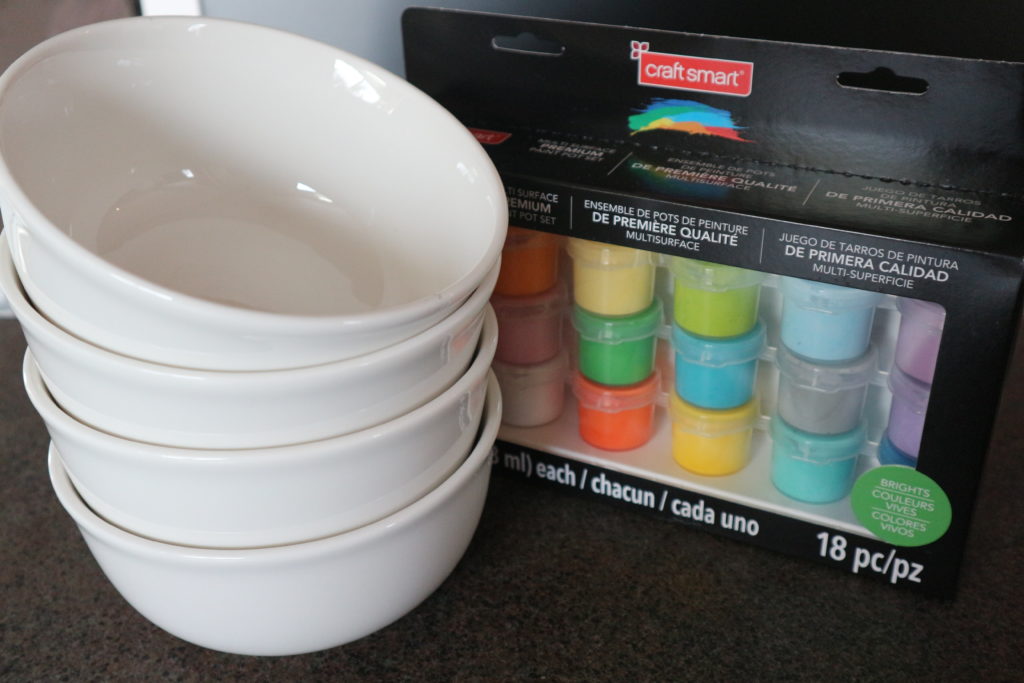
In the paint section of your craft store there is several kinds of paints that can use on glass and ceramics. You can choose from pots of paint like the photo above or pens/markers.
Multi-surface pens are also found in the paint section. They can be used for writing on metal, ceramic, glass etc. The pens cost approximately $5.99. I purchased one black one.
The pots of paints cost more….$20 if I remember correctly. But I had a 40% off coupon so I got one that has 18 small pots of “Brights” paint in the kit by Craft Smart.
You will need:
- Multi-Surface Pens and Paint
- Art Paint Brush
- Plain Dishes
- Toothpicks
- Oven
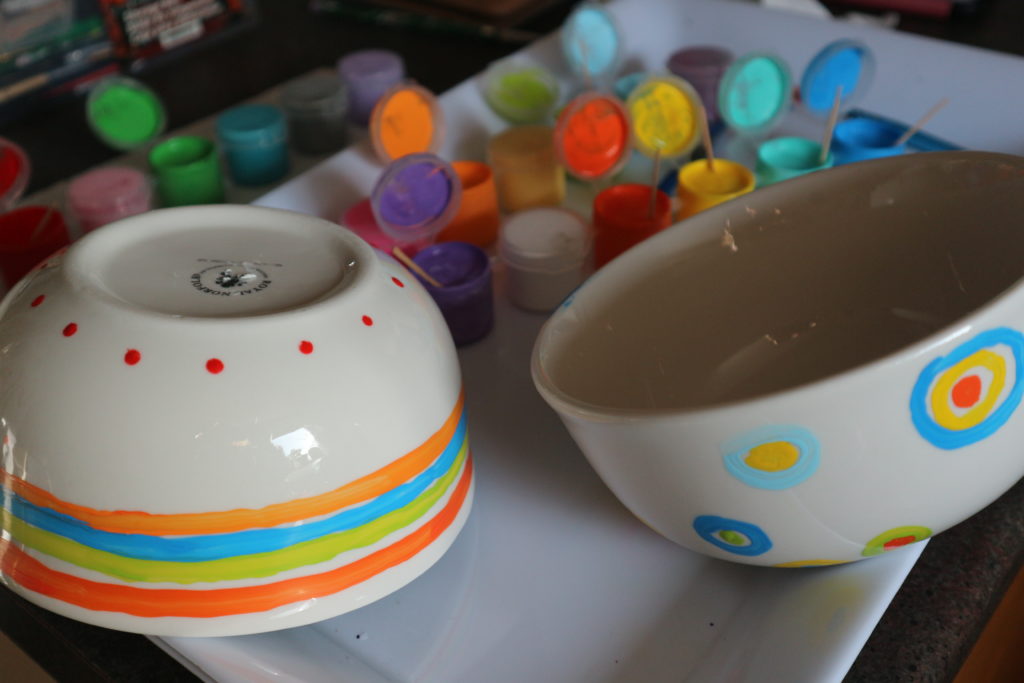
I mentioned to have some toothpicks handy because each little pot will need to be stirred after opening.
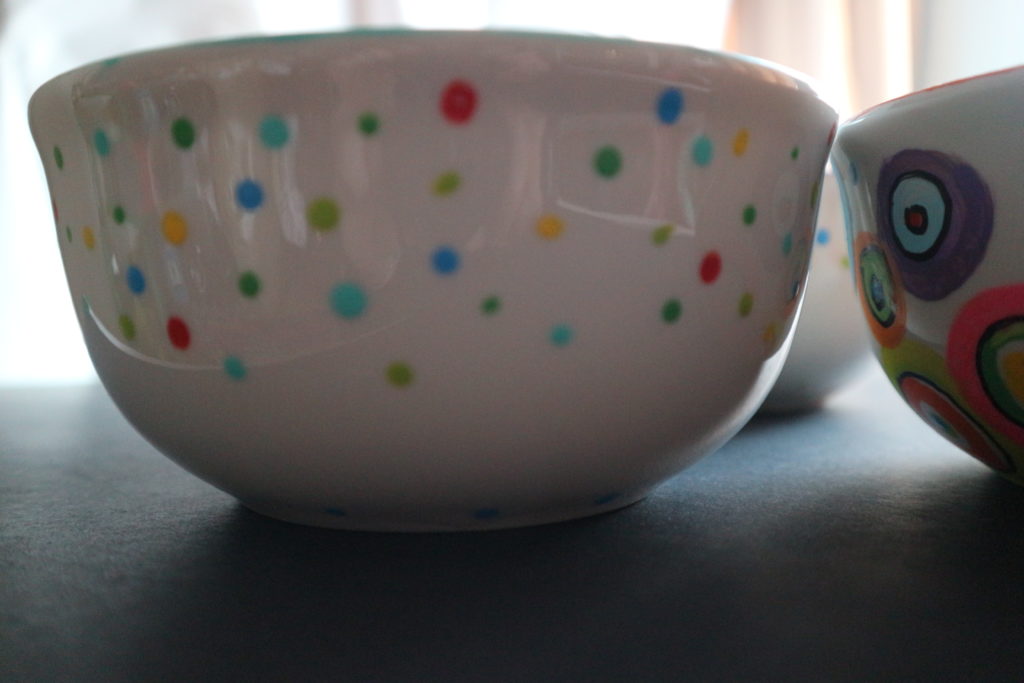
Decorate the bowls in whatever style you wish.
Just a word of caution, the marker dries immediately, where as, the paint in the pots could be wiped off if you realized you needed to fix it. Holding the bowl while painting is tricky-you really need to watch that you don’t smear it.
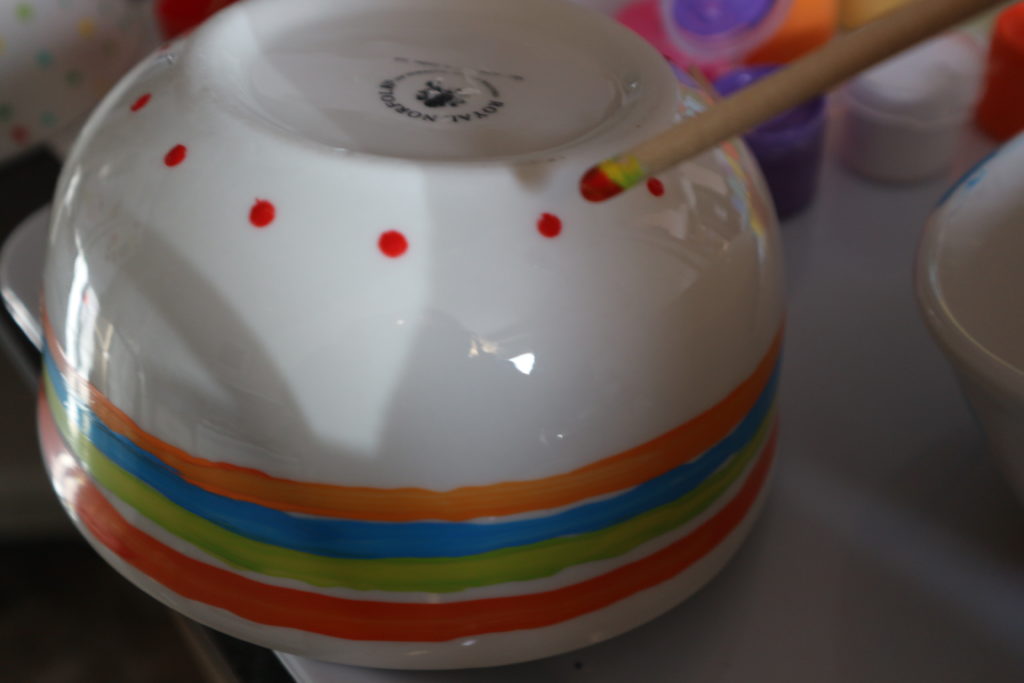
Here I am dipping the end of a paintbrush to make perfect dots.
“Craft Smart” Paint says:
Durable, weather-resistant satin paint. Excellent adhesion on glass ceramics, wood, metal, rigid plastic, fabric, canvas, paper and terra cotta. (Well doesn’t that just bring 100 projects on the to do list to your mind)
Directions: Water-base, apply 1-2 coats until desired coverage is achieved. For glass or ceramics, first clean surface with alcohol. For top rack dishwasher-safe finish: Let paint cure for 72 hours. Place in a cool oven, heat to 350 degrees F (176C) for 30 mins. Cool in oven.
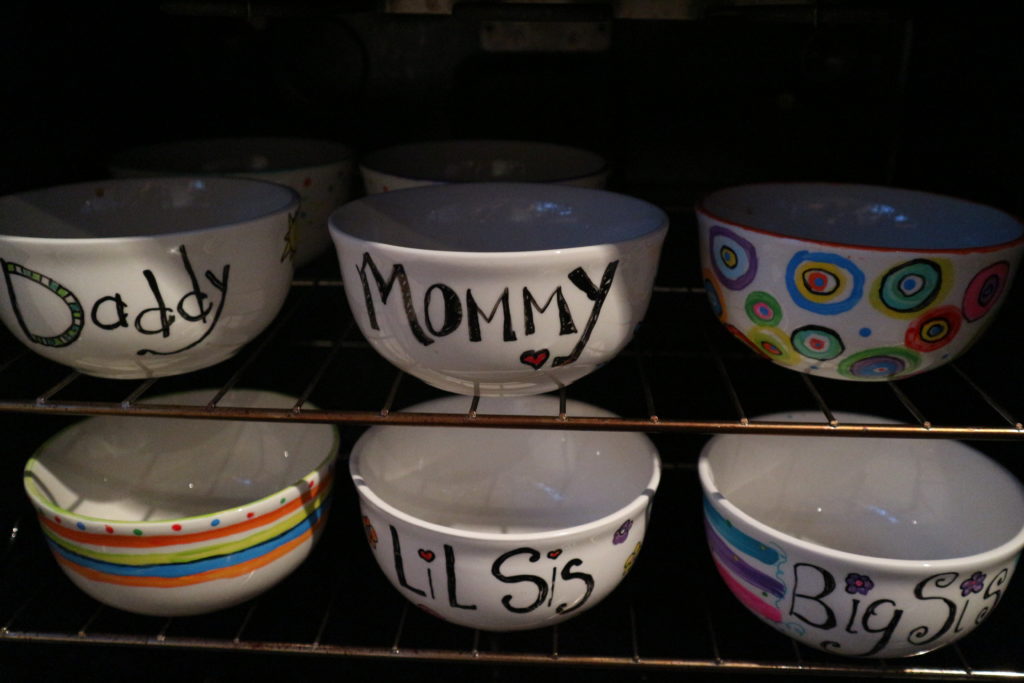
So you waited 72 hours right?
Then you can put the bowls in the cool oven and turn on the stove to 350 degrees. After the 30 mins is done, turn off the oven and allow to cool in the stove before moving.
I know I’m being repetitive but you gotta follow the instructions. If your paint is another brand follow what it says to do.

This super cool project does require some time. If you are planning to put a message on a vase you are bringing flowers in to an anniversary party on Saturday you need to plan ahead and paint it by Wednesday to let it cure for 2 days and then bake…and cool.
Also, it doesn’t say this is “food safe”. So I wouldn’t put it on the inside of the bowls, mugs and middle of plates your eating off of. Maybe I’m being over cautious….I like to be on the safe side.
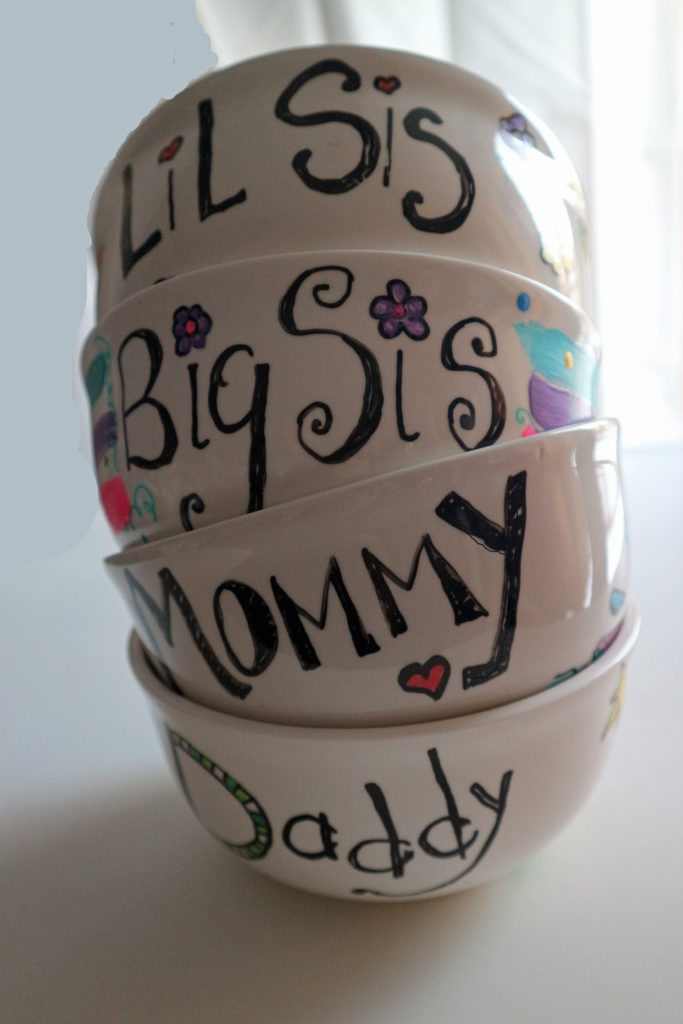
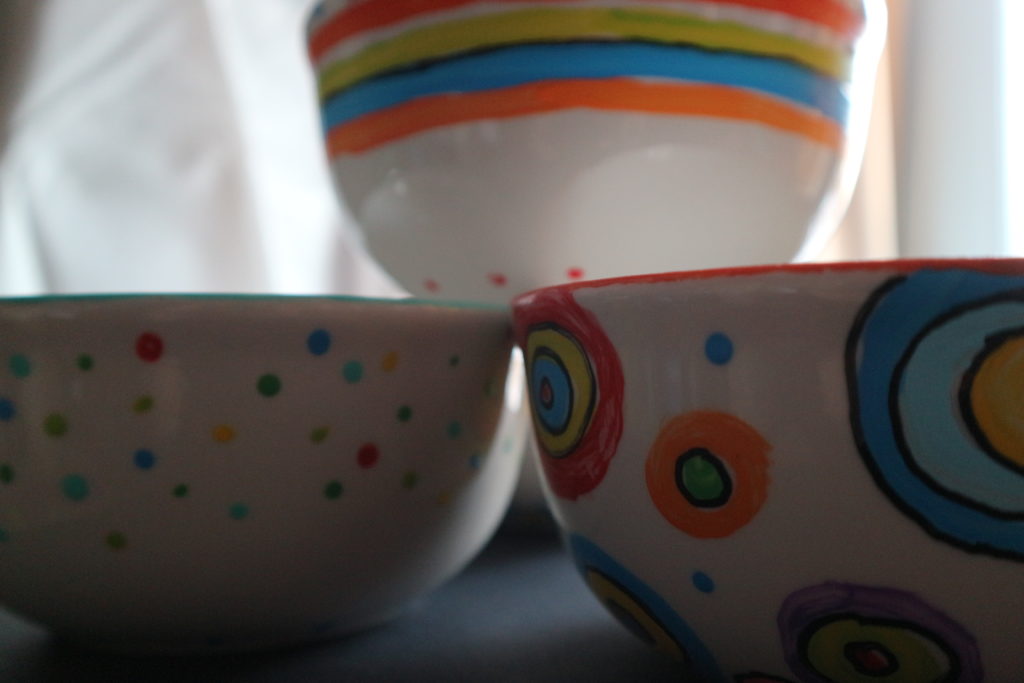
Now we have a cereal bowl personalized for everyone!
I loved this project and now I want to do more! Next Dog Bowls!
Please pin this or share it with your social media friends.

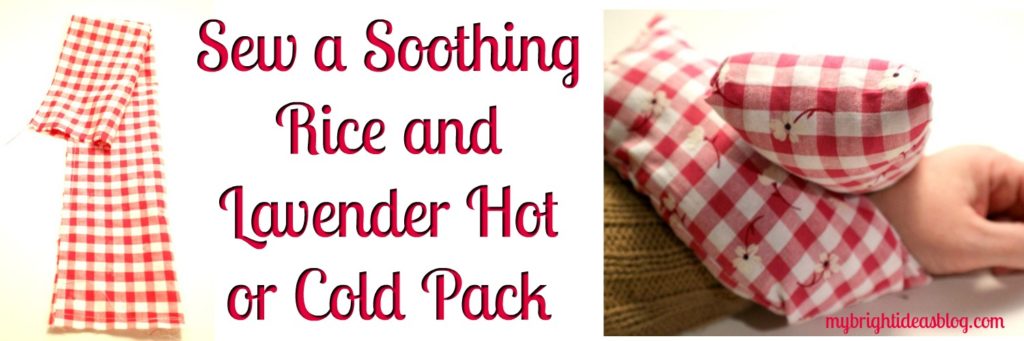
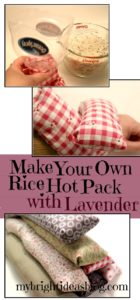
Easy to Make-Microwavable Hot / Cold Rice & Lavender Packs
Microwavable Rice and Lavender Hot or Cold Pad
Need to soothe aches and pain, bumps and bruises? Nothing brings comfort like a microwave rice hot pack! Add a hint of lavender to your hot pad for a calming effect.
If you are sporty with muscle aches or have bickering children that make a certain shoulder muscle tense you need a cloth bag of rice that you can microwave. Everyone needs a few of these in the house. Keep one in the freezer for when you need a cold one (great if a doozy of a headache is coming on) and another ready to go for the microwave when you need a hot one. Even if there are no muscle pains at the moment if you are feeling sick or can’t seem to shake off a chill its wonderful that in 3 minutes in the microwave you have a soothing warm compress…and don’t get me started about cramps….
You will need:
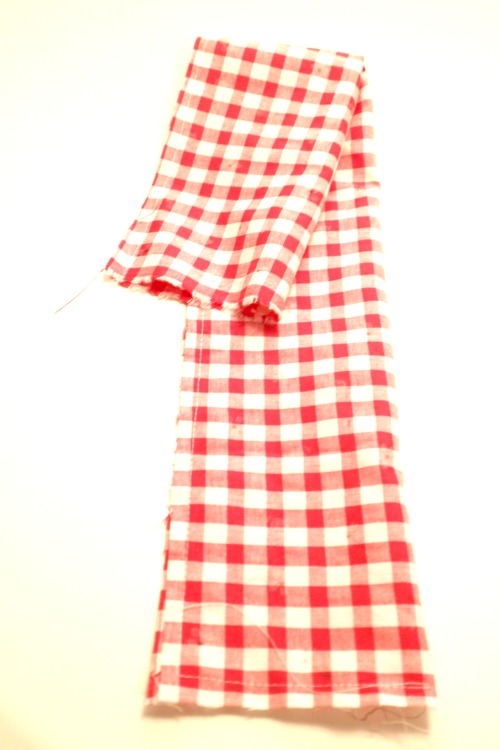
- A piece of cotton 12 x 20 inches (rather than buy new why not upcycle an old pillowcase or piece of clothing you don’t want-or something from the sewing scrap basket)
- Sewing machine
- Needle and thread
- Funnel or juice bottle turned into a funnel
- 3 lb bag of uncooked long grain rice
- 3 tablespoons of dried lavender (this is optional-if you are sensitive to smells start with 1tbsp-it should be subtle and soothing) you can buy lavender from the bulk store or health food store

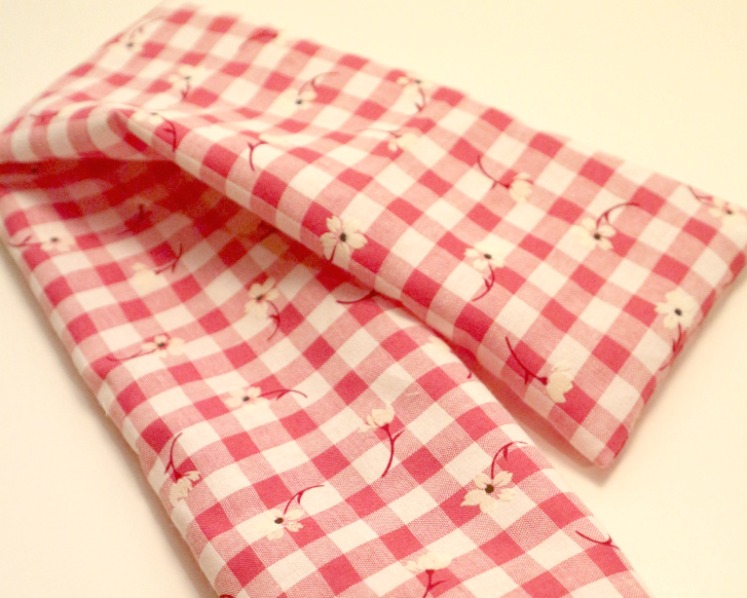
Choose a calming fabric in 100% cotton. You only need 12 inches x 20 inches (30 cm by 51 cm) so its a great way to use up a scrap remnant from another sewing project.

I love this soothing pattern. Just looking at it calms my headache.
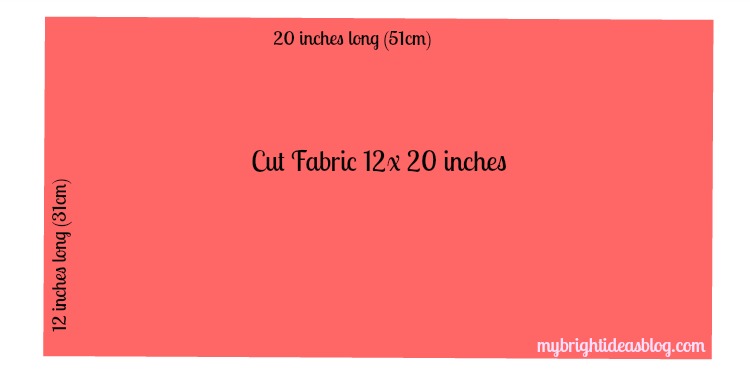
Cut the fabric to size and iron flat.
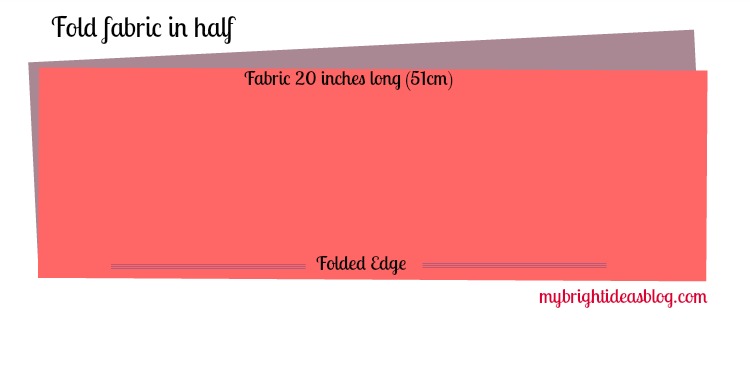
Fold in half.
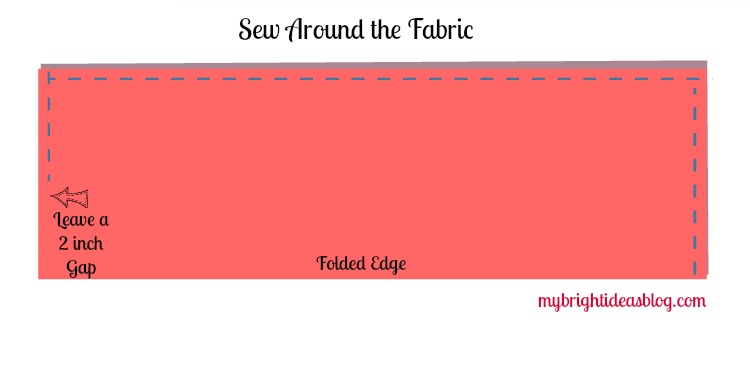 Sew around the edge.
Sew around the fabric leaving a 2 inch opening.
Turn the fabric inside out.
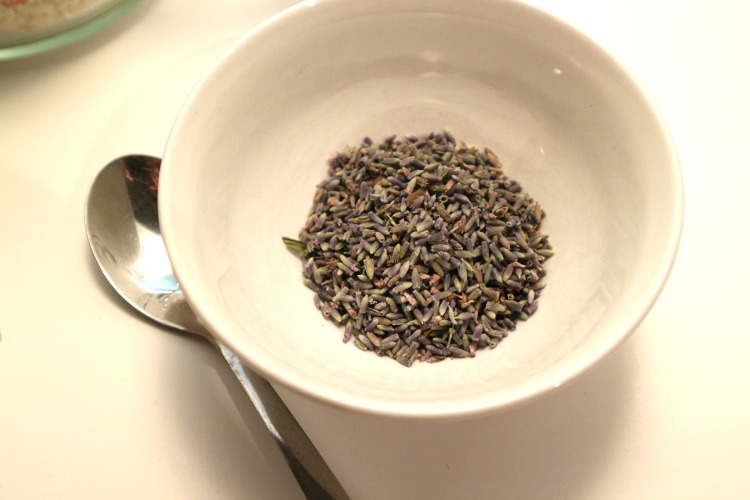
In a large bowl, combine 3 cups of rice and 3 tablespoons of lavender buds. Lavender is completely optional. I found that the lavender was very strong smelling when heated, so I decreased it to 1 tablespoon.
I picked up lavender at the health food store.
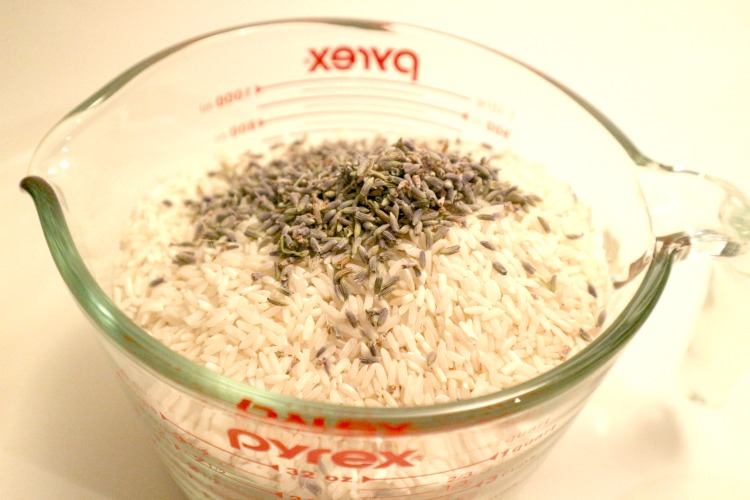
Using a funnel fill the bag with the rice and lavender mixture. Fill to approximately ¾ full.
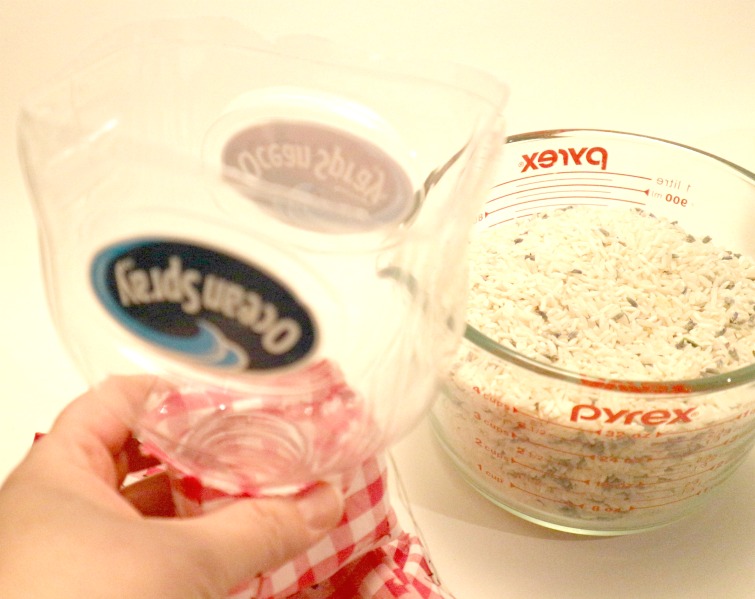
I didn’t have a funnel with a wide enough neck so I pulled a big juice jug from the recycling bin and cut off the bottom half. It’s the perfect funnel for this project.
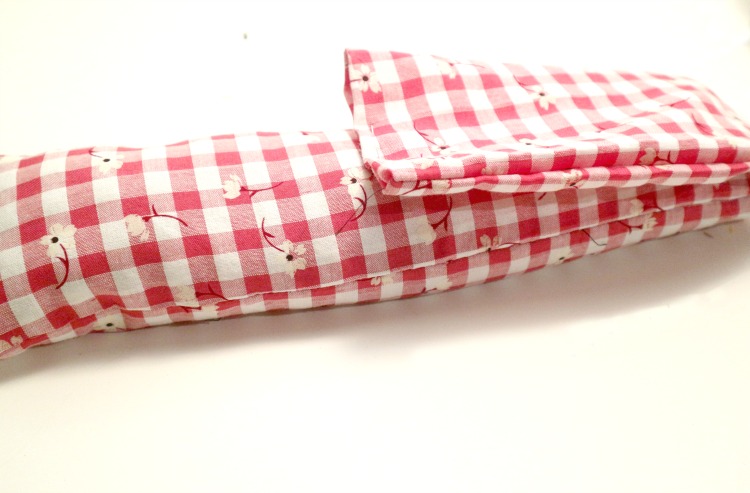
You don’t want it jammed full because its going to be wrapped around your neck or across your forehead so you need some flexibility. Leave 1/4 of the tube empty. Pin the end securely.
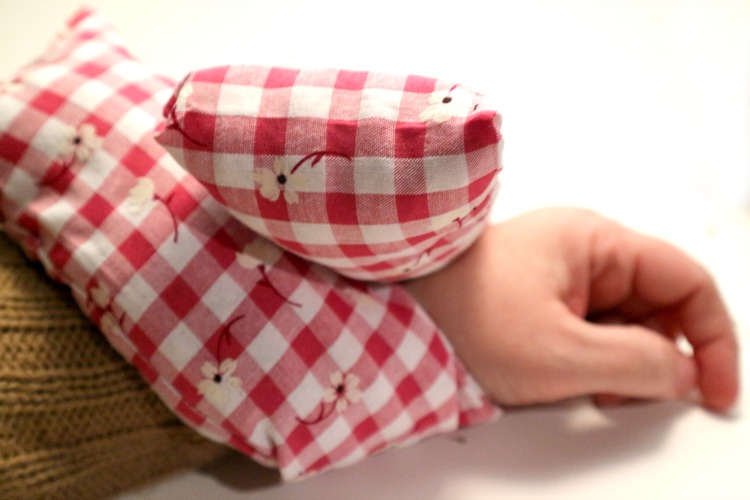
Try it out! How is the flexibility? See how comfortable it is with the current amount of rice. Add more or remove some to make it more to your liking.
If you are happy with it….Tuck the unfinished ends in and hand stitch it closed.
Hot Pack Instructions- To make it a hot pack just microwave for approximately 2 minutes depending on your microwave. It may need another 30 seconds but test it to see what is right for you. My sized rice pack and microwave seem to be perfect at 3 mins. Be careful not to make it too hot for skin. It should be lovely and soothing. (Not for children-Use at your own risk)
Cold Pack-Place the rice pack in a ziplock bag and put in the freezer. Amazing for headaches or bumps and bruises.
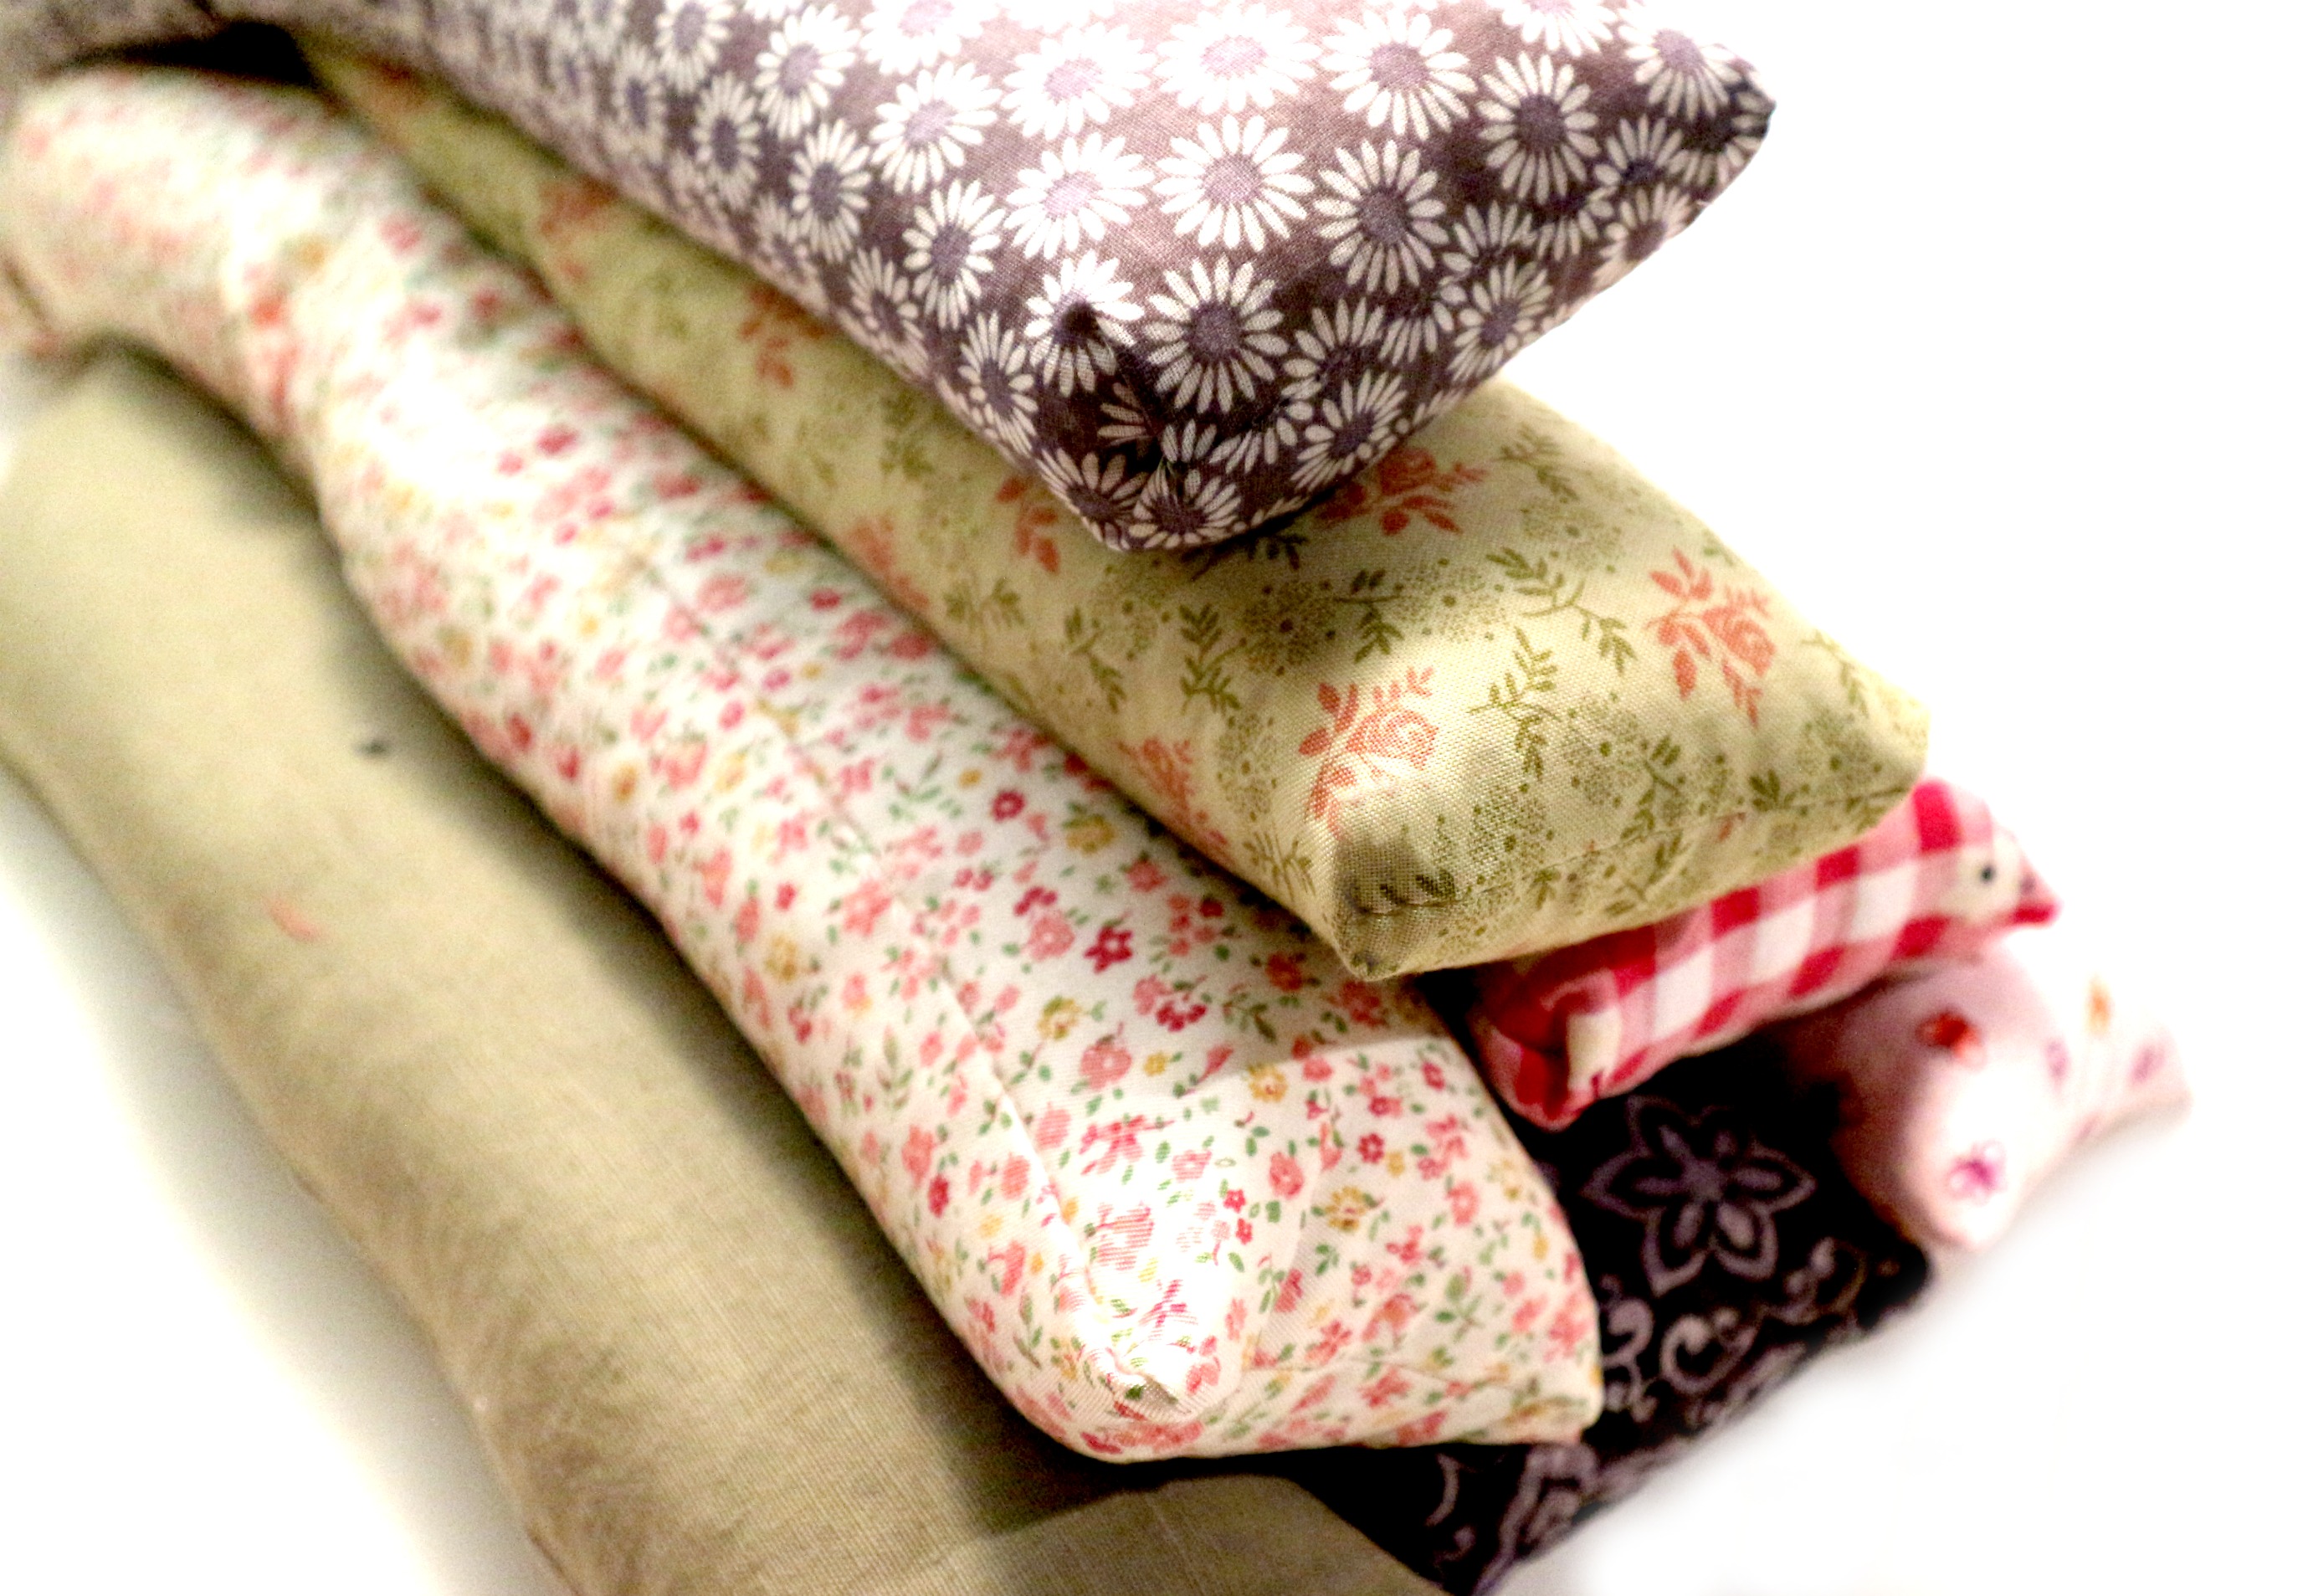
Mini Packs and Pocket Warmers-To make pocket warmers cut a piece of fabric 3 x 5 inches (or old lost sock) to be approx. 5 inches long. Follow the instructions above. For microwaving heat for 30 seconds to start and test out the perfect length of time for your hand warmers.
I always store my rice packs in a ziplock bag to keep the dust off. Do not microwave it in the plastic bag.
Remember to make a spare one for your desk at work and make a few extras to take to friends with the flu with some chicken soup. Ohhh, you’re such a good friend…

…


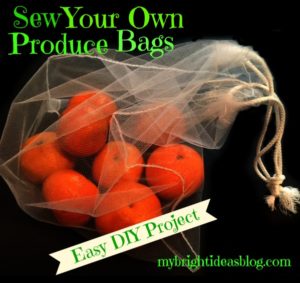
Sew Your Own Shopping Bags for Produce Fruit and Vegetabes – Very Easy!
 Using reusable shopping bags has been the trend for years now when carrying your groceries home. But have you noticed that some stores are encouraging you to bring cloth bags for the produce too? I have seen this trend at my local bulk store.
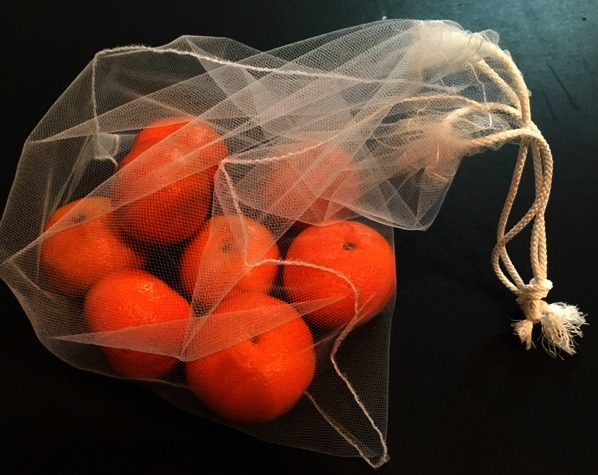
Of course, if you ‘ve been going to the farmers market, cloth produce bags makes so much sense. They often have the container of plums set out and then toss them into a plastic bag for you. They don’t even weigh it. Now that I have made these bags, I want to go the extra distance to the Saturday farmers market!
Fabrics you could use for this project include… cotton, curtain sheers, tulle, sheer nylon….consider though that if your going to a store that will be weighing your produce the heavier the fabric the more you will be paying each shopping trip. Choose lightweight!
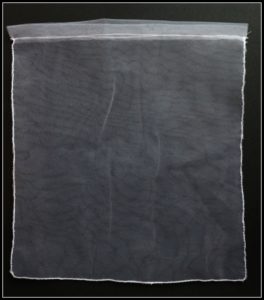
On my first trip to the fabric store I was shocked at the cost of nylon….$20 /meter?!? Youch! So I purchased a meter of tulle (wedding veil and tutu sheer fabric) costing a low, low $1.99 per meter. This seemed sensible so I could make them without thinking about how costly any errors will be. I do plan to make them in a few fabrics though including nylon so I can see how different materials hold up with wear and tear. For today’s project I’ll stick with 1 metre (or 1 yard) of toule and 2 meters (or yards) of thin white cording. You could also use ribbon. This is enough to make 4 or 5 bags depending on the size you choose to make.
The first step is to decide on your bag size preference. Grab your ruler and eyeball what these sizes would look like.
6×9, 8×10, 10×13, 12×18, 18×24
Add an inch for the fold over for the string or ribbon to go through. I want to try a bunch of options…. but for this post I will keep it simple. This one in the photo ended up being 11 inches by 12.5 when finished. I’m not very picky about the sizes-as long as it is big enough to fit 6 apples I’m happy.
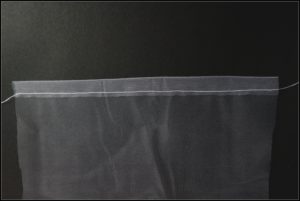 Fold the top edge over 1/2 inch and sew across. This will form the drawstring casing to tie the bag up.
Pin the fabric together-this is slippery stuff- and sew around the sides and bottom. Start and finish sewing just under the casing to the bottom of the bag. I used a straight stitch, then trimmed it fairly close to the stitch and then sew around again with a zig zag stitch to tuck the ends in. If you are using nylon or sheer curtains they will fray if you don’t zigzag.
Attach a safety pin to the end of your ribbon or string and pull through. Tie a knot at the ends.
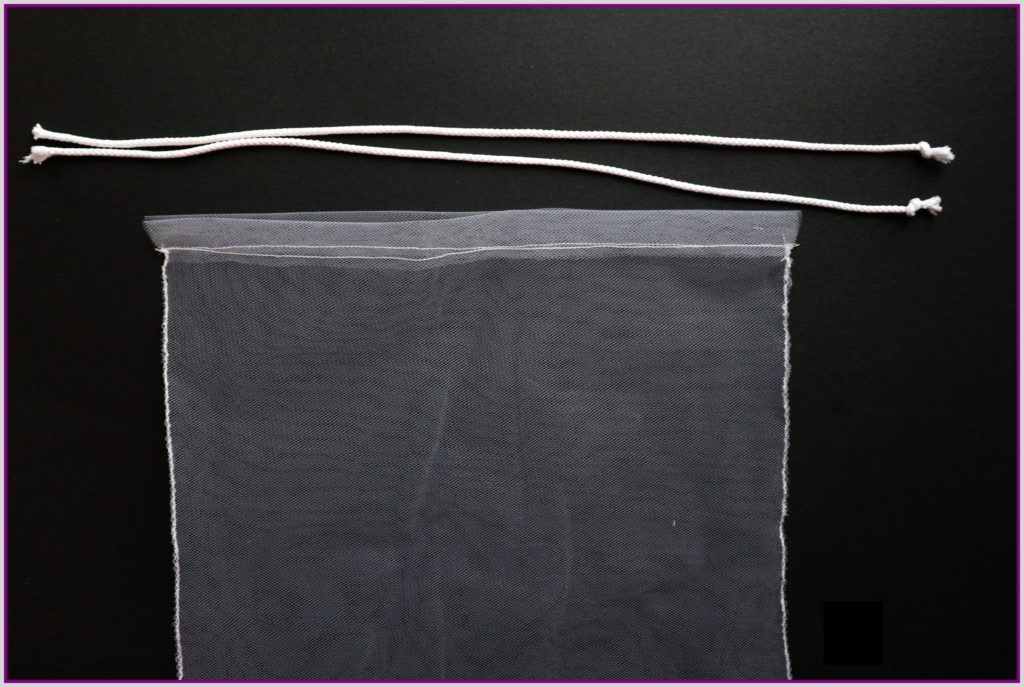
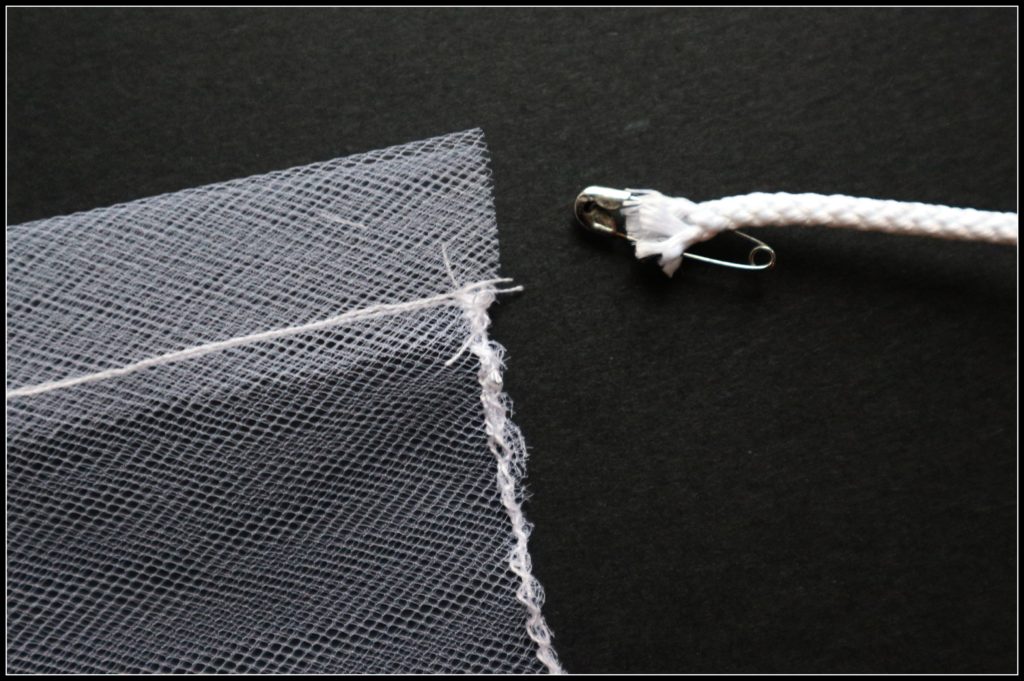
Attach a safety pin to the end of your ribbon or string and pull through. Tie a knot at the ends.


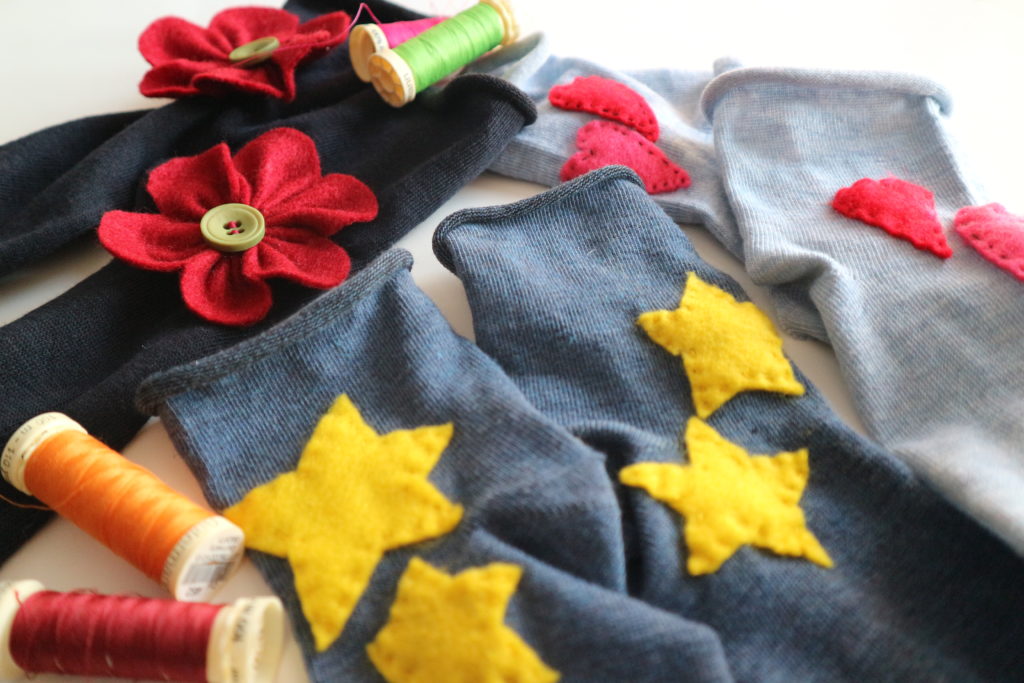
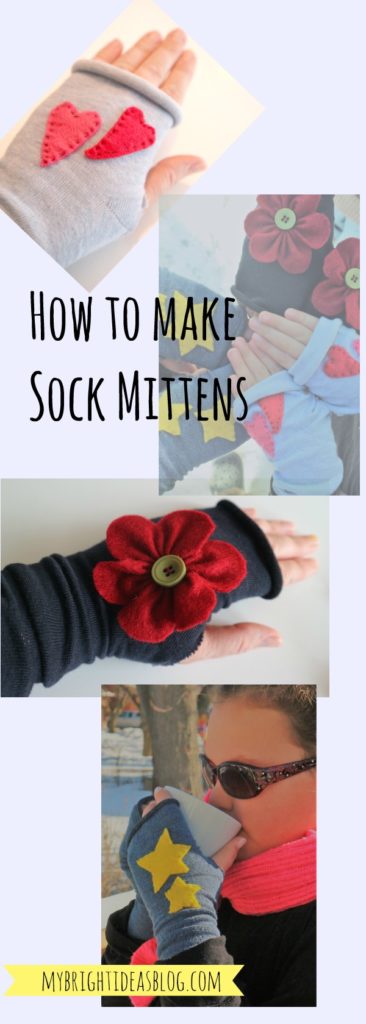
Fingerless Mittens from Socks? Super fun!


Have you noticed the weather is getting chilly again and your little fingers are getting cold. But where are last years mittens??? Don’t ask me….I have a drawer with 10 single mittens and gloves that I just can’t figure out where the partners have gone to.
Not to worry! It is so easy to make fingerless gloves/mittens from a pair of socks! Find yourself a clean pair of old socks that you can upcycle….or treat yourself to a new pair of socks.
You will need….
- socks
- scissors
- needle
- thread
- felt scraps
Start by resting your hand on the sock and seeing where your thumb will be and the length of your fingers compared to the end of the socks. Mark a little “o” where the thumb hole will be near the bend in the sock.
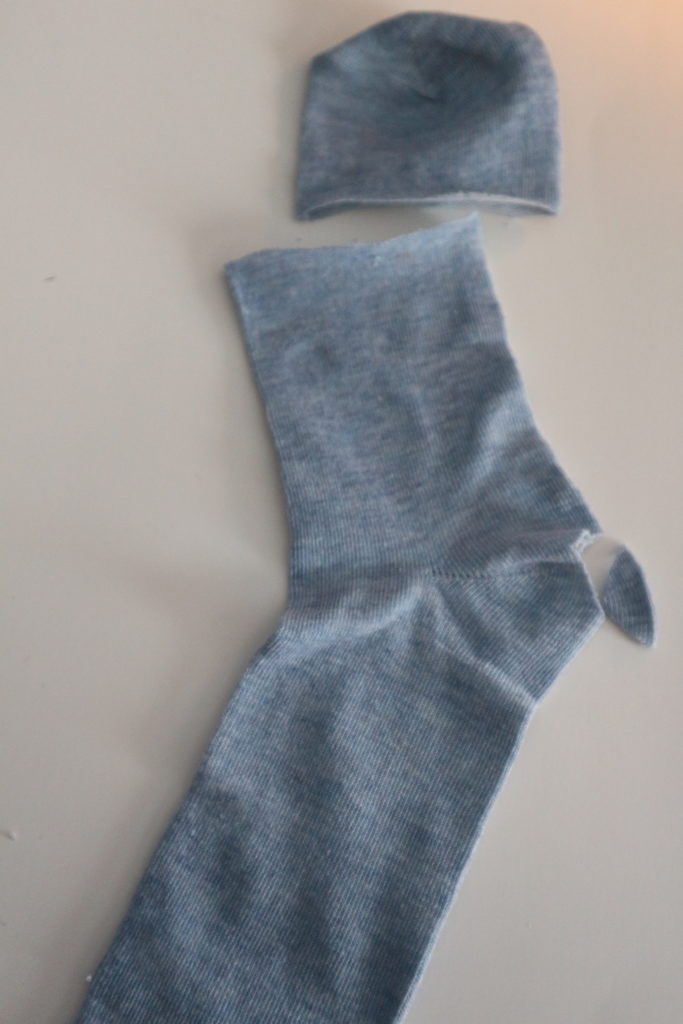
Cut a small hole at the bend in the sock heel for the thumb and across the top for the fingers.
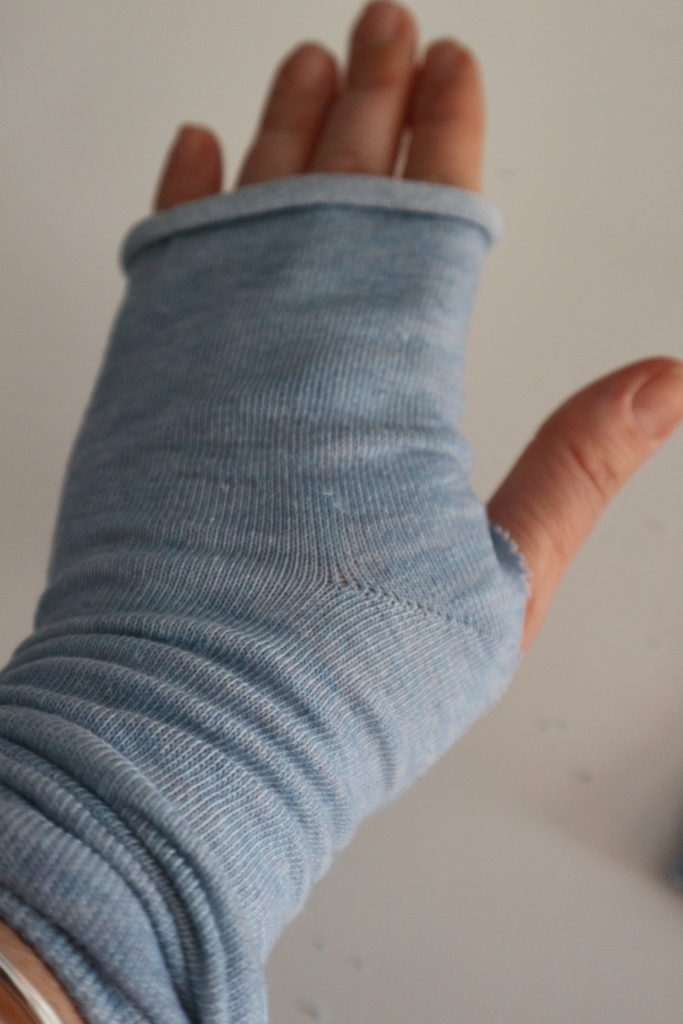
Try the sock on your hand and see if you thumb fits comfortably. If it’s too small make it a bit bigger.
The lovely thing about socks. is they are stretchy and comfy. Having your finger tips free means you can type a text, count change for the parking metre and blow your nose without taking off your mitts. Gross…. I know but cold and flu season will be here soon!
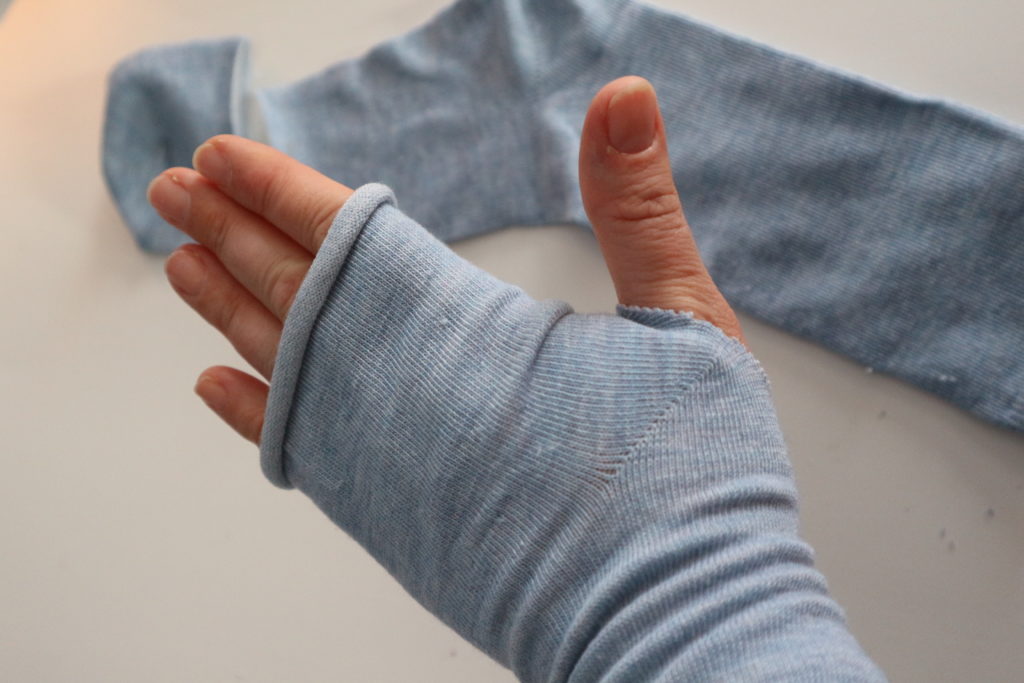
Hemming isn’t necessary, because it is knit fabric, so let it roll a bit. So literally, that is all you do to make the fingerless mitten or glove.
Now choose a little something to be the applique on the front of each hand.
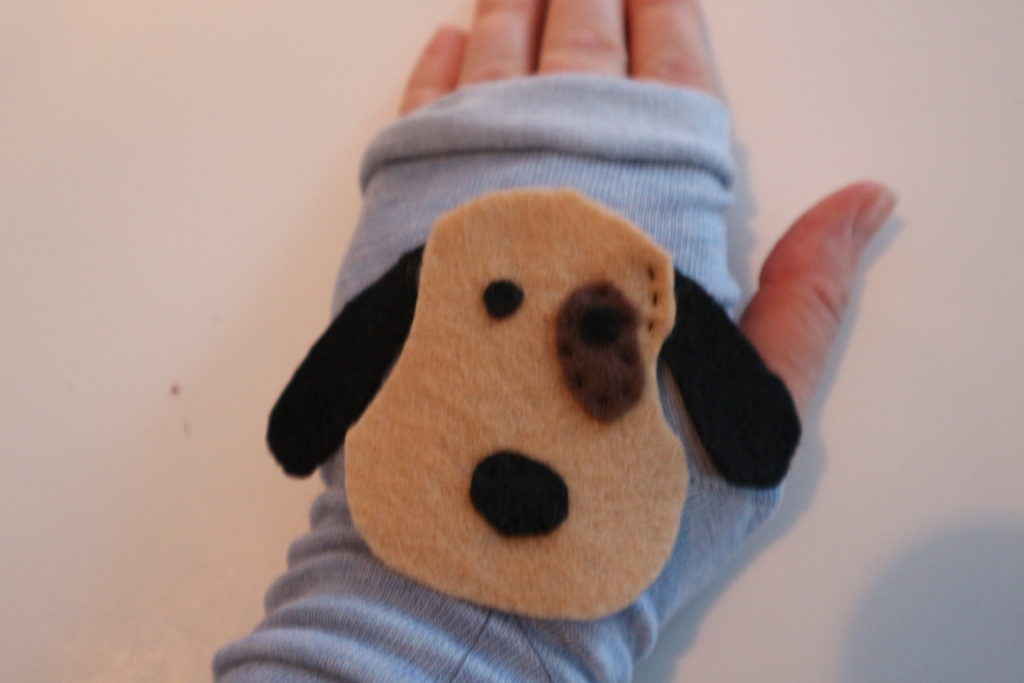
I tried this handsome dog but he was too big.
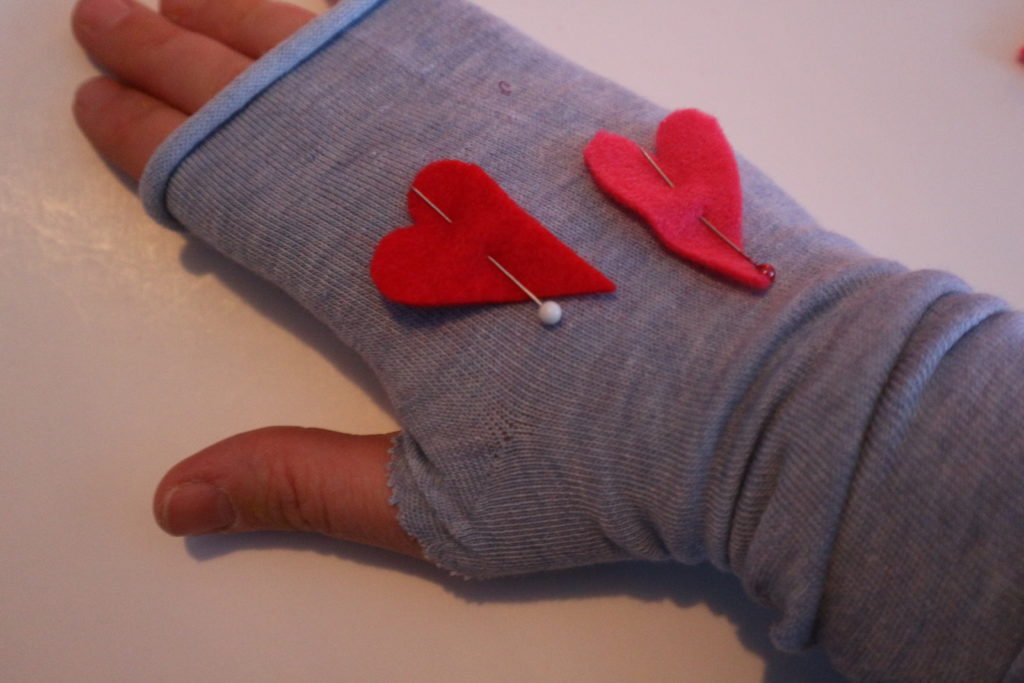
Decide where you want to put the applique and pin it in place.
A quick running stitch is all you need to attach the heart to the mitten.
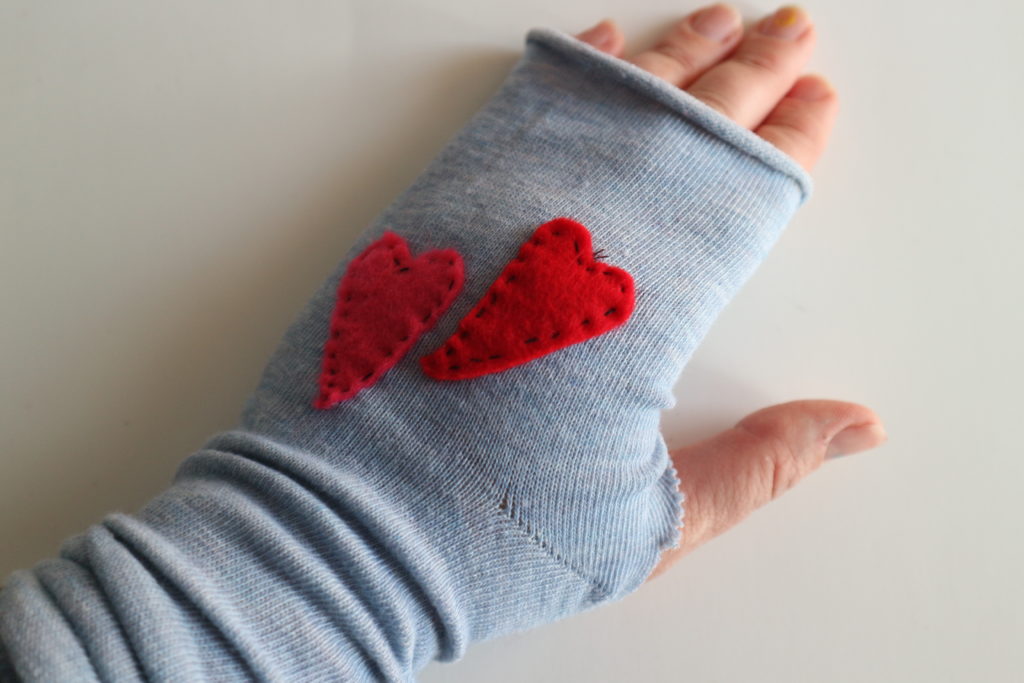
There, now the mitten applique is in place. You are done!

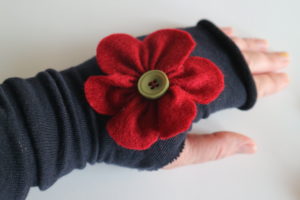
Easy to add a flower with a button.
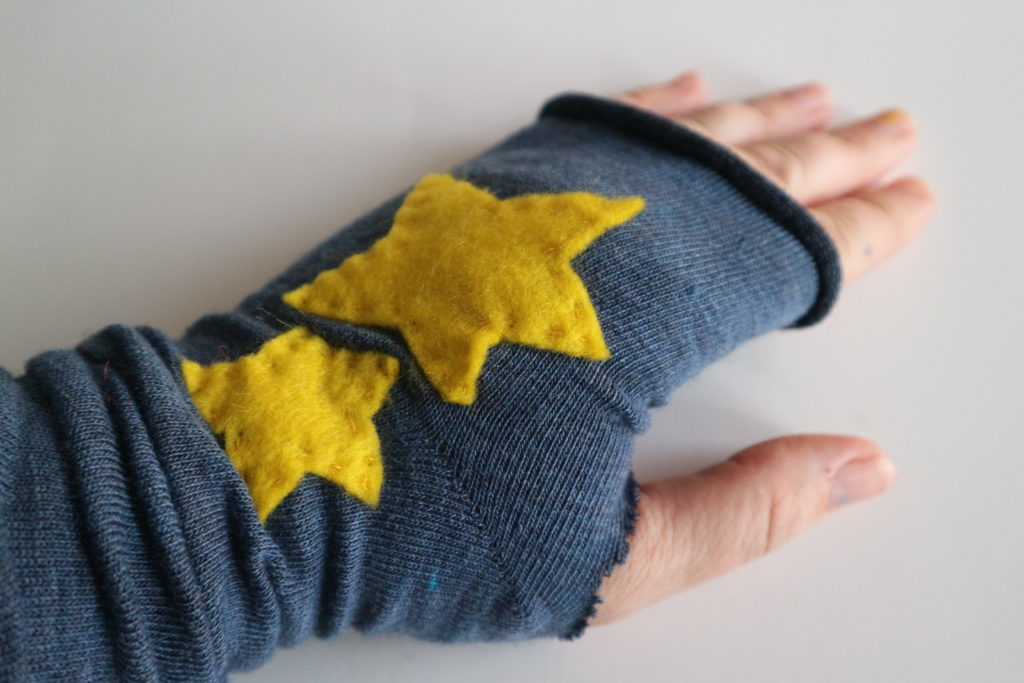
Stars are easy too.
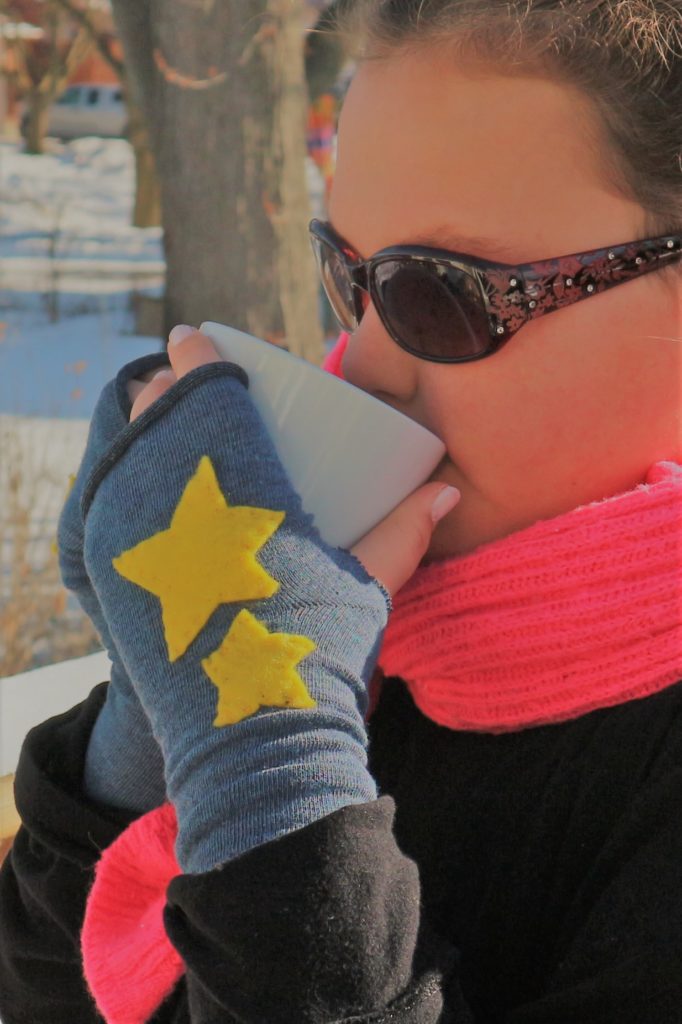
Brrr. That was a cold day! Hmmm…hot chocolate!

Sew a Super Easy to Make Felt Crown – Add to your dress up clothes!
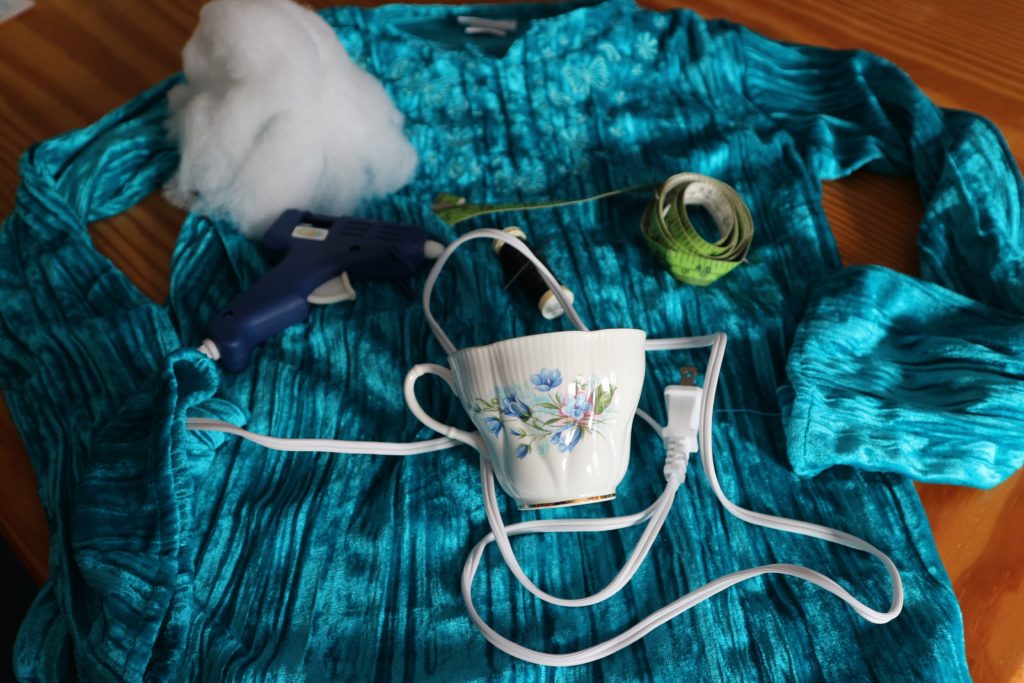
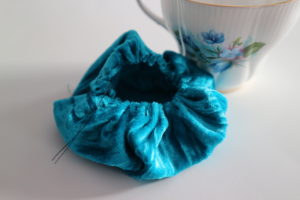
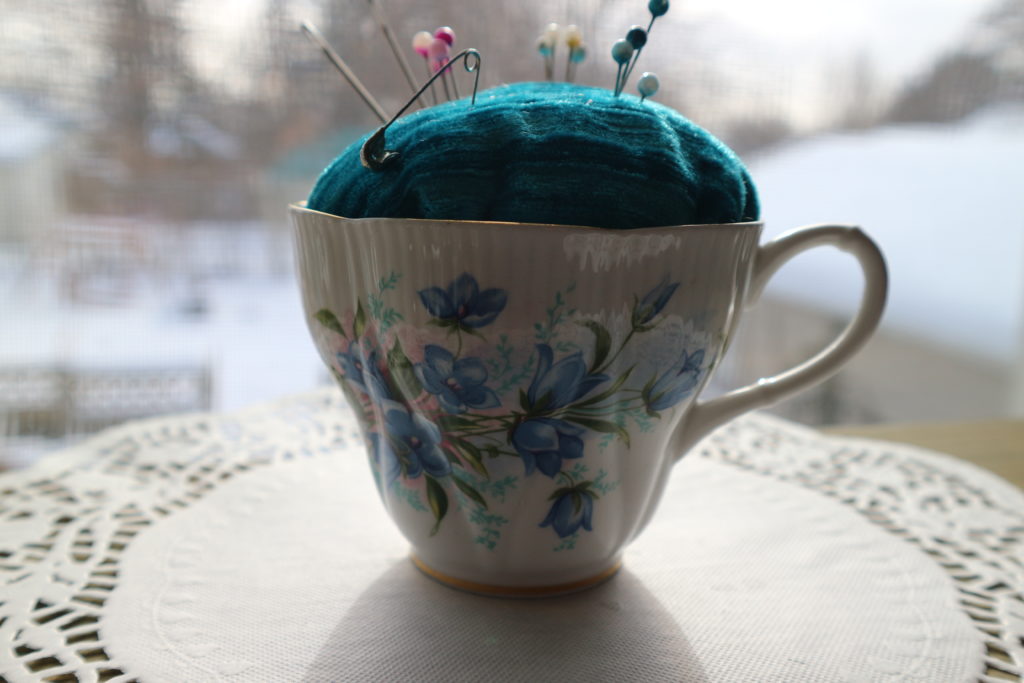
Tea Cup Pin Cushion – DIY Easy Peasy!
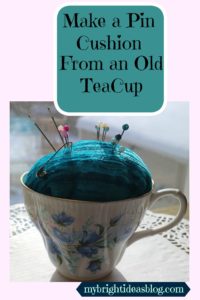
Use an old tea cup-even a broken one, or like mine one that is missing a saucer to make a pin cushion. Its a super fast craft for any skill level.
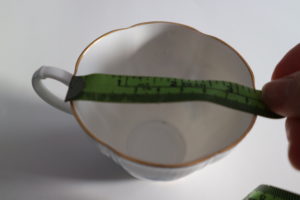
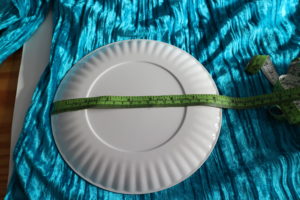
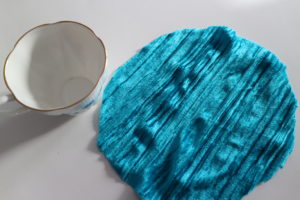
You just need: scrap of fabric, shirt, pillow case, napkin…some sort of cloth….you only need about 8 inches square piece of fabric for most cups. Also grab your measuring tape, stuffing, hot glue gun, a needle and thread.


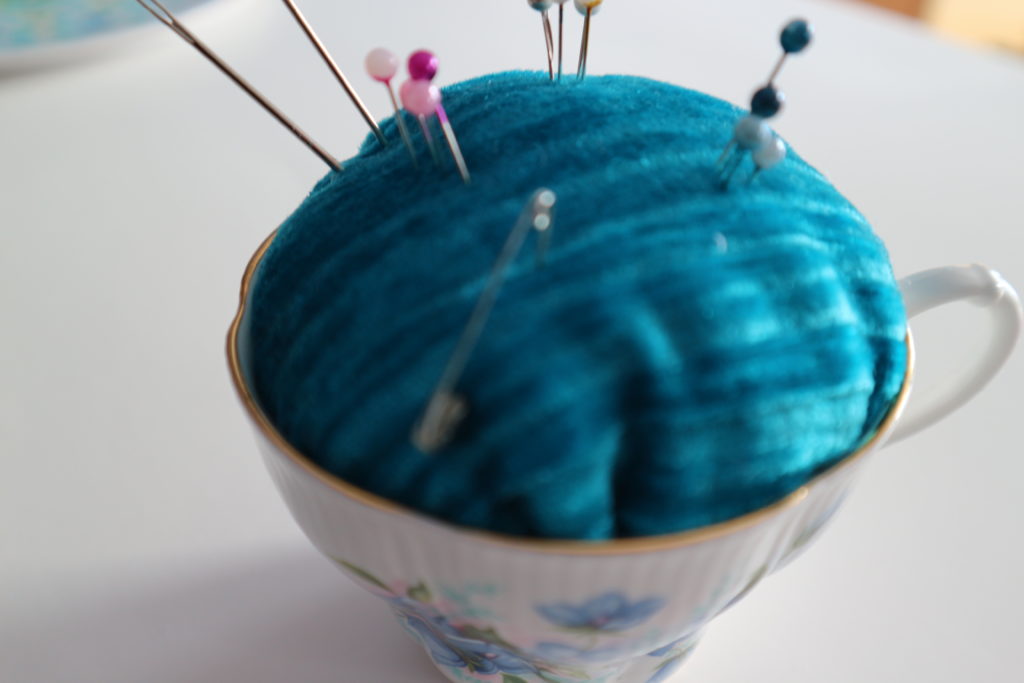
I chose not to glue mine into the tea cup with hot glue simply because my mom might flip out if she ever read this. She has two Royal Albert teapots that are absolute beautiful that leak tea on the table due to a tiny crack. I would love to make a craft out of that….I’m thinking a dainty ivy cascading out of it. Or drilling holes in it to put silver spoons dangling from below as a wind chime…. But she might faint if I asked for it. They cost a pretty penny back in the day and she has loved using them for her guests.

I have seen some tea cup pin cushions that were really glamorous. They glued the cup to the saucer and put laces and trims all around the base. The pin cushion also had a few decorative hat pins and some sort of tassel hanging from the handle. What a gift that would be for someone who still appreciates the dainty things in life. Have fun with this!
How to Sew an Easy Fleece HairBand
 Anyone can make this!
This super cute hairband was made from a left over piece of fleece from a poncho project Fleece Poncho Top in photo found at this link: http://mybrightideasblog.com/?p=218&preview=true

Miss M and I made her first sewing project the fleece poncho and with a few more minutes sewed up the co-coordinating headband.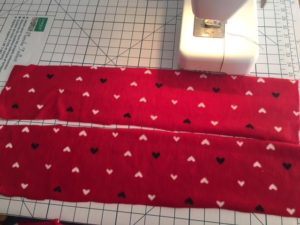
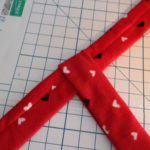
For a 7 year old head we cut 2 strips of fabric 5 inches by 20 inches. For an adult sized head cut 6 inches by 22 inches strips of fabric.
Fold each strip in half to lengthwise (right sides together) to form a tube and sew a seem.
Pull the end through the tube to turn it right side out.

Lay one strip on the bottom with seam facing up. The other lay on top with the seam facing down. Fold the bottom one in half.
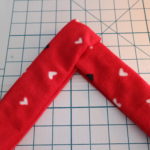
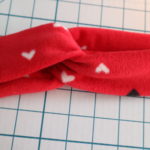
Fold the top one in half. Pull the ends even. Now its starting to take shape. Try holding it in place to see how if fits.
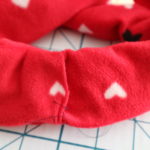
I tucked the ends of the right side into the left side and folded under the edge so it wouldn’t have any raw edges showing. Sewing a line across all the layers is a little tricky. Fleece or jersey-t-shirt material can be used and is very forgiving for sizing. You could use this idea for re-purposing old clothes.

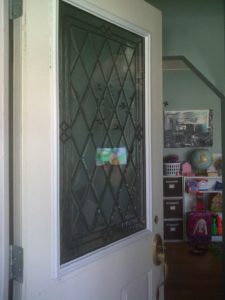
My First DIY Project-Door Window Insert
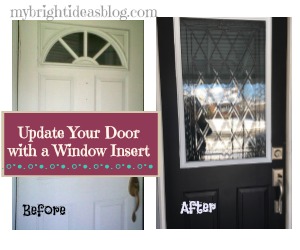
Renew your ugly old door with a window insert and a fresh coat of paint and door handle.
My first home improvement project involving proper tools was to change the window on the front door. Our home was built in the 1950’s and although this door wasn’t the original it was ugly-with a sort of half moon towards the top and didn’t shed light in the front of the house.
At the time I had a home daycare and families were coming to the front door every day several times and the noisy munchkins often made it difficult to tell if someone had knocked and was waiting at the front door. I was constantly running to the front room and peering out the windows to see if anyone was there…and usually there wasn’t.
I went to Home Depot to see what a new door would cost me. It was not too bad but add on the installation costs-eek! I had the side door replaced so I know from watching that done it was well out of my skill level. The staff asked if it was a decent quality door…if yes it might just need an update with an insert. Say what?!?!
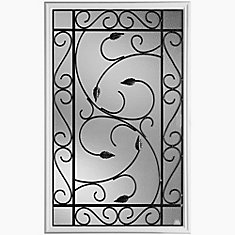
https://www.homedepot.ca/en/home/p.pergola-22-inch-x-36-inch-iron-glass-insert.1000784903.html
https://www.homedepot.ca/en/home/p.pergola-22-inch-x-36-inch-iron-glass-insert.1000784903.html
https://www.homedepot.ca/en/home/search.html?q=door%20insert&page=0
This will be helpful to know if you have a newish door but its the plain standard look. You can upgrade to ones with blinds between the panes of glass, or a window with a screen for a breeze or like me, a decretive pane to let the light in.
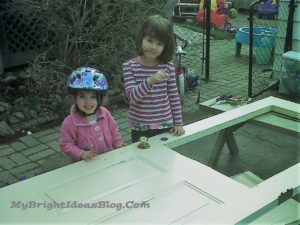
It was very hard to find how exactly to install the insert. I copied a blog I found about adding a dog door insert. I drew the cutting lines where I wanted the window to go by tracing the cardboard that comes with the insert. Then I got my largest drill bit and drilled a hole through the metal door an inch inside my cutting line. The drilled hole (or holes if you drill a few next to each other) is big enough to get a jigsaw blade in. Then start cutting lines through the door until you are able to cut out the entire rectangle of the insert.
A few reminders…jig saws have speed gauges which I didn’t realize until after the project was done. It was pretty fast and I could easily have cut the door right in half. It was literally my first time using a jig saw and I should probably have tested it out on something else first!
Move your small children far away and don’t be put off by their fears that their mom is about to ruin the front door.
And of course wear safety glasses. Now find a hubby to help you carry that heavy door back to the front of the house and pop the pins back in the hinges.
The insert literally just pops in and is secured by some push in plugs and your done! So easy and what an improvement. The inserts range from about $90 to $500 depending if you like fancy stained glass. There are really nice choices in the lower range too. I think mine was around $150.
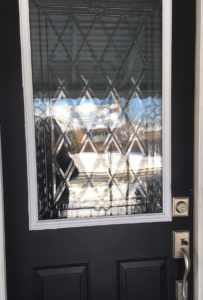
Shortly after we painted the front of the door black and put on a gorgeous handle and had a front door to be proud of!