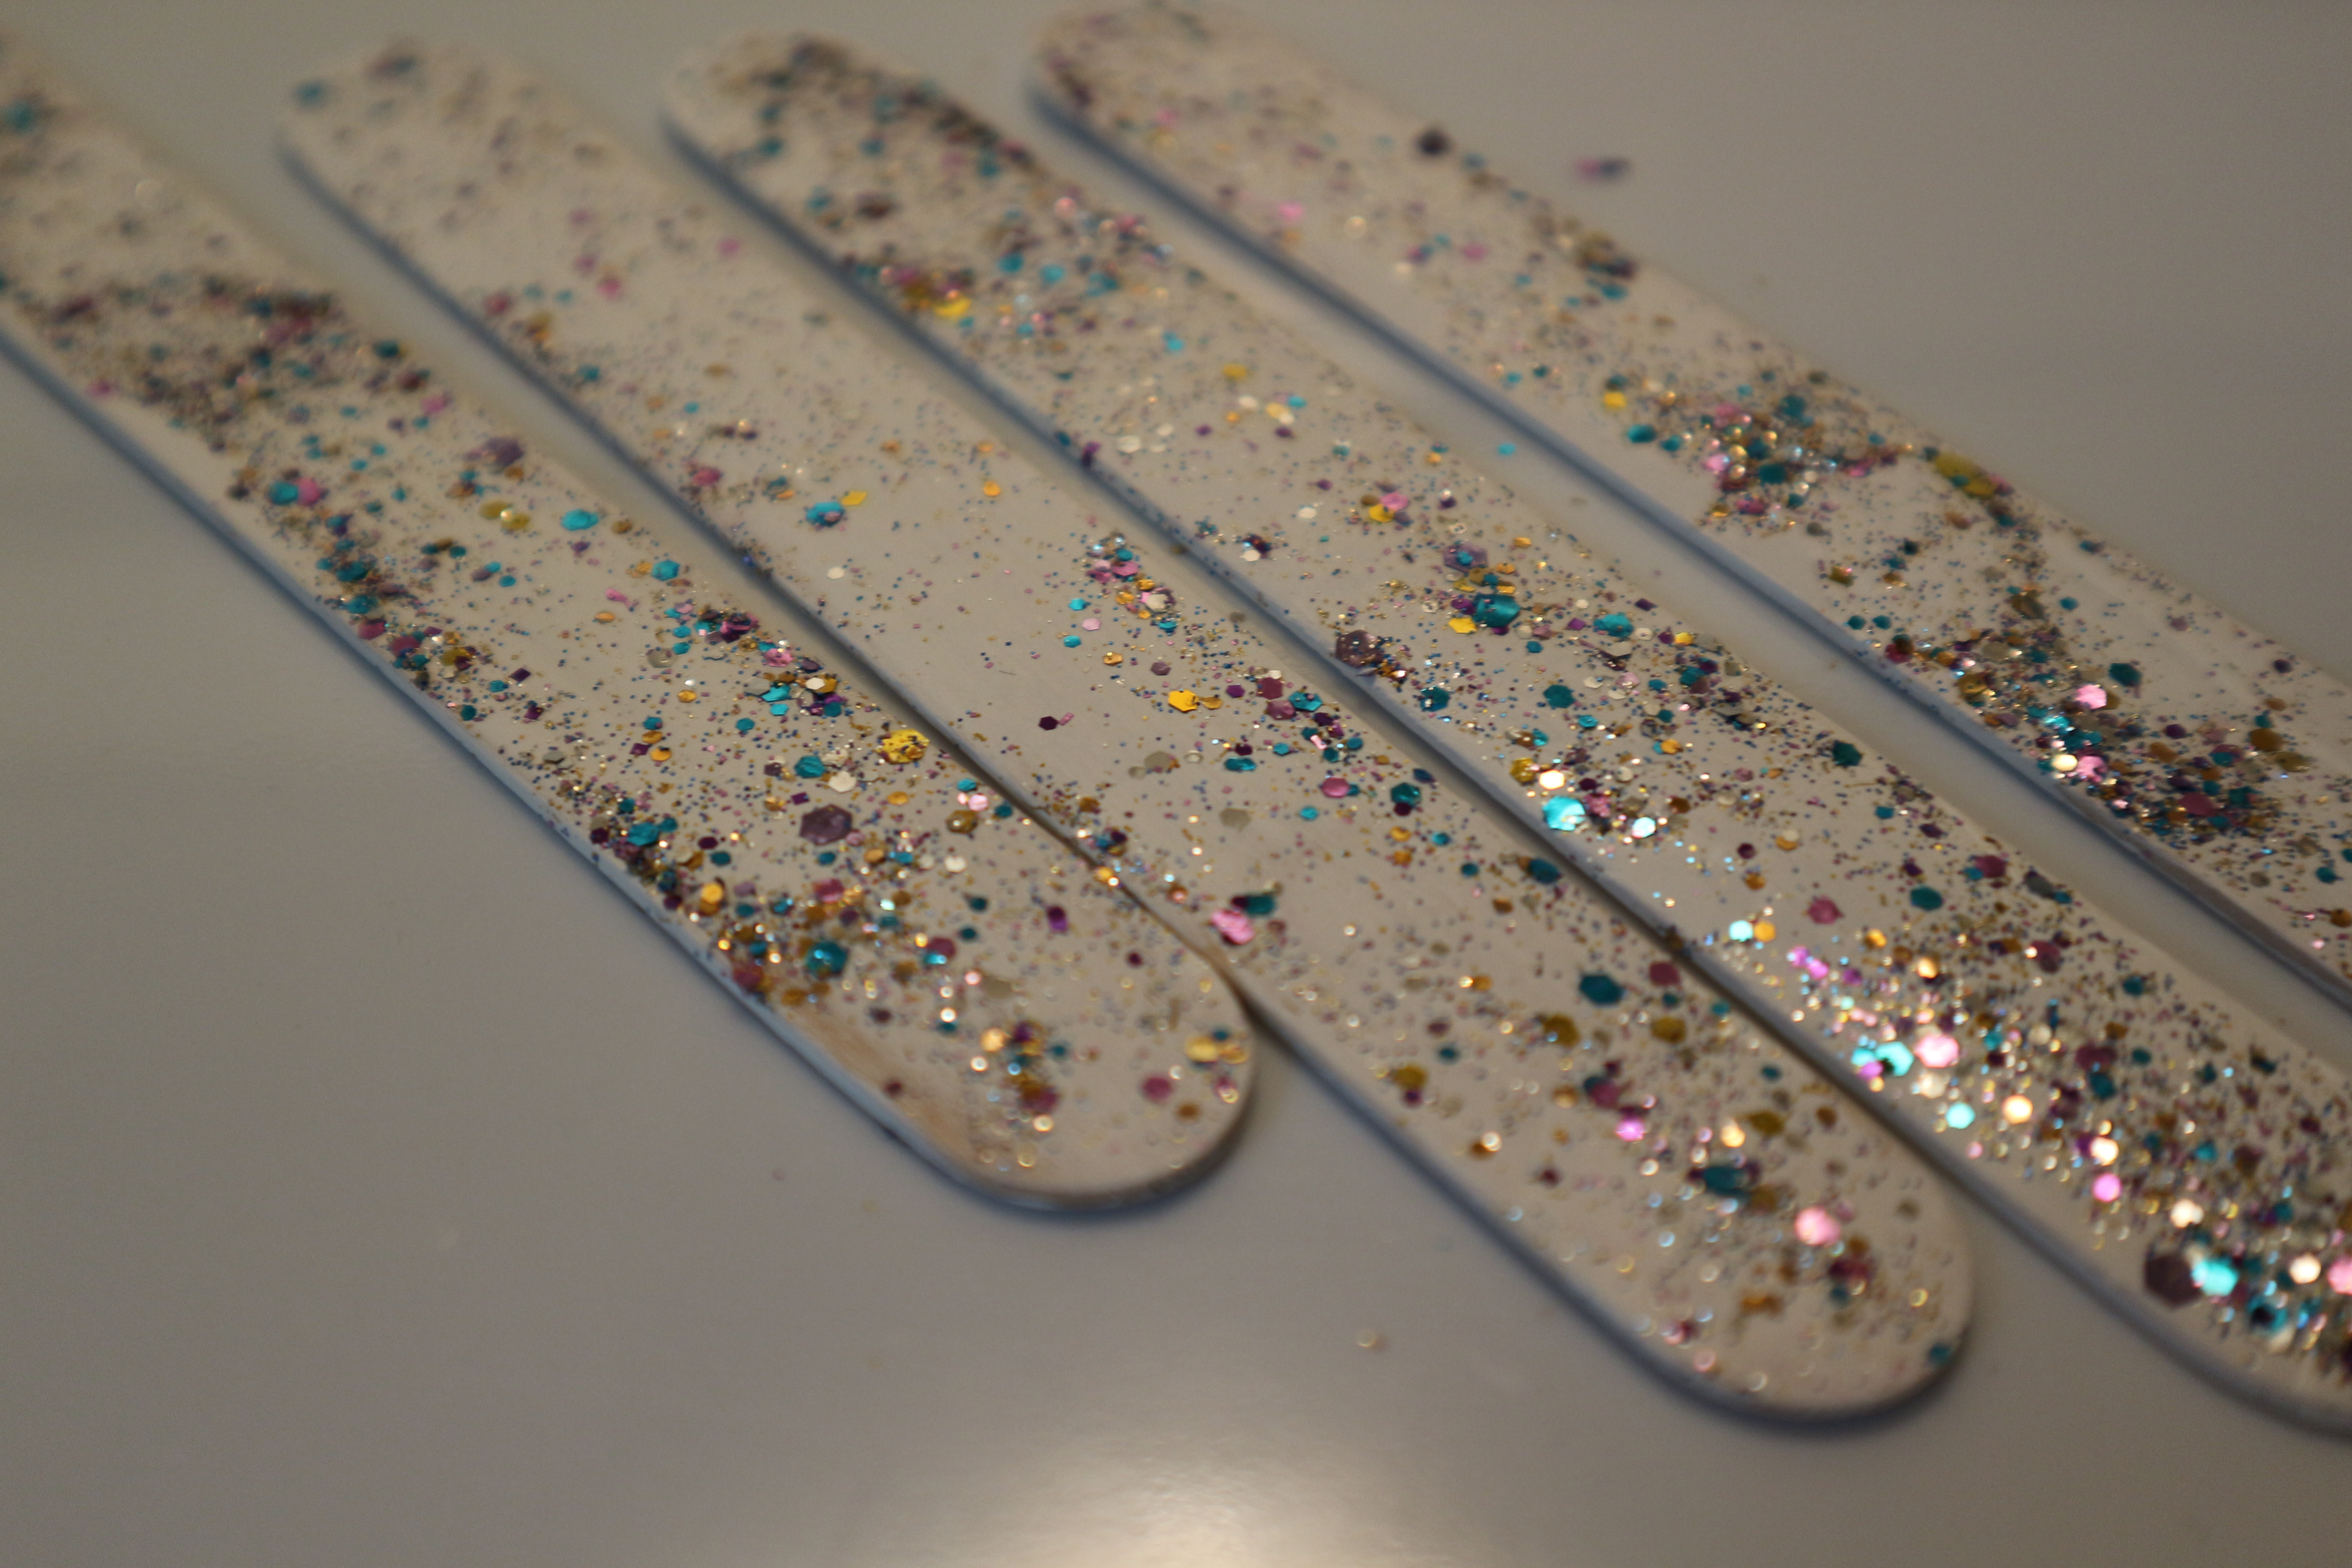
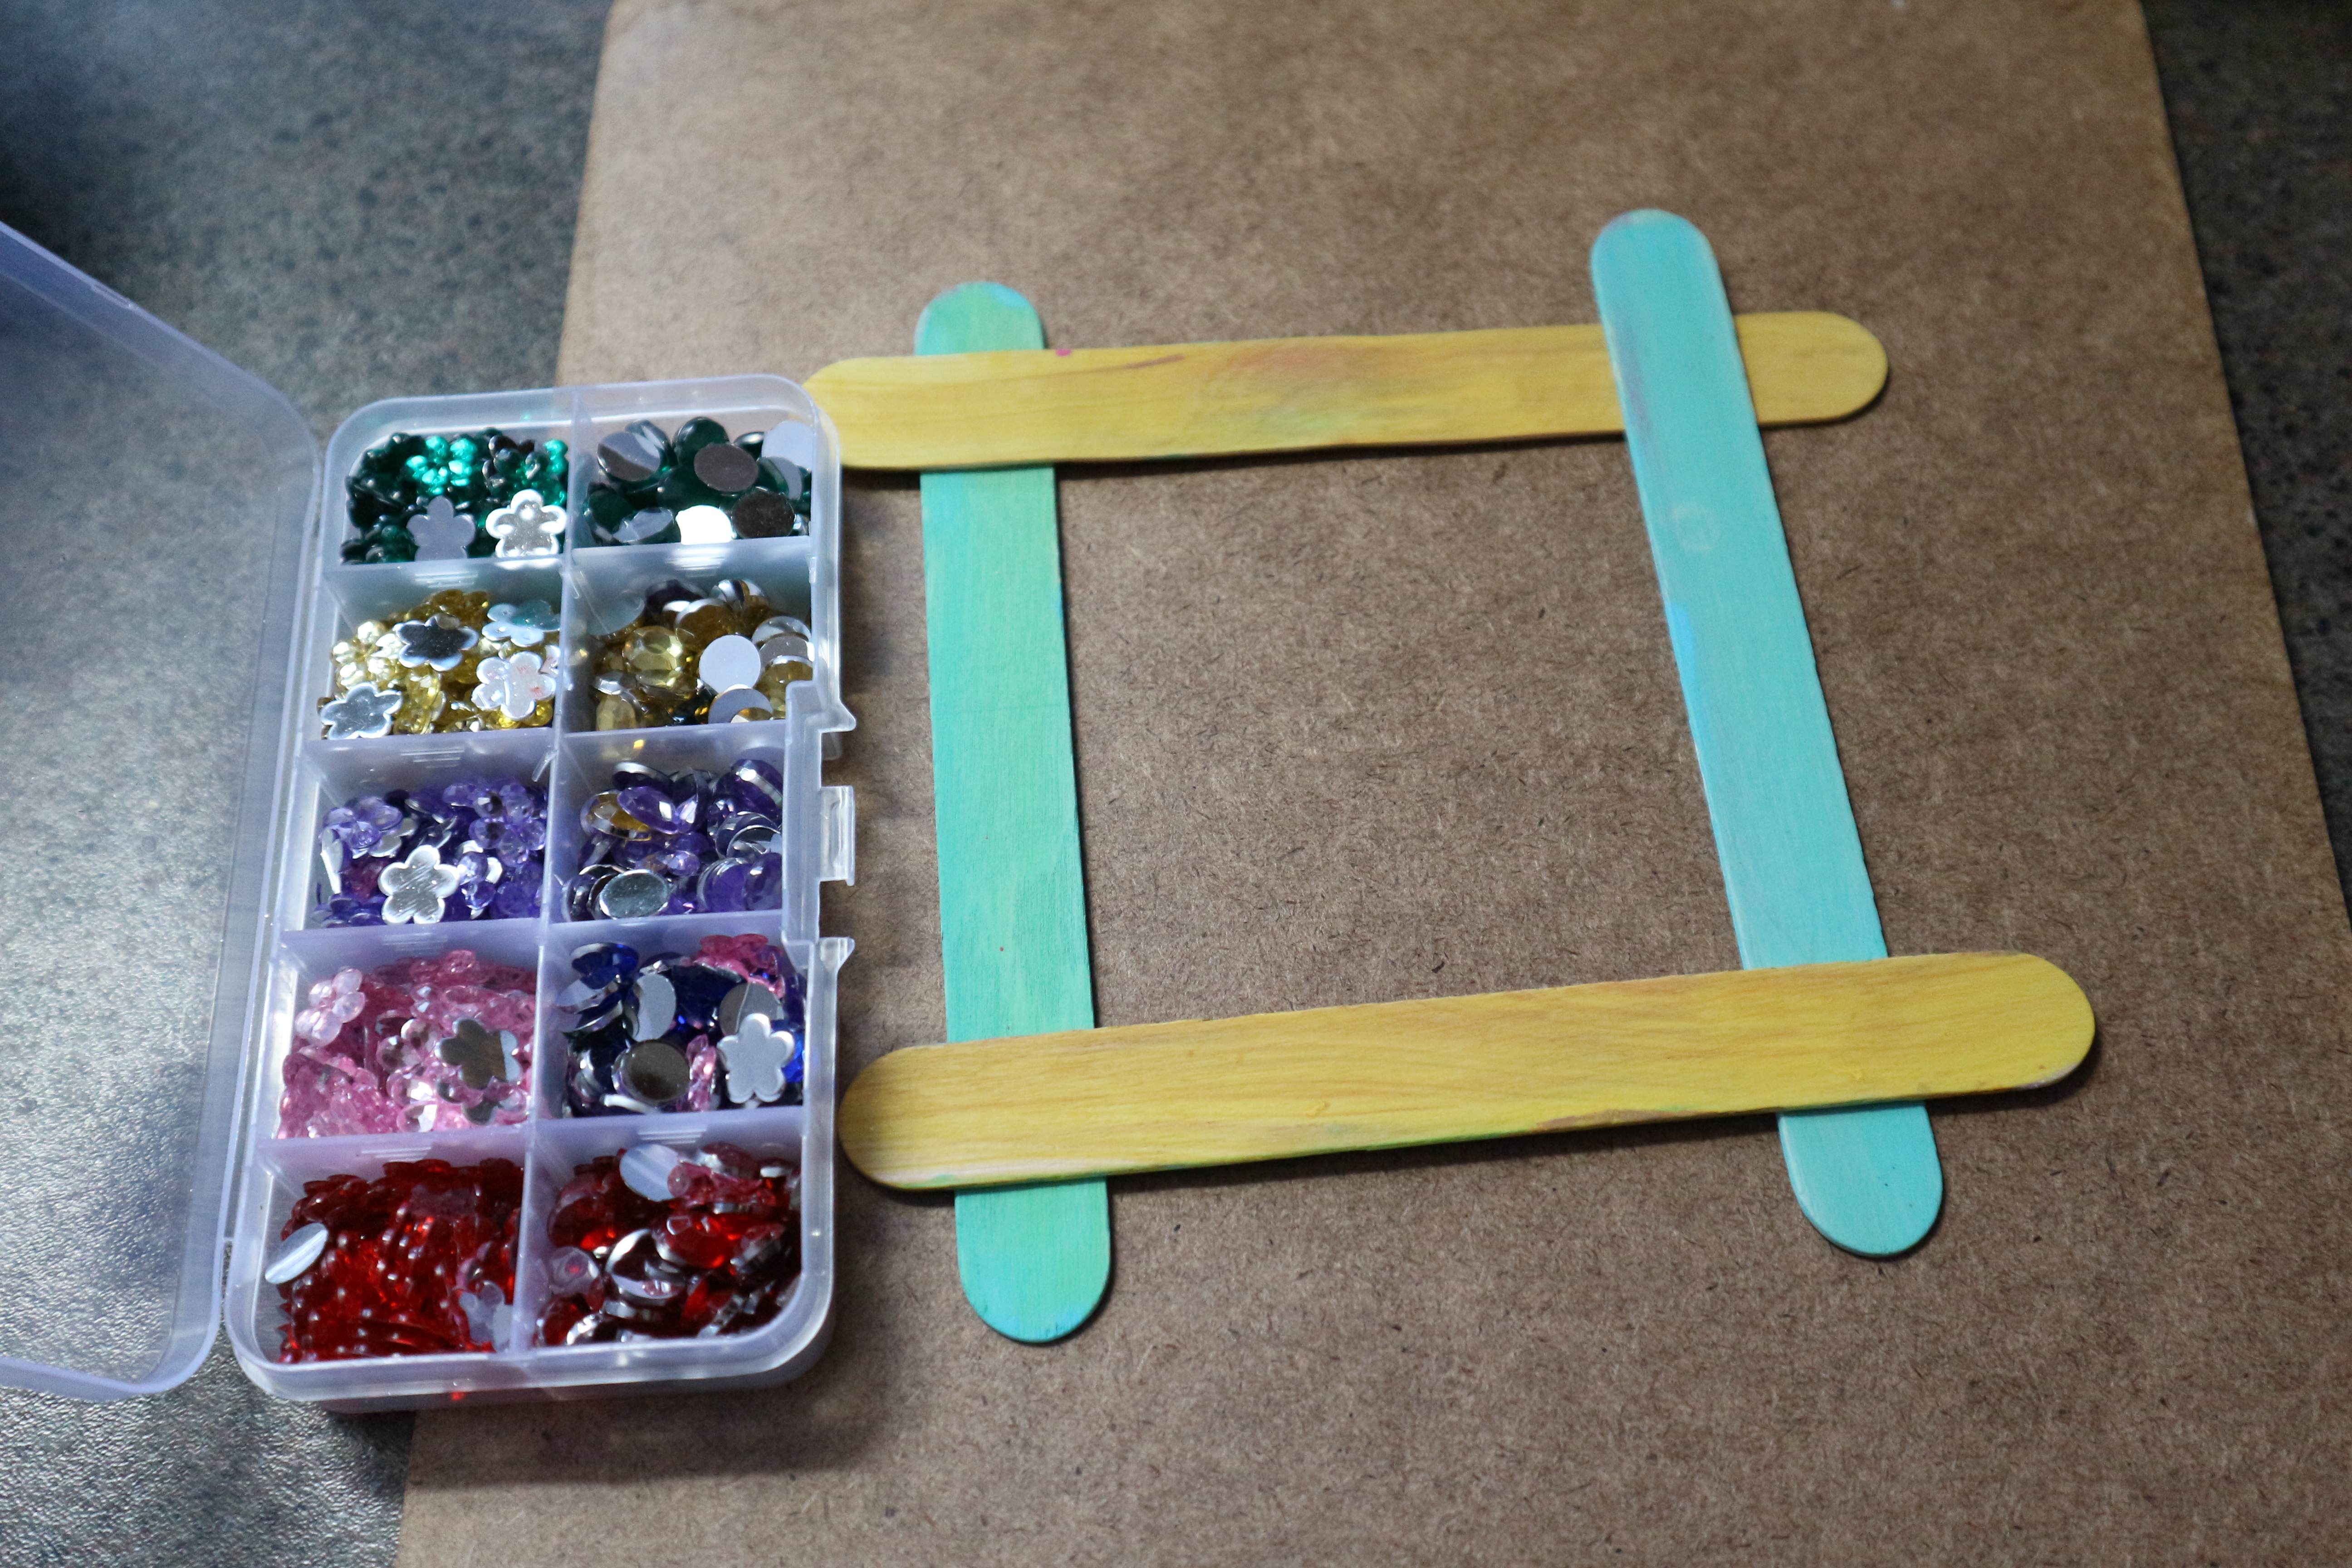
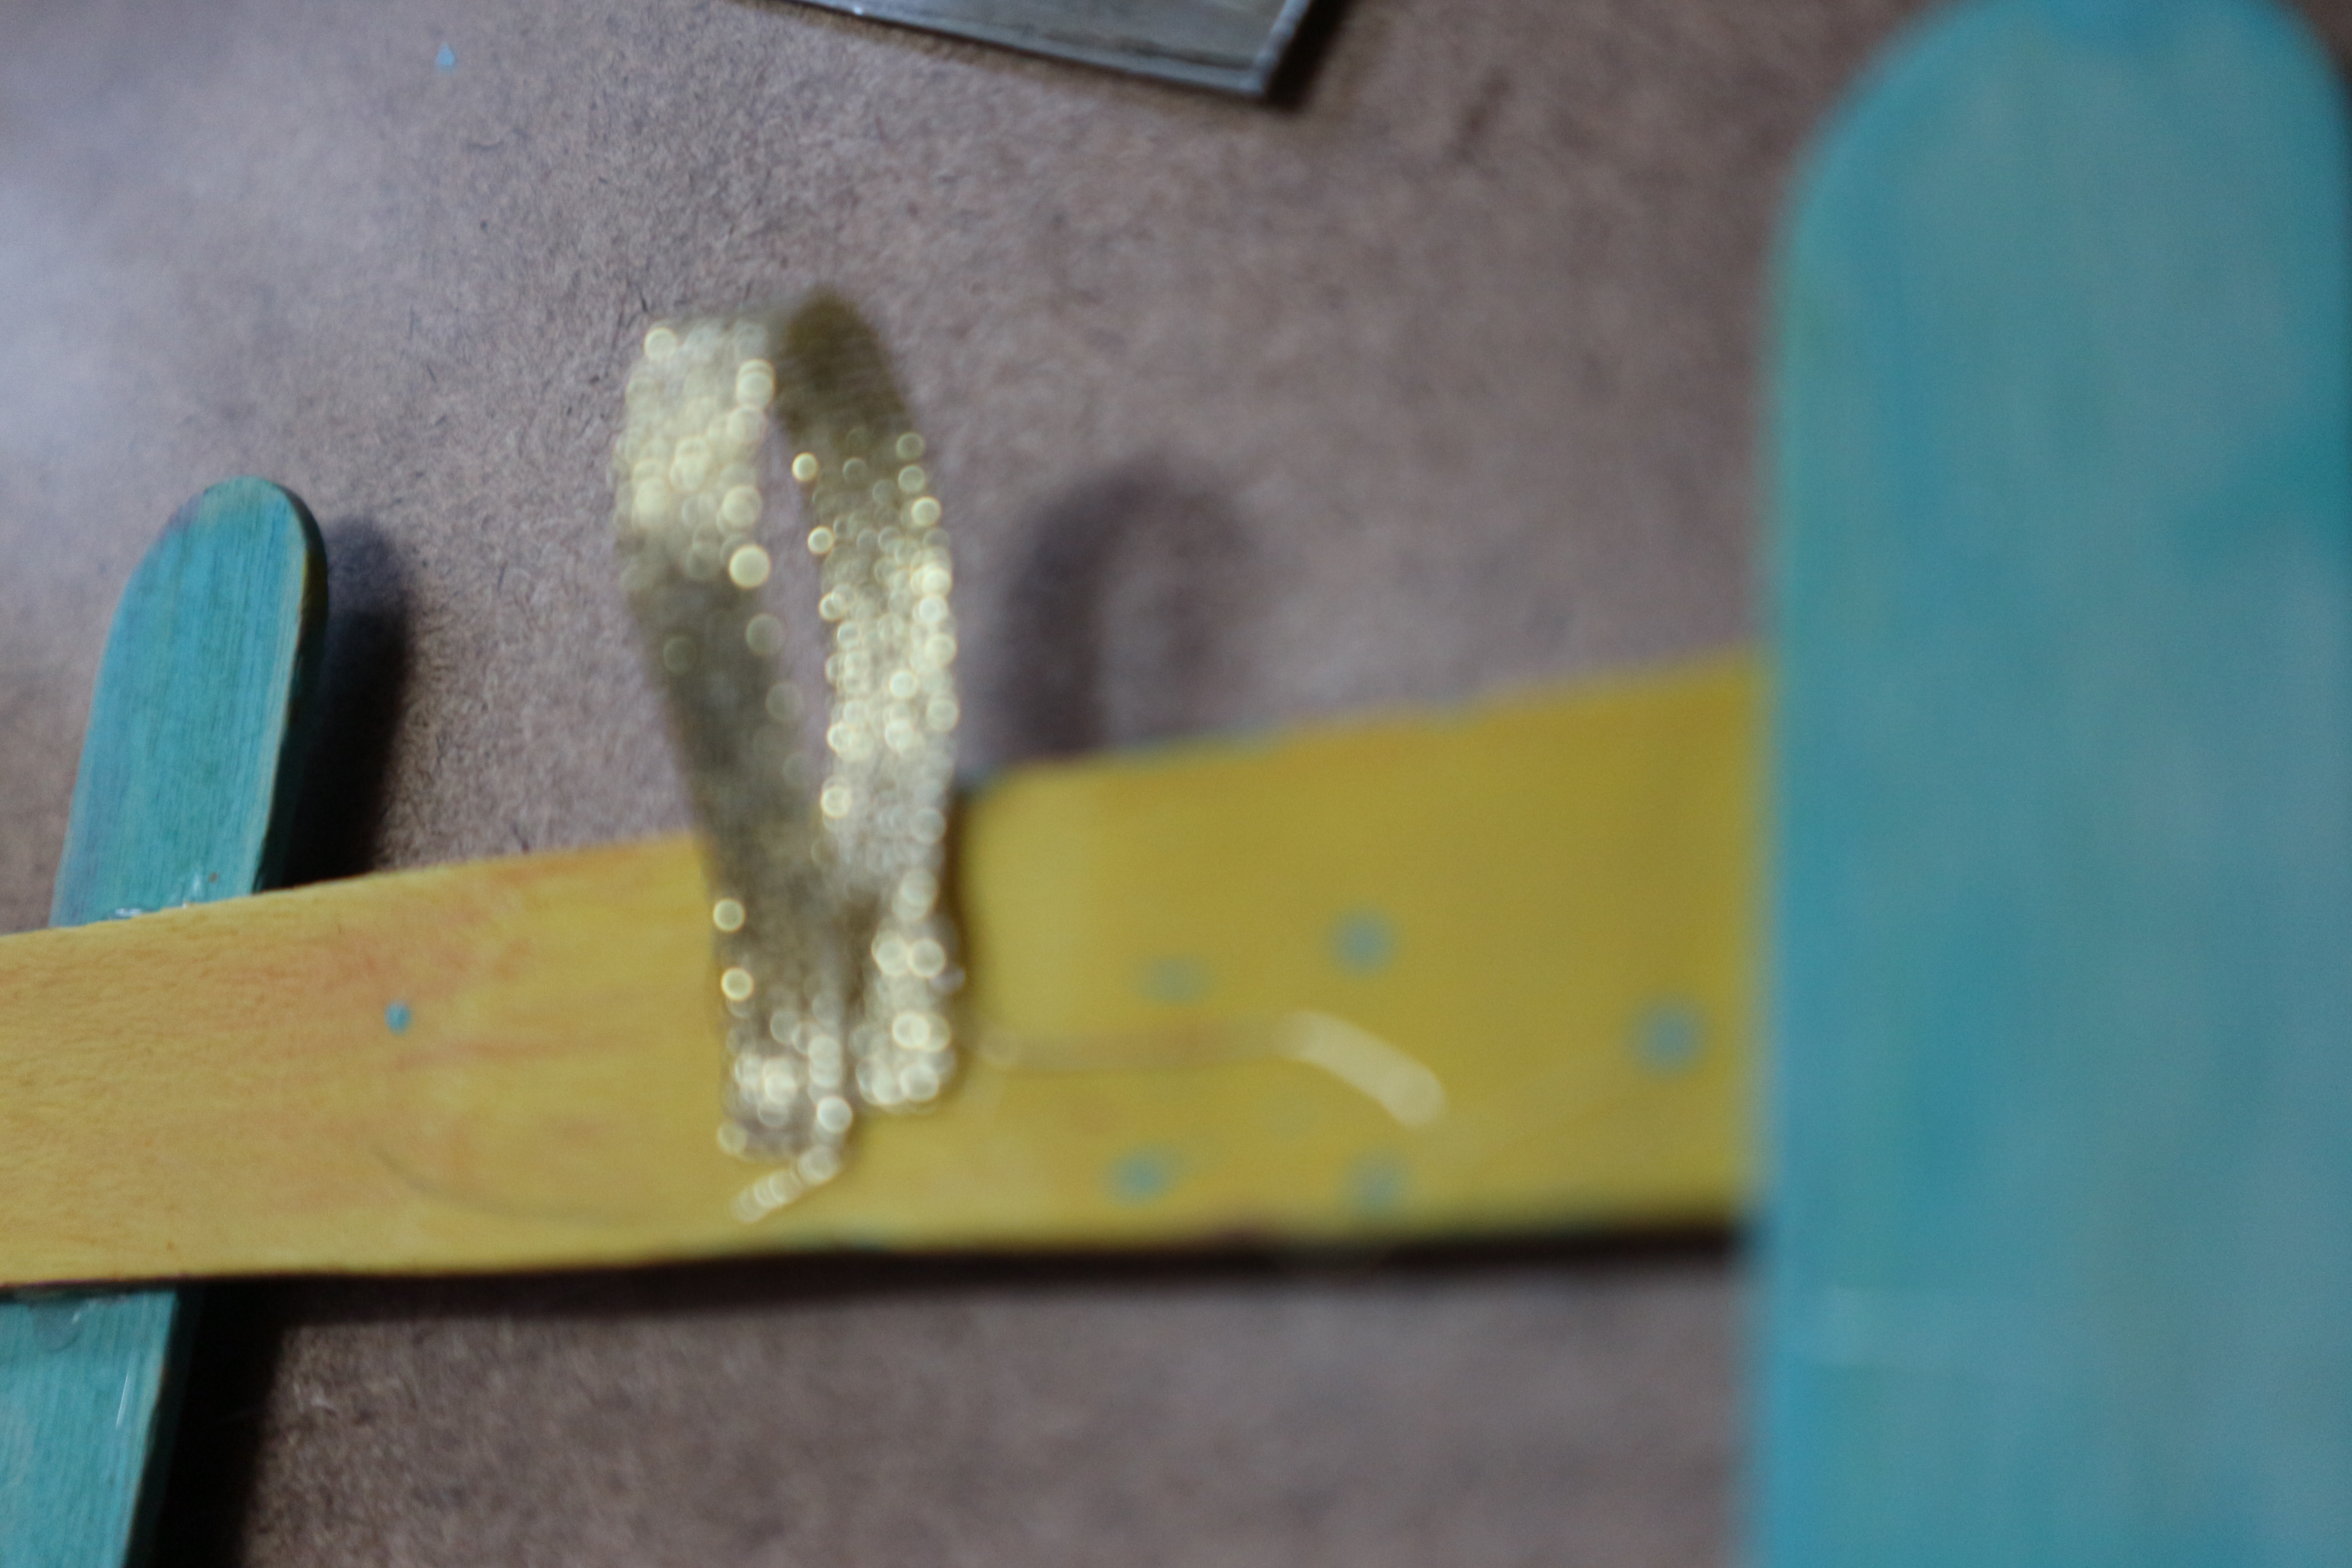
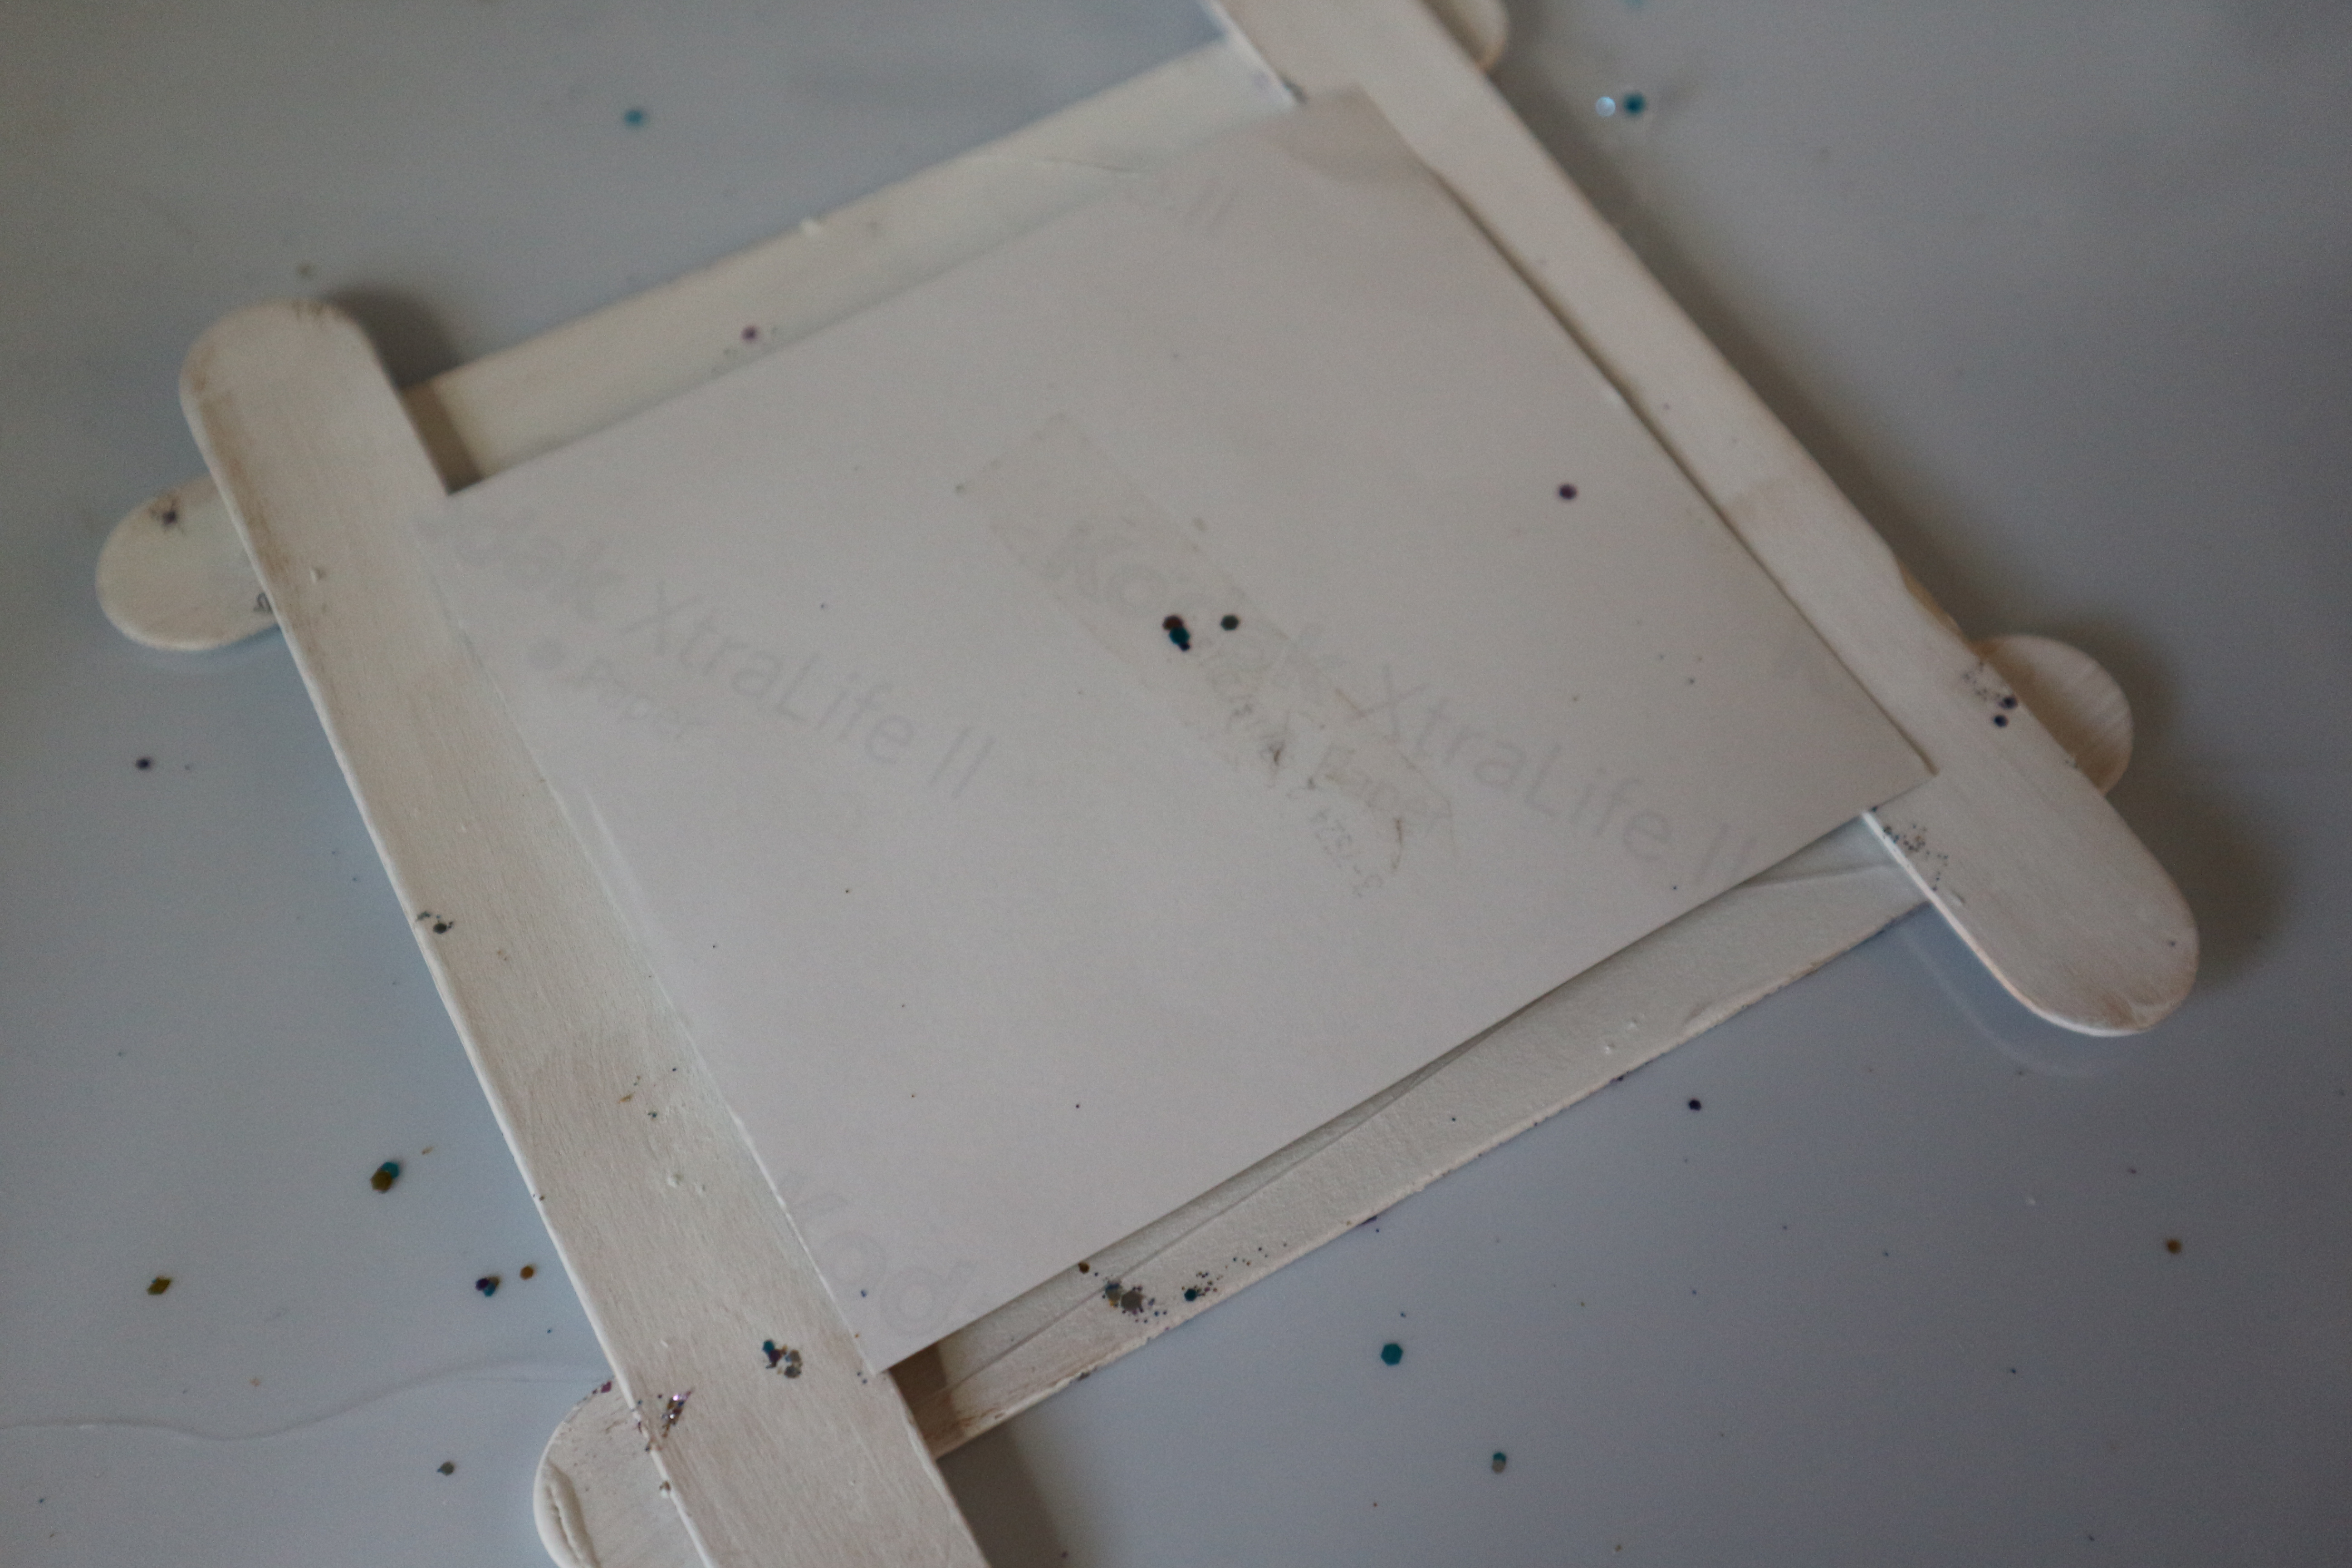
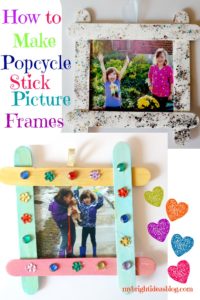
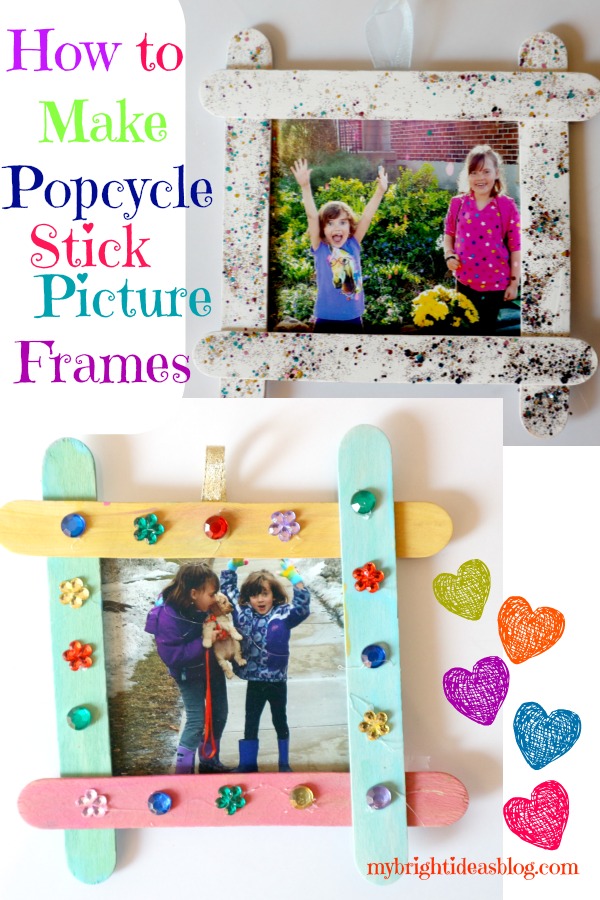
What could be easier than this popcycle stick picture frame. Paint and decorate the popcycle sticks. Glue together to fit the photo you will use. Hot glue works quickly to attached the square of popcycle sticks. Hot glue a piece of ribbon on the back. OR strips of magnets if you would rather this be a fridge magnet.
You will need: wide popcycle sticks, glue or glue gun. Glitter glue, gems depending on how decretive you want to get-you could just let a toddler finger paint it.
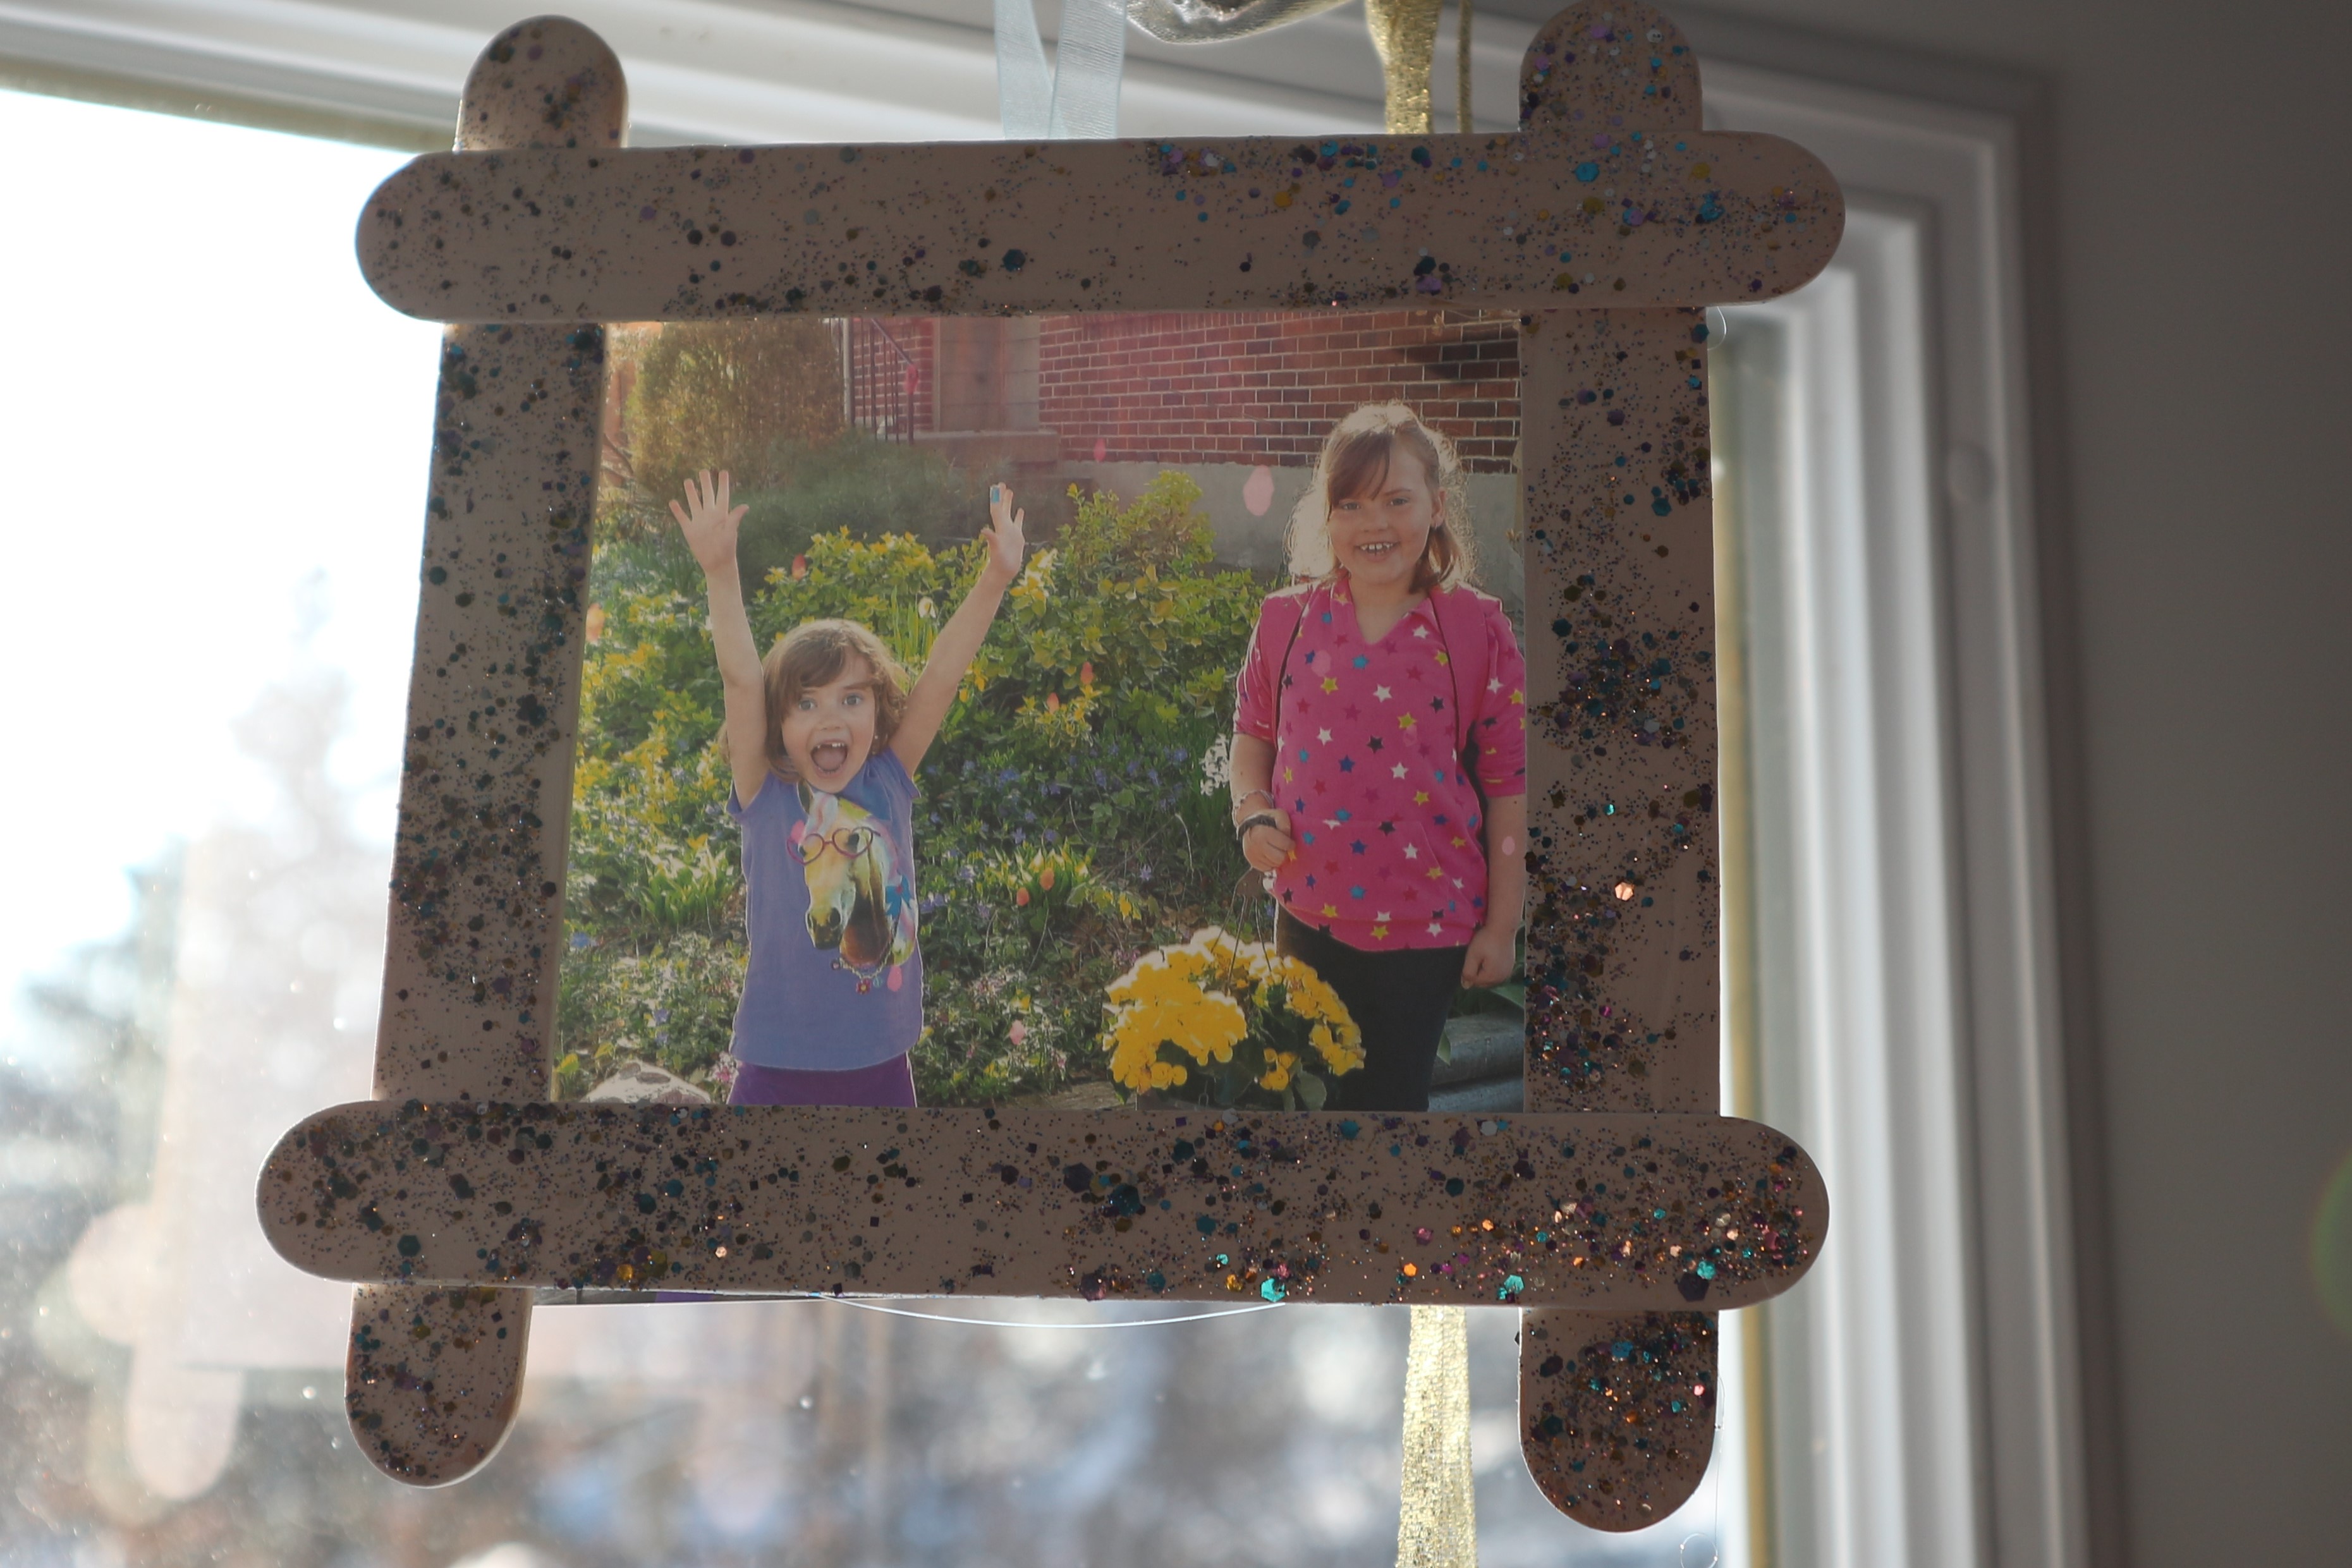
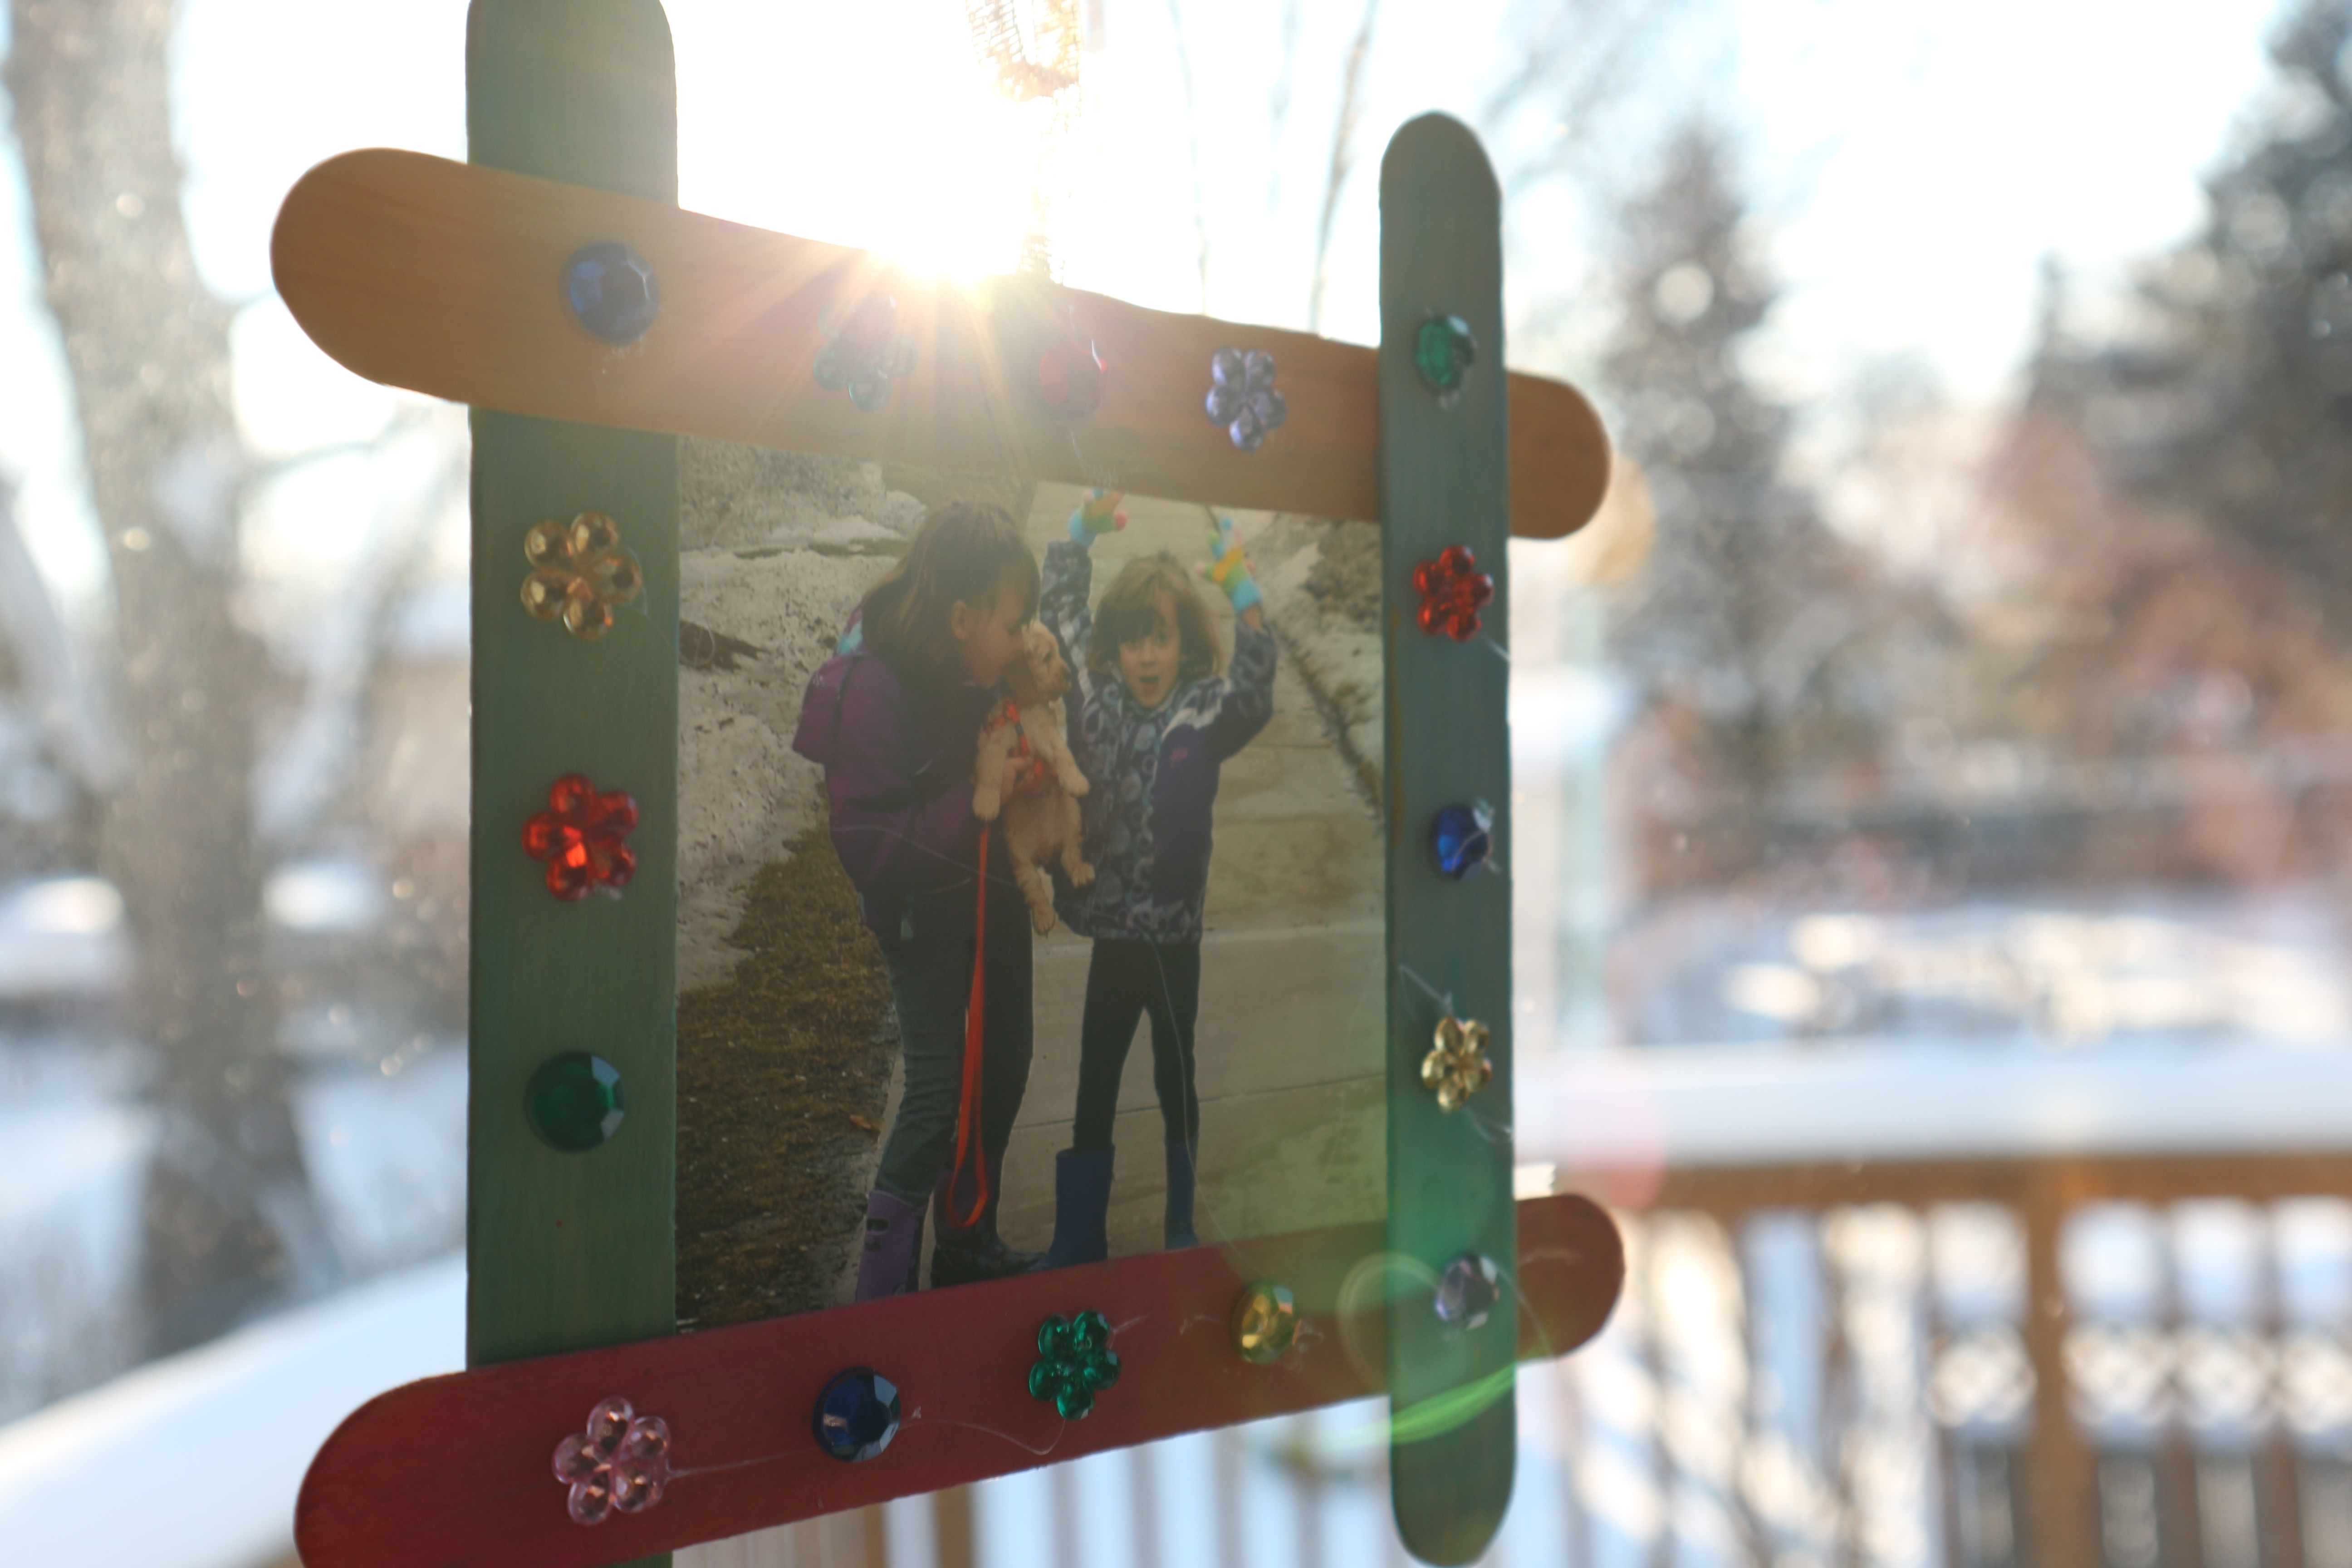
Secure the photo in place with a few pieces of tape. Hang it up and enjoy!
I did this for all of my daycare children back when I ran a home daycare. I strung them all across a string that was fastened to 2 screws so it looks like a bit of a clothes line. It had a really sweet effect. The kids all worked on their own frame and when it was time for them to leave my care and become school kids they took it with them and a scrap book of art I had saved. Ohhh…sentimental pause….. I wonder how my little friends are growing up…..sniff sniff…
…
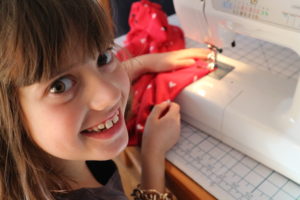
How to Sew an Easy Fleece HairBand
 Anyone can make this!
This super cute hairband was made from a left over piece of fleece from a poncho project Fleece Poncho Top in photo found at this link: http://mybrightideasblog.com/?p=218&preview=true

Miss M and I made her first sewing project the fleece poncho and with a few more minutes sewed up the co-coordinating headband.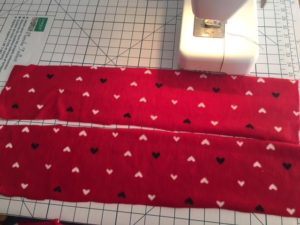
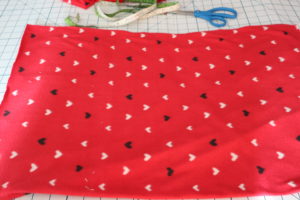
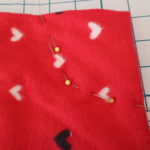
For a 7 year old head we cut 2 strips of fabric 5 inches by 20 inches. For an adult sized head cut 6 inches by 22 inches strips of fabric.
Fold each strip in half to lengthwise (right sides together) to form a tube and sew a seem.
Pull the end through the tube to turn it right side out.

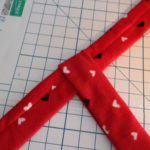
Lay one strip on the bottom with seam facing up. The other lay on top with the seam facing down. Fold the bottom one in half.
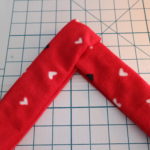
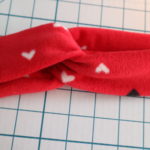
Fold the top one in half. Pull the ends even. Now its starting to take shape. Try holding it in place to see how if fits.
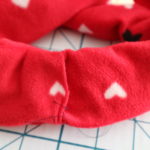
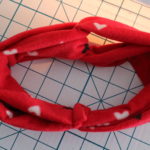
I tucked the ends of the right side into the left side and folded under the edge so it wouldn’t have any raw edges showing. Sewing a line across all the layers is a little tricky. Fleece or jersey-t-shirt material can be used and is very forgiving for sizing. You could use this idea for re-purposing old clothes.

Sew a Super Easy Fleece Poncho-Simple Starter Sewing Project
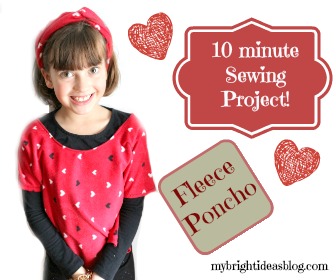
This fleece poncho type body warmer will take the chill off! Its so simple my 7 year old Miss M. did the sewing!
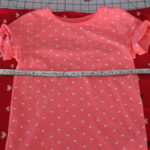
First step. Measure the approximate width over the shoulders for where you would like it to sit. Then measure the body length from the shoulder to around the waist. This is the kind of not very specific measuring I find myself doing all the time. A fitted dress with darts and zippers is not my kind of sewing.
We decided to go 25 inches wide and 20 inches from the shoulder to waist hips area (so double that).
This means you will need to cut a piece of fleece 40 inches by 25 inches.
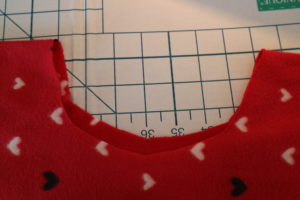
For the neck hole: find the middle and use a t-shirt to show how big the neck hole is and copy that onto the middle of the fleece. I like to fold the fleece in half so the neck will be easier to cut.
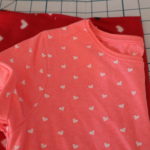
I went a bit bigger than the tshirt and wished I had gone a bit smaller instead. As long as it goes over the person’s head its great. If you make a cut that it too small you can try it on and then cut a bit more off.
You could leave all the seams unfinished if you would like because they won’t fray like cotton would. However, this was Miss M’s first time at the machine so we wanted some easy sewing. We folded the fabric over once and did a Zig Zag all around the straight edges.
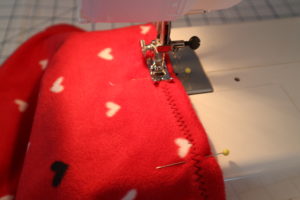
Around the neck we folded over the fabric once and did a straight stitch.
Then we laid it out flat folded in half. We measured 7 inches from the shoulder and put a pin to mark it. Then 3 inches down add another pin. Sew between the 2 pins. We used a straight stitch-this part will be under the arms.
Miss M. pretended that it was a huge inconvenience to come over and take a few photos but she seems to have enjoyed herself.


The fancy hairband will be in this blog: http://mybrightideasblog.com/sew-easy-fleece-hairband/
Celery Flower Painting – Easy Kids Craft

Do you remember doing potato paintings when you were a kid? I sure do and this is a new spin on it CELERY PAINTING! It creates a fun, flowery sort of painting. This craft is so easy a toddler could do it…and it will actually look quite nice in on the fridge.
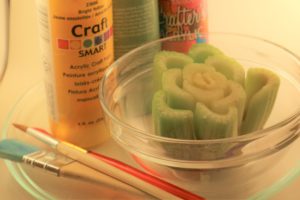
You will need paint, brushes, plain paper and celery cut off close to the bottom or if its another part of the bunch of celery put an elastic around it so it doesn’t all apart.
Start out by brushing some green flower stems onto the paper.
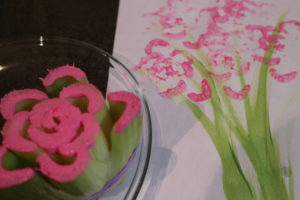
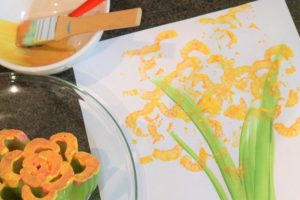
Paint the flat ends of the celery with your brush to make sure every end gets covered with a light coat of paint for a lighter effect like the yellow and pink roses above.
For a more defined flower use a sponge brush and a lot of paint and push hard on your celery to really put the imprint on. I pulled off two of the outer celery stalks and tried to make some rose buds also.
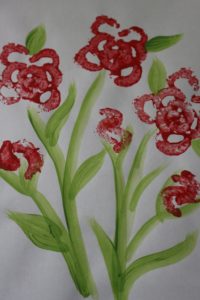
With a bit of help your toddler could have a lot of fun with this. An older child cold make something quite pretty for a gift to take to grandma’s house….you could even put some sparkle glue in the flowers after the paint has dried.
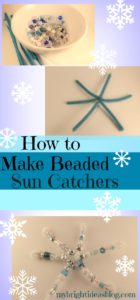
Beaded SnowFlake Suncatcher-Easy Craft for Kids!
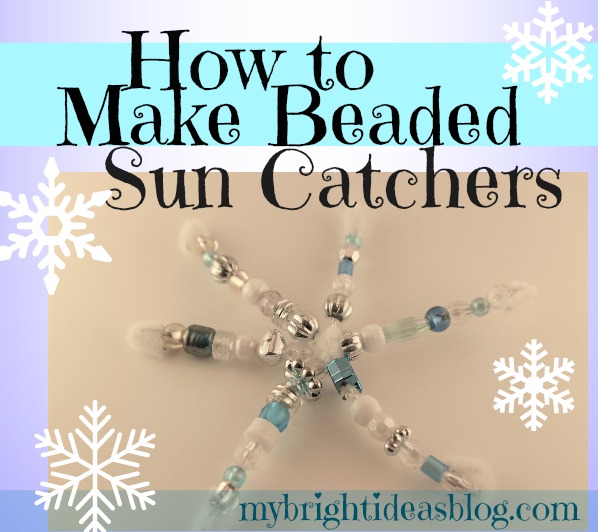
We love Beads and Pipe-cleaners are a craft cupboard essential. So on this snowy winter’s day the kids and I made snow flakes to hang in our windows-and we used just those 2 ingredients. Beads and Pipe-Cleaners! Sparkly beads look so lovely in the window-so this will make a gorgeous sun-catcher.
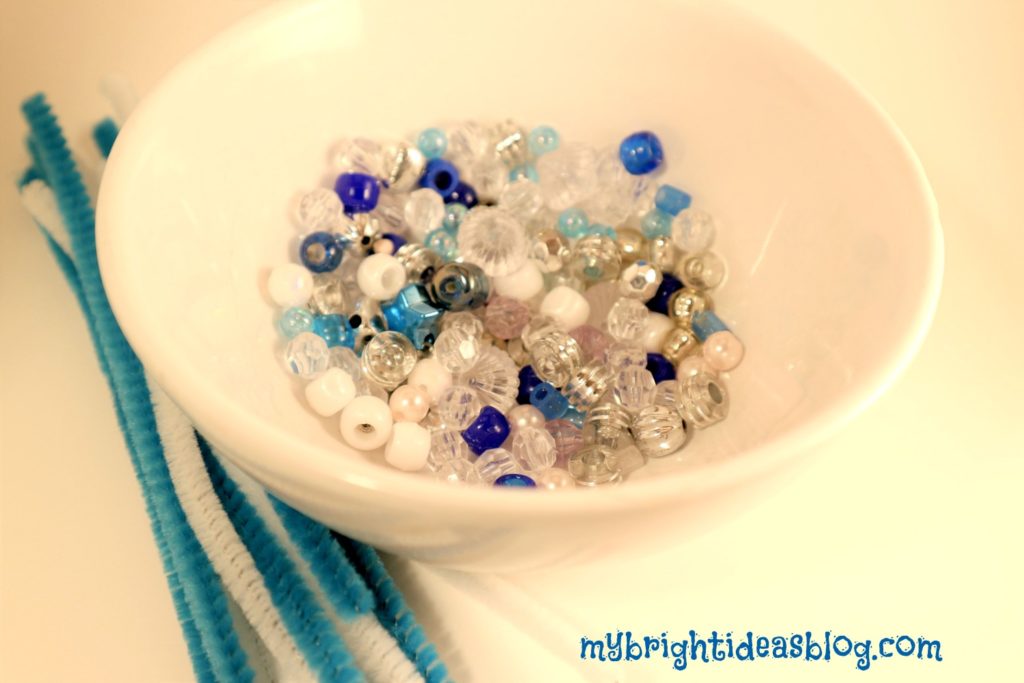
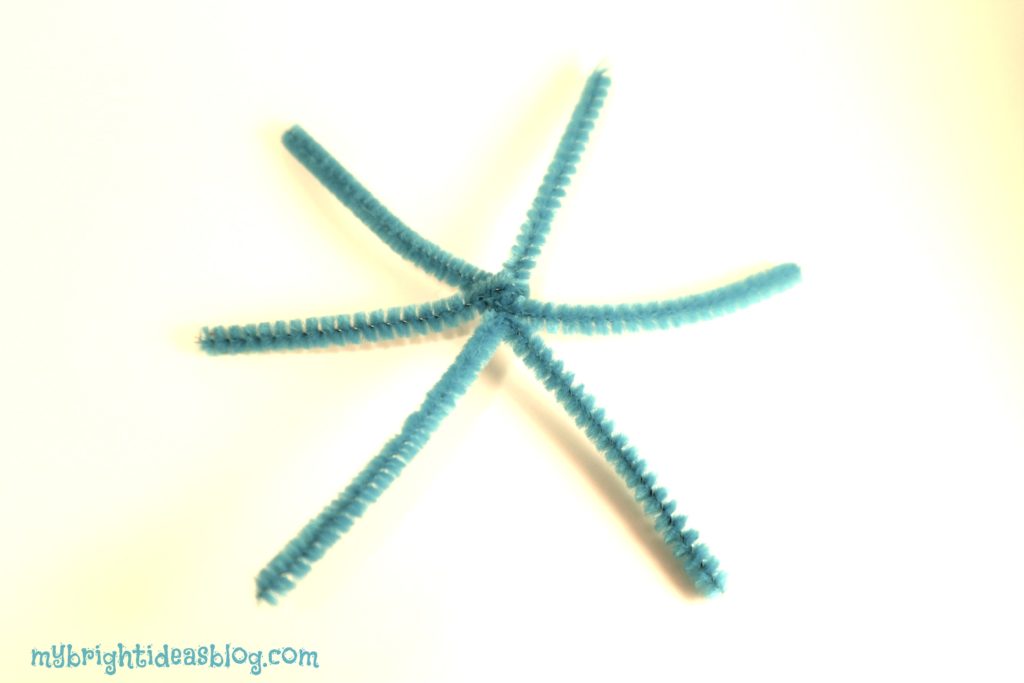
Cut a 3 pipe-cleaners in half. I think the sparkly style would have looked gorgeous but today we only found turquoise and white which both give a nice cool look.
Take the 3 half length pipe-cleaners and twist in the middle so they hold the shape of a snowflake.
String on plastic beads. As long as the bead hole is big enough to slide a pipe-cleaner through it will work. But if your crafter is younger you may want to use pony beads-the type of plastic bead with big holes.
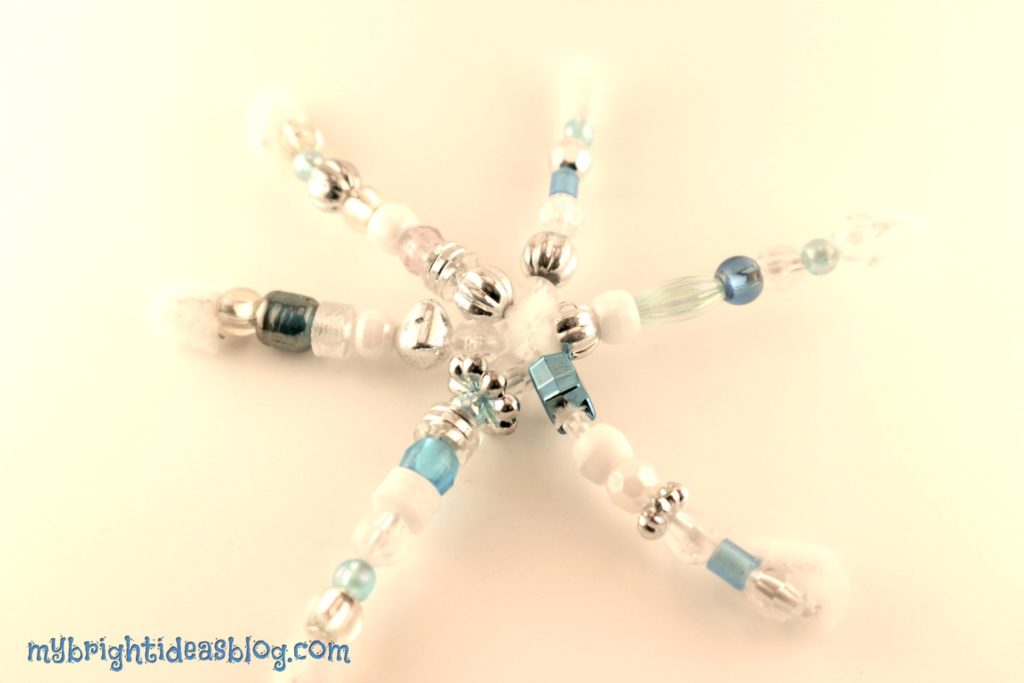
We chose white, clear, silver, turquoise and blue. As you get close to the end bend the pipe-cleaner so that the beads don’t slide off.
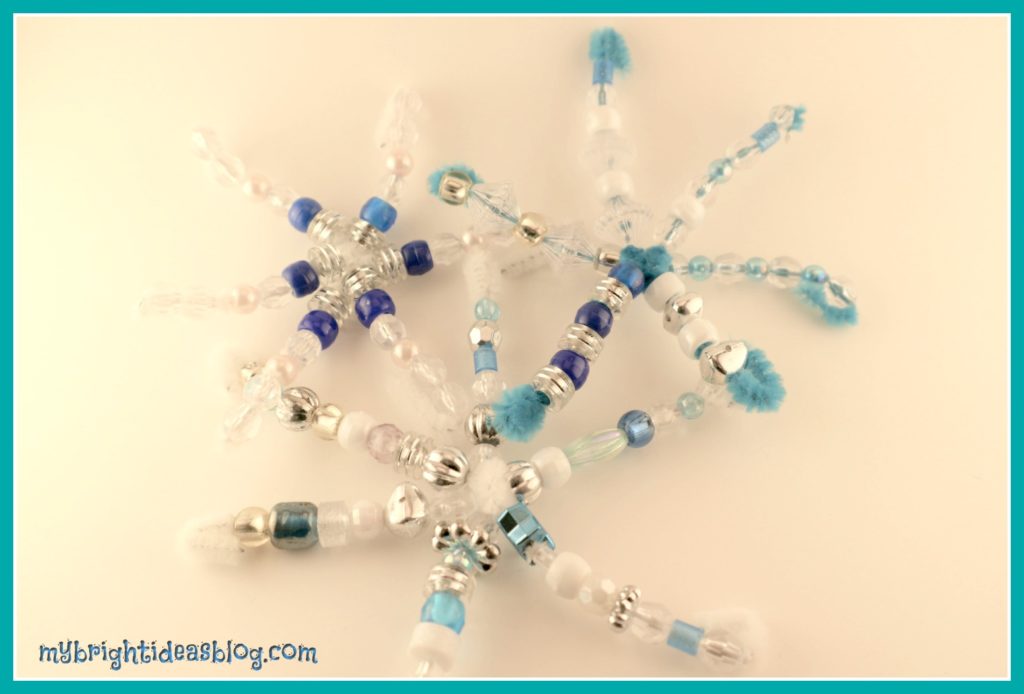
Find a scrap of narrow ribbon to tie to an end and hang from the window. Stand back and admire!
….